Warning: Undefined array key 6 in /home/imgpanda.com/public_html/wp-content/themes/astra/template-parts/single/single-layout.php on line 176
Warning: Trying to access array offset on value of type null in /home/imgpanda.com/public_html/wp-content/themes/astra/template-parts/single/single-layout.php on line 179
Lighting is a crucial part of video production. It can make or break the quality of your footage. Proper lighting helps set the mood, highlights important subjects, and enhances the overall look of your videos. Let’s break down the essentials of video lighting so you can create stunning content for your Shutterstock projects.
There are three primary components to understand:
- Key Light: This is your main source of light and should be the brightest. It defines the subject and sets the overall exposure.
- Fill Light: This light softens shadows created by the key light. It should be less intense and positioned opposite the key light.
- Back Light: Positioned behind the subject, this light adds depth and separates the subject from the background.
Importance of Lighting in Video Quality
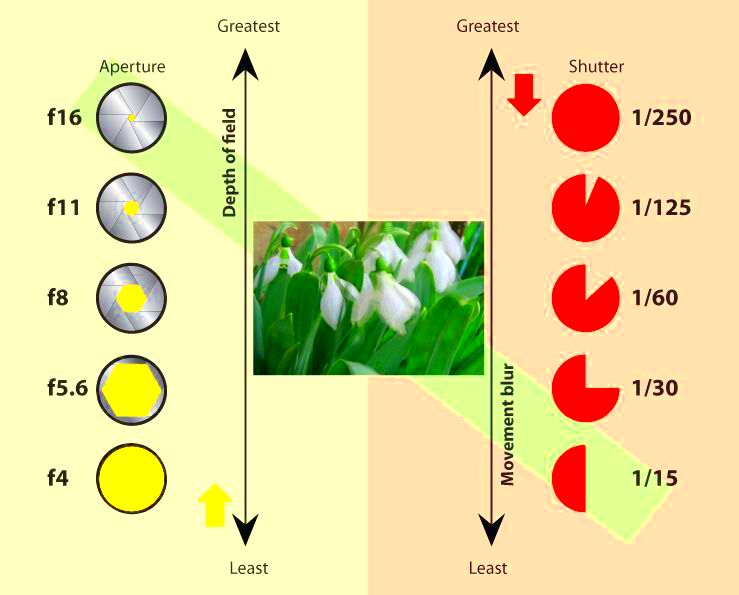
Good lighting plays a vital role in video quality. It can influence how viewers perceive your content and can even affect their emotions. Here are some reasons why lighting is so important:
- Enhances Visual Appeal: Proper lighting brings out colors and details, making your video more engaging.
- Creates Mood: Different lighting setups can evoke different feelings. For example, soft lighting can create a warm, inviting atmosphere, while harsh lighting can give a dramatic feel.
- Affects Clarity: Good lighting ensures that your subjects are clearly visible, reducing distractions for the viewer.
Also Read This: Tips and Tricks to Prevent YouTube from Detecting Your Ad Blocker
Types of Lighting for Videos
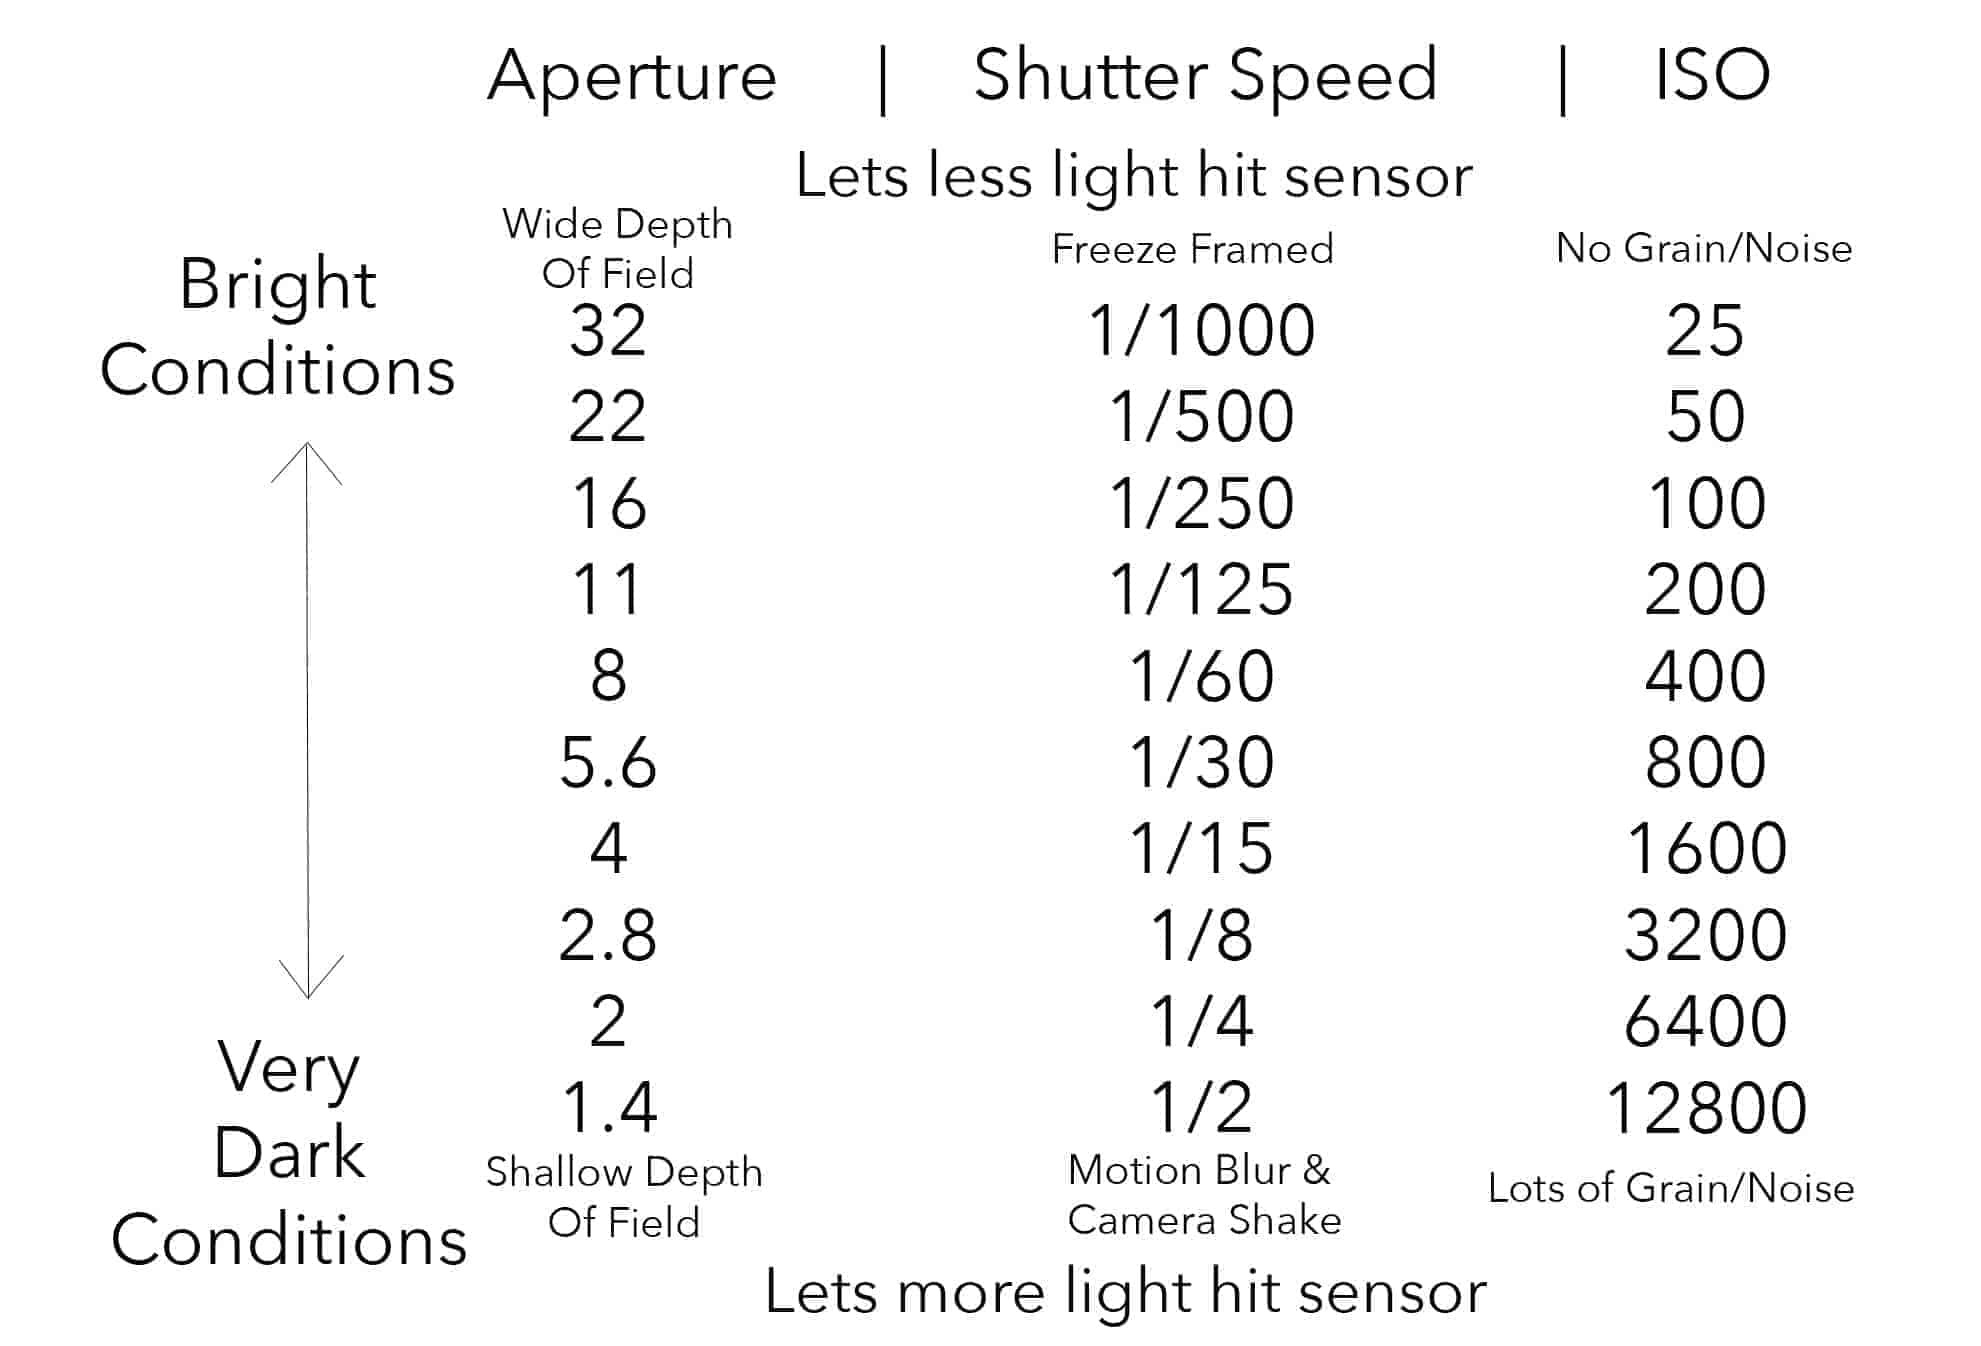
When it comes to video lighting, there are several types you can choose from. Each type serves different purposes and can be used in various ways:
| Type of Lighting | Description | Best Use Cases |
|---|---|---|
| Natural Light | Utilizes sunlight and ambient light. | Outdoor shoots and soft, natural-looking scenes. |
| LED Lights | Energy-efficient lights that come in various colors and intensities. | Versatile for both indoor and outdoor shooting. |
| Softbox Lights | Diffuses light to create soft, even illumination. | Ideal for interviews and product shoots. |
| Ring Lights | Circular lights that provide even lighting from all angles. | Great for beauty videos and close-up shots. |
Choosing the right lighting type can significantly impact your video's quality, so consider your subject and setting before making a decision.
Also Read This: Sharing your Behance portfolio
Natural Lighting Techniques for Shutterstock Videos
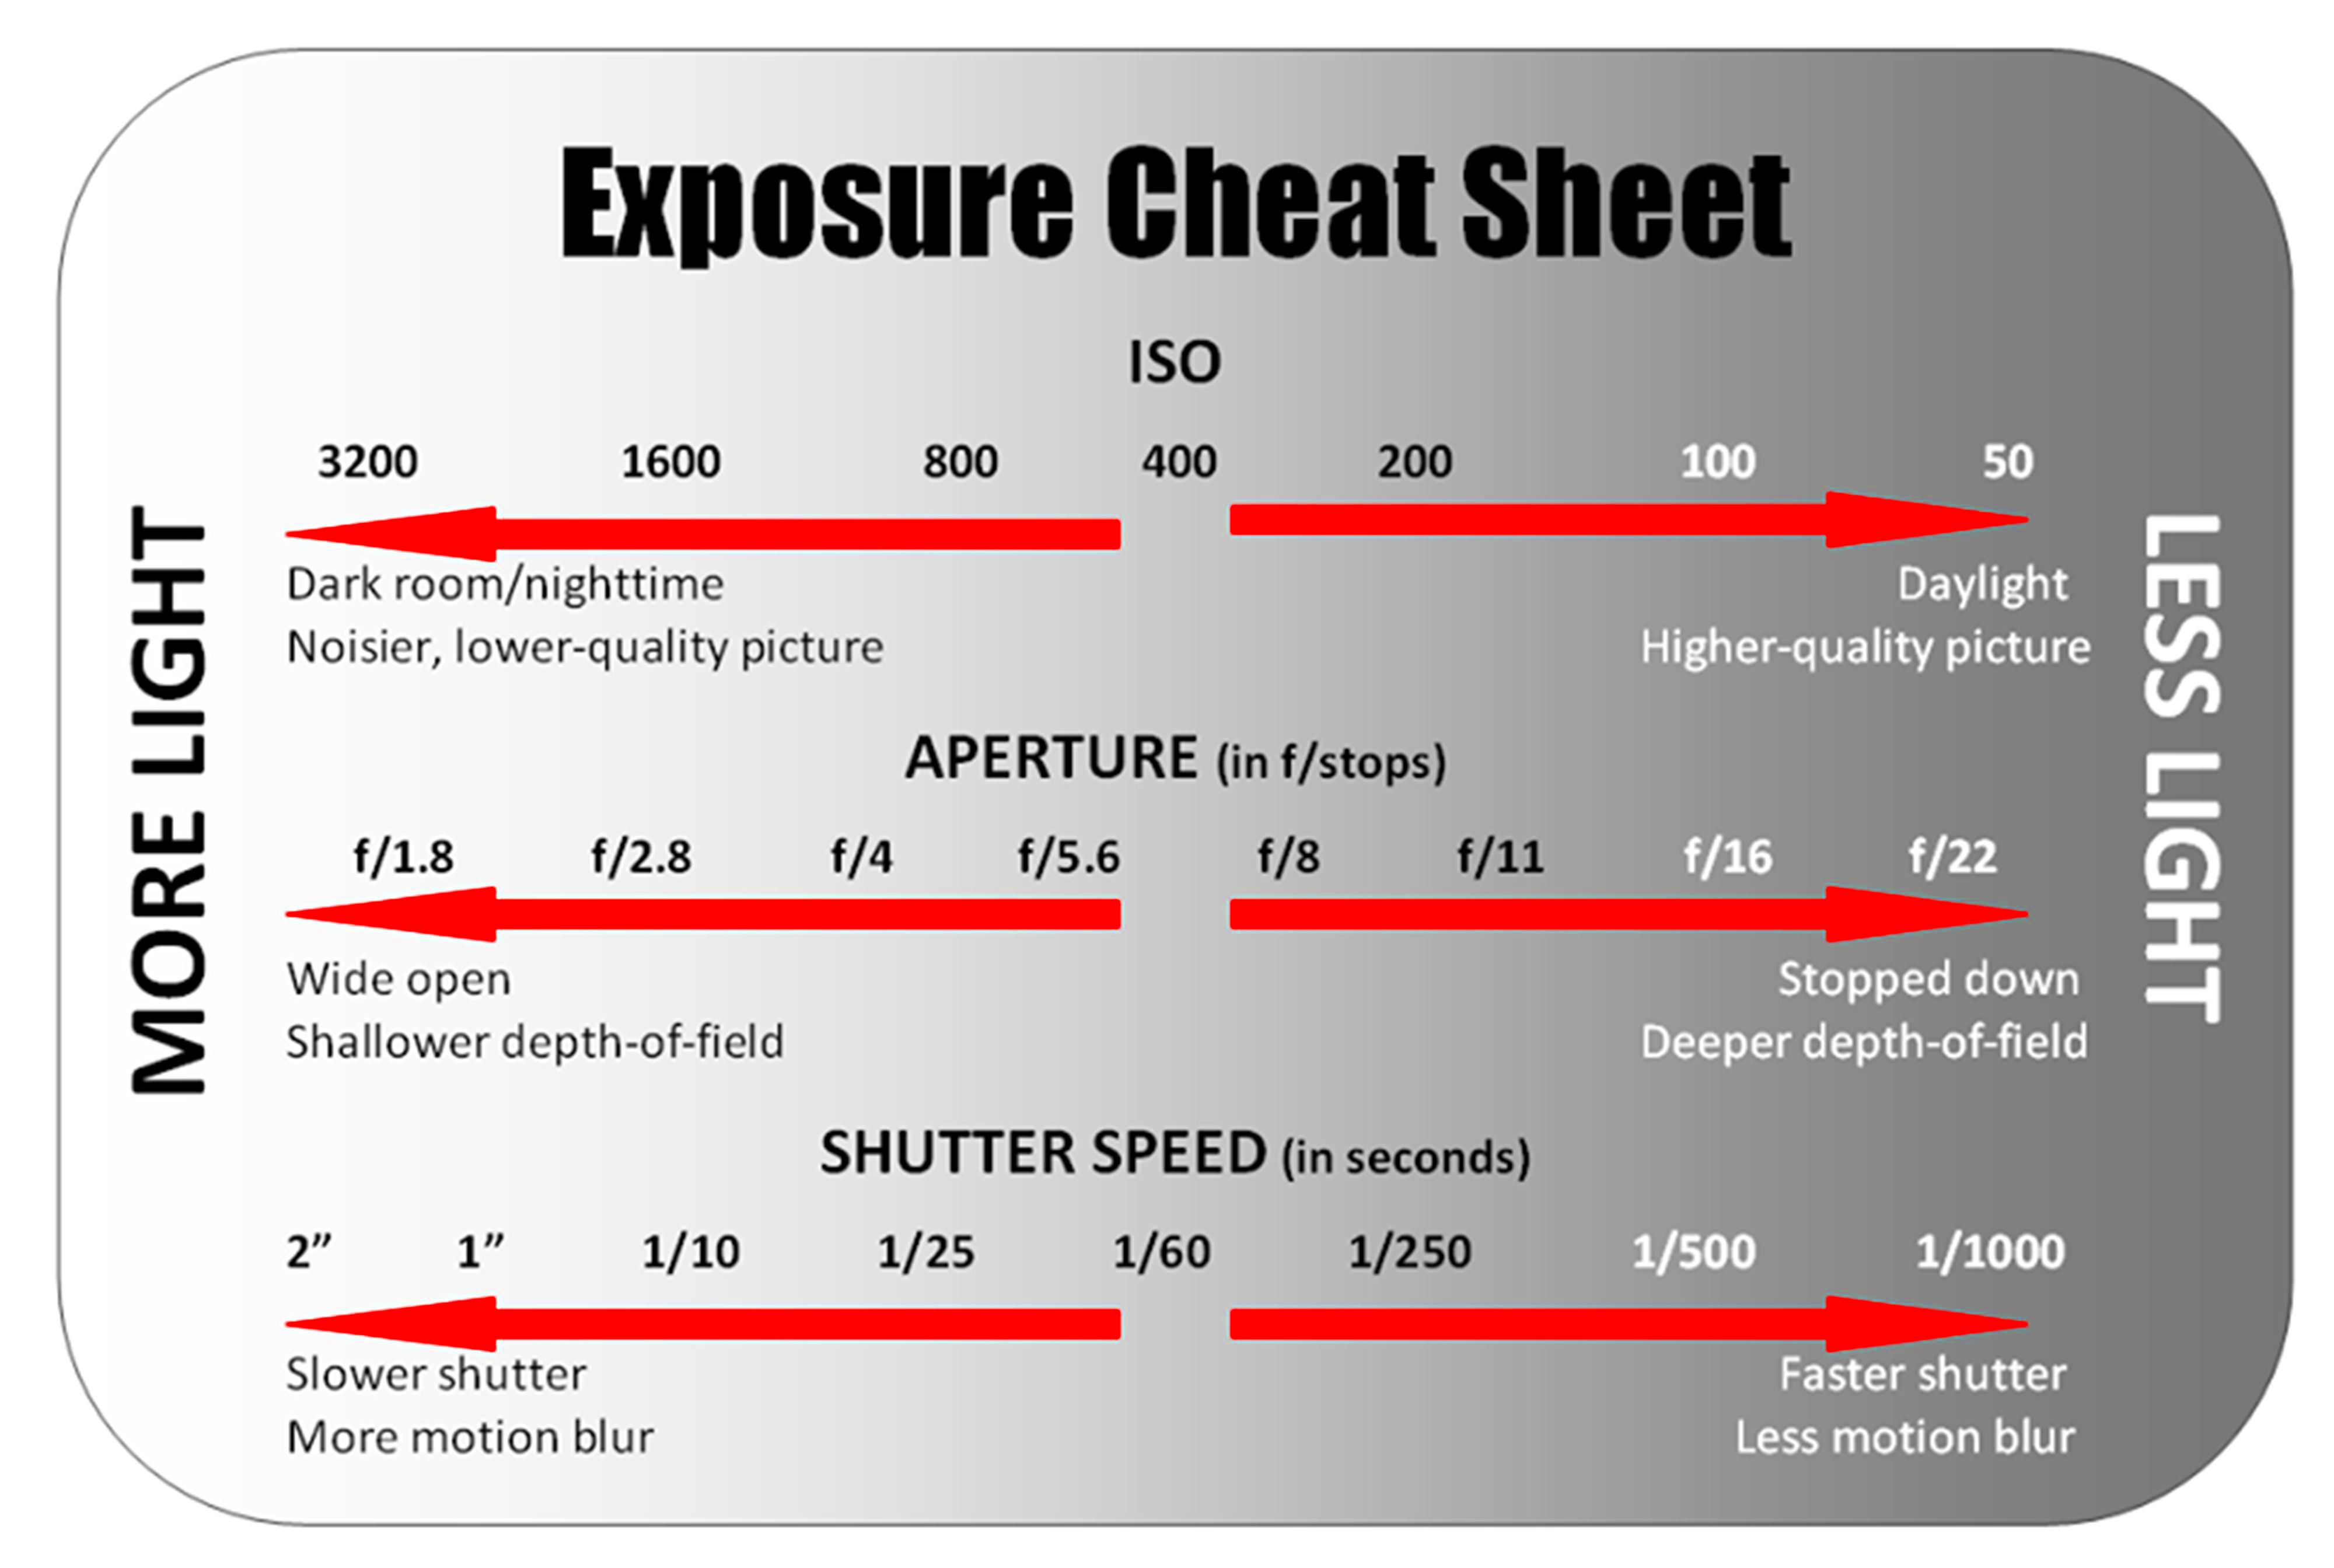
Natural lighting can be your best friend when creating videos for Shutterstock. It’s often the easiest and most cost-effective way to achieve beautiful, high-quality footage. Using natural light allows you to work with the environment, making your videos feel more authentic and appealing. Here are some techniques to get the most out of natural light:
- Golden Hour: Shoot during the early morning or late afternoon when the sunlight is softer and warmer. This time, known as the golden hour, can create stunning visuals.
- Find Shade: If you’re shooting in bright sunlight, look for shaded areas. Direct sunlight can cause harsh shadows and overexposure.
- Use Reflectors: Reflectors can bounce natural light onto your subject, helping to fill in shadows and create a more balanced look.
- Control Your Angles: Experiment with different angles to see how light falls on your subject. Sometimes, a slight adjustment can make a big difference.
Remember, natural light can change quickly, so be prepared to adapt your setup as needed. Keep an eye on the weather and plan your shoots accordingly!
Also Read This: The Power of Twitter Hashtags: How to Use Them to Increase Engagement
Using Artificial Lights Effectively
While natural light has its perks, artificial lights are essential for controlled environments. They allow you to maintain consistent lighting regardless of the time of day or weather conditions. Here are some tips for using artificial lights effectively:
- Choose the Right Type: Select lights based on your needs. LED lights are versatile, while softboxes provide soft, diffused light ideal for interviews.
- Layer Your Lights: Use a combination of key, fill, and back lights for a professional look. This setup helps create depth and dimension in your videos.
- Adjust the Intensity: Use dimmers or adjustable lights to control the brightness. This flexibility allows you to create the desired mood and look.
- Use Color Filters: Colored gels can alter the hue of your lights, helping you match the color temperature of your scene or create specific moods.
By mastering artificial lighting, you can ensure your videos look polished and professional, even in challenging conditions.
Also Read This: Utilize Agile Canvas Template for Your Projects
Setting Up Your Lighting for Best Results
Properly setting up your lighting is key to achieving stunning results in your videos. A well-thought-out lighting setup can significantly enhance your visuals and storytelling. Here’s how to set up your lighting for the best outcome:
- Plan Your Scene: Before you start shooting, take a moment to visualize your scene. Determine where your subjects will be and how you want the lighting to complement them.
- Position Your Lights: Start with the key light at a 45-degree angle from your subject. This setup creates flattering shadows and highlights. Adjust the fill light on the opposite side to soften shadows.
- Test and Adjust: Take test shots and review your footage. Adjust the positioning and intensity of your lights as necessary until you achieve the desired look.
- Keep It Simple: Don’t overcomplicate your setup. Often, a simple three-point lighting system is all you need to achieve professional results.
Setting up your lighting correctly takes practice, but with time and experimentation, you’ll learn what works best for your unique style and projects.
Also Read This: How to Find Saved Posts on LinkedIn
Common Mistakes to Avoid with Video Lighting
When it comes to video lighting, even small mistakes can lead to unsatisfactory results. Understanding these common pitfalls can save you time and improve the quality of your footage. Here are some common mistakes to avoid:
- Ignoring the Environment: Don’t overlook the impact of your shooting location. Factors like window placement and wall colors can affect how light interacts with your scene.
- Using Only One Light Source: Relying on just one light can create unflattering shadows. Aim for a balanced lighting setup that includes key, fill, and back lights for depth.
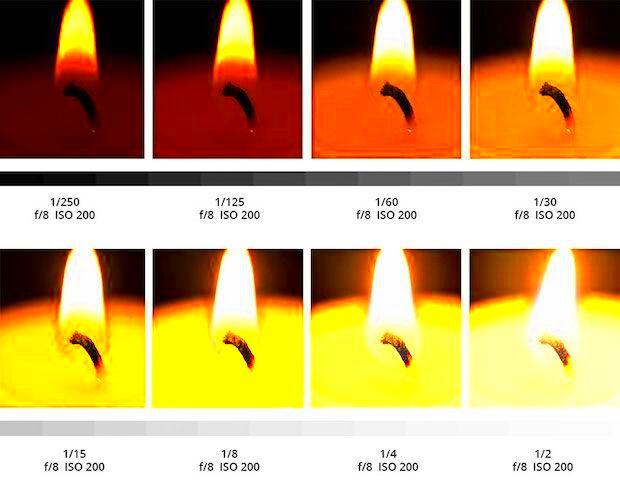
- Overexposing or Underexposing: Watch your exposure levels. Too much light can wash out details, while too little can make your footage grainy. Use your camera’s histogram to help gauge exposure.
- Not Adjusting for Color Temperature: Different light sources have different color temperatures, which can create inconsistencies. Make sure to adjust your camera settings or use gels to match your lights.
- Forgetting About Light Placement: Positioning your lights too close or too far can lead to harsh shadows or insufficient illumination. Always test and adjust the distance of your lights for the best effect.
By avoiding these common mistakes, you can enhance your video lighting and create more polished, professional-looking footage.
Also Read This: How to Create a Front Puff on Dailymotion
FAQs about Lighting for Shutterstock Videos
When working on lighting for your Shutterstock videos, you might have some questions. Here are some frequently asked questions that can help clarify your lighting concerns:
- What is the best time of day to shoot with natural light? The golden hour, just after sunrise or before sunset, provides soft and flattering light.
- How many lights do I need for a basic setup? A three-point lighting setup is ideal, consisting of a key light, fill light, and back light.
- Can I use my home lights for video production? While you can, dedicated video lights are generally better for achieving consistent and professional results.
- What should I do if my footage looks too yellow or blue? Check the white balance settings on your camera. Adjusting it can help correct color issues.
- Is natural light enough for professional videos? It can be, but artificial lighting gives you more control and consistency, especially in indoor settings.
These FAQs address some common concerns and can help you navigate the world of video lighting more confidently.
Conclusion on Lighting for Quality Videos
Lighting is one of the most critical aspects of video production, especially when creating content for platforms like Shutterstock. Whether you choose natural light, artificial lights, or a combination of both, understanding how to use lighting effectively can dramatically improve the quality of your videos. Remember to:
- Experiment with different lighting setups and angles to find what works best for your content.
- Avoid common lighting mistakes to save time and enhance your video quality.
- Stay informed about the types of lighting available and how to use them effectively.
With the right lighting techniques, you can create videos that not only look professional but also convey your message clearly and engagingly. So grab your lights, experiment, and let your creativity shine!
