iStock is a treasure trove of high-quality stock videos that cater to a variety of creative needs. Whether you're a marketer looking to spice up your promotional materials or a content creator aiming to enhance your storytelling, iStock videos offer a plethora of options. With its extensive library, users can find everything from breathtaking landscapes to dynamic business scenes. The beauty of using
What makes iStock stand out? It's not just the vast selection of footage; it's the flexibility that comes with it. You can easily download clips, edit them, and incorporate them into your projects. This opens up a world of possibilities for adding your personal touch. So, if you're ready to dive into the world of iStock videos and learn how to customize them effectively, you're in the right place!
Understanding the Basics of Video Editing
Video editing may sound daunting, but at its core, it’s all about storytelling. Whether you're piecing together a vlog, a promotional video, or a short film, understanding the basics can set you on the path to creating compelling content. Let’s break it down into some key components:
- Software Selection: Choose an editing software that suits your skill level and needs. Popular options include Adobe Premiere Pro, Final Cut Pro, and even user-friendly platforms like iMovie.
- Importing Footage: Once you’ve chosen your software, the first step is importing your iStock videos. Most programs support drag-and-drop functionality, making this process straightforward.
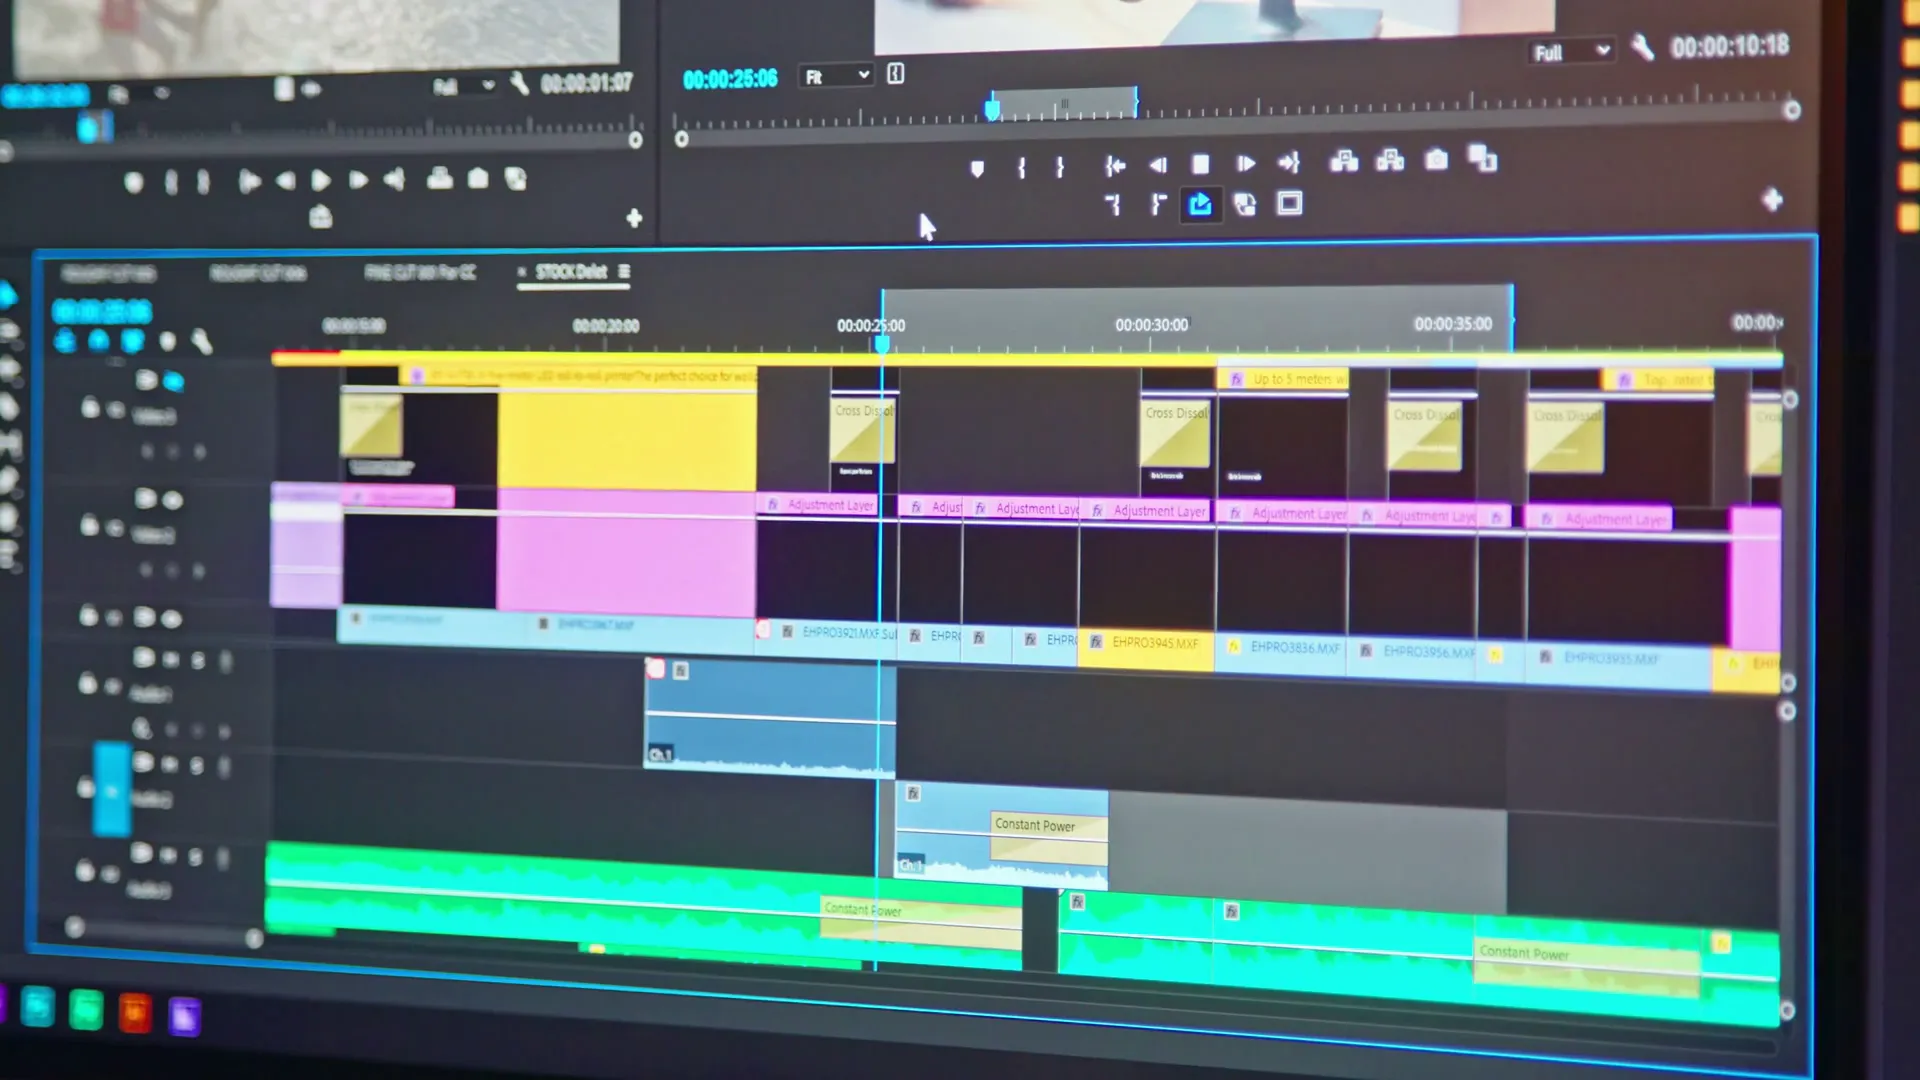
- Cutting and Trimming: This is where the magic happens! Use the cutting tool to remove any unwanted sections, ensuring your video flows smoothly.
- Transitions: Adding transitions between clips helps maintain viewer engagement. Simple fades, wipes, or dissolves can make your edits feel seamless.
- Audio Editing: Don't overlook the sound! Add background music or voiceovers, adjusting the audio levels for a polished finish.
- Exporting: Once you're satisfied with your edits, it’s time to export your masterpiece. Choose the right format based on where you plan to share your video, ensuring optimal quality.
By grasping these fundamental concepts, you'll be well-equipped to customize your iStock videos. Remember, practice makes perfect, so don’t hesitate to experiment and find your unique editing style!
Also Read This: Canva Image Attachment to Shape
3. Choosing the Right Editing Software
When it comes to editing iStock videos, selecting the right software can make a world of difference. With so many options out there, it might feel overwhelming at first. But don’t worry! Let’s break down the key factors to consider when making your choice.
First off, think about your skill level. Are you a complete novice or a seasoned pro? Here are some popular options based on experience:
- Beginners: Software like iMovie or Filmora offers user-friendly interfaces and drag-and-drop functionality that make editing a breeze.
- Intermediate Users: Programs like Adobe Premiere Elements or HitFilm Express provide more features while still being accessible.
- Advanced Editors: If you’re looking for professional-grade options, consider Adobe Premiere Pro or Final Cut Pro. They come packed with advanced tools for detailed editing.
Next, think about the features you need. Do you require:
- Multi-track editing?
- Color correction tools?
- Audio editing capabilities?
Lastly, don’t forget about your budget. Some software options are free, while others require a subscription or one-time purchase. Weigh your options carefully to find a balance between functionality and cost.
Ultimately, the right software will allow you to unleash your creativity and bring your iStock videos to life!
Also Read This: Getting featured on Behance
4. Importing iStock Videos into Your Editing Software
Now that you've chosen your editing software, it's time to dive into the fun part: importing your iStock videos! This process is usually pretty straightforward, but let’s walk through the steps to ensure everything goes smoothly.
First, make sure you've downloaded the videos you want to edit from iStock. They usually come in common formats like MP4 or MOV, which are widely supported by most editing software.
Here’s a simple guide on how to import iStock videos:
- Open your editing software: Launch the program you've chosen for editing.
- Create a new project: Start a new project or open an existing one where you want to add the videos.
- Find the import option: Look for a button or menu option that says “Import,” “Add,” or “Media.”
- Select your iStock videos: Navigate to the folder where the downloaded videos are stored, select them, and click “Open” or “Import.”
Most software will allow you to drag and drop files directly into the media library or timeline, which can be super convenient.
Once your videos are imported, you can start customizing them right away! Remember to organize your media files for easy access during the editing process.
With these steps, you’ll be well on your way to creating something amazing with your iStock videos!
Also Read This: Evaluating the Value of Storyblocks for Your Business and Creative Projects
5. Basic Editing Techniques for Customizing Your Footage
So, you've got your hands on some iStock videos, and now it's time to make them your own! Basic editing techniques can help you transform standard footage into something truly unique. Let's dive into some essential editing methods you can use to customize your videos:
- Trimming and Cutting: Start by removing any unnecessary parts of your video. Most editing software allows you to cut clips easily, so trim those awkward pauses or extraneous details that don't fit your vision.
- Adjusting Speed: Want to create a dramatic effect? Consider speeding up or slowing down your footage. A quick montage can add energy, while slow motion can emphasize important moments.
- Color Correction: Every video can benefit from a little color tweaking. Adjust the brightness, contrast, and saturation to give your footage a fresh look. Play around with filters to enhance the mood or style!
- Adding Text: Text overlays can provide context or enhance storytelling. Use titles, subtitles, or captions to guide your viewers through the footage or to highlight key messages.
- Audio Editing: Don’t overlook sound! Adjust the volume levels, trim audio tracks, or add sound effects to make the video more engaging. The right audio can elevate the entire experience!
These basic editing techniques can serve as your foundation for customizing iStock footage. Experiment with these tools, and you'll be on your way to creating compelling videos that reflect your unique style!
Also Read This: Canva Adding Own Image
6. Adding Effects and Transitions
Once you've mastered the basic editing techniques, it's time to take your videos to the next level by incorporating effects and transitions. These elements can add flair and polish, making your footage visually stunning and seamless. Here’s how to do it:
- Using Transitions: Transitions help to smoothly connect different clips. Common types include fades, wipes, and dissolves. Use them to signify changes in scenes or to create a flowing narrative.
- Special Effects: Want to add some pizzazz? Consider using special effects like slow motion, time-lapse, or even cinematic filters. These can create memorable visuals, drawing your audience in.
- Overlays and Graphics: Adding overlays—such as light leaks, lens flares, or animated graphics—can elevate the aesthetic of your video. These elements can create a polished, professional look.
- Motion Graphics: Incorporating motion graphics can make your video more dynamic. Think about adding animated logos or graphical elements that move with your footage.
- Layering Effects: Don't be shy about layering multiple effects! Combining several techniques can lead to unique visuals. Just ensure that your effects don't overpower the main content.
By thoughtfully adding effects and transitions, you can significantly enhance the storytelling aspect of your videos. Remember, it's all about creating a cohesive experience that captivates your audience from start to finish!
Also Read This: Is SEC Available on YouTube TV?
Incorporating Audio and Voiceovers
When it comes to editing iStock videos, one of the most exciting parts is adding audio and voiceovers. This can truly elevate your video, making it not just visually appealing but also engaging for your audience. Here’s how you can seamlessly incorporate audio into your projects.
Choosing the Right Audio: Start by selecting music or sound effects that complement the theme of your video. iStock offers a variety of audio tracks that can fit different moods. Whether you’re aiming for something upbeat or a soft background score, take your time to browse through the collection.
Adding Voiceovers: If you want to convey a message or tell a story, a voiceover can be incredibly effective. Here’s a simple process:
- Script It Out: Write a concise script that aligns with your visuals.
- Record: Use a quality microphone to ensure clear audio. Software like Audacity can help you record and edit your voiceover easily.
- Sync It Up: In your video editing software, align the voiceover with the corresponding visuals. Make sure to adjust the timing so that everything flows naturally.
Adjusting Levels: Once you have both music and voiceovers in place, it’s crucial to balance the audio levels. You want your voiceover to be clear and prominent, while still allowing the music to enhance the atmosphere. Most editing software offers audio level controls that let you fine-tune this.
Incorporating audio and voiceovers can turn a simple video into a compelling narrative. So don’t shy away from experimenting until you find the perfect auditory blend!
Also Read This: Earnings Revealed for Shutterstock Users
Exporting Your Customized Video
After all that hard work in editing your iStock video, the last step is exporting it. This is where you finalize everything and prepare your video for sharing. Let’s walk through how to do this effectively.
Choosing the Right Format: Depending on where you plan to share your video, the format matters. Here are some common formats and their uses:
| Format | Best For |
|---|---|
| MP4 | Social media platforms, websites |
| AVI | High-quality storage, editing |
| MOV | Apple devices, video editing software |
Resolution and Quality: Before hitting “export,” check the resolution settings. A higher resolution (like 1080p or 4K) will yield better quality but larger file sizes. For web use, 720p is often sufficient.
Export Settings: Make sure to review your export settings. Here’s a checklist:
- Video Codec: H.264 is commonly used for MP4 files.
- Frame Rate: Aim for 30 frames per second for smooth playback.
- Bitrate: Higher bitrates equal better quality but also larger files.
Once you’re satisfied with the settings, go ahead and hit that export button! Your customized video is now ready to be shared with the world. Remember to preview the final product to ensure everything looks and sounds just right.
Also Read This: Understanding Rumble's Payment Structure for 1,000 Views
Best Practices for Using iStock Videos
Using iStock videos can significantly enhance your projects, but to get the most out of them, it’s essential to follow some best practices. Here are a few tips to ensure your video editing experience is smooth and effective:
- Choose the Right Footage: Before you start editing, spend time browsing through the available footage. Look for clips that fit your theme, message, and overall aesthetic. Don’t settle for the first video you find; take the time to explore different options.
- Check Licensing: Always be aware of the licensing agreements associated with the videos you choose. Ensure that you have the rights to use the footage in your project, especially if it’s for commercial purposes.
- Plan Your Edits: Before jumping into editing, sketch out a rough storyboard or outline of how you want to use the footage. This will save you time and help you maintain a cohesive narrative.
- Utilize Editing Software: Invest in good video editing software that allows you to manipulate the footage effectively. Programs like Adobe Premiere Pro or Final Cut Pro offer robust tools for customization.
- Maintain Quality: Always download the highest resolution available for your projects. High-quality footage ensures that your final product looks professional, regardless of the platform it’s presented on.
- Incorporate Your Brand: Personalize the iStock footage by adding your brand elements. This could include logos, color schemes, or graphics that reflect your brand identity.
Conclusion and Final Tips
In conclusion, editing iStock videos can be a rewarding experience that adds a professional touch to your projects. However, it’s vital to approach it with the right mindset and tools. Here are some final tips to keep in mind:
- Experiment Freely: Don’t hesitate to play around with different effects, transitions, and audio overlays. Experimentation can lead to creative breakthroughs.
- Stay Organized: Keep your files and edits organized. Use folders and naming conventions that make it easy to locate clips and assets later on.
- Seek Feedback: Share your edited videos with colleagues or friends to get constructive feedback. Sometimes a fresh pair of eyes can help you spot areas for improvement.
- Keep Learning: Video editing is an ever-evolving field. Stay updated on new techniques, software updates, and trends by subscribing to video editing blogs or online courses.
- Have Fun: Finally, remember to enjoy the process! Video editing is a creative outlet, so let your imagination run wild and have fun with it.
By following these best practices and tips, you can effectively customize iStock videos to fit your unique vision, creating engaging content that resonates with your audience.