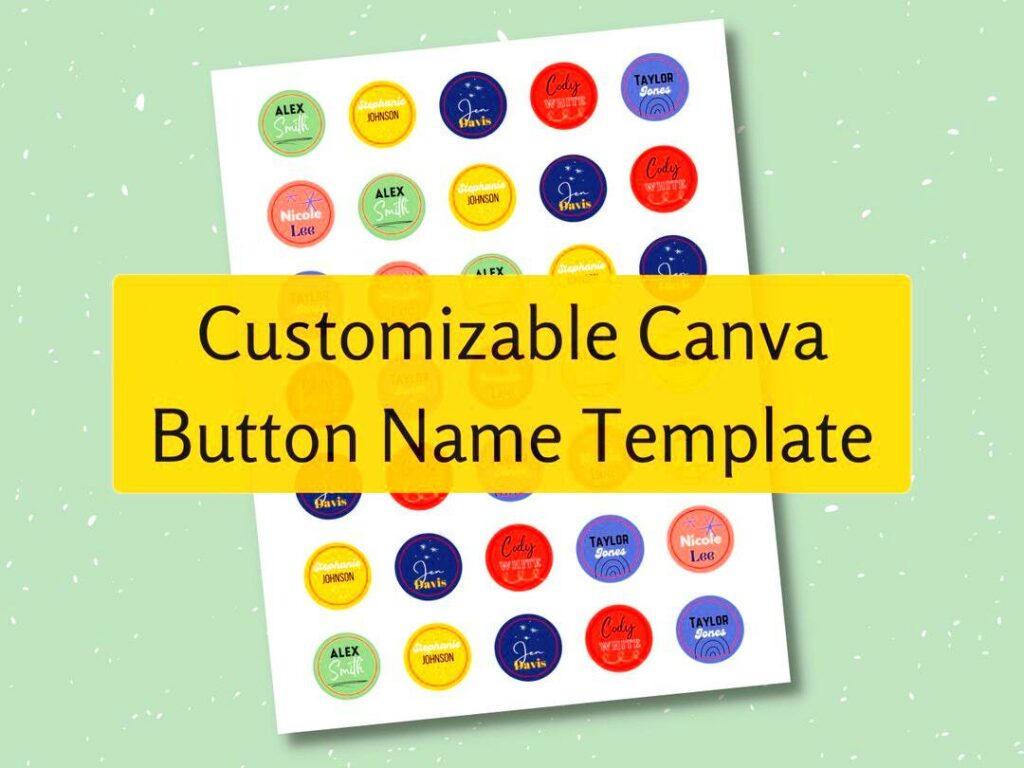
Canva is a fantastic design tool that allows users to create a wide range of graphics, including custom buttons. Button templates in Canva are pre-designed layouts that help you create professional-looking buttons without needing extensive design skills. These templates are user-friendly and cater to various needs, whether for websites, social media, or marketing materials.
When you use a button template, you can easily customize colors, sizes, and styles to fit your brand's identity. This flexibility makes it simple to create buttons that stand out and attract attention. Canva offers a vast library of button templates that you can choose from, ensuring you find one that suits your design preferences.
Benefits of Using Custom Buttons
Creating custom buttons using Canva templates comes with several advantages:
- Brand Consistency: Custom buttons allow you to align your design with your brand's colors and style.
- Enhanced Engagement: Well-designed buttons can lead to higher click-through rates, encouraging users to take action.
- Time-Saving: Using templates speeds up the design process, letting you create buttons quickly and efficiently.
- Flexibility: Canva lets you change sizes, shapes, and colors to match your specific needs.
- User-Friendly: Even if you’re not a designer, Canva’s templates make it easy to create stunning buttons.
Also Read This: Exploring Adobe Stock Monthly Subscription Options
How to Access Canva Button Templates
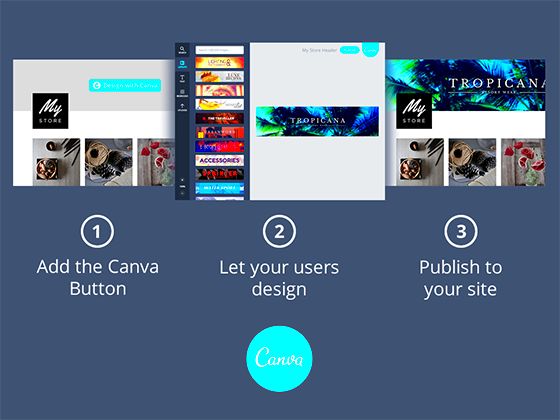
Accessing button templates in Canva is a breeze. Here’s how you can get started:
- Log into Canva: Go to the Canva website and sign in or create an account.
- Search for Button Templates: Use the search bar at the top of the page to type in “button templates.”
- Select a Template: Browse through the options and click on a template that catches your eye.
- Customize Your Design: Use the editing tools to change colors, text, and sizes according to your preferences.
- Save Your Work: Once you're satisfied with your design, save it for future use or download it immediately.
By following these steps, you can easily access and customize button templates that elevate your design projects.
Also Read This: How to Sell on Adobe Stock and Get Your Photos and Videos Published
Step-by-Step Guide to Designing Your Custom Button
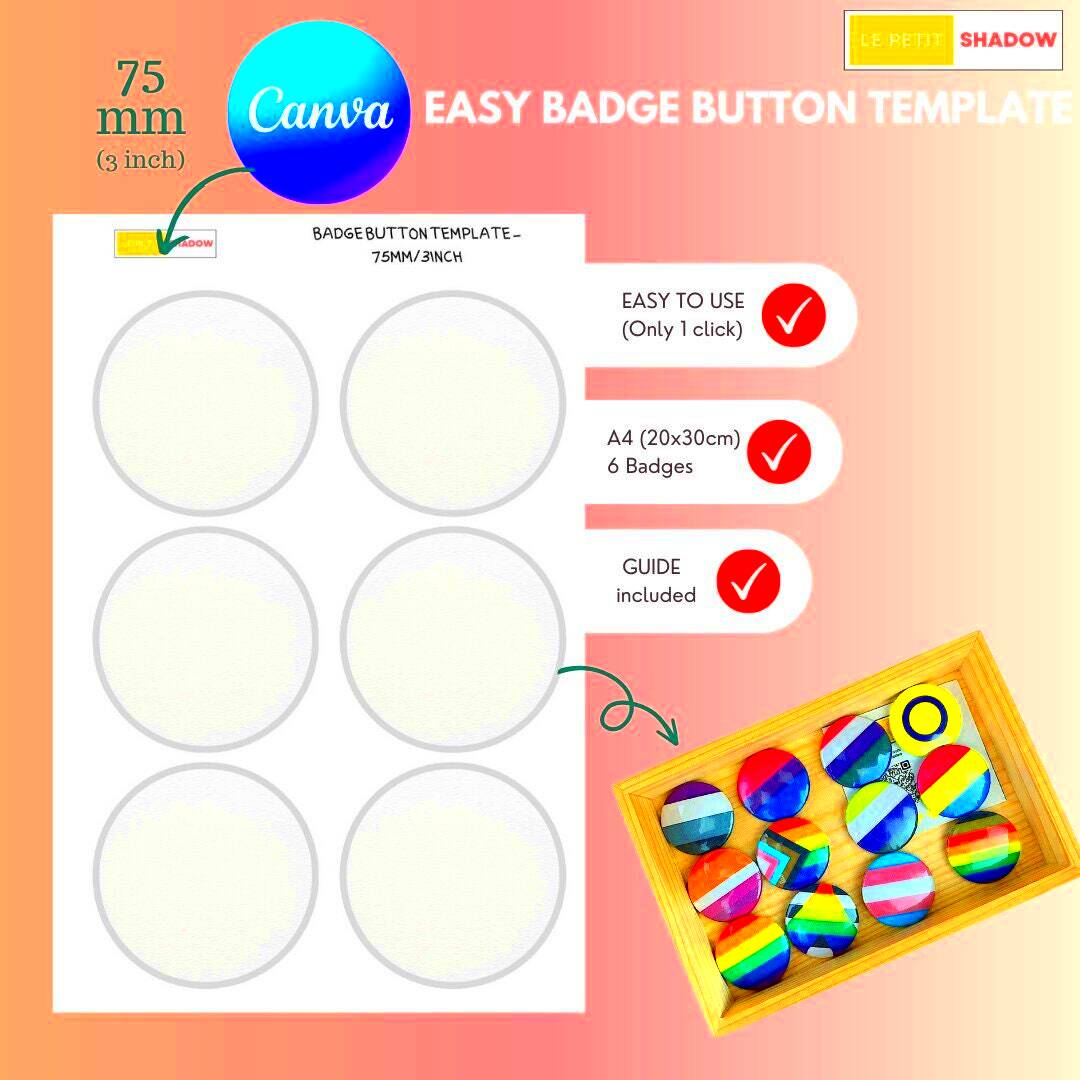
Designing a custom button in Canva is easier than you might think! With just a few simple steps, you can create a button that not only looks great but also serves its purpose effectively. Whether you're making a call-to-action button for your website or a social media graphic, this guide will walk you through the process.
- Choose Your Canvas Size: Start by selecting the dimensions for your button. You can either use a predefined size or create a custom dimension based on your needs.
- Select a Template: Browse Canva's extensive library of button templates. Pick one that fits the style you're aiming for. Don't worry; you can modify it later!
- Customize the Shape: Use the shape tools to adjust your button’s form. Rectangles, rounded rectangles, or circles are popular options.
- Add Text: Type in the text for your button. Keep it short and clear, such as “Click Here” or “Shop Now.”
- Style Your Button: Play around with colors, fonts, and effects. Use bold colors to make your button pop and fonts that are easy to read.
- Include Icons: Adding an icon can make your button more attractive. Use Canva’s library of icons to find something that complements your text.
- Preview and Adjust: Always take a moment to preview your button. Make any necessary tweaks to ensure it looks just right.
- Download Your Design: Once you're satisfied, download your button in your preferred format, like PNG or JPG.
And there you have it! With these simple steps, you can create custom buttons that enhance your design projects.
Also Read This: 2024 Women's Royal Rumble Winner and Event Highlights
Tips for Creating Eye-Catching Buttons
Creating eye-catching buttons is an art. Here are some tips to help your buttons stand out:
- Use Contrasting Colors: Choose colors that contrast well with the background. This helps your button to pop and draw attention.
- Keep it Simple: Avoid cluttering your button with too much text or graphics. A clear, concise message is more effective.
- Choose Readable Fonts: Select fonts that are easy to read at a glance. Stick to one or two font types for a clean look.
- Add a Hover Effect: If your button will be used online, consider adding a hover effect to make it interactive. This can be a simple color change or a slight enlargement.
- Make it Action-Oriented: Use action words like “Get Started” or “Learn More” to encourage users to click.
- Test Different Designs: Don't be afraid to experiment. Create multiple versions and see which one resonates best with your audience.
Implementing these tips can lead to the creation of buttons that are not only attractive but also effective in driving user engagement.
Also Read This: How to Download All YouTube Videos from a Channel with Simple Tools
Common Mistakes to Avoid When Designing Buttons
While designing buttons can be fun, there are a few common pitfalls to watch out for. Here’s a list of mistakes you should avoid:
- Overcomplicating the Design: Many designers try to add too many elements to their buttons. Keep it simple; less is often more.
- Poor Color Choices: Using colors that clash or are too similar to the background can make your button hard to see. Always prioritize visibility.
- Ignoring Mobile Compatibility: Ensure your buttons look good on both desktop and mobile. What works on one device may not work on another.
- Unclear Messaging: If users can’t quickly understand what your button is about, they are less likely to click. Be clear and direct.
- Neglecting to Test: Always test your button designs. Get feedback from others to see how your designs are perceived.
Avoiding these mistakes will help you create buttons that not only look great but also function effectively, enhancing the user experience.
Also Read This: How Much Can You Earn as a Contributor on 123RF
How to Download Your Button Design
Once you've created your custom button in Canva, the next step is downloading it for use. Whether you plan to use it on your website, social media, or in printed materials, knowing how to download your design properly is essential. Here’s a straightforward guide to help you through the process.
- Finish Your Design: Before downloading, ensure that your button design is complete. Check for any typos or design elements that need adjusting.
- Click on the Download Button: Look for the download icon at the top right corner of the Canva editor. It typically looks like a downward arrow.
- Select Your File Type: Canva gives you various options for file formats. Choose from PNG, JPG, PDF, or SVG based on your needs. For web use, PNG is often the best choice due to its high quality and transparency options.
- Adjust Settings: Depending on the file type you choose, you may have additional settings. For example, you can select a transparent background for PNGs, which is useful for layering your button over other graphics.
- Click Download: After selecting your file type and adjusting the settings, click the download button again. Your button will begin downloading to your device.
- Check Your Downloads Folder: Once the download is complete, navigate to your downloads folder to find your newly created button design.
Following these steps will ensure you have a high-quality button ready to go for any project.
Also Read This: How to Export from iMovie to YouTube
Frequently Asked Questions
Have questions about designing and downloading your custom button in Canva? Here are some common queries and their answers:
- Can I use Canva for free? Yes! Canva offers a free version with many templates and design tools. However, some premium features and templates require a paid subscription.
- What file format should I use for web buttons? PNG is generally the best option for web buttons, as it supports transparency and retains high quality.
- How do I change the size of my button? You can adjust the dimensions of your button directly in the Canva editor by selecting the button and dragging the corners or entering specific measurements.
- Can I edit my button after downloading it? No, once you download your design, it becomes a static image. However, you can always return to Canva to make changes and download a new version.
- Are there templates available for different industries? Yes! Canva offers a variety of templates tailored for different industries, making it easy to find something that suits your specific needs.
If you have more questions, don’t hesitate to reach out to Canva’s support or community forums!
Conclusion
Designing custom buttons using Canva is a simple yet effective way to enhance your online presence. With the right templates and a bit of creativity, you can create buttons that not only look good but also drive user engagement. Remember to keep your designs clear, appealing, and aligned with your brand identity.
By following the step-by-step guide, utilizing tips for eye-catching designs, and avoiding common mistakes, you’ll be well on your way to creating buttons that stand out. Don’t forget the importance of downloading your designs correctly, as this ensures you have high-quality graphics ready for use.
So go ahead and start designing! Your custom buttons are just a few clicks away, and they could make all the difference in how users interact with your content.