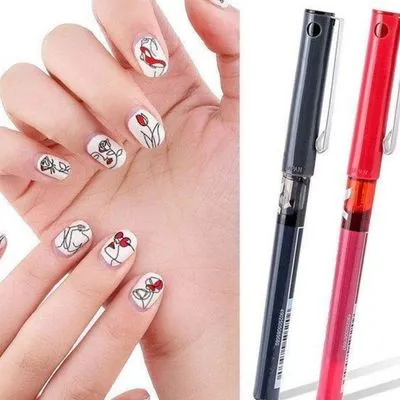
Nail art pens have become a trendy tool for both novice and seasoned nail enthusiasts. They offer an easy and creative way to express your personality through intricate designs without the need for professional skills. Whether you're looking to add simple touches or more elaborate patterns, using a nail art pen can make the process both fun and straightforward. With a variety of colors and tips, these pens allow for precision and can be used on natural or artificial nails. Let’s dive deeper into what nail art pens are and how they can transform your manicure experience!
Choosing the Right Nail Art Pen
When it comes to choosing the right nail art pen, there are several factors to consider, ensuring you select one that suits your needs and helps you create stunning designs effortlessly. Here are some essential tips to guide you:
- Tip Type: Nail art pens come with various tip styles—fine tips, brush tips, and even dotting tips. If you’re aiming for detailed work, a fine tip is ideal. For broader strokes or filling, a brush tip is more suitable.
- Ink Quality: Look for pens that feature high-quality, pigmented ink that dries quickly and doesn’t smudge. Gel-based ink is also an excellent choice, as it offers vibrant colors and smooth application.
- Ease of Use: Choose pens that are user-friendly, especially if you’re just starting. Pens with a comfortable grip and easy flow will prevent frustration and help you achieve more precise designs.
- Colors and Variety: Opt for a set that includes a wide range of colors to give you the flexibility to create various designs. Some pens may even include glitter or metallic options for added flair.
- Brand Reputation: Consider purchasing from reputable brands known for their quality nail art products. Check reviews and recommendations to ensure you’re getting a reliable tool.
Taking the time to choose the right nail art pen can significantly enhance your experience and creativity in nail art. Happy designing!
Also Read This: Creating a Custom Ringtone from a YouTube Video
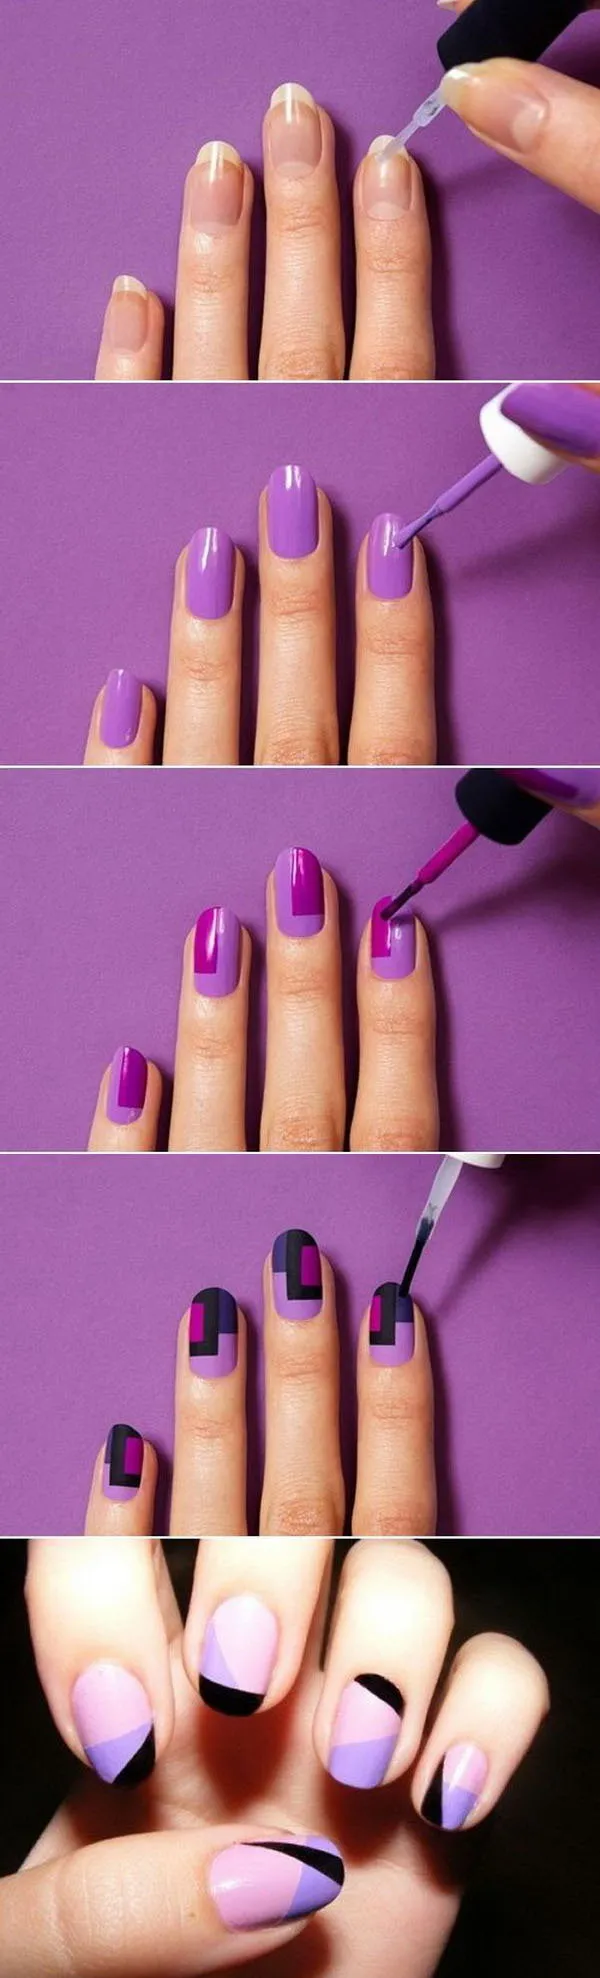
5. Layering Techniques for Depth and Texture
Layering is a fantastic way to add depth and texture to your nail art, turning a simple design into a stunning visual masterpiece. It might sound complicated, but once you get the hang of it, layering with a nail art pen can be incredibly easy and rewarding. Here are some key techniques to consider:
- Base Layer: Start with your desired base color. This will set the foundation for your art. Choose a color that complements your art pen colors.
- Use Transparency: Opt for slightly transparent strokes with your nail art pen to build a soft, multi-layered look. This creates a blended effect that feels cohesive.
- Employ Different Thicknesses: Play around with the thickness of your lines. Thicker lines will stand out more, while thinner ones can provide delicate details.
- Cross-Hatching: For a textured look, try cross-hatching lines with your pen. This adds a dynamic feel and can make your design pop.
- Layering Colors: Don’t hesitate to layer different colors on top of each other. Let one layer dry before adding another for a more vibrant effect.
Experimenting with layering techniques not only enhances your nail art but also offers a depth to your design that will surely impress your friends. Remember, practice makes perfect, so dedicate some time to play around with these techniques!
Also Read This: How to Embed a PDF for Behance
6. Incorporating Patterns and Textures
Patterns and textures can elevate your nail art from ordinary to extraordinary! By incorporating different designs, you can showcase your creativity and skills effortlessly. Here are some fun ideas to explore:
- Geometric Patterns: Simple shapes such as triangles, squares, and lines can create eye-catching designs. Use your nail art pen to draw them in various arrangements.
- Floral Designs: Flowers add a touch of elegance to your nails. Start with simple petals and embellish them with details like dots or lines to create stems.
- Stripes and Dots: Stripes can bring a playful aspect to your design. Combine them with dots for a fun polka dot effect.
- Textured Effects: Utilize the pen to create textures, like stippling for a speckled look, or squiggly lines for a whimsical vibe.
- Mixing Techniques: Don’t shy away from mixing different patterns and textures in one design. Layering stripes over floral designs can yield unique results!
Always remember to give your designs time to dry properly between applications. This will ensure that each layer stays crisp and vibrant. The world of nail art is vast and full of possibilities, so let your imagination run wild!
Also Read This: Is YouTube Automation Legal and What You Need to Know About YouTube Growth Services
Caring for Your Nail Art Pens
Taking care of your nail art pens is crucial if you want to keep them in top condition for all your creative projects. Here are some tips that can help you prolong the life of your pens and keep them functioning well:
- Cap Them After Use: Always put the cap back on your nail art pens immediately after use. This prevents the ink from drying out and clogging the tip.
- Store Upright: When not in use, store your pens upright. This helps prevent the ink from settling at the bottom and makes it easier to retrieve when you’re ready to create.
- Clean the Tips: If you notice any dried polish or debris on the tip, gently wipe it with a soft cloth or a paper towel. You can also use a bit of remover if necessary.
- Avoid Direct Sunlight: Store your pens in a cool, dark place to prevent the ink from becoming damaged due to heat or light.
- Check for Clogs: If your pen isn’t drawing ink, try gently squeezing the body to release a bit of ink to the tip, or give it a light shake to mix it up.
By following these simple care tips, you can ensure that your nail art pens remain vibrant and functional for your nail art projects!
Also Read This: Understanding Adobe Stock Image Costs and Choosing the Right Plan
Common Mistakes to Avoid
Just like with any craft, beginners often stumble upon a few common mistakes when using nail art pens. Here’s a list of pitfalls to dodge, ensuring your nail art experience is seamless and enjoyable:
- Skipping the Base Coat: Always start with a base coat. It not only protects your nails but also provides a smooth surface for your designs.
- Rushing the Drying Time: Be patient! Make sure each layer of polish is dry before you proceed. This prevents smudging and gives a cleaner end result.
- Using Too Much Pressure: Applying too much pressure can distort the design and damage the tip of the pen. Use light strokes for the best results.
- Inefficient Layering: Avoid the temptation to over-layer your designs. Less is often more, and thin layers can build beautiful depth without overwhelming your base.
- Neglecting Cleanup: Always keep a small brush or cotton swabs and remover on hand for quick cleanups. This will help maintain the professionalism of your designs.
By keeping these mistakes in mind, you can enhance your nail art game and enjoy the creative process even more!
Also Read This: How to Get an API for Behance WordPress Plugin
Inspiration and Ideas for Nail Art Designs
Nail art is a fantastic way to express your creativity and personal style. If you're just starting out with a nail art pen, it can be a bit overwhelming to decide where to begin. But don’t worry! Here are some inspiring ideas to help you get those creative juices flowing:
- Geometric Patterns: Use your nail art pen to create clean lines and shapes. Triangles, squares, and stripes can make for a modern, chic look.
- Polka Dots: A classic favorite! Simple to execute, dots can be big, small, or in varying colors. They can add a playful touch to any design.
- Floral Designs: Flowers are timeless. Small petals and leaves can be drawn to create a garden on your nails. Choose a couple of colors to make them pop.
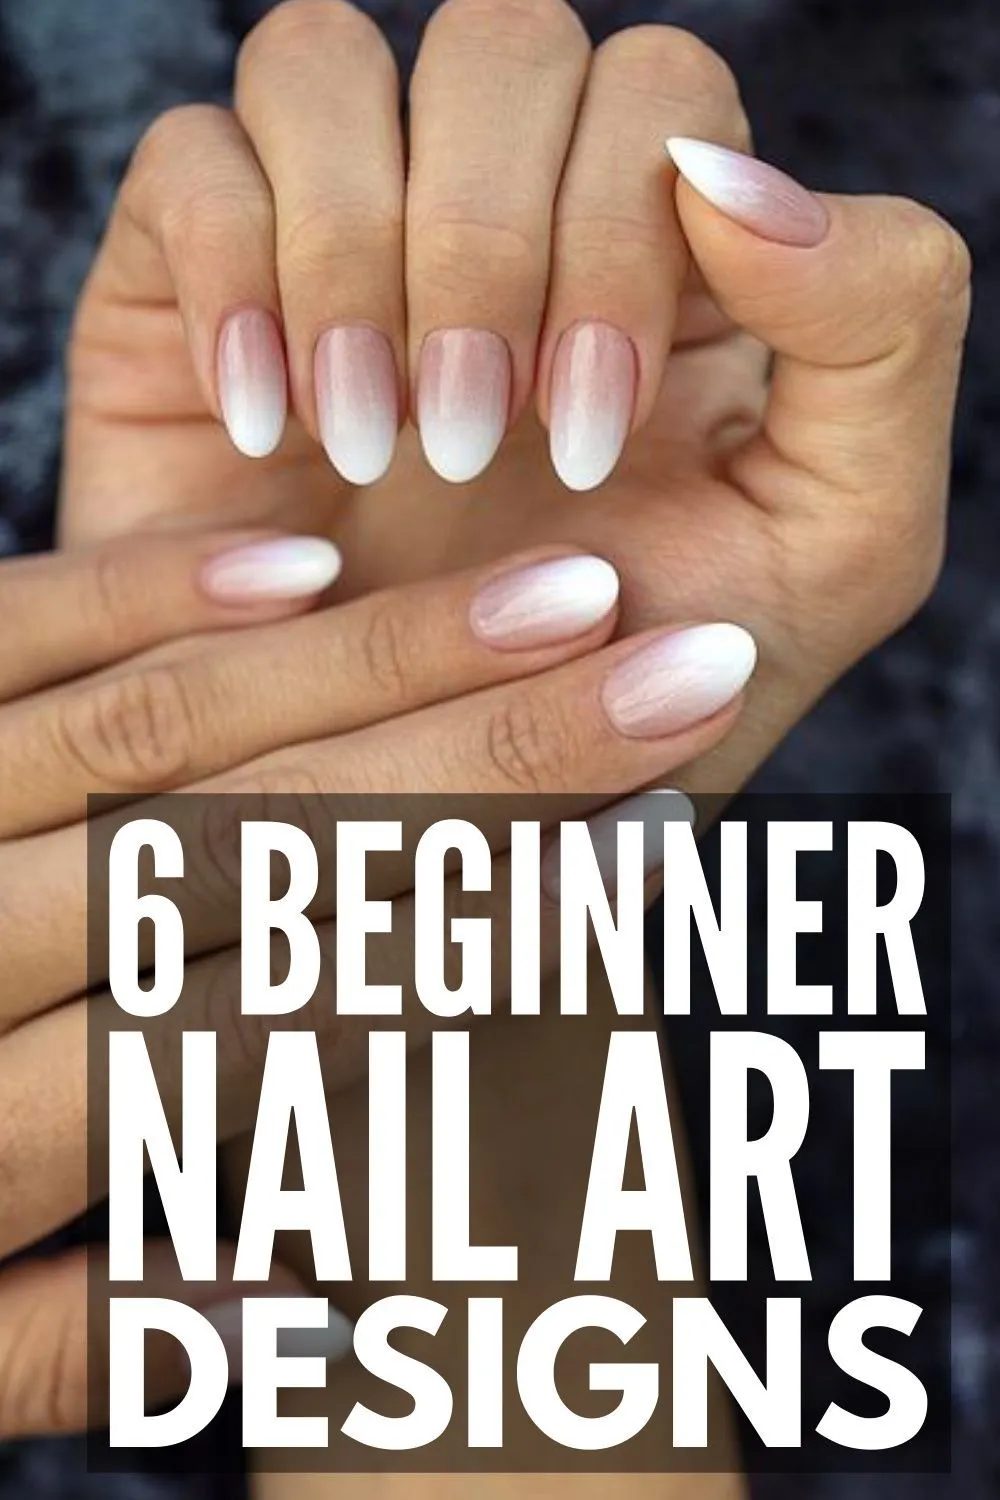
- Ombre Effects: While this may require a bit of practice, using a nail art pen can help you gradually blend colors for that beautiful gradient effect.
- Themed Designs: Holiday themes, such as snowflakes for winter or hearts for Valentine’s Day, allow you to celebrate the season in style.
- Quotes and Words: Use your pen to write short phrases or words. Inspirational quotes can add a personal touch to your nails.
- Animal Prints: Think leopard spots or zebra stripes! These can be fun and trendy, giving your manicure a wild flair.
- Mixed Media: Combine techniques! Use the nail art pen alongside stickers, glitter, or other embellishments for a more dynamic look.
Feel free to get inspired by your surroundings, art, or even your favorite color palettes. The best part of nail art is that it’s all about you, so dive in and let your nails do the talking!
Conclusion and Next Steps in Your Nail Art Journey
As you wrap up this introduction to nail art pens, remember that practice makes perfect! Nail art is a wonderfully liberating hobby that can enhance your creative skills, so don’t be afraid to experiment and make mistakes. Here are some steps to consider as you embark on or continue your nail art journey:
- Practice Regularly: The more you use your nail art pen, the more comfortable you'll become. Set aside time each week to practice new designs.
- Research and Explore: Follow nail art influencers on social media platforms like Instagram and Pinterest. You can find endless tutorials and ideas.
- Join a Community: Look for online forums or local groups where you can share your work, ask questions, and learn from fellow nail art enthusiasts.
- Keep a Nail Art Journal: Document your designs, techniques, and the products you used. This is a great way to see your progress and note what worked well.
- Try New Tools and Products: Explore different brands of nail art pens, or incorporate other tools like brushes and sponges into your practice.
Remember, nail art is about having fun and expressing yourself! So, go ahead, grab that nail art pen, and let your creativity shine. You might just discover a new passion along the way!