Are you ready to take your creative projects to the next level with Adobe Stock photos and Illustrator? In the vibrant world of graphic design, combining stock images with vector graphics can yield stunning results. Whether you’re designing a poster, social media graphics, or marketing materials, knowing how to effectively place and manipulate Adobe Stock photos in Illustrator will give your work that professional edge. Let’s dive into the essentials and get you started on this exciting journey!
Getting Started with Adobe Illustrator
Before we jump into placing Adobe Stock photos, let’s make sure you’re comfortable with Adobe Illustrator. This powerful design software is renowned for its versatility and is a favorite among graphic designers. Here’s a quick rundown of what you need to know:
- Installation: First things first, ensure you have Adobe Illustrator installed. If you don’t have a subscription, you can sign up for a trial version to explore its features.
- User Interface: Familiarize yourself with the workspace. The main components include the Menu Bar, Tool Panel, Control Panel, and Artboard. Take a moment to explore each section!
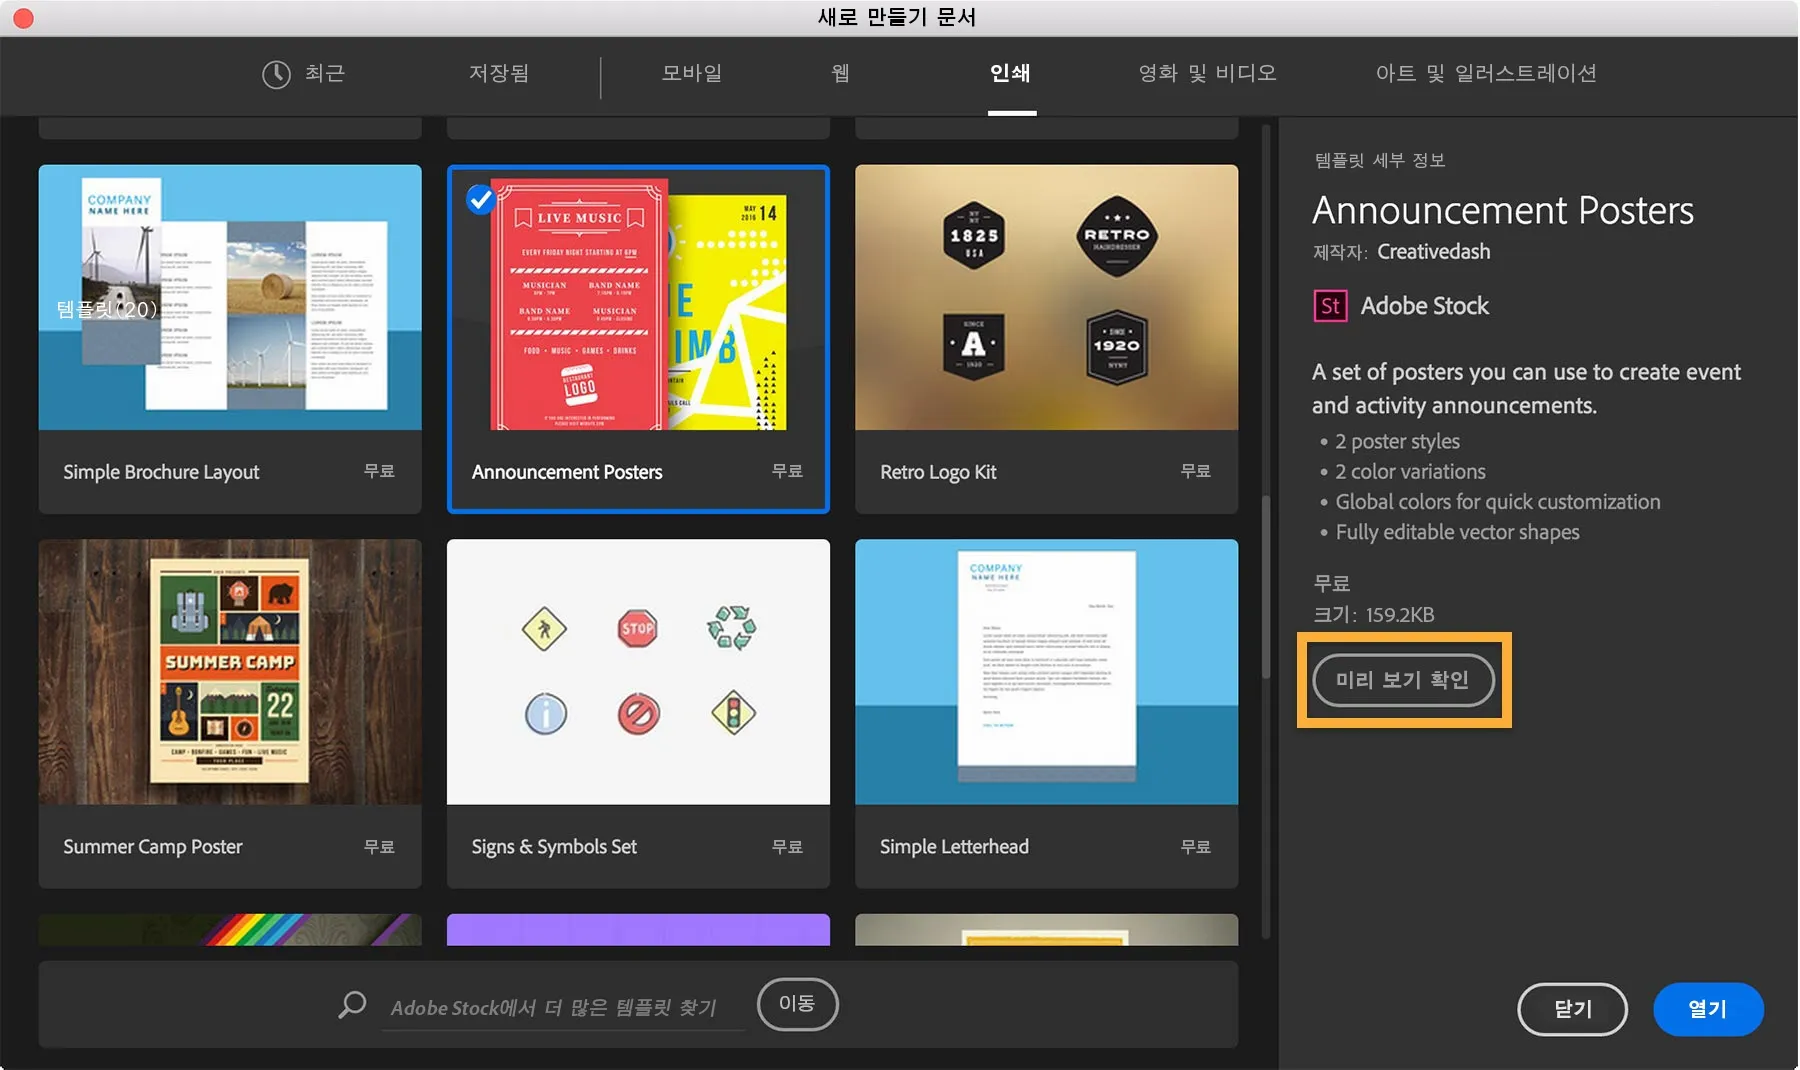
- Creating a New Document: To start a project, go to File > New. You’ll be prompted to choose document dimensions and settings. Select what fits your project best.
- Understanding Tools: Illustrator has a plethora of tools. The Selection Tool (V) is essential for moving and resizing objects, while the Pen Tool (P) is great for creating custom shapes.
- Saving Your Work: Don’t forget to save your work frequently! Use File > Save As to keep your projects organized and backed up.
Once you’re comfortable with the basics of Illustrator, you’ll be ready to seamlessly integrate Adobe Stock photos into your designs, enhancing your creative projects with high-quality visuals!
Also Read This: How to Create a Match Rocket with a Fun DIY Craft
Finding the Right Adobe Stock Photo

When you're diving into a creative project, finding the perfect Adobe Stock photo can feel like searching for a needle in a haystack. But don't worry; with a few simple steps, you'll be on your way to discovering the ideal image that elevates your work.
First and foremost, think about what you need. Are you looking for a specific theme, color palette, or subject matter? Having a clear vision helps narrow down your search. Here are some tips to make your search more effective:
- Use Keywords: Start with specific keywords that describe what you’re looking for. The more specific you are, the better the results.
- Filter Results: Utilize filters for orientation, color, and image type to refine your search. This will help you weed out the irrelevant images.
- Explore Collections: Adobe Stock often curates collections based on themes or trends. Browsing these can lead you to unexpected gems.
- Check Licensing: Always pay attention to the licensing options available for the images you’re considering. Make sure they align with how you plan to use the photo.
Lastly, don’t hesitate to try variations of your search terms. Sometimes, a slight change in wording can yield a completely different set of results. Happy hunting!
Also Read This: What is Fortiguard Downloader’s Unified Threat Protection
Downloading the Stock Photo
Once you've found that perfect Adobe Stock photo, downloading it is a breeze! Whether you're using the photo for a personal project or a professional one, following these simple steps ensures you get your image without any hiccups.
Here’s how to download your chosen stock photo:
- Sign In: Make sure you're logged into your Adobe account. If you don't have an account yet, it’s quick and easy to set one up.
- Add to Cart: Click on the image you want, and select the "Add to Cart" button. If you’re on a subscription plan, you may have the option to download it immediately.
- Choose Size and Format: Depending on your needs, select the appropriate size and format (JPEG, EPS, etc.) for your project.
- Download: After confirming your selections, click on the "Download" button. The image will be saved to your device, ready for you to use in your Illustrator project.
And just like that, you’re all set! Remember to keep track of your downloads and any licensing agreements associated with them. Happy creating!
Also Read This: Going Public: Publish Your Shopify Store
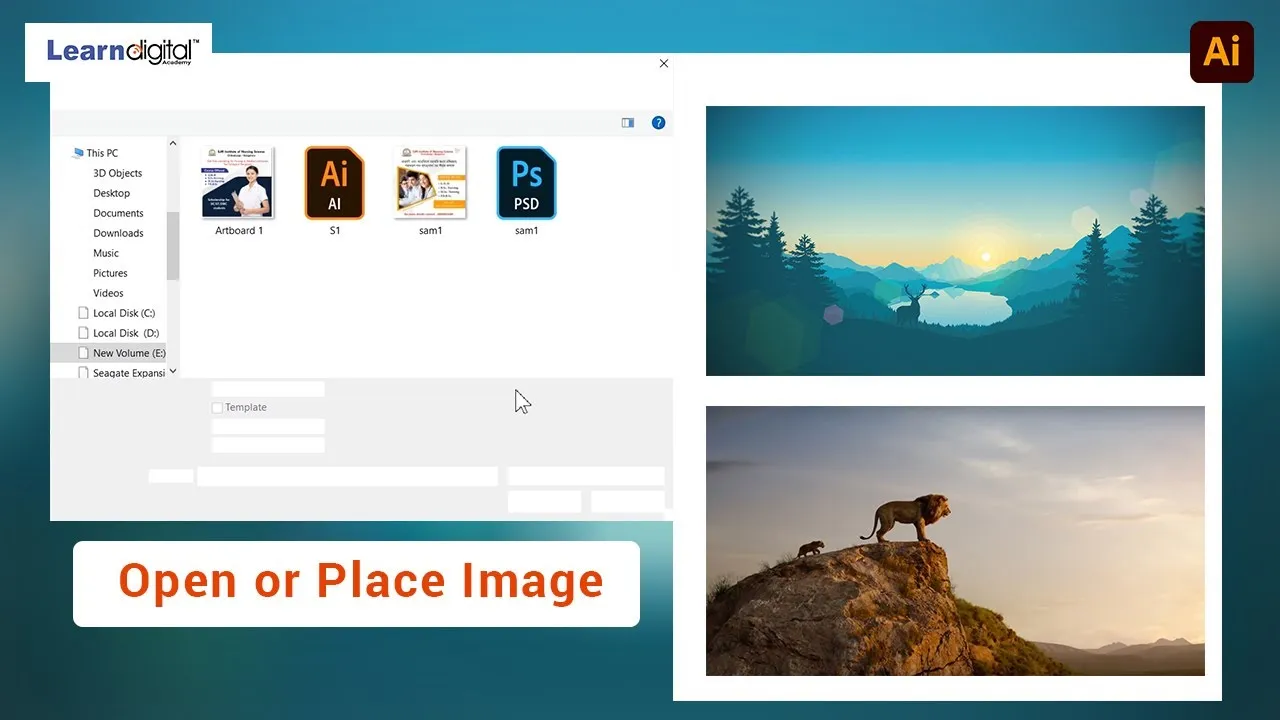
5. Importing the Photo into Illustrator
Alright, so you’ve found the perfect Adobe Stock photo for your project. Now it’s time to bring that beauty into Adobe Illustrator! This process is quite straightforward, and I’ll walk you through it step-by-step.
First off, you’ll want to make sure you have your stock photo downloaded. Once you’ve got it, here’s how to import it into Illustrator:
- Open Illustrator: Launch the application and open your existing project or create a new one.
- Go to File: In the top menu, click on “File.”
- Select Place: From the dropdown, choose “Place.” This is where the magic begins!
- Locate Your Photo: A dialog box will open. Navigate to the folder where your downloaded stock photo is located.
- Click Place: Select the photo and click the “Place” button. Your cursor will change, allowing you to place the image.
- Position the Photo: Click on your artboard where you want the photo to be placed. You can always resize or move it later.
And there you have it! Your stock photo is now in your Illustrator document. If you need to make any adjustments, don’t worry—we’ll cover that next!
Also Read This: How Did Anthony "Rumble" Johnson Pass? An In-Depth Tribute to His Life and Career
6. Editing and Customizing Your Stock Photo
Now that your stock photo is imported, it’s time to roll up your sleeves and dive into some editing and customization! Illustrator offers a plethora of tools and options that allow you to tailor your image to fit your creative vision.
Here’s how you can customize your stock photo:
- Resize the Image: Use the selection tool to click and drag the corners of the photo to resize it. Hold down the Shift key to maintain the aspect ratio.
- Crop the Photo: To crop, create a rectangle over the area you want to keep. Then select both the rectangle and the photo and go to Object > Clipping Mask > Make.
- Adjust Opacity: Select the photo and adjust the opacity in the Transparency panel to create overlays or blend it with other elements.
- Add Filters: Explore effects by going to the Effects menu. You can add shadows, blurs, and other artistic effects to enhance your image.
- Change Colors: If you want your photo to match your project’s color scheme, use the Color panel to adjust the hue, saturation, and brightness.
Don’t forget, the beauty of Illustrator lies in its flexibility. Play around with these options and see what works best for your creative project. The only limit is your imagination!
Also Read This: Simple Ways to Incorporate Your Own Music from YouTube into WeVideo
7. Best Practices for Using Stock Photos
When it comes to incorporating stock photos into your creative projects in Adobe Illustrator, following best practices can make all the difference. Here are some tips to ensure you use stock images effectively:
- Choose High-Quality Images: Always opt for high-resolution stock photos. Low-quality images can make your design look unprofessional.
- Maintain Consistency: Use images that align with your project's overall theme. Consistent styles, colors, and tones will create a cohesive look.
- License Awareness: Be aware of the licensing agreements associated with the stock photos you choose. Ensure you have the right to use them in your specific context.
- Optimize Image Size: Before placing images into Illustrator, optimize their size. Large files can slow down your workflow. Use tools or software to compress images without losing quality.
- Experiment with Placement: Don’t be afraid to try different placements and layouts. Sometimes, an image can be more striking when it’s partially cropped or blended with other elements.
- Incorporate Textures: Use stock photos as textures to enhance your designs. Overlaying images with transparency settings can add depth and interest.
- Use Layering Techniques: Layer your stock photos with other graphic elements. This can create a unique look and help integrate the photo seamlessly into your design.
By keeping these best practices in mind, you can elevate your projects with stock photos that truly resonate with your audience.
8. Conclusion
In summary, using Adobe Stock photos in Illustrator is a fantastic way to enhance your creative projects. Whether you're designing marketing materials, social media graphics, or any other visual content, stock photos offer a wealth of options to choose from. Remember to focus on quality, consistency, and proper licensing to make the most of your images.
As you incorporate stock photos into your work, think about how they can complement your design elements and enhance your message. With the right approach, stock images can bring your vision to life and engage your audience effectively.
So, the next time you sit down to create, take a moment to explore the vast library of stock photos at your disposal. With these tips in mind, you're well on your way to crafting stunning visuals that stand out!