Are you a photographer looking to monetize your passion? Selling your pictures on iStock can be a fantastic way to earn some extra income while sharing your creativity with the world. In this post, we'll dive deep into how you can effectively sell your photos on iStock, covering everything from understanding the platform to optimizing your submissions. Whether you're a seasoned pro or just starting, there's something for everyone!
Understanding iStock and Its Market
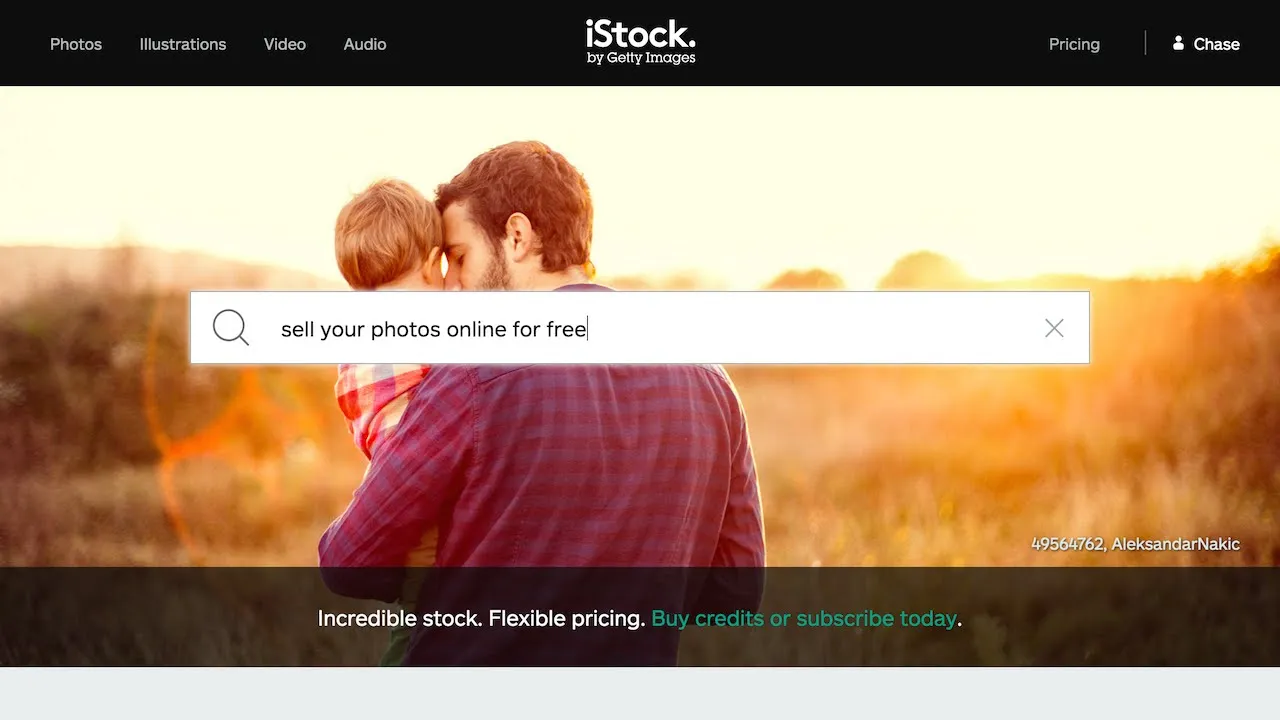
iStock, a subsidiary of Getty Images, is a well-known platform where photographers can license their images to a global audience. It caters to designers, marketers, and businesses seeking high-quality visuals to enhance their projects. But what makes iStock stand out in the stock photography market? Let’s break it down:
- Variety of Content: iStock offers a wide range of categories, including lifestyle, business, nature, and more. This diversity attracts a broad spectrum of buyers.
- Global Reach: As part of Getty Images, iStock has a huge customer base around the world, providing photographers with a larger audience for their work.
- Flexible Licensing: iStock offers both exclusive and non-exclusive licenses, giving photographers options based on how they want to sell their work.
In terms of the market, it's essential to note current trends. For example, images that reflect authenticity, diversity, and storytelling are in high demand. Buyers are increasingly looking for unique, relatable visuals that resonate with their target audience.
Understanding iStock's competitive landscape is crucial. Here are a few points to consider when entering the market:
| Factor | Description |
|---|---|
| Quality | High-resolution images with professional composition are preferred. |
| Exclusivity | Exclusive images often earn higher royalties. |
| Keywords | Effective tagging helps buyers find your photos easily. |
By understanding how iStock operates and the types of visuals in demand, you can better position yourself to succeed in this competitive market.
Also Read This: Understanding the Role of Rumble Strips in Road Safety
Preparing Your Photos for Submission
Before you submit your photos to iStock, it's essential to ensure they meet specific quality and technical standards. Here’s a friendly guide to help you get your images ready for the submission process!
- Resolution Matters: Aim for a minimum resolution of 6 megapixels. This ensures your photos can be printed clearly and without pixelation.
- File Format: iStock accepts JPEG files, so make sure your submissions are in this format. It’s the most compatible and widely used for stock photography.
- Editing Your Images: Use photo editing software to enhance your images. Adjust brightness, contrast, and colors. Just remember not to overdo it; natural-looking images tend to sell better.
- Keywording: When submitting, include relevant keywords. Think about what potential buyers might search for. Using specific, relevant terms can significantly increase your visibility.
- Model Releases: If your photos include recognizable people, make sure you have model releases signed. This protects you and gives buyers confidence in using your images.
- Property Releases: Similarly, if you’re shooting private property, obtain a property release to avoid legal issues.
By following these tips, you’ll be well on your way to submitting high-quality images that stand out in the iStock marketplace!
Also Read This: How to Find Job Alerts on LinkedIn
Creating an iStock Account
Getting started on iStock is easy, and creating an account is your first step toward selling your photos. Here’s a simple breakdown of how to do it:
- Visit the iStock Website: Navigate to iStock’s homepage.
- Sign Up: Click on the 'Sign Up' button. You’ll have options to register as a contributor or a buyer; select 'Contributor'.
- Fill Out Your Details: Enter your email, create a password, and provide your country. Ensure your email is valid, as you’ll need it for verification.
- Agree to Terms: Read through and agree to iStock’s terms and conditions. It’s important to understand the rules of the platform.
- Email Verification: Check your inbox for a confirmation email. Click the link in the email to verify your account.
- Complete Your Profile: Once verified, log in and complete your profile. Add a profile picture and a short bio about yourself to help buyers connect with you.
And there you have it! Your iStock account is set up, and you’re ready to start submitting your incredible photos. Let your creativity shine!
Also Read This: Changing Your YouTube Account Email Address
Uploading Your Images

So, you’ve got a collection of stunning photos ready to sell on iStock—great! The next step is uploading your images, and it’s easier than you might think. iStock has a user-friendly platform that guides you through the process. Here’s how to get started:
- Create an Account: If you haven’t done so already, sign up for an iStock contributor account. This gives you access to their submission portal.
- Prepare Your Images: Ensure your images are high-quality and meet iStock’s technical requirements. Generally, images should be at least 1,200 pixels on the shortest side and must be in JPEG format.
- Use the Upload Tool: Once logged in, navigate to the 'Upload' section. You can use the bulk upload feature for multiple images at once, which saves time.
- Add Metadata: This is key! For every image, fill in details like title, description, and keywords. Think about what potential buyers might search for. The right metadata can significantly increase your visibility.
- Submit for Review: After uploading, your images will go through a review process. Don’t worry; iStock has a dedicated team that checks for quality and compliance with their standards.
Once your images are approved, they’ll be available for purchase, and you can start earning money from your photography skills!
Also Read This: How to Remove Shutterstock Branding from Your Images
Understanding Licensing and Pricing
When it comes to selling your pictures on iStock, understanding licensing and pricing is crucial. It not only affects how you price your images but also how buyers can use them. Here’s a quick breakdown:
| License Type | Description |
|---|---|
| Royalty-Free (RF) | Buyers pay a one-time fee to use your image for a wide range of purposes without the need for additional royalties. This is the most common licensing type. |
| Rights Managed (RM) | This license requires buyers to specify how, where, and for how long they’ll use your image. Pricing can vary based on the usage—ideal for exclusive contracts. |
Pricing your images involves considering several factors:
- Quality and Uniqueness: High-quality and unique images can command higher prices.
- Market Trends: Research similar images to see what they’re priced at, and adjust accordingly.
- Licensing Options: Offering both RF and RM options can attract a broader audience.
By mastering licensing and pricing strategies, you’ll set yourself up for success on iStock!
Also Read This: Why 123RF Is an Essential Tool for Marketers
7. Marketing Your Photos on iStock
Marketing your photos on iStock is essential to ensure they reach the right audience and generate sales. Here are some strategies to help you effectively promote your work:
- Optimize Your Keywords: Choose relevant keywords that accurately describe your images. Think like a buyer—what words would they use to search for your photos? Use tools like Google Keyword Planner to find popular terms.
- Create a Portfolio: Showcase your best work in a cohesive portfolio. A well-organized collection can attract buyers looking for a specific style or theme. Make sure to update it regularly with new images!
- Leverage Social Media: Use platforms like Instagram, Pinterest, and Facebook to share your images. Create engaging posts that tell a story about your photography journey or the inspiration behind your work.
- Engage with the Community: Join photography forums, blogs, and social media groups. Networking with other photographers can lead to collaborations and increased exposure for your work.
- Offer Promotions: Consider running special promotions or discounts for your iStock portfolio. This can entice buyers to purchase your photos during a limited time.
By implementing these marketing strategies, you can increase the visibility of your photos on iStock and attract more potential buyers.
Also Read This: Understanding Rumble Website – A Comprehensive Guide to the Popular Video Platform
8. Common Mistakes to Avoid
When selling your photos on iStock, avoiding common pitfalls can save you time and frustration. Here are some mistakes photographers often make:
- Ignoring Image Quality: Always prioritize high-resolution images with proper lighting and composition. Blurry or poorly lit photos are less likely to sell.
- Neglecting Model Releases: If your photos include recognizable people, ensure you have a signed model release. Without it, your photos could be rejected.
- Overlooking Metadata: Don’t skip the metadata! Failing to fill out descriptions and keywords can limit your images' discoverability.
- Not Staying on Trend: Keep an eye on current design trends and popular subjects. Photos that reflect contemporary culture are more likely to resonate with buyers.
- Being Inconsistent: Aim for consistency in style and quality across your portfolio. A mixed bag of different styles can confuse potential buyers.
By being aware of these common mistakes, you can refine your approach and increase your chances of success on iStock.
How to Sell Your Pictures to iStock - Everything Photographers Need to Know
iStock, a well-known stock photography platform, offers photographers a fantastic opportunity to monetize their work. Selling your images on iStock can be a rewarding experience, but it requires understanding the platform's nuances and meeting certain requirements. Here’s a comprehensive guide to help you navigate the process.
1. Understand the Requirements:
- You must be at least 18 years old.
- High-quality images are essential; ensure your photos meet the technical standards set by iStock.
- All submitted images must be your original work.
2. Create an iStock Account:
Visit the iStock website and create an account. Choose between becoming a contributor or a buyer. As a contributor, you will upload your images for sale.
3. Prepare Your Images:
Your images should be in JPEG format, at least 4 MP in size, and free of watermarks. Follow these tips:
- Use proper lighting and composition.
- Ensure images are sharp and free of noise.
- Optimize for keywords and descriptions.
4. Upload Your Photos:
Once your images are ready, log into your account and navigate to the upload section. Fill out the necessary metadata including titles, keywords, and descriptions to enhance discoverability.
5. Wait for Approval:
After submission, your images will be reviewed by iStock's team. If approved, your photos will be available for buyers.
6. Promote Your Work:
Share your iStock portfolio on social media and other platforms to attract more buyers.
7. Track Your Sales:
Use iStock's analytics tools to monitor your performance and understand which images are selling well.
By following these steps, photographers can successfully sell their pictures on iStock and generate income while sharing their creativity with the world.
Conclusion: Selling your pictures on iStock is a viable way for photographers to earn money from their passion, provided they understand the platform’s requirements and best practices for uploading and promoting their work.