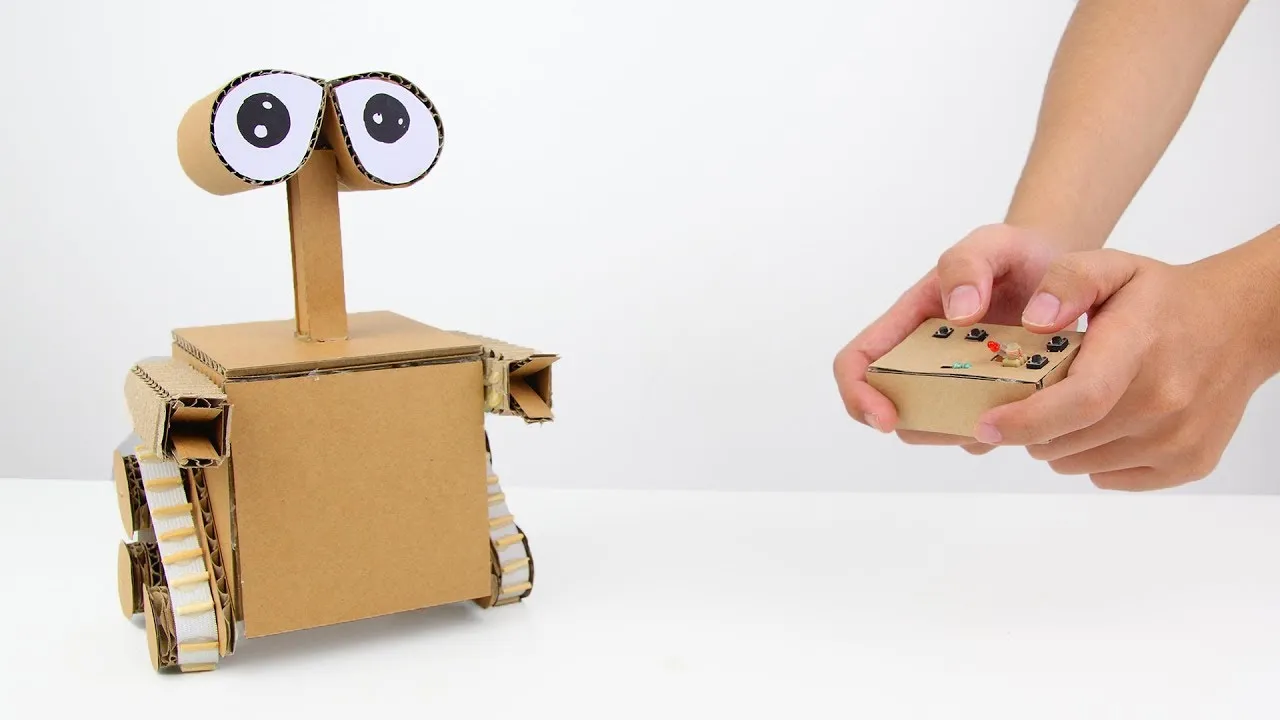
क्या आपने कभी सोचा है कि घर पर एक रोबोट बनाना कितना मजेदार हो सकता है? यह न केवल एक शानदार प्रोजेक्ट है, बल्कि यह आपके तकनीकी कौशल और रचनात्मकता को भी बढ़ावा देता है। इस लेख में हम आपको बताएंगे कि कैसे आप आसानी से घर पर एक रोबोट बना सकते हैं। चाहे आप एक नौसिखिया हों या तकनीक के शौकीन, यह गाइड आपके लिए उपयोगी साबित होगी। तो, चलिए शुरुआत करते हैं!
Materials Required
घर पर रोबोट बनाने के लिए कुछ विशेष सामग्रियों की आवश्यकता होती है। आइए जानते हैं कि आपको क्या-क्या चाहिए:
- Arduino Board: यह आपके रोबोट का 'मस्तिष्क' होगा। Arduino एक ओपन-सोर्स प्लेटफॉर्म है जो इलेक्ट्रॉनिक्स प्रोजेक्ट्स के लिए बहुत उपयोगी है।
- Servo Motors: ये मोटर्स आपके रोबोट के अंगों को हिलाने में मदद करेंगी। आप दो या तीन सर्वो मोटर्स का उपयोग कर सकते हैं।
- Chassis: रोबोट के लिए एक मजबूत आधार जरूरी है। आप प्लास्टिक या मेटल चेसिस का इस्तेमाल कर सकते हैं।
- Wires: कनेक्शन के लिए विभिन्न प्रकार की वायर्स की आवश्यकता होगी। ये वायर्स आपके सभी उपकरणों को जोड़ने में मदद करेंगी।
- Batteries: अपने रोबोट को चलाने के लिए एक पावर स्रोत की जरूरत होगी। बैटरी का चुनाव करते समय उसकी क्षमता का ध्यान रखें।
- Sensors: यदि आप अपने रोबोट को और अधिक स्मार्ट बनाना चाहते हैं तो आप विभिन्न सेंसर्स जैसे अल्ट्रासोनिक, लाइट और मोशन सेंसर्स का इस्तेमाल कर सकते हैं।
इन सामग्रियों को एकत्रित करने के बाद, आप अपने रोबोट बनाने की प्रक्रिया शुरू कर सकते हैं। अब, अगली चरण में हम देखेंगे कि कैसे इन सामग्रियों का उपयोग करके एक रोबोट बनाया जा सकता है।
Also Read This: How to Upload Video from iPhone to YouTube
3. Step-by-Step Instructions
Creating a robot at home can be an exciting and educational experience! Here’s a simple guide to help you build a basic robot using accessible materials. Follow these steps closely:
- Gather Your Materials: You'll need a few essential components:
- Microcontroller (like Arduino)
- Chassis (you can use cardboard or a plastic kit)
- Motors (DC motors are great for beginners)
- Wires and connectors
- Power supply (batteries or a power bank)
- Sensors (like ultrasonic sensors for obstacle detection)
- Assemble the Chassis: Start by assembling the base of your robot. If you're using cardboard, cut it into a suitable shape and size. Make sure it’s sturdy enough to hold the components.
- Attach the Motors: Secure the motors to the chassis. If you’re using DC motors, attach them in such a way that they can drive the wheels.
- Connect the Microcontroller: Mount the microcontroller onto the chassis and connect it to the motors using wires. This will be the brain of your robot.
- Add Sensors: If you have sensors, connect them as well. For instance, an ultrasonic sensor can help the robot avoid obstacles.
- Power it Up: Connect your power supply to the microcontroller and ensure everything is wired correctly.
Once you’ve completed these steps, your robot’s physical structure is ready! Now, let’s move on to programming it.
Also Read This: Significado de YouTube y Su Impacto en la Plataforma
4. Programming the Robot
Programming your robot is where the magic happens! This step allows your robot to understand commands and perform tasks. Here’s how to get started:
- Install the Software: Download and install the Arduino IDE (or any suitable programming environment). This will let you write and upload code to your microcontroller.
- Learn Basic Coding: Familiarize yourself with simple coding concepts. Start with basic commands like
digitalWriteto control motors andanalogReadfor reading sensor data. - Write Your Code: Create a simple program. Here’s an example to get your motors running:
void setup() { pinMode(9, OUTPUT); // Right motor pinMode(10, OUTPUT); // Left motor void loop() { digitalWrite(9, HIGH); // Move forward digitalWrite(10, HIGH); delay(1000); // Move for 1 second digitalWrite(9, LOW); // Stop digitalWrite(10, LOW); delay(1000); // Pause for 1 second - Upload Your Code: Connect your microcontroller to your computer and upload the code. Watch your robot respond to the commands!
- Test and Troubleshoot: Run your robot and observe its behavior. If it doesn’t work as expected, check your wiring and code for errors.
With these steps, you’ve not only built a physical robot but also programmed it to perform tasks. Enjoy tinkering with your creation!
Also Read This: Apple Pay Ease: Guide to Adding Apple Pay to Shopify
5. Testing Your Robot
Testing your robot is a crucial step to ensure it operates as intended. This phase is where you can assess its functionality and make necessary adjustments. Here’s how you can go about it:
- Power On: Begin by powering on your robot. Ensure all connections are secure and that it’s receiving power.
- Basic Movements: Test the basic movements first. Program simple commands like moving forward, backward, or turning. Observe how well the robot responds.
- Sensor Functionality: If your robot uses sensors, check if they are functioning properly. For example, if you have an obstacle detection sensor, place an object in its path to see if it stops.
- Communication: If applicable, test any communication features. This could be via Bluetooth or Wi-Fi. Ensure it can send and receive data as expected.
- Debugging: If something doesn’t work as planned, don’t panic! Review your code and wiring. Small mistakes can lead to big issues.
Remember, testing is not just about checking if it works but also about refining your robot. Be patient and make adjustments as needed!
Also Read This: How to Advertise on YouTube TV for Marketers
6. Common Issues and Troubleshooting
Even the best-built robots can face issues. Here are some common problems you might encounter while building your robot and how to troubleshoot them:
| Issue | Possible Causes | Solutions |
|---|---|---|
| Robot not powering on | Loose connections or dead battery | Check all connections and replace the battery if needed. |
| Unresponsive movements | Faulty motor or incorrect coding | Inspect the motor and review the code for errors. |
| Sensors not detecting | Blocked sensors or incorrect wiring | Clean the sensors and verify the wiring connections. |
| Poor communication | Weak signal or incorrect configuration | Check the signal strength and reset the configuration. |
Troubleshooting is part of the learning process. Embrace the challenges, and soon you'll become more adept at fixing issues!
घर पर आसानी से रोबोट कैसे बनाएं
रोबोटिक्स का क्षेत्र तेजी से विकसित हो रहा है, और अब आप भी अपने घर पर एक साधारण रोबोट बना सकते हैं। इस लेख में, हम आपको एक सरल प्रक्रिया बताएंगे, जिससे आप बिना किसी विशेष तकनीकी ज्ञान के एक रोबोट बना सकते हैं।
आवश्यक सामग्री
- Arduino UNO या किसी अन्य माइक्रोकंट्रोलर
- सर्वो मोटर (Servo Motor)
- चेसिस (Chassis) – प्लास्टिक या लकड़ी का टुकड़ा
- बिजली की बैटरी (Battery)
- जंपर वायर (Jumper Wires)
- इंफ्रारेड सेंसर (Infrared Sensor)
- सोल्डरिंग आयरन (Soldering Iron)
चरण-दर-चरण प्रक्रिया
- चेसिस बनाएं: अपने चेसिस पर मोटर और सेंसर को ठीक से लगाएं।
- Arduino कनेक्ट करें: सभी इलेक्ट्रॉनिक कंपोनेंट्स को Arduino से कनेक्ट करें।
- कोड लिखें: Arduino IDE में रोबोट के लिए कोड लिखें और अपलोड करें।
- परीक्षण करें: रोबोट को चालू करें और उसकी कार्यप्रणाली का परीक्षण करें।
सामान्य समस्याएं और समाधान
| समस्या | समाधान |
|---|---|
| रोबोट चालू नहीं हो रहा | बैटरी जाँचें और सुनिश्चित करें कि सभी कनेक्शन सही हैं। |
| सेंसर काम नहीं कर रहा | सेंसर को सही ढंग से कनेक्ट करें और कोड में त्रुटियों की जाँच करें। |
इस प्रक्रिया का पालन करके, आप आसानी से घर पर एक साधारण रोबोट बना सकते हैं। यह न केवल आपके तकनीकी कौशल को विकसित करेगा, बल्कि आपको रोबोटिक्स की दुनिया से भी परिचित कराएगा।