Are you a budding photographer or an aspiring artist looking to monetize your creativity? Selling images on iStock can be a fantastic way to earn some extra income while showcasing your work to a global audience. In this post, we’ll guide you through the essentials of starting your journey as a contributor on iStock. From the basics of the platform to understanding the market, we’ve got you covered!
Understanding iStock and Its Market
iStock, a subsidiary of Getty Images, is one of the leading platforms for selling stock images, illustrations, and videos. By allowing photographers and artists to upload their work, iStock connects creators with businesses, marketers, and individuals in need of high-quality visual content. But to succeed here, it’s vital to understand the market dynamics.
Here’s what you need to know about iStock:
- Target Audience: The primary customers are businesses, advertisers, and content creators looking for unique imagery to enhance their projects. This audience seeks images that convey specific emotions, themes, or concepts.
- Image Types: iStock accepts various types of images, including editorial, commercial, and conceptual photography. Think about the niches you can fill, whether it’s lifestyle, nature, or abstract art.
- Quality Over Quantity: iStock values high-quality submissions. Ensure your images are well-composed and technically sound. Use professional-grade equipment and editing software to create visually appealing content.
To effectively navigate the iStock marketplace, consider researching current trends. Tools like Google Trends or social media platforms can provide insights into what types of images are in demand. Additionally, reviewing popular images already on iStock can give you a sense of style and subject matter that resonates with buyers. Understanding this landscape will help you tailor your submissions for maximum impact!
Also Read This: How YouTube Serves Users, Creators, and Advertisers
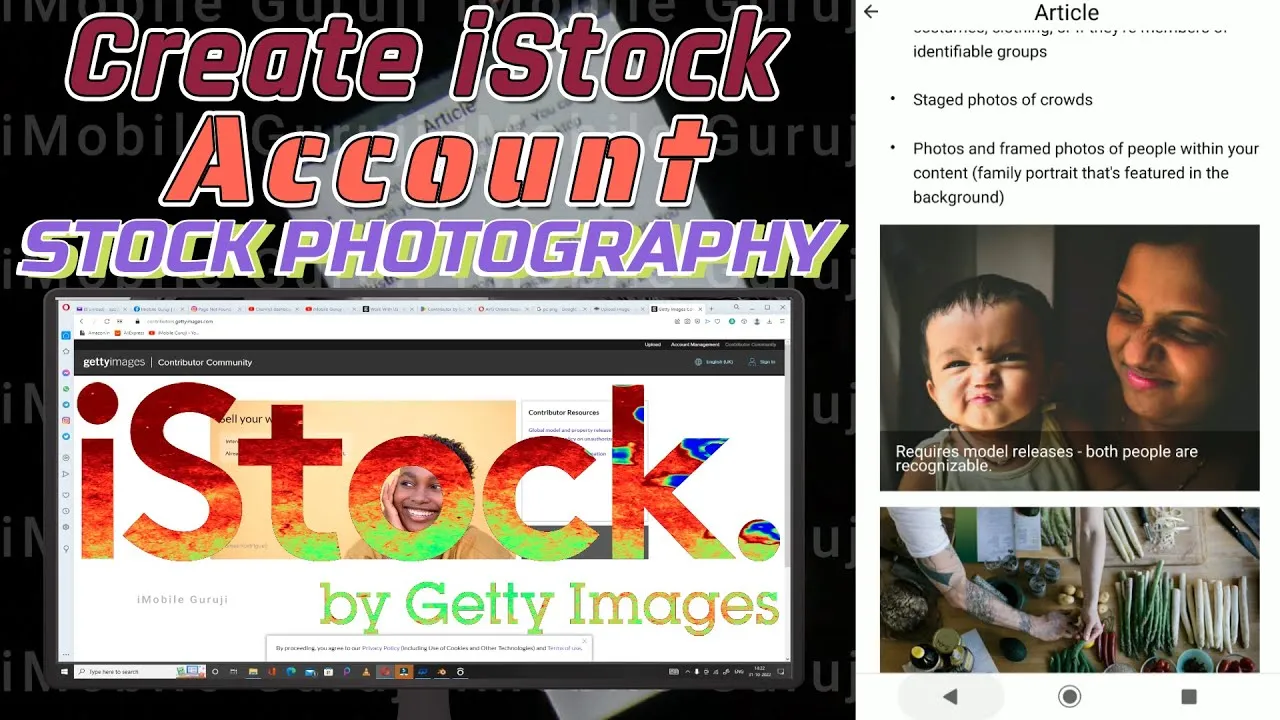
3. Setting Up Your iStock Account
Getting started with iStock as a contributor is a straightforward process, and setting up your account is the first step! Here’s how you can do it:
- Visit the iStock Contributor Site: Go to the iStock website and look for the "Contributors" section. This is where you'll find all the relevant information tailored for aspiring contributors.
- Create an Account: Clicking on the "Join" or "Sign Up" button will prompt you to fill in your details. Be sure to use a professional email address, as this is crucial for communication regarding your submissions.
- Choose a Username: Pick a username that reflects your brand or photography style. Remember, this name will be associated with your work, so make it memorable!
- Accept the Terms: Read through iStock's contributor agreement and guidelines. It’s essential to understand the rules governing content submission and rights.
- Set Up Payment Information: Once your account is created, navigate to the payment section. Providing accurate payment details ensures you receive royalties for your sold images.
After completing these steps, you’ll have a fully functional iStock account, ready for you to start uploading and selling your images. Don’t forget to check the contributor dashboard regularly for any updates or earnings reports!
Also Read This: How to Create a Stunning Project on Behance
4. Preparing Your Images for Submission
Getting your images ready for submission to iStock is crucial for success. Here are some essential tips to ensure your photos meet the platform's standards:
- High-Quality Images: Always strive for high resolution. Aim for images that are 1 MB or larger, with a minimum size of 3 MP. This ensures your photos are sharp and clear.
- Proper Editing: Use editing software to enhance your images. Adjust brightness, contrast, and colors, but avoid over-editing. Natural looks often perform better!
- File Formats: Save your images in JPG format for submission. Ensure the color mode is RGB, as this is the preferred format for online images.
- Keywords and Metadata: Prepare a list of relevant keywords that describe your image. Think like a potential buyer; what terms would they search for? Include these keywords in the metadata when uploading.
- Model Releases: If your images feature recognizable people, ensure you have model releases signed. This is a legal requirement that protects both you and iStock.
By taking the time to properly prepare your images, you enhance your chances of making sales. So, polish your best shots, and let your creativity shine!
Curl error: transfer closed with outstanding read data remaining
Also Read This: Effective Ways to Lose Shoulder Fat with Dailymotionâs Top Workout Tips
Navigating Copyright and Licensing Issues
Understanding copyright and licensing is crucial when selling images on iStock. As a beginner contributor, you need to ensure that your images are legally yours to sell and that you’re aware of the licensing options available. Here’s how to navigate these waters effectively:
- Own Your Rights: Always ensure that you own the copyright to the images you upload. If you've taken the photos, you automatically hold the rights, but if your image includes trademarks or recognizable people, you need additional permissions.
- Model Releases: If your image features identifiable people, you’ll need a model release form. This document grants permission from the person featured in the image, allowing you to sell it legally.
- Property Releases: Similar to model releases, if your photo includes private property, securing a property release is essential. This ensures you can legally profit from images showcasing someone’s house or business.
When it comes to licensing, iStock offers several choices:
- Royalty-Free (RF): This is the most common licensing type, allowing customers to use your images without paying additional royalties after the initial purchase.
- Rights-Managed (RM): More restrictive, this license is based on how, when, and where the customer uses the image. This can result in higher payouts but requires more management.
Stay informed about copyright laws, and always read iStock’s contributor guidelines to ensure compliance. The more knowledgeable you are, the better you can protect your work and your earnings!
Conclusion
Embarking on your journey as an iStock contributor can be both exciting and daunting. By understanding the ins and outs of selling images, especially navigating copyright and licensing issues, you position yourself for success. Here’s a quick recap:
- Ensure you own the rights to your images.
- Obtain necessary releases for people and property featured in your photos.
- Familiarize yourself with different licensing options to maximize your earnings.
Remember, every great photographer started as a beginner. Embrace the learning curve, engage with the community, and keep honing your craft. With persistence and patience, you’ll build a portfolio that not only showcases your unique vision but also generates income. So go ahead, upload those stunning images, and watch your photography dreams come to life on iStock!