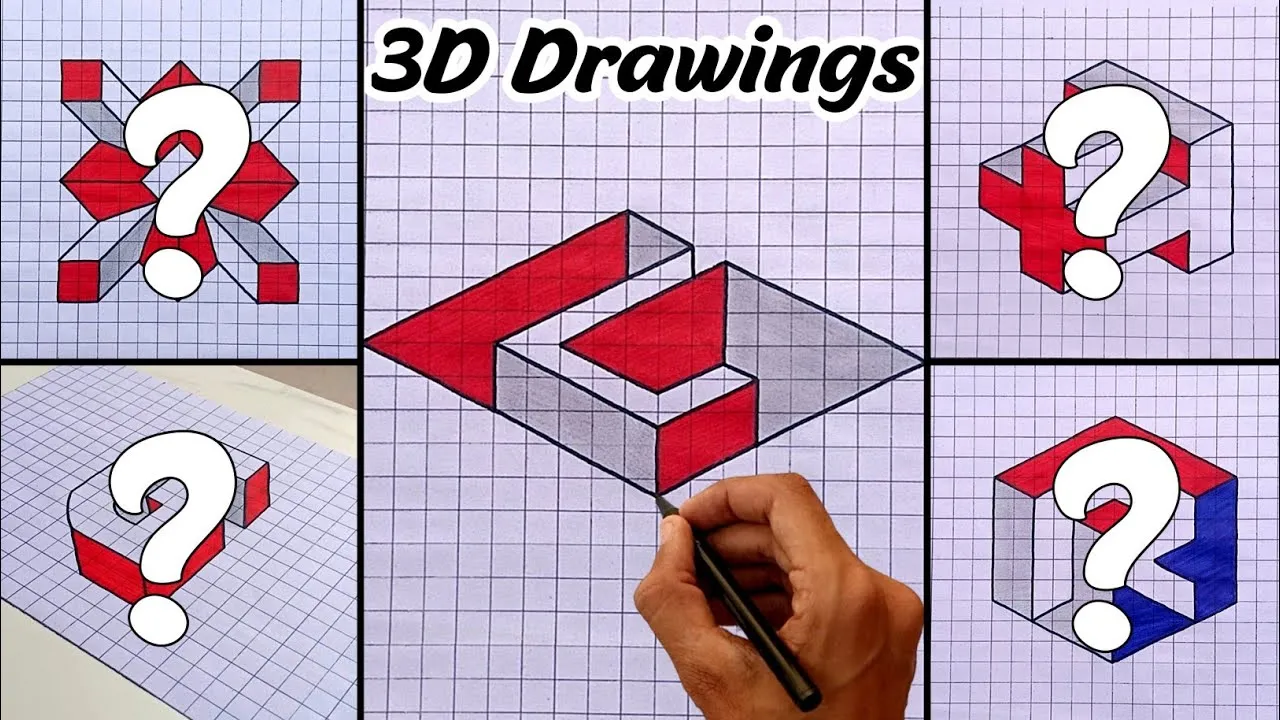
3D drawing is an exciting way to express creativity, making your ideas pop off the page and into a more tangible form. Unlike traditional 2D drawings that only provide height and width, 3D drawings add depth, allowing viewers to appreciate the volume and texture of your creations. Whether you’re a budding artist, an aspiring architect, or just looking to explore a new hobby, 3D drawing can open up a world of possibilities.
But where do you start? This guide is designed specifically for beginners, breaking down the essentials of 3D drawing into manageable steps. We’ll explore the necessary tools and materials, techniques for mastering perspective, and tips for developing your unique style. Get ready to dive into a fascinating realm where your imagination can truly take flight!
Essential Tools and Materials for 3D Drawing
Before you begin your 3D drawing journey, it’s crucial to gather the right tools and materials. The good news is that you don’t need a ton of expensive equipment to get started! Here’s a breakdown of the essentials:
- Pencils: A variety of pencils is important for different levels of shading and detail. Consider having a range from 2H (hard) to 6B (soft).
- Paper: Use sketch paper for practice and heavyweight drawing paper for final pieces. If you're interested in digital drawing, make sure to invest in a good quality tablet.
- Erasers: A kneaded eraser is fantastic for subtle corrections, while a vinyl eraser is great for sharper lines.
- Ruler and Compass: These help in achieving precise lines and angles, essential for creating realistic 3D forms.
- Coloring Tools: Colored pencils or markers can add a vibrant touch to your drawings. Watercolors can also create stunning effects!
For those venturing into digital 3D drawing, consider software like SketchUp, Blender, or Tinkercad. Each has its strengths, so explore a few to find what suits your style best.
Finally, remember that the right tools can enhance your creativity, but practice is key. Don’t hesitate to experiment with different materials and find what spurs your inspiration!
Also Read This: Understanding the Cost of LinkedIn Sales Navigator
Understanding the Basics of 3D Perspective
When diving into the world of 3D drawings, grasping the concept of perspective is crucial. 3D perspective gives depth to your drawings, making them appear more lifelike. It’s all about how objects relate to one another in space and how they seem to change based on your viewpoint.
One of the foundational principles of 3D perspective is the *vanishing point. This is where parallel lines seem to converge in the distance. Here’s how you can visualize it:
- Imagine standing on a straight road. The edges of the road appear to meet at a point on the horizon.
- This point is your vanishing point. All lines—like the sides of buildings or roads—should direct toward this point to achieve a realistic look.
Another essential concept is horizon line*. This line represents the viewer's eye level. Everything above appears to recede into space, while objects below seem to rise. Understanding where to place this line in your drawing will fundamentally change how your artwork is perceived.
To simplify:
| Perspective Element | Description |
|---|---|
| Vanishing Point | Where parallel lines converge in the distance. |
| Horizon Line | The viewer’s eye level in your drawing. |
Practice sketching simple shapes like cubes or pyramids, applying these principles. With a solid understanding of perspective, you'll enhance the realism of your 3D drawings!
Also Read This: How to Seamlessly Integrate Adobe Stock into Photoshop
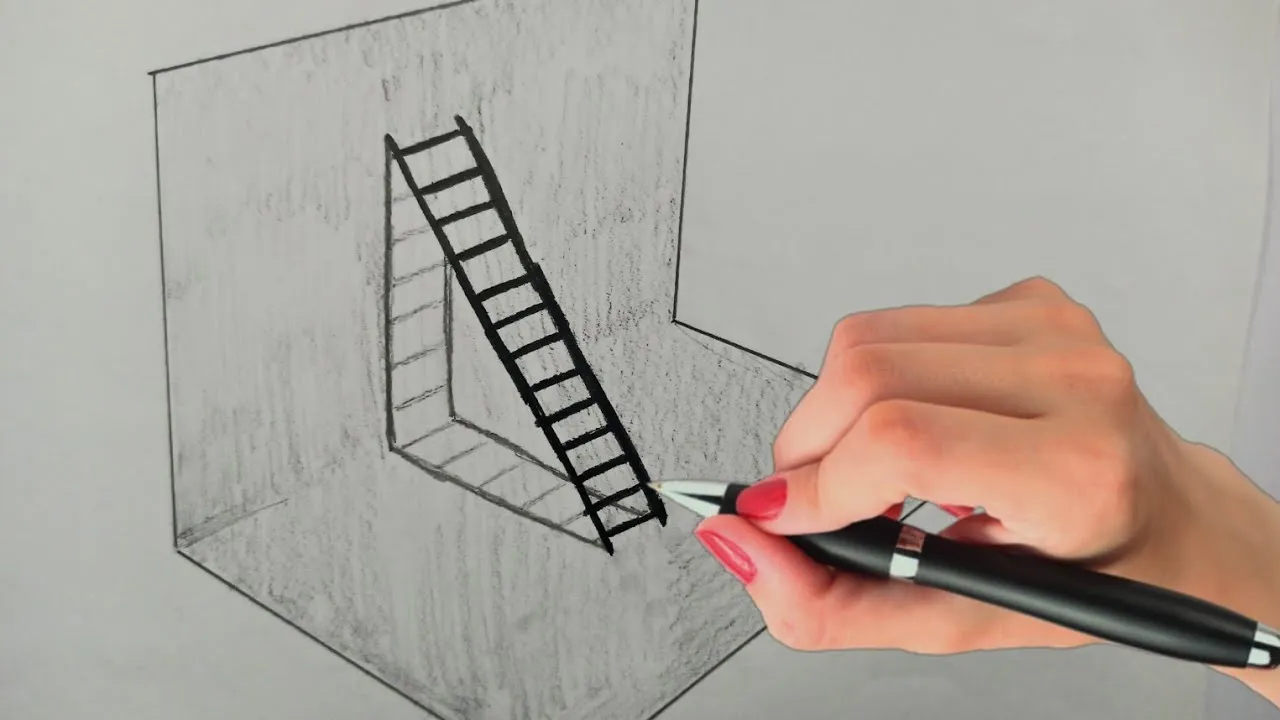
Step-by-Step Process for Creating Your First 3D Drawing
Creating your first 3D drawing can be an exciting journey! Here’s a simple, step-by-step guide to help you get started:
- Gather Your Materials: You’ll need some basic supplies—graph paper, a pencil, an eraser, and a ruler.
- Start with a Cube: Draw a square in the center of your paper. This will be the front face of your cube.
- Add Depth: From each corner of the square, draw lines at a slight angle. These will represent the edges extending back.
- Connect the Lines: Draw another square at the ends of these lines, ensuring it’s parallel to the first square. Now you have a basic cube!
- Shade for Dimension: Add shading to one side of the cube to give the illusion of light and depth. Choose a light source direction and shade accordingly.
- Experiment with More Shapes: Using the same principles, try adding a cylinder or pyramid next to your cube to create a more complex scene.
As you become more comfortable, explore different perspectives, angles, and objects. Remember, practice makes perfect! Don’t be afraid to make mistakes; they often lead to the most valuable lessons.
So grab your pencil and let your creativity flow—your first 3D masterpiece is just a few lines away!
Also Read This: Exploring Similar Platforms: Companies Like Shutterstock
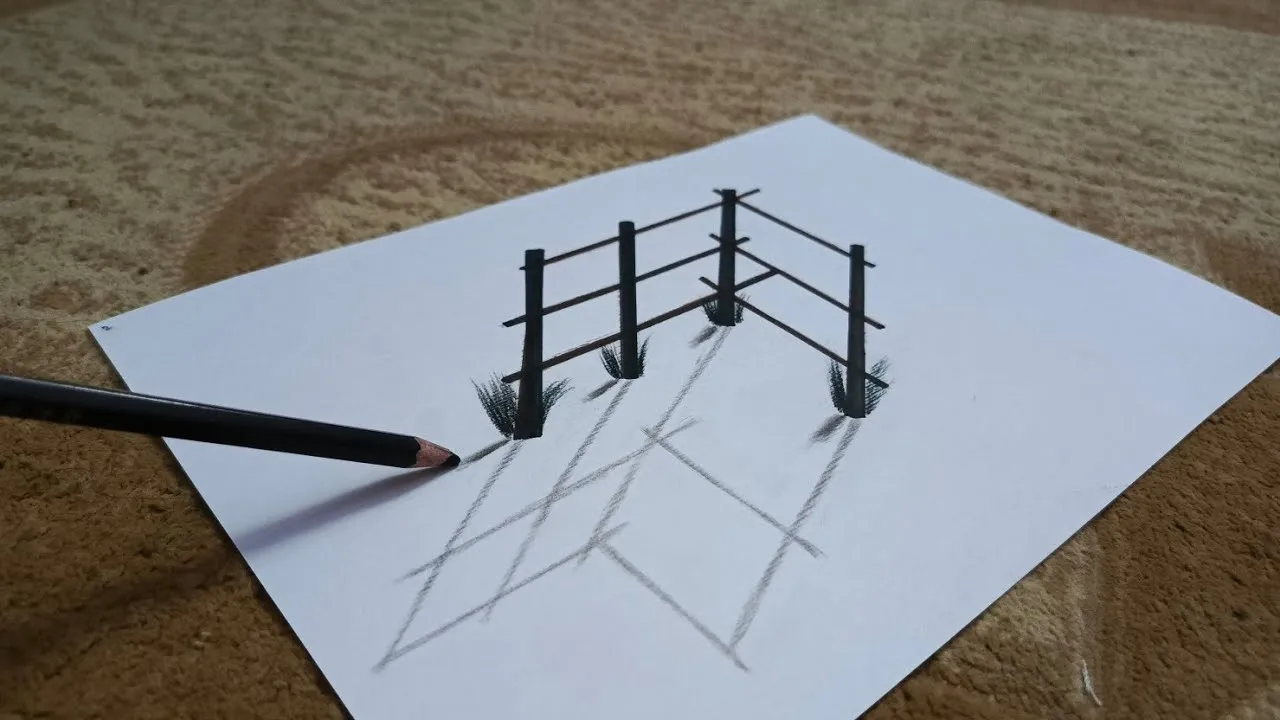
5. Tips and Techniques to Enhance Your 3D Drawings
Creating stunning 3D drawings is all about mastering certain techniques and applying helpful tips. Here are some strategies that can elevate your artwork:
- Understand Perspective: Grasping one-point, two-point, and three-point perspectives can drastically change how your objects look in space. Start with simple shapes like cubes before moving to more complex forms.
- Use Light and Shadow: Adding shadows can create depth. Observe how light hits objects around you and replicate that in your drawings. Consider using a light source and imagining how shadows would fall.
- Texture is Key: Incorporate textures to give your drawings realism. Experiment with different shading techniques like cross-hatching, stippling, and blending to achieve varied effects.
- Practice with Reference Images: Don’t hesitate to use photographs or real-life objects as references. This can help you grasp proportions and dimensions better.
- Layering Techniques: Start with a basic outline and build layers progressively. This will not only help in adding detail but will also make corrections easier.
- Utilize 3D Drawing Software: Programs like Blender and SketchUp can aid in visualizing your ideas. These tools often provide tutorials that can help beginners get accustomed to 3D environments.
Remember, practice makes perfect, so keep experimenting and refining your skills!
Also Read This: How to Remove LinkedIn Connections and Disconnect from Contacts
6. Common Mistakes to Avoid in 3D Drawing
As you embark on your 3D drawing journey, awareness of common pitfalls can save you time and frustration. Here are some mistakes to steer clear of:
- Ignoring Proportions: One of the most common errors is not maintaining proper proportions. Always measure your objects relative to each other to avoid skewed perspectives.
- Overcomplicating Designs: Beginners often try to create overly complex elements without mastering the basics first. Stick to simple shapes until you feel comfortable.
- Neglecting Composition: A well-composed drawing can significantly enhance its appeal. Pay attention to how objects are arranged in your artwork.
- Forgetting to Practice Regularly: Skills can fade without practice. Set aside dedicated time each week to hone your 3D drawing abilities.
- Relying Too Heavily on Tools: While software can be very helpful, don’t depend on it too much. Understanding the fundamentals of 3D drawing will make you a better artist.
- Skipping the Sketch Stage: Jumping straight into detailing can lead to mistakes. Always start with rough sketches to plan your design.
Being aware of these common mistakes will help you focus on improving your skills and creating impressive 3D drawings!
Also Read This: Guide to Using Free Getty Images and Finding Licensed Content
7. Resources for Further Learning and Inspiration
Embarking on your journey into 3D drawing can be both exciting and overwhelming. Thankfully, there are a plethora of resources available to help you refine your skills and ignite your creativity. Here are some fantastic options:
- Online Courses: Platforms like Udemy and Coursera offer a variety of courses tailored to 3D drawing. Look for courses that focus on software like Blender or SketchUp.
- YouTube Tutorials: Channels such as Blender Guru and Draw With Jazza provide step-by-step guides that cater to all levels.
- Books: Consider picking up books like “Blender for Dummies” or “The Complete Guide to Drawing Action Manga” for structured learning and inspiration.
- Online Communities: Join forums and groups on platforms such as Reddit, DeviantArt, or ArtStation where you can share your work, get feedback, and connect with other artists.
By utilizing these resources, you'll not only expand your technical skills but also find the inspiration you need to push your artistic boundaries. Remember, the more you practice and engage with others, the more your skills will evolve!
8. Conclusion
Creating 3D drawings is a journey filled with creativity, exploration, and continuous learning. As we wrap up this ultimate guide, here are a few key takeaways to keep in mind:
- Practice Makes Perfect: The more you draw, the better you’ll get. Dedicate time each week to practice your 3D skills.
- Experiment with Different Tools: Don’t hesitate to try out various software and mediums. Each has unique features that can enhance your creative process.
- Seek Feedback: Share your work with others to gain valuable insights and constructive criticism. It’s a fantastic way to learn and grow.
- Stay Inspired: Follow other artists, explore different styles, and keep an eye on emerging trends in the 3D art world.
Remember, every artist starts as a beginner. Embrace the challenges and enjoy the process of bringing your ideas to life in three dimensions. Happy drawing!