Creating a paper car is a fun and engaging activity that can spark creativity in both kids and adults. Whether you're looking to pass the time, teach a child some basic folding techniques, or simply enjoy a crafty challenge, this guide will walk you through the steps to create a paper car using Dailymotion’s step-by-step folding guide. You'll be amazed at how a simple piece of paper can transform into a stylish little vehicle with just a few folds!
Materials Needed
Before diving into the world of paper folding, it's essential to gather the right materials. Here’s what you'll need:
- Origami Paper: While standard printer paper will work, origami paper is thinner and comes in various colors and designs, making it ideal for your car.
- Scissors: You’ll need a pair of scissors to trim your paper if you're not using pre-cut origami sheets.
- Glue Stick (optional): For additional support or decoration, a glue stick can be handy, especially if you want to add pieces like wheels or windows.
- Pencil (optional): A pencil can be used for marking lines or designs before folding.
- Markers or Crayons: These are great for personalizing your car with colors and designs after it's folded.
Having these materials ready will make your crafting experience smooth and enjoyable. It’s all about being prepared, so you can focus on the fun of creating your paper car!
Also Read This: A Guide to Accessing Free Images from Alamy: Tips for Creatives
3. Step-by-Step Instructions
Creating a paper car can be a fun and creative project! Follow these easy steps to fold your very own paper car using Dailymotion’s guide. Grab your paper and let’s get started!
- Gather Your Materials: You’ll need a square sheet of paper, scissors, and a ruler. Choose colorful paper to make your car vibrant!
- Start with the Base: Fold the paper in half diagonally to form a triangle. Unfold it, and you’ll see a crease down the middle. Now fold the top corners towards the center line, creating a smaller triangle on top.
- Create the Body: Fold the bottom edge of the triangle upwards, aligning it with the base of the smaller triangle. This will form the car's body.
- Make the Wheels: Cut out four small circles from another sheet of paper. You can use a coin as a template. These will be your wheels!
- Attach the Wheels: Use glue to attach the wheels at the sides of the car. Make sure they are evenly spaced for balance.
- Add Details: Use markers to draw headlights, windows, and any other fun details you want. Let your creativity shine!
And there you have it! Your very own paper car, all thanks to Dailymotion’s step-by-step guide. Now, let’s look at some tips that can help you with the folding process!
Also Read This: Exploring the Myth Behind the Term Rottie Rumble
4. Tips for Successful Folding
Folding paper might seem simple, but there are several techniques you can use to ensure your paper car turns out just right. Here are some helpful tips:
- Choose the Right Paper: A medium-weight paper works best. Too thin, and it might tear; too thick, and it could be hard to fold.
- Be Precise with Creases: Use a ruler to make straight folds. Precise creases lead to a well-shaped car.
- Take Your Time: Don’t rush through the steps. Folding takes patience, and the more care you take, the better your car will look!
- Experiment with Designs: Feel free to modify the design. Add spoilers, stripes, or even wheels made from different materials!
- Watch for Inspiration: Check out other Dailymotion videos for new techniques and styles to enhance your paper car.
With these tips and the step-by-step instructions, you’re all set to fold a fantastic paper car. Have fun experimenting and showcasing your creativity!
Also Read This: Guide to Watching How the Grinch Stole Christmas 2000 Full Movie on YouTube
5. Creative Variations to Try
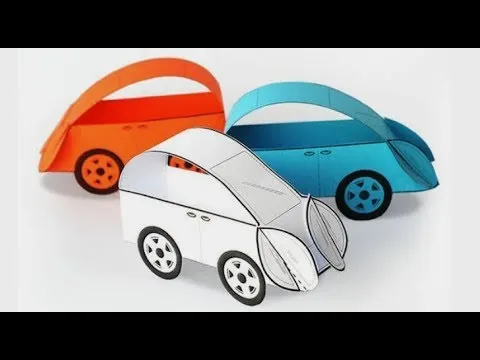
Once you've mastered the basics of making a paper car, the fun doesn't have to stop there! There are countless creative variations you can try to personalize your paper vehicle. Here are a few ideas to spark your imagination:
- Colorful Designs: Grab some colored paper or use markers to decorate your car before folding. This adds a unique flair and makes each car a one-of-a-kind masterpiece.
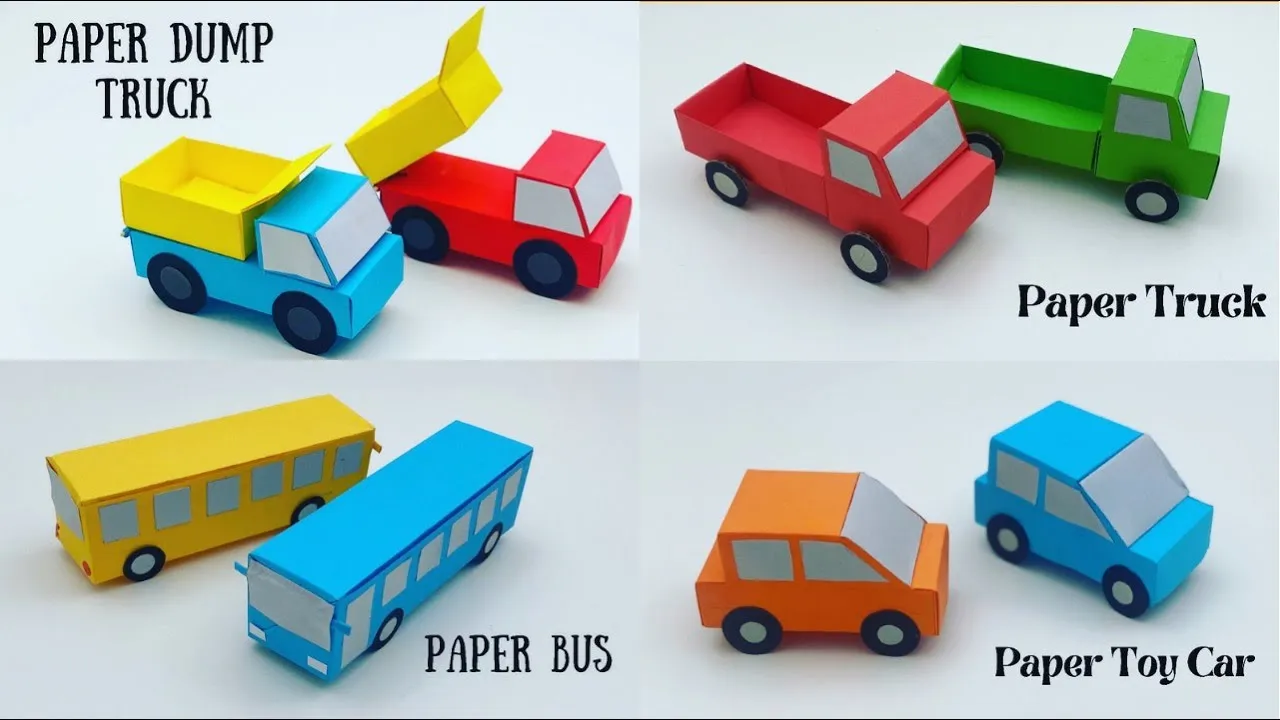
- Different Models: Try creating different types of vehicles, such as trucks, buses, or race cars. Modify the shape and size of your folds to achieve various styles.
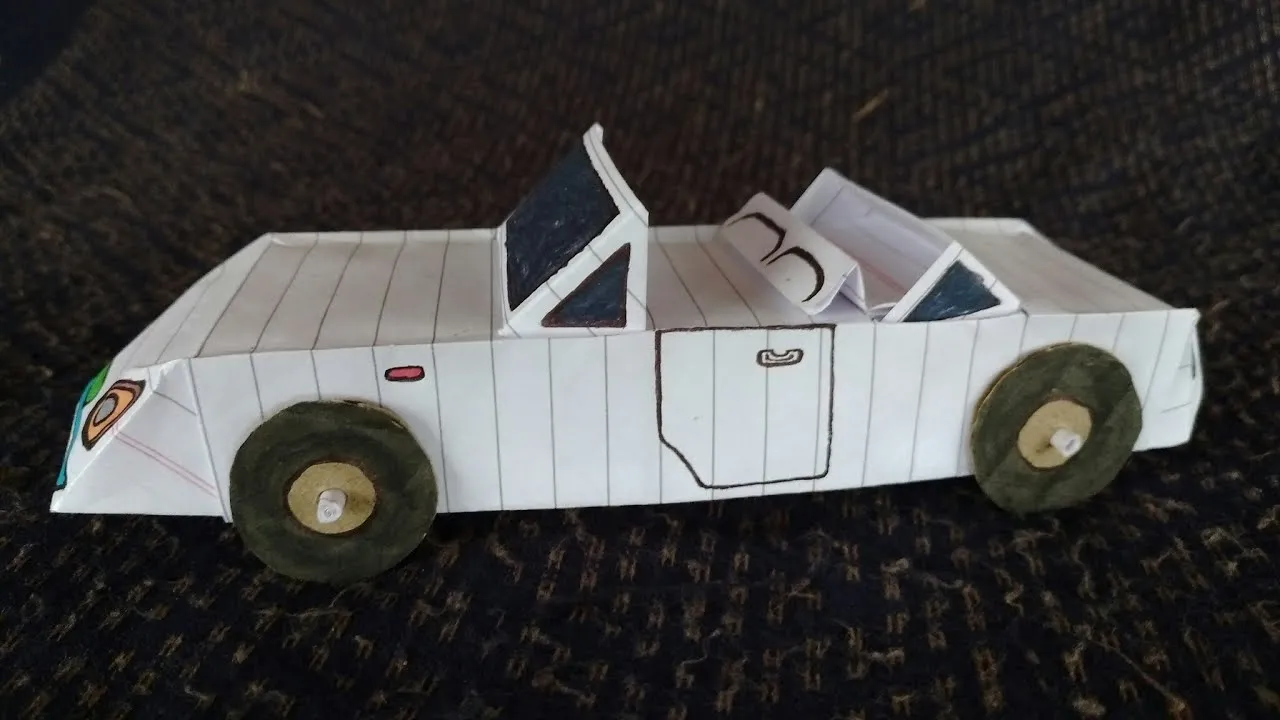
- Functional Features: Incorporate elements like flaps or movable wheels to add functionality. For example, you could make a foldable roof or doors that open and close!
Don’t forget to experiment with textures, too! Use materials like origami paper, scrapbook paper, or even aluminum foil for a shiny, metallic look. Each variation will give your paper car a distinct personality. You can even challenge your friends to design their own versions and have a little paper car race!
6. Conclusion
Creating a paper car is not just a fun craft; it's an engaging way to develop fine motor skills, creativity, and patience. With Dailymotion's step-by-step folding guide, you can easily follow along and craft your own vehicle masterpiece. Remember, the beauty of this project lies in its simplicity and the endless possibilities for customization.
As you explore your creativity with different designs and variations, you'll discover that each paper car tells a story—your story. So gather your materials, unleash your imagination, and enjoy the process. Whether you're making them for yourself, as gifts, or even as decorations, these paper cars are a delightful project for all ages. Happy folding!