Scheduled posts on LinkedIn are a game-changer for professionals aiming to enhance their online presence. Instead of rushing to post updates at the last minute, you can plan and create your content in advance. This feature allows you to schedule posts for optimal times, ensuring they reach your audience when they are most active. Imagine being able to set aside a few moments to draft thoughtful updates, articles, or promotions, and then having them automatically published at your preferred time! This not only saves you time but also helps in maintaining consistency in your engagement with followers.
Accessing Your Scheduled Posts
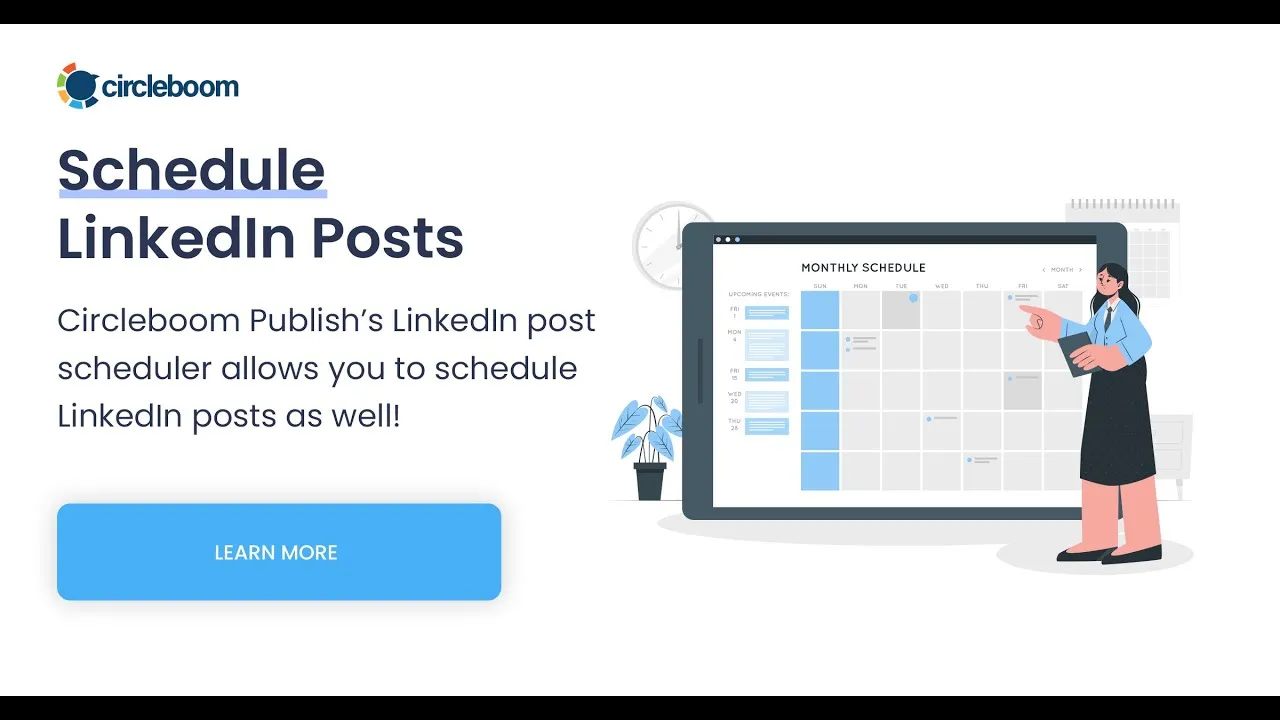
Accessing your scheduled posts on LinkedIn is a straightforward process, designed with user-friendliness in mind. Here’s how you can quickly find and manage your scheduled content:
- Log in to Your LinkedIn Account: Start by logging into your LinkedIn profile. Make sure you’re using the desktop version for a more comprehensive view.
- Navigate to the 'Home' Tab: Once logged in, click on the 'Home' tab located at the top of your LinkedIn feed.
- Access the Posting Area: In the posting area, look for a small calendar icon or a 'Manage Scheduled Posts' option, typically found below the text box where you would normally create a new post.
- View Scheduled Posts: Click on this option to view all your scheduled posts. Here, you’ll see a list showcasing the content, scheduled date, and time for each post.
In this management view, you can easily edit, delete, or reschedule your posts with just a few clicks. This accessibility ensures that you can adapt your content strategy based on recent trends or events, keeping your audience engaged and informed.
Also Read This: Effortless Downloads: Simplifying Image Access with Shutterstock Downloader
Steps to Edit Your Scheduled Posts
Editing your scheduled posts on LinkedIn is a straightforward process that can enhance your online presence. Here’s how to do it in just a few easy steps:
- Log into Your LinkedIn Account: Start by signing into your LinkedIn account. Make sure you’re using the desktop version for a smoother experience.
- Go to the Post Section: Navigate to the “Home” tab on your LinkedIn feed. From there, look for the “Manage Posts” option, usually found under the “Me” dropdown menu.
- Find Scheduled Posts: In the “Manage Posts” section, you’ll see all your scheduled posts. Click on the “Scheduled” tab to filter your view.
- Select the Post to Edit: Browse through your scheduled posts and select the one you want to edit. Click on the three dots (•••) next to the post to reveal more options.
- Edit Your Post: Choose “Edit” from the options. Here, you can modify the text, add or remove images, and even adjust the scheduled date and time.
- Save Changes: After making your edits, click on “Save,” and your post will be updated accordingly!
That’s it! Editing your scheduled posts is quick and ensures your content stays relevant and engaging.
Also Read This: Is Telegram a Dating App? Exploring Its Features and User Perceptions
Tips for Optimizing Your Posts
Optimizing your posts on LinkedIn is vital for maximizing engagement and reach. Here are some effective tips to help you shine:
- Use Strong Visuals: Posts with images or videos tend to perform better. Consider using high-quality graphics to grab attention.
- Craft Engaging Headlines: Your headline is the first thing people see. Make it catchy and relevant to encourage clicks.
- Incorporate Relevant Hashtags: Use 2-3 hashtags to increase discoverability. For example, #MarketingTips or #CareerGrowth can help connect you with the right audience.
- Post at Optimal Times: Research shows that posting during peak hours (like mornings on weekdays) can boost visibility.
- Encourage Interaction: Ask questions or invite feedback in your posts. Engaging your audience creates a two-way conversation.
- Analyze Performance: Use LinkedIn analytics to see which posts perform best and adjust your strategy accordingly.
By following these tips, you’ll optimize your LinkedIn posts and foster greater engagement with your network!
Also Read This: Reverse a YouTube Video on Mobile Devices for Creative Edits
Common Issues and Troubleshooting
Editing scheduled posts on LinkedIn can sometimes feel like trying to solve a Rubik's cube blindfolded! But don’t worry; we’ve all been there. Here are some common issues you might encounter and how to troubleshoot them:
- Post Not Showing Up: Sometimes, your scheduled post might not appear at the expected time. Ensure you double-check your time zone settings. If it’s still missing, try refreshing your page or logging out and back in.
- Editing Restrictions: If you find that you cannot edit a scheduled post, it’s likely due to a recent update or policy change on LinkedIn. Make sure your app is updated to the latest version or try accessing LinkedIn from a different browser.
- Formatting Issues: If your post looks different after editing, it could be due to LinkedIn’s formatting rules. Stick to plain text or simple links to avoid unwanted changes. You can use bullet points or numbered lists for clarity.
- Notification Confusion: After editing a scheduled post, you might not receive notifications as expected. This can happen if your settings are off. Check your notification preferences to ensure you get real-time updates.
- Mobile vs. Desktop: Sometimes, features differ between the mobile app and desktop version. If you face issues on mobile, consider switching to a desktop for a more stable experience.
If you encounter any other issues, the LinkedIn help center is a great resource, and community forums often provide quick fixes from fellow users!
Conclusion: Making the Most of Your LinkedIn Scheduling
In the fast-paced world of LinkedIn, scheduling posts can be a game changer for your personal or business branding. By mastering this feature, you’re not just saving time; you’re also enhancing your engagement with your audience. Here are some final tips to ensure you make the most out of LinkedIn scheduling:
- Consistency is Key: Regularly scheduled posts keep your profile active. Aim for a mix of content types—articles, updates, and multimedia—to keep your audience engaged.
- Optimal Timing: Research shows that posting during peak hours increases visibility. Test different times to find what works best for your audience.
- Engage Post-Scheduling: After your posts go live, don’t just sit back! Engage with comments and shares to foster community interaction.
- Analyze Performance: Use LinkedIn analytics to track how your scheduled posts perform. Adjust your strategy based on this data—what works today might not work tomorrow!
- Stay Updated: LinkedIn frequently rolls out new features. Keep an eye out for updates that could enhance your scheduling process.
By embracing these strategies, you’ll not only streamline your LinkedIn activity but also build a more robust and engaging presence on the platform. Happy scheduling!