Adobe Stock is a fantastic resource for designers, marketers, and content creators who need high-quality images for their projects. With millions of photos, illustrations, and videos available at your fingertips, it's a treasure trove for anyone seeking to enhance their visual content. Whether you're designing a website, creating social media posts, or developing marketing materials, Adobe Stock provides a range of options that can suit various needs and aesthetics. But with so many choices, understanding the image sizes and optimal download options can make a significant difference in achieving your project goals.
Typical Sizes of Adobe Stock Images
When it comes to Adobe Stock images, size matters! The platform offers images in a variety of dimensions to cater to different uses. Here’s a rundown of the typical sizes you can expect:
- Small Size: This usually measures around 400 x 300 pixels. Ideal for thumbnails and small web graphics.
- Medium Size: Ranges from 800 x 600 pixels to about 1200 x 900 pixels. Perfect for blog posts and social media content.
- Large Size: These images typically start at 2400 x 1800 pixels. Great for print materials and website headers.
- Extra Large Size: Often exceeding 3000 x 2000 pixels, these are the go-to for high-resolution prints and large banners.
It's important to choose the right size for your project. For instance, if you're creating a poster, you wouldn't want to download a small image, as it would likely appear pixelated when printed. Instead, opt for a large or extra-large size for clarity and professionalism.
To help you visualize the options, here's a quick comparison:
| Size Category | Pixel Dimensions | Best Use Cases |
|---|---|---|
| Small | 400 x 300 | Thumbnails, web graphics |
| Medium | 800 x 600 to 1200 x 900 | Blog posts, social media |
| Large | 2400 x 1800 | Print materials, headers |
| Extra Large | 3000 x 2000+ | High-resolution prints, banners |
By understanding these typical sizes, you can make informed decisions that elevate your projects and ensure that your visuals always look their best!
Also Read This: How Long Does It Take Shutterstock to Verify Your ID and Get Started
Choosing the Right Size for Your Project
When it comes to selecting the right image size for your project on Adobe Stock, it’s crucial to consider the end use of the image. Are you designing a website, creating a print advertisement, or crafting a social media post? Each of these formats demands different image dimensions and resolutions.
Here’s a quick guide to help you choose:
- Web Use: For websites, images should typically be around 72 DPI (dots per inch). Standard sizes include:
- Print Use: For print materials, you’ll need higher resolutions, usually 300 DPI. Common sizes for print include:
| Type | Width (pixels) | Height (pixels) |
|---|---|---|
| Full-width Banner | 1920 | 1080 |
| Thumbnail | 150 | 150 |
| Type | Width (inches) | Height (inches) |
|---|---|---|
| A4 Paper | 8.27 | 11.69 |
| Business Card | 3.5 | 2 |
Always remember, using an image that’s too small for your project can lead to blurriness or pixelation, while unnecessarily large files can slow down your website or exceed printing costs. So, take your time to choose wisely!
Also Read This: How to Apply Foundation on Acne-Prone Skin: Creating a Clear and Even Finish
Benefits of Different Image Resolutions
Understanding the benefits of various image resolutions can significantly enhance your project’s visual appeal and performance. Here’s a breakdown:
- Low Resolution (72 DPI): Ideal for digital platforms like websites and mobile apps. Advantages include:
- Faster loading times
- Reduced file size, which saves storage space
- Perfect for images that don’t require high detail
- Medium Resolution (150-300 DPI): Often used for brochures and flyers. Benefits include:
- Versatile for both digital and print projects
- Maintains good quality without excessive file size
- High Resolution (300 DPI and above): Essential for professional printing. Key perks include:
- Crisp, clear images with detailed visuals
- Suitable for large format prints like posters or billboards
- Ensures color accuracy and depth in printed materials
Choosing the right resolution based on your project will not only enhance visual quality but also improve user experience, so be mindful of this aspect when downloading from Adobe Stock!
Also Read This: Creating your own page on Behance
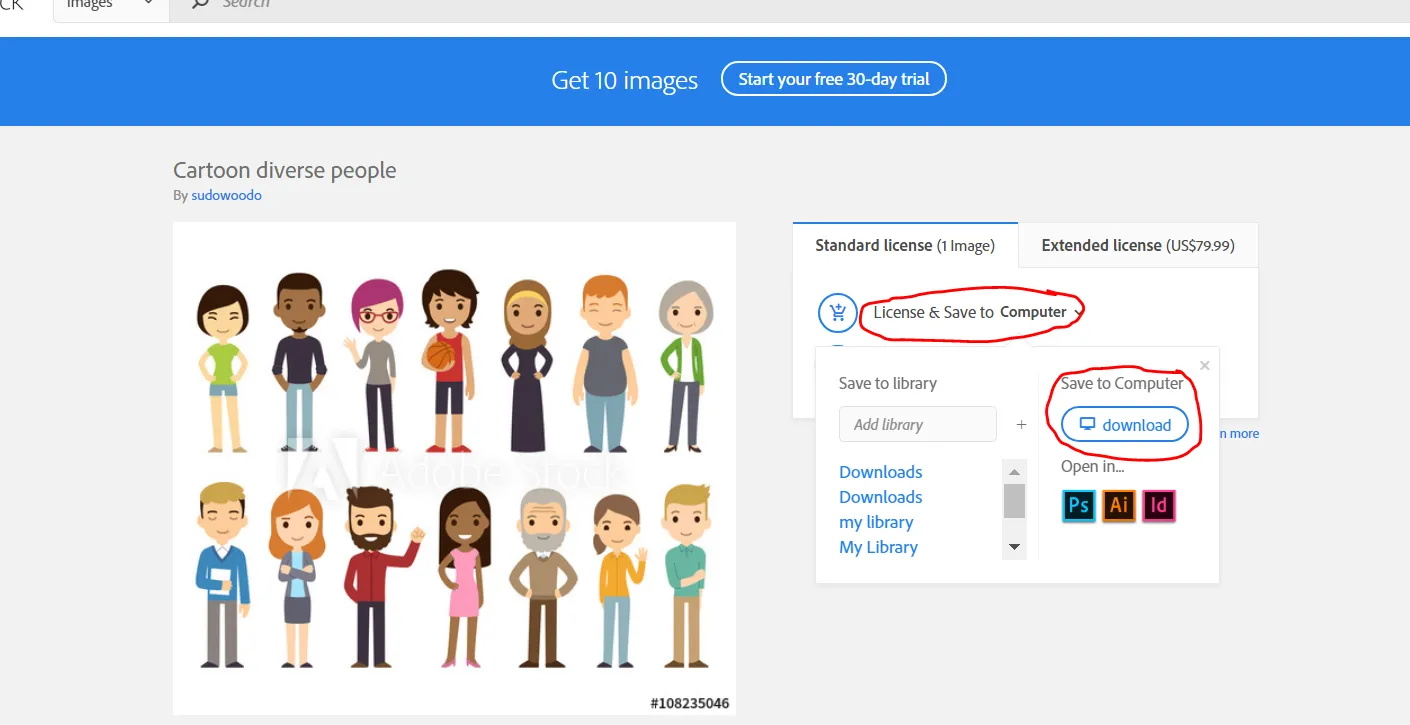
How to Download the Right Size from Adobe Stock
When you're ready to download an image from Adobe Stock, selecting the right size is crucial for ensuring your project looks professional. The platform offers various sizes, and knowing how to choose the best one can save you from future headaches. Here’s a simple guide to help you through the process:
- Understand Your Project Needs: Before downloading, consider where the image will be used. For instance, if it’s for a website, you may not need a high-resolution image. But for print materials, opt for larger dimensions.
- Check the Recommended Sizes: Adobe Stock provides recommended sizes based on the type of project. For example:
- *Web Use: 72 DPI (dots per inch), typically 1200 x 800 pixels.
- Print Use:* 300 DPI is essential for high-quality prints, such as brochures or posters, so aim for sizes like 3000 x 2000 pixels or larger.
- Preview Before Downloading: Adobe Stock allows you to preview images in different sizes. Take advantage of this feature to see how an image fits your layout.
- Adjust According to Layout: If you're designing a specific layout, ensure the image size aligns with your design dimensions to avoid pixelation or cropping issues.
By following these steps, you can ensure that your download matches your project requirements perfectly, saving you time and effort down the line.
Conclusion and Best Practices
In conclusion, understanding Adobe Stock image sizes and download options is vital for delivering polished projects. Here are some best practices to keep in mind:
| Best Practice | Description |
|---|---|
| Always Choose the Right DPI: | For digital projects, 72 DPI is sufficient, while 300 DPI is necessary for print. |
| Use the Preview Feature: | Preview images in your intended layout to ensure the perfect fit. |
| Consider Future Uses: | If you might repurpose the image, download a larger size for versatility. |
| Organize Your Downloads: | Keep your downloaded images organized in folders based on projects to streamline your workflow. |
By applying these best practices, you’ll not only enhance the quality of your projects but also save time and effort. Happy designing!