Welcome to the colorful world of loom bands! Making your own loom bands is not only a fun and relaxing craft but also a fantastic way to express your creativity. Whether you’re a beginner or looking to refine your skills, this easy tutorial will guide you through the process of making various loom bands. From simple designs to more intricate patterns, you’ll be amazed at what you can create with just a few materials and some imagination. Let’s dive in and start crafting!
Materials Needed
Before we get started on making loom bands, let’s gather all the necessary materials. Having everything ready will make the process smoother and more enjoyable. Here’s what you’ll need:
- Loom Kit: This usually includes a loom board, a hook, and clips. A basic loom board can create various designs.
- Rubber Bands: Choose a variety of colors! You can find packs of rubber bands in craft stores or online.
- S Clips or C Clips: These clips are essential for holding your loom bands together once they’re finished.
- Hook Tool: This is a slender, pointed tool that helps you weave the bands together. It’s typically included in most loom kits.
- Storage Container: Keep your rubber bands organized by using a small container or box.
- Scissors (optional): You might need these if you want to trim any excess bands or make adjustments.
- Creativity! Don’t forget that the best material is your imagination. Try out different patterns and designs!
With these materials in hand, you’re all set to start your loom band adventure! Happy crafting!
Also Read This: Updating Fortiguard Downloader on FortiGate: A Guide
Types of Loom Bands
Loom bands come in a delightful variety of styles and patterns, each serving its unique purpose and appeal. Understanding the different types can help you choose the right kind for your project.
- Classic Loom Bands: These are the original loom bands that come in a vast assortment of colors. They’re perfect for beginners and are typically used to create simple bracelets and charms.
- Glow-in-the-Dark Bands: Add a twist to your creations with glow-in-the-dark bands. These are great for making party favors or accessories that shine during nighttime events!
- Metallic Bands: For those who want a bit of glam, metallic bands come in shiny hues like gold, silver, and bronze. They're perfect for making more sophisticated designs.
- Pastel Bands: Soft and subtle, pastel bands are ideal for creating elegant pieces that appeal to a more muted aesthetic. Think spring-themed projects!
- Patterned Bands: Featuring designs like stripes, polka dots, or themed graphics, these bands add a fun flair to your loom creations. You can use them to create eye-catching accessories.
Each type of loom band can be used in various ways, allowing for endless creativity. Whether you’re making friendship bracelets or intricate keychains, the right band can bring your vision to life!
Also Read This: Share Canva Templates with Others Using How to Share a Canva Template with Someone
Step-by-Step Instructions
Ready to dive into the exciting world of loom bands? Follow these easy steps to create your very own loom band bracelet:
- Gather Your Materials: You’ll need your loom, loom bands, a hook, and a clip to hold your bracelet together.
- Set Up the Loom: Place your loom in front of you with the arrows pointing away. This will help guide your band placement.
- Choose Your Colors: Select the colors you want to use for your bracelet. A combination of 2-4 colors often works best!
- Begin Stretching Bands: Start with the first band. Stretch it from the first peg to the second peg in a figure-eight pattern. Repeat this for the next few pegs.
- Hooking the Bands: Using your hook, start from the bottom peg and pull the bottom band over the top band and off the peg. Repeat this for all pegs.
- Finishing Up: Once you reach your desired length, use a clip to secure the end of your bracelet. Remove it from the loom carefully.
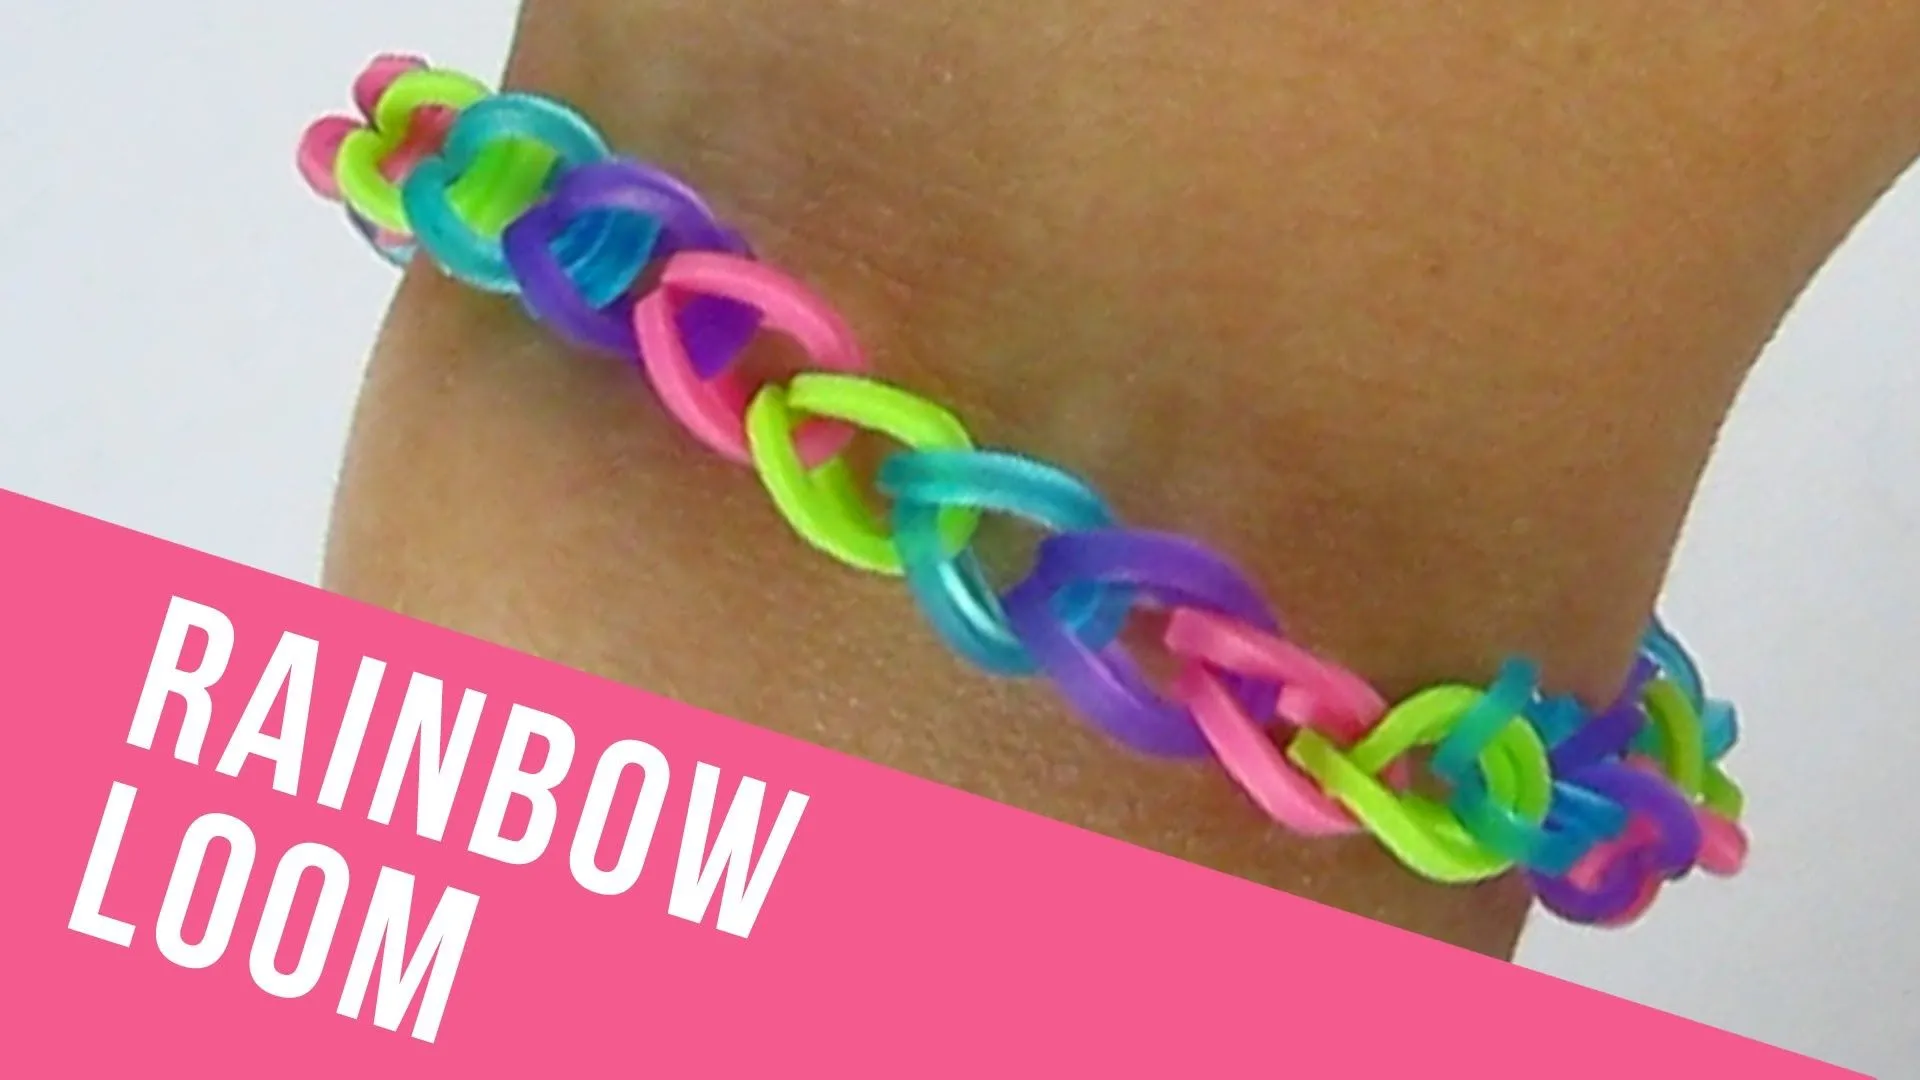
And there you have it! You’ve created a colorful loom band bracelet. Don’t hesitate to experiment with different colors and styles. Happy crafting!
Also Read This: How to Change Your Job Status to Applied on LinkedIn
Tips for Creating Unique Designs
Creating unique loom band designs can be both exciting and rewarding. Here are some tips to help you stand out with your creations:
- Experiment with Colors: Don’t be afraid to mix and match colors! Using contrasting colors can make your design pop. For example, if you're making a bracelet, try using neon bands with metallics.
- Try Different Patterns: Look beyond the basic patterns. Explore chevrons, starbursts, or even floral designs. Online platforms like Pinterest are fantastic for inspiration!
- Incorporate Charms: Adding charms or beads can elevate your design. Consider using themed charms based on holidays or personal interests to make your bands special.
- Use Varying Band Sizes: Mixing thick and thin loom bands can add depth and texture. For instance, alternating between standard and mini bands can create a unique look.
- Join Forces! Collaborate with friends or family. A group design project can lead to innovative ideas and techniques that you might not think of alone.
Remember, there are no strict rules in crafting. Let your imagination guide you, and don’t hesitate to break away from traditional designs!
Conclusion
In conclusion, making loom bands is more than just a craft; it’s a creative outlet that allows you to express your individuality. Whether you’re following a tutorial or exploring your own designs, the joy of crafting these colorful accessories is immense.
Here’s a quick recap of the journey:
| Step | Action |
|---|---|
| 1 | Gather your materials and tools. |
| 2 | Learn basic techniques. |
| 3 | Experiment with unique designs. |
| 4 | Add personal touches! |
Keep pushing your creative boundaries and enjoy the process. Whether you create a simple bracelet or an intricate necklace, every piece is a reflection of your personal style. Happy looming!