Canva image erasing is a feature that allows you to remove specific parts of an image without affecting the rest of it. Whether you want to get rid of a background, an unwanted object, or any other element that doesn’t quite fit, this tool makes it easy to fine-tune your design.
Instead of using complex software, Canva offers a straightforward and intuitive interface for this process. With just a few clicks, you can erase areas of an image, giving you greater control over the final look of your design.
Why Would You Need to Erase Parts of an Image?
There are many reasons why you might want to erase parts of an image. Some common situations include:
- Removing Backgrounds: Whether you’re creating a logo or a product shot, having a clean background can make your image stand out more.
- Eliminating Distractions: Sometimes, there’s an object or person in the frame that draws attention away from the main subject. Erasing can help keep the focus where you want it.
- Creating Transparent Areas: If you need a part of your image to be see-through for layering purposes, the erase tool comes in handy.
- Fixing Minor Issues: Occasionally, you might need to tweak an image by erasing small details like shadows, watermarks, or blemishes.
In short, image erasing can enhance the professionalism and clarity of your visuals, helping you convey the right message more effectively.
Also Read This: Mastering the Front French Braid Technique
How Canva Makes Image Erasing Simple
One of the standout features of Canva is how user-friendly it is, and this applies to image erasing as well. Here’s how Canva makes the process straightforward:
- Easy-to-Use Interface: Canva’s erasing tool is designed with simplicity in mind. You don't need to be a graphic design expert to use it.
- Instant Preview: As you erase, Canva shows a live preview of your changes, making it easier to see exactly what you’re removing.
- Adjustable Brush Size: You can change the size of the eraser to match the area you’re working on. Use a larger brush for bigger sections and a smaller one for finer details.
- Undo Button: Made a mistake? No problem. Canva's undo feature lets you quickly fix any errors without starting over.
- No Installation Required: Since Canva is web-based, you can use the erasing tool from any device with an internet connection, without needing to download software.
With these features, Canva ensures that even beginners can effectively use the image erasing tool, enhancing their creativity without frustration.
Also Read This: How to Disable Comments on Dailymotion
Step-by-Step Guide to Erase Images in Canva
Erasing parts of an image in Canva is simple, even if you’re new to design tools. Follow this easy step-by-step guide to get started with the eraser tool and make your designs look clean and professional.
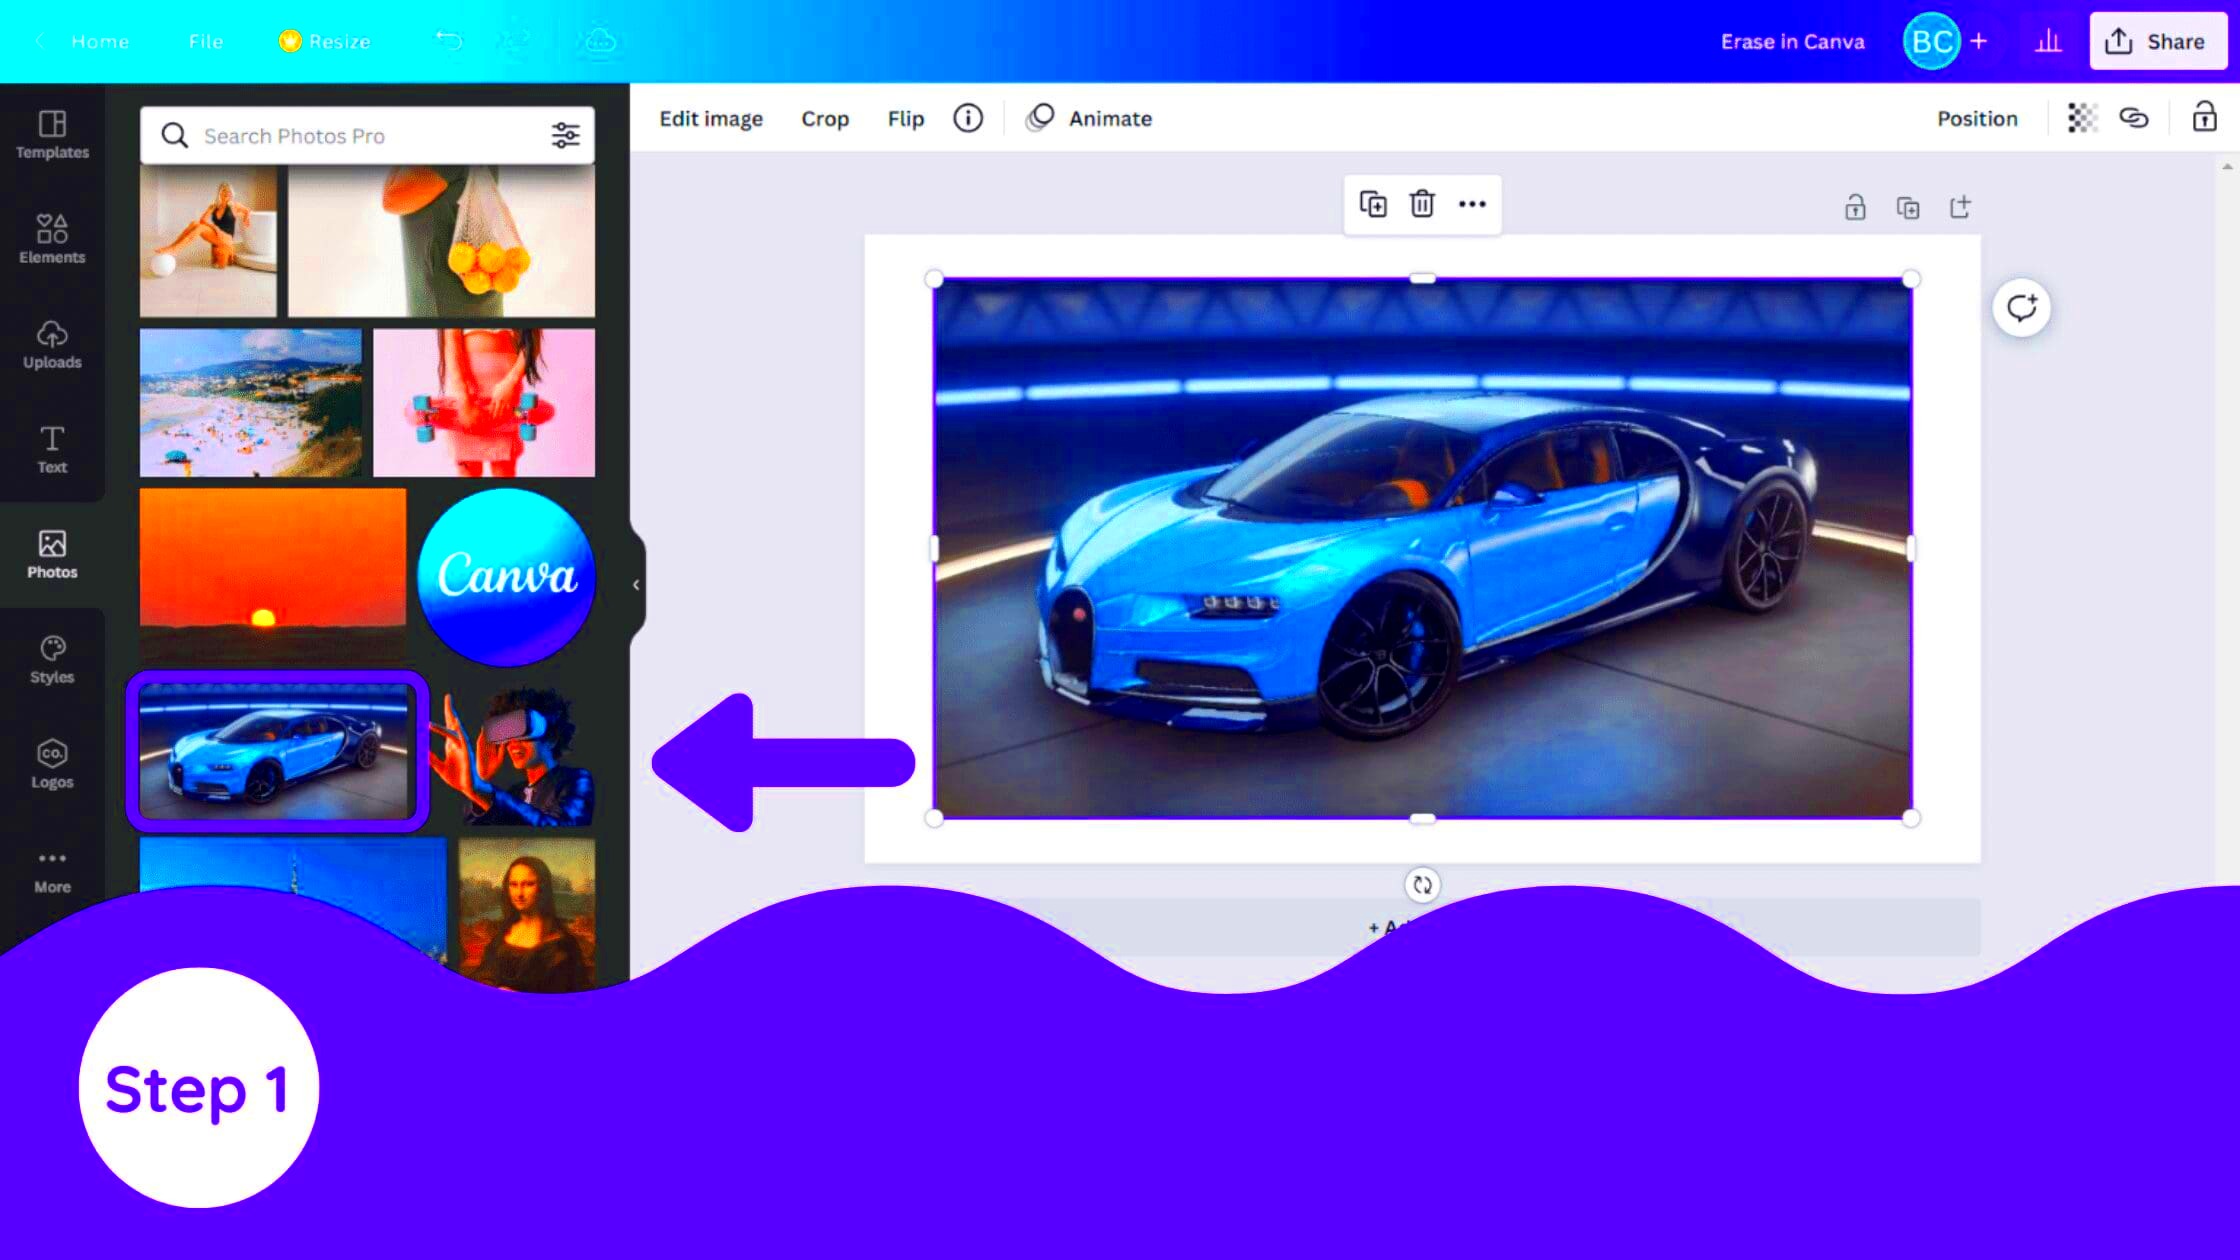
- Open Canva and Upload Your Image: First, log in to your Canva account. If you don’t have an account, creating one is free. Once logged in, upload the image you want to edit by dragging it into the workspace or selecting it from your device.
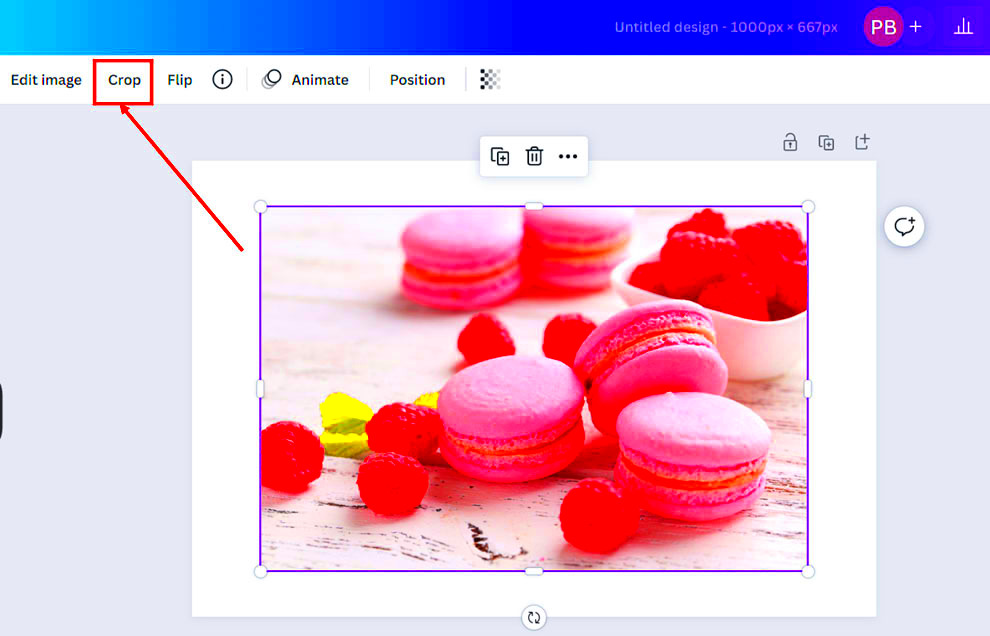
- Select the Image: Click on the image to activate editing options. Once selected, you'll see a variety of tools to customize your image.
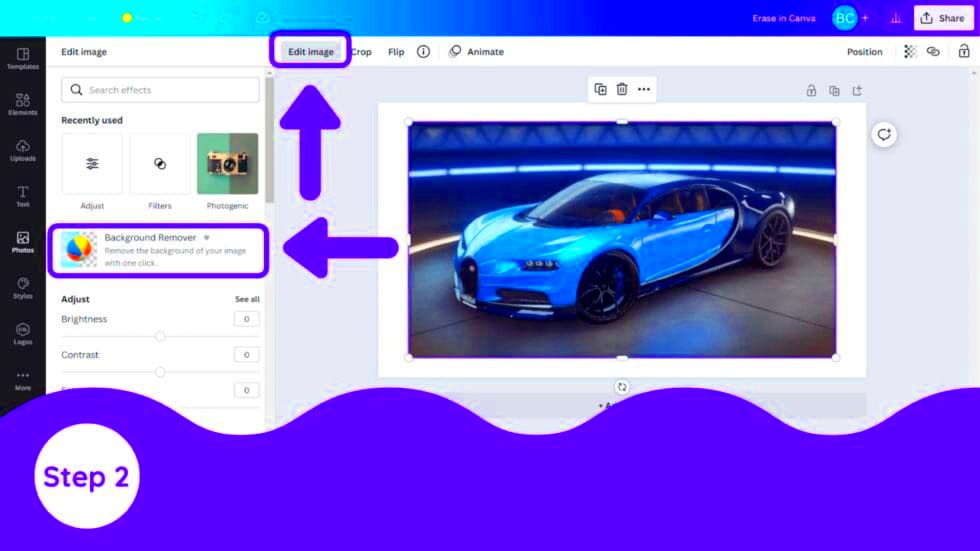
- Choose the Eraser Tool: In the toolbar above the workspace, look for the option to remove background or use the eraser. Depending on your needs, you may either erase parts manually or use Canva’s background remover for more automatic results.
- Adjust the Brush Size: Before you start erasing, adjust the brush size to match the area you're working on. A larger brush is better for big areas, while a smaller one helps with detailed erasing.
- Start Erasing: Simply click and drag over the parts of the image you want to remove. Canva shows a live preview as you work, making it easy to track your progress.
- Refine Your Edits: If you erase too much or too little, use the undo button or adjust your erasing until you’re satisfied with the result.
- Save or Download: Once you're done, you can save your design in Canva or download it in the format of your choice (PNG, JPEG, etc.).
With these steps, you’ll be able to quickly and effectively erase any parts of your image, creating a polished, professional final result.
Also Read This: Behance portfolio PDF download
Tips for Perfect Erasing in Canva
To get the best results when erasing parts of an image in Canva, there are a few tips you should keep in mind. These will help you avoid mistakes and make your edits look seamless.
- Zoom In for Detailed Work: When working on small or intricate areas, zoom in on the image to get a better view. This allows for more precise erasing, especially around edges or fine details.
- Use a Soft Brush for Smooth Transitions: If you want the erased area to blend naturally with the rest of the image, choose a softer brush. This is especially useful for edges, where a harsh line might look out of place.
- Erase in Layers: Instead of trying to remove large sections all at once, go over the area in smaller, gradual passes. This gives you more control over how much you erase.
- Use Background Remover for Quick Edits: Canva's built-in background remover can handle many tasks automatically, which is great for larger areas like plain backgrounds. After using it, you can refine the result manually if needed.
- Test on Different Backgrounds: After erasing, place your image on different background colors to make sure there are no leftover spots or jagged edges.
By following these tips, you’ll ensure that your erasing looks clean and professional, with no obvious signs of editing.
Also Read This: Tips for Enhancing Video Quality on the Dailymotion App
Common Mistakes to Avoid When Using Canva's Eraser Tool
While Canva’s eraser tool is user-friendly, there are a few common mistakes that can make your edits look less polished. Here’s a quick list of what to avoid:
- Over-Erasing: One of the most frequent errors is erasing too much of the image. This can leave your design looking incomplete or unbalanced. Always take a moment to check your work before finalizing it.
- Ignoring Edges: Pay close attention to the edges of your erased area. If you leave jagged or rough edges, it can be noticeable, especially against a different background. Use a smaller brush for detailed edge work.
- Not Zooming In: Failing to zoom in when working on fine details can lead to imprecise edits. Zooming in helps you see exactly what you’re erasing, ensuring better accuracy.
- Forgetting to Undo: Canva offers an undo button for a reason! If you make a mistake, don’t be afraid to use it. There’s no need to start from scratch if you accidentally erase something you didn’t mean to.
- Not Testing the Final Result: Before finalizing your image, test it against multiple backgrounds or layers to make sure it looks clean. This can help reveal any missed spots or rough edges that need further erasing.
Avoiding these common mistakes will save you time and effort, and ensure your final image looks sharp and professional every time.
Also Read This: How to Add More Projects on Behance
FAQ about Canva Image Erasing
When using Canva’s image erasing tool, you might come across some questions. Here are some common FAQs that can help clarify how to use this feature more effectively.
1. Can I undo my erasing in Canva?
Yes, Canva allows you to undo any changes you’ve made using the eraser tool. You can use the undo button located in the top menu bar, or press Ctrl + Z (Windows) or Cmd + Z (Mac) to revert your last action.
2. Does Canva offer automatic background removal?
Yes, Canva has an automatic background remover tool, available for Pro users. This tool instantly removes the background of an image with one click, and you can refine the results manually using the eraser tool for better precision.
3. What file formats are supported for image erasing in Canva?
Canva supports a wide range of image file formats, including PNG, JPEG, and SVG. You can upload these formats and use the eraser tool to edit them as needed. For transparent backgrounds, it's recommended to export your image in PNG format.
4. Can I restore the erased parts of an image later?
No, once you erase a part of an image in Canva and finalize your design, the erased areas are gone unless you undo the changes right away. Always double-check your work before saving to ensure you're satisfied with the edits.
5. Is the eraser tool available on the free version of Canva?
The manual eraser tool is available on both the free and Pro versions of Canva. However, features like automatic background removal are exclusive to Canva Pro.
Conclusion: Why Canva Is a Go-To Tool for Image Editing
Canva’s image erasing tool, combined with its user-friendly interface and versatility, makes it an excellent choice for both beginners and professionals. Whether you're doing simple edits or more complex designs, Canva provides the tools to help you achieve clean and professional results without the steep learning curve. Its accessibility, even in the free version, further enhances its appeal as a go-to image editing platform.