The Shutterstock Editor is an online tool designed to help users enhance their images effortlessly. Whether you're a professional designer or just someone who enjoys editing photos, this tool offers a range of features to make your images pop. With Shutterstock Editor, you can adjust colors, add text, apply filters, and much more—all in one place. It’s user-friendly, which means you don’t need to be a tech expert to create stunning visuals. Let’s dive into what makes this editor a great choice for your image enhancement needs.
Getting Started with Shutterstock Editor
Getting started with the Shutterstock Editor is a breeze. Follow these simple steps to begin your editing journey:
- Create a Shutterstock Account: If you don’t have an account yet, sign up for one on the Shutterstock website. This will give you access to a vast library of images and the editor itself.
- Select an Image: Browse through the Shutterstock library and choose the image you want to edit. You can search for specific images using keywords or browse categories.
- Open the Editor: Once you’ve selected your image, click on the “Edit” button to open the Shutterstock Editor.
- Familiarize Yourself with the Tools: Before you start editing, take a moment to explore the various tools available in the editor. Knowing what each tool does will help you make better choices during your editing process.
And that’s it! You’re all set to start enhancing your images with the powerful tools available in the Shutterstock Editor.
Also Read This: Keeping Up with the Market: Analyzing Adobe Stock After Hours
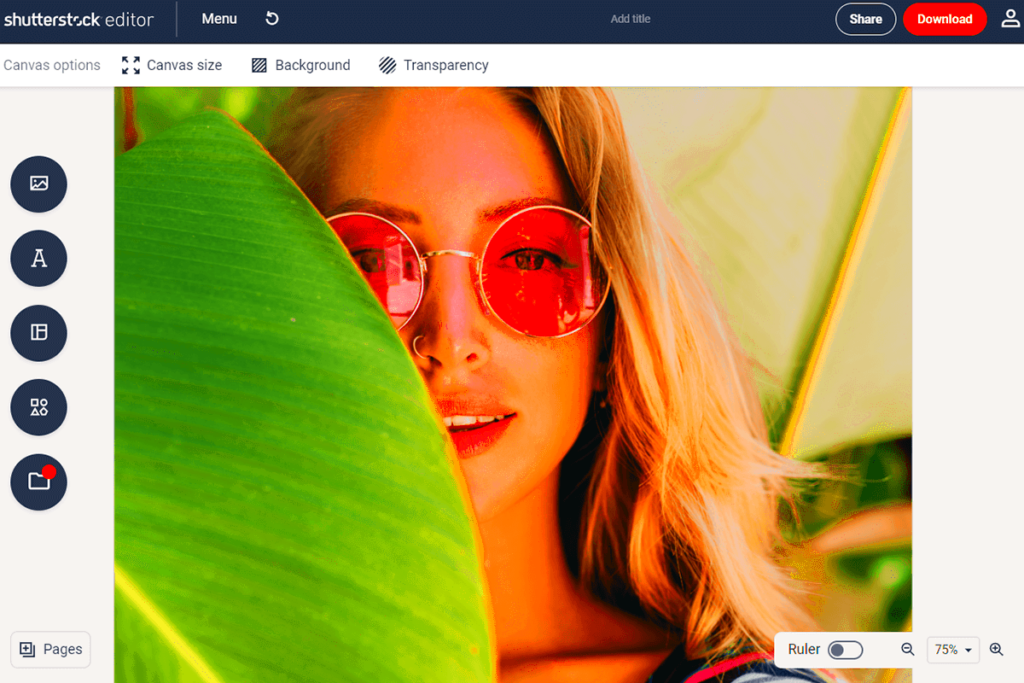
Exploring the User Interface of Shutterstock Editor
Once you’re in the Shutterstock Editor, the user interface is designed to be intuitive and straightforward. Here’s a breakdown of the main components:
- Tool Bar: Located on the left side of the screen, the toolbar contains all the editing tools you’ll need. This includes options for cropping, rotating, adjusting colors, and adding text.
- Preview Window: The central area of the screen is where you’ll see your image as you edit it. This allows you to view changes in real-time, ensuring that you’re happy with the results.
- Properties Panel: On the right side, you’ll find the properties panel. Here, you can adjust the settings for the selected tool, such as opacity, brightness, and contrast.
- Save and Download Options: At the top right, you’ll find buttons to save your work or download the enhanced image once you’re finished.
By familiarizing yourself with these components, you’ll be able to navigate the Shutterstock Editor more effectively and make the most of its features.
Also Read This: Troubleshooting Guide for Fixing Common Dailymotion Errors such as 404 Not Found
Using Basic Editing Tools for Image Enhancements
When you dive into the Shutterstock Editor, the basic editing tools are your best friends. These tools help you make fundamental adjustments that can dramatically improve your images. Whether you want to correct colors, crop out unwanted parts, or adjust brightness, these tools provide an easy way to do it all. Here’s a quick overview of some essential editing tools you’ll find:
- Crop Tool: Use this tool to trim your image to focus on the main subject. You can adjust the dimensions and aspect ratio to fit your needs.
- Rotate Tool: Sometimes, all it takes is a simple rotation to give your image a new perspective. Use this tool to straighten or change the orientation of your photo.
- Brightness and Contrast Adjustments: Adjust the brightness to lighten or darken your image, and use contrast to enhance the difference between light and dark areas.
- Color Adjustments: Tweak the color balance, saturation, and temperature to create the desired mood. Warmer tones can evoke warmth, while cooler tones can give a more serene feel.
Using these basic tools will set a solid foundation for enhancing your images, making them more visually appealing to your audience.
Also Read This: How to Integrate AlbumParrot with ShootProof
Applying Filters and Effects for Creative Touches
Once you've mastered the basic editing tools, it’s time to get a bit creative with filters and effects! Filters can give your images a whole new vibe, while effects can help you achieve that artistic touch. Here are some popular options you can explore:
- Pre-set Filters: Shutterstock Editor offers a variety of pre-set filters that can instantly change the look and feel of your image. Whether you want a vintage look or a modern pop, there's a filter for you.
- Blur Effects: Adding a blur effect can help focus attention on the subject while creating a soft, dreamy background. You can choose from several types of blur, including Gaussian or radial blur.
- Text Effects: If you’re adding text to your image, consider applying effects like shadows, outlines, or gradients to make it stand out.
- Custom Color Grading: For those looking to enhance the mood, custom color grading allows you to fine-tune the colors and create a unique atmosphere.
Don’t be afraid to experiment with different combinations of filters and effects. This is where you can let your creativity shine!
Also Read This: Understanding YouTube Lag in Fullscreen Mode and How to Fix It
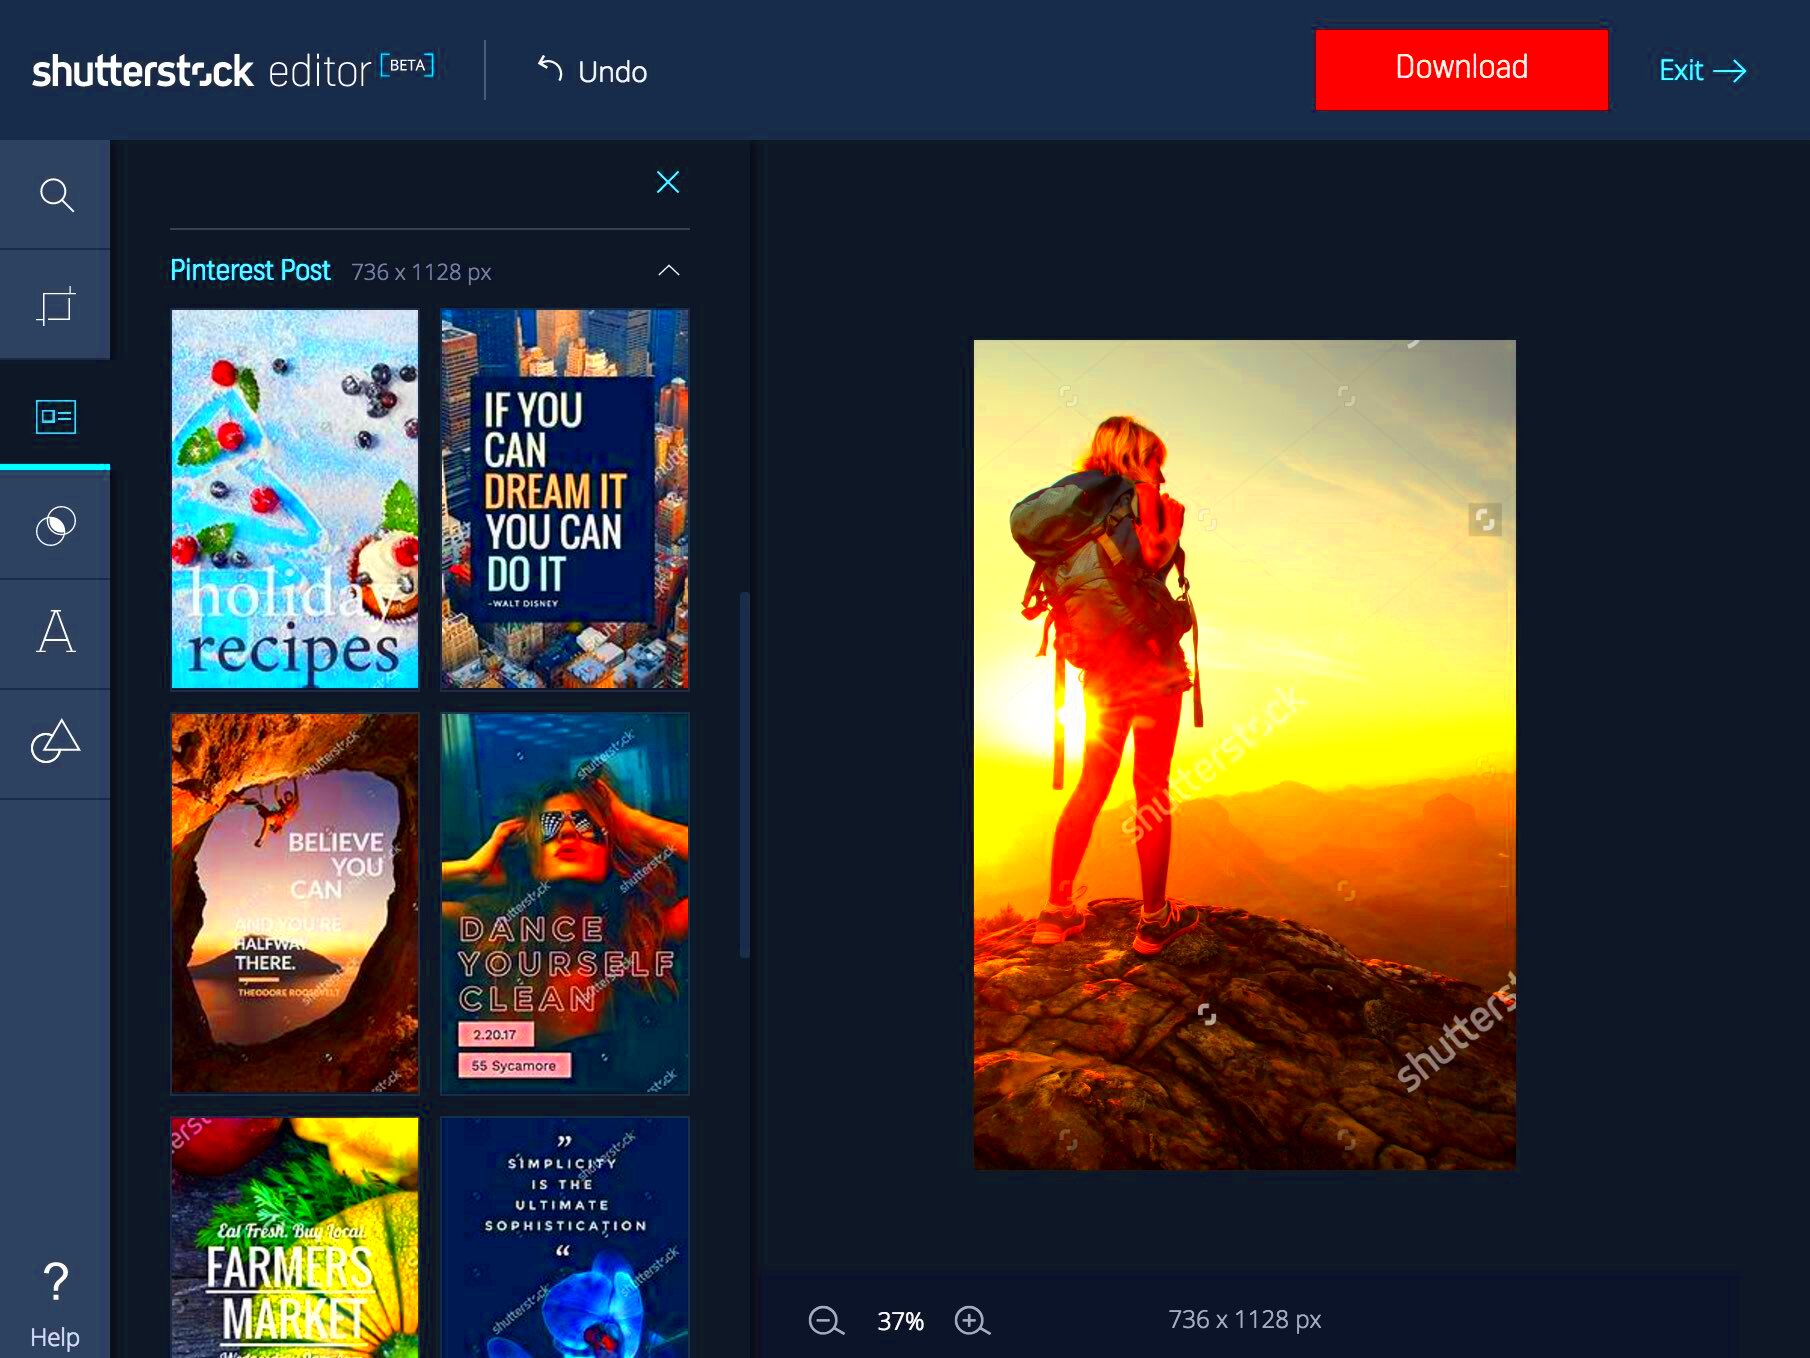
Saving and Downloading Your Enhanced Images
After you’ve spent time perfecting your image, the last step is saving and downloading your enhanced masterpiece. The Shutterstock Editor makes this process simple, ensuring that you can easily access your work. Here’s how to do it:
- Review Your Edits: Before saving, take a moment to review all your edits. Zoom in to check details and make sure everything looks just right.
- Click on Save: In the top right corner, you’ll find the “Save” button. Click it to save your progress in the Shutterstock cloud, allowing you to return to it later if needed.
- Select Download Options: After saving, you’ll see options for downloading your image. You can choose the file format (like JPG or PNG) and select the quality.
- Download Your Image: Finally, click the download button. Your enhanced image will be saved to your device, ready for you to use wherever you want!
With these steps, you can easily share your stunning visuals on social media, websites, or print them for any project you have in mind. Enjoy showcasing your creativity!
Also Read This: Mastering LinkedIn Skill Assessments for Career Advancement
Tips for Making the Most of Shutterstock Editor
Using the Shutterstock Editor can be a fantastic experience, especially when you know how to leverage its features. Here are some practical tips to enhance your editing skills and make the most out of this powerful tool:
- Familiarize Yourself with Shortcuts: Learning keyboard shortcuts can save you time and streamline your workflow. For example, use "Ctrl + Z" to undo an action quickly.
- Experiment with Layers: Utilize layers to separate different elements of your image. This makes it easier to edit individual parts without affecting the whole picture.
- Take Advantage of Tutorials: Shutterstock provides tutorials and guides. Watching these can give you new ideas and techniques that you may not have considered.
- Utilize the Color Wheel: When adjusting colors, using the color wheel can help you understand complementary colors and enhance your image’s visual appeal.
- Save Multiple Versions: If you're trying out different edits, save multiple versions of your image. This way, you can compare them and choose the best one later.
- Keep Your Audience in Mind: Think about who will see your images. Tailoring your edits to suit your audience can make your work more impactful.
By following these tips, you can enhance your editing experience and create stunning visuals that stand out.
Also Read This: WireImage: A Hidden Gem for Visual Content Creators
Frequently Asked Questions
Many users have questions when they first start using the Shutterstock Editor. Here are some of the most common inquiries and their answers:
| Question | Answer |
|---|---|
| Do I need a subscription to use Shutterstock Editor? | Yes, you need a Shutterstock subscription to access and download images for editing. |
| Can I edit my own images in Shutterstock Editor? | Yes, you can upload your own images and edit them using the same tools available for Shutterstock images. |
| Is there a limit to how many images I can edit? | There is no specific limit, but your account type may determine how many images you can download. |
| Can I use Shutterstock images for commercial purposes? | Yes, but make sure you read and understand the licensing agreement to comply with usage rights. |
If you have other questions or concerns, checking the Shutterstock support page can provide additional insights and assistance.
Conclusion
In conclusion, the Shutterstock Editor is a powerful tool that can help you create stunning images with ease. By understanding its features and applying the tips shared, you can enhance your editing skills and produce eye-catching visuals that grab attention. Don’t forget to explore the various tools, experiment with different edits, and most importantly, have fun with your creativity. Whether you’re a beginner or a seasoned designer, Shutterstock Editor has something to offer everyone. Happy editing!