When I started out in video production I was clueless about the importance of lighting. I used to film videos in my living room, using just the natural light streaming through the window. But as time went on I realized that lighting can truly make or break a video. Mastering the fundamentals of lighting can help you craft visuals that deeply connect with your viewers.
Lighting plays a role in video production. It not only brightens up your subject but also helps establish the overall atmosphere of your footage. Here are a few key ideas to understand:
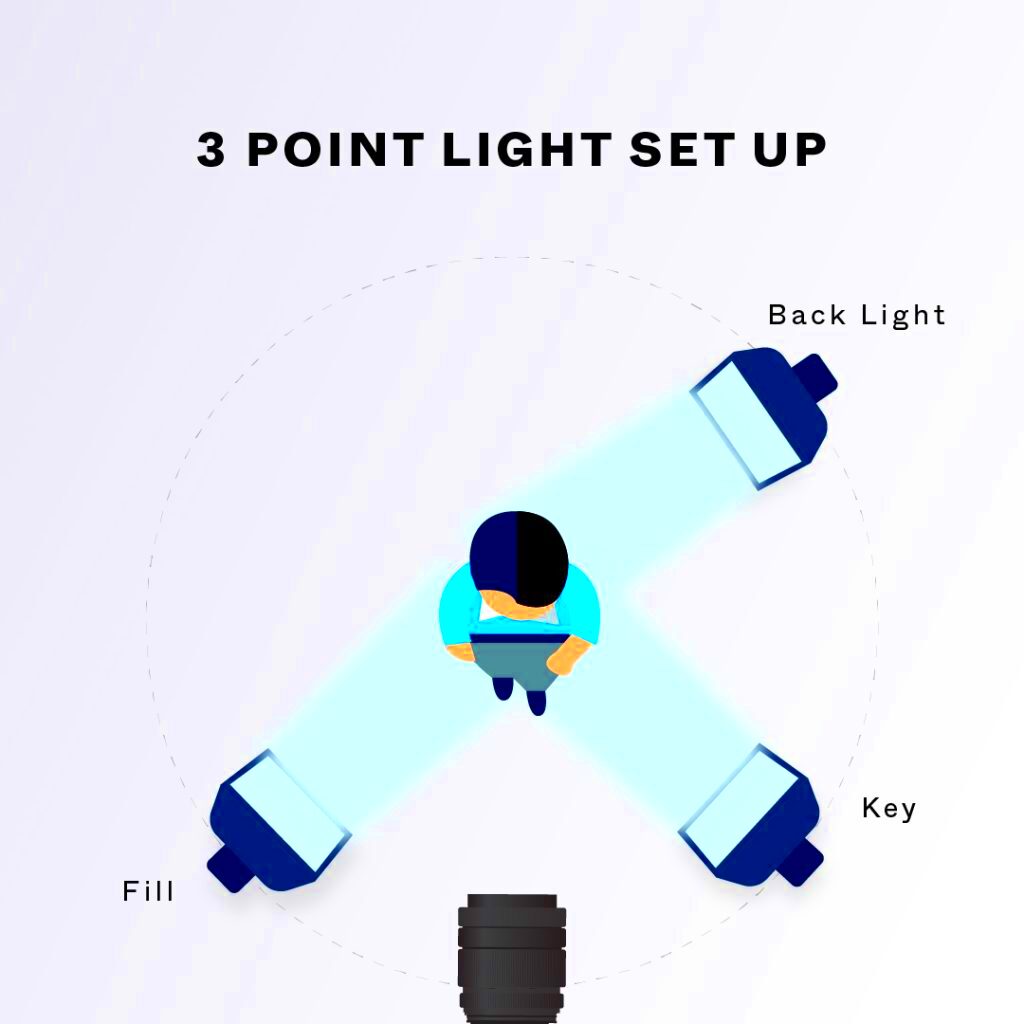
- Three-Point Lighting: This technique uses key light, fill light, and backlight to create a balanced look.
- Color Temperature: Different light sources emit different colors. Understanding this helps you maintain color consistency.
- Shadows: Shadows can add depth and interest, but too much can be distracting. Finding the right balance is key.
Once you get the hang of these fundamentals you can begin crafting videos that are both eye catching and emotionally resonant. Keep in mind that the lighting can convey a narrative with impact as the actual video material.
Types of Lighting Used in Video Production

While diving into the realm of video making I came across different lighting techniques that can significantly alter the appearance of a shot. Grasping these variations is crucial for anyone looking to pursue a career in videography.
Here’s a breakdown of the most common types:
| Type of Lighting | Description |
|---|---|
| Key Light | The primary source of light in a scene, usually placed at a 45-degree angle to the subject. |
| Fill Light | Softens shadows created by the key light. It should be less intense than the key light. |
| Back Light | Illuminates the subject from behind, adding depth and separation from the background. |
| Practical Light | Any visible light source within the scene, like lamps or candles, that contributes to the overall lighting. |
By combining different lighting styles you can really add depth and vibrancy to your videos. For instance I remember making a video where I incorporated lights to create a warm and inviting ambiance in a café and the outcome was nothing short of enchanting.
Also Read This: How Big Is Rumble Compared to YouTube
How Natural Light Affects Your Videos

The beauty of light adds a special touch to your videos that artificial lighting struggles to match. I still recall my experience shooting at hour when those gentle, warm beams turned my footage into something truly stunning. However it’s crucial to understand how to utilize natural light to get the best results.
Here are a few key points to consider:
- Time of Day: The best natural light often occurs during the early morning or late afternoon. Avoid harsh midday sun.
- Weather Conditions: Overcast days can provide soft, diffused light, which is great for even skin tones.
- Location: Experiment with different settings. Shooting near windows can create beautiful effects.
Counting on light alone can be a bit tricky. I found this out when unexpected clouds rolled in and messed up my shoot. By combining light with some artificial lighting options you can strike a balance that works well in any situation making sure your videos look great regardless of the weather.
Also Read This: Creative Hairstyling Tips to Add Puff to Your Hair
Using Artificial Light to Enhance Your Footage
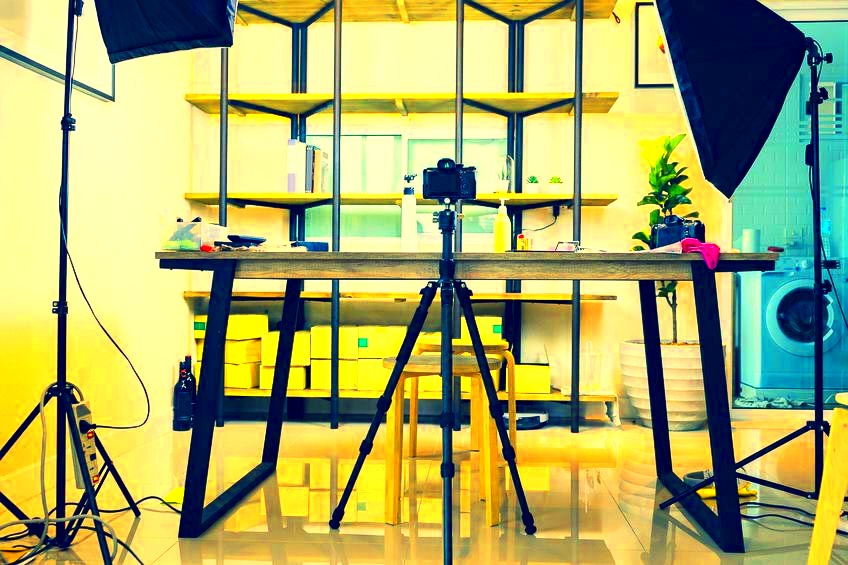
Using light can really elevate your video content and give it that polished look we all strive for. I recall my initial attempts at filming in poorly lit spaces trying to capture the true essence of what I was shooting. It was only when I started using lighting that my videos started to stand out. With the setup you can enhance colors minimize shadows and make your visuals come alive.
When it comes to artificial lighting there are several key types to keep in mind.
- LED Lights: These are energy-efficient and come in various color temperatures, making them versatile for different settings.
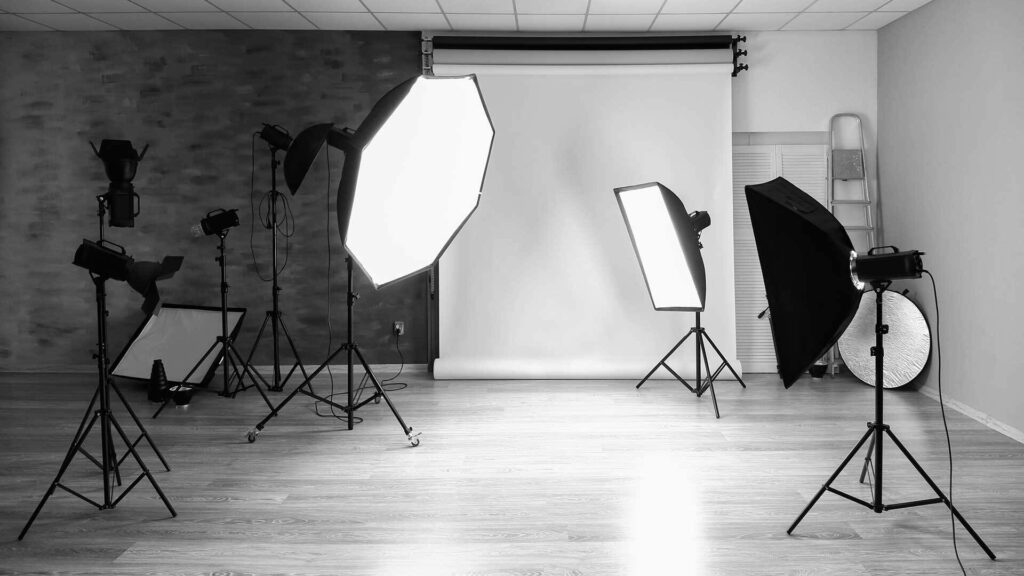
- Softbox Lights: Softboxes diffuse the light, creating a soft glow that minimizes harsh shadows, perfect for interviews or portraits.
- Ring Lights: A favorite among beauty vloggers, ring lights provide even lighting and catchlights in the eyes, making subjects look vibrant.
When it comes to using lights, consider the vibe you want to create. A soft, warm glow can make things feel snug and welcoming, while a bright, white light can inject some liveliness into the setting. I like to play around with arrangements and sometimes all it takes is shifting a light a bit to get the look I’m going for.
Also Read This: Understanding the Slow Performance of YouTube in 2024
Tips for Setting Up Your Lighting
While it may appear simple to set up lighting I have come to realize that it is a skill that demands a touch of delicacy. Through numerous experiments and mistakes I now approach lighting arrangements with several core principles guiding my way.
Here are some tips to get you started:
- Plan Your Setup: Sketch a rough layout before you start. This saves time and helps visualize how the lights will interact with the scene.
- Use a Light Meter: Measuring the intensity of light can help you achieve consistency across shots.
- Adjust Color Temperature: Match your lights to the ambient light for a seamless look. Mixing different light sources can lead to unwanted color casts.
- Experiment with Angles: The angle at which you place your lights can drastically change the mood. Don’t hesitate to move them around until it feels right.
From what I've seen setting up the lights can sometimes be more time consuming than filming the actual scenes. But it's worth it because the way it improves the end result is truly impressive.
Also Read This: How to Change the Background on YouTube Customizing Your Channel
Common Lighting Mistakes to Avoid
As an aspiring filmmaker I had my fair share of mishaps with lighting and let me tell you they were valuable lessons! Recognizing and steering clear of these typical errors can spare you a great deal of time and hassle.
Here’s a list of pitfalls to watch out for:
- Overexposure: Too much light can wash out your subject. Use a histogram or monitor to keep an eye on exposure levels.
- Ignoring Shadows: Shadows can be your friend, but uncontrolled shadows can distract from your subject. Aim for even lighting.
- Relying Solely on One Light Source: A single light can create flat images. Mixing multiple light sources adds depth and interest.
- Neglecting Background Lighting: A well-lit background can complement your subject. Don’t forget to illuminate the space behind them!
Looking back on my path I’ve come to understand that every misstep has imparted a lesson. Crafting content can be tough but if you stay patient and keep honing your skills you’ll discover your unique flair and create videos that are genuinely enchanting.
Also Read This: Troubleshooting Fortinet Fortiguard Downloader Issues
Frequently Asked Questions about Video Lighting
As I explored the realm of video making more closely I discovered that several of my queries were also held by others. Grasping the nuances of lighting can be quite challenging and it’s only natural to seek some guidance. Here are a few frequently asked questions that I’ve come across on my journey.
- What is the best time of day to shoot video with natural light? Early morning or late afternoon, often called the golden hour, provides soft, flattering light. Avoid shooting during the harsh midday sun.
- How do I achieve a cinematic look with lighting? Use a combination of soft and hard lights, play with shadows, and consider color grading in post-production to enhance the mood.
- Can I use regular household lamps for video lighting? Absolutely! Just make sure to use bulbs with the same color temperature and avoid overly harsh or dim lighting.
- What is the difference between hard light and soft light? Hard light creates sharp shadows and highlights, while soft light diffuses shadows, resulting in a more flattering and even appearance.
- How do I avoid flickering lights? Ensure that your lights are set to the same power output, and use lights with a high refresh rate to prevent flickering, especially with artificial sources.
These inquiries mirror the path we tread while dealing with the complexities of video illumination. While experimenting with your lighting arrangements feel free to pose questions and seek responses—every question has the potential to spark an epiphany!
Conclusion on Lighting for Shutterstock Videos
Lighting plays a role in taking your videos to the next level making them more captivating and polished. Through experimentation I've come to realize that perfecting lighting methods not boosts the quality of your content but also helps you convey your artistic ideas more vividly. Keep in mind that whether you opt for light or artificial illumination the trick lies in trying things out to find what suits your distinct style. Embrace the journey of learning and let your videos radiate!
