Ever looked at your old jeans and thought, "What a waste!"? Instead of tossing them away, why not transform them into a chic and stylish bag? This project not only gives your denim a new lease on life but also allows you to express your creativity. In this blog post, we'll guide you through a fun step-by-step Dailymotion tutorial that shows you exactly how to turn those worn-out jeans into a fashionable accessory. So, gather your materials and let’s get started!
Materials Needed
Before diving into this exciting denim-upcycling adventure, it’s essential to gather all the materials you’ll need. Here’s a comprehensive list to ensure your project goes smoothly:
- Old Jeans: Choose a pair that you no longer wear. The more interesting the fabric, the cooler your bag will look!
- Scissors: A good pair of fabric scissors is crucial for cutting through denim cleanly.
- Sewing Machine: While you can hand-sew, a machine will make the process faster and more efficient.
- Thread: Use thread that matches your denim color. A contrasting color can also add a fun pop!
- Measuring Tape: To ensure accurate cuts and dimensions for your bag.
- Pins: These will help secure your pieces together before sewing.
- Iron: Pressing your fabric will help to achieve a neat finish.
- Decorative Elements (optional): Think buttons, patches, or fabric paint to personalize your bag!
Having all these materials ready will make the entire process enjoyable and stress-free. Let’s get crafting!
Also Read This: Breaking the Habit of Watching YouTube Shorts
Preparing the Jeans
Before diving into the exciting world of upcycling, it's essential to prepare your old jeans properly. This step sets the foundation for turning those denim relics into a fashionable bag.
First, gather your materials:
- Old jeans (the more worn, the better for style!)
- Scissors
- Measuring tape
- Chalk or fabric marker
- Sewing kit or sewing machine (if you’re feeling adventurous!)
Now, let's move to the preparation process:
- Choose Your Jeans: Look for a pair of jeans that you no longer wear but still have some character. Perhaps they’re a bit faded or have unique embellishments – these will add to the charm of your bag.
- Wash and Dry: If they haven’t been washed recently, give them a good wash. This will remove any dirt and help the fabric to soften, making it easier to work with.
- Inspect for Damage: Check for any rips or tears that could affect your bag’s structure. If the damage is too significant, it might be best to consider another pair.
- Iron the Fabric: Ironing helps to flatten out the fabric, making it easier to cut and sew. It’s a simple step, but it can make a world of difference!
With your jeans prepped and ready, you’re well on your way to creating something truly unique!
Also Read This: The Psychology of Color in Images and How It Affects Your Audience
Cutting the Fabric
Now that your jeans are prepped, it’s time for the fun part — cutting the fabric! This is where your vision starts to take shape, so grab those scissors and let’s get started.
Here’s how to properly cut your jeans:
- Decide on the Bag Size: Consider how large you want your bag to be. A typical tote bag might require cutting the legs off at about 18 inches from the bottom. Use a measuring tape to mark this length.
- Mark the Cutting Lines: Using chalk or fabric markers, draw the cutting lines on the jeans. This will help you cut accurately and avoid mistakes.
- Cutting the Legs: Carefully cut along the marked lines. Make sure to use sharp scissors for a clean cut. If you’re making a smaller bag, you might only need one leg.
- Creating the Bag Base: After cutting the legs, you can also cut through the back seam if you want a wider bag. This gives you more fabric to work with for the base of your bag.
Remember, cutting is irreversible, so take your time and ensure you’re happy with the design before you snip! With your pieces cut, you’re one step closer to sporting your stylish new bag!
Also Read This: Perfect Nescafe Classic Coffee Recipe Step-by-Step on Dailymotion
Sewing the Bag
Once you've prepped your denim and gathered all your materials, it's time to dive into the fun part: sewing your bag! Get ready to unleash your creativity and transform those old jeans into a stylish accessory.
First, lay your cut fabric pieces flat. You should have two rectangular pieces for the main body and two for the bag's base. Make sure they’re aligned properly.
Next, using a sewing machine or needle and thread, start stitching the sides together. Here’s a simple step-by-step:
- Pin the Sides: Use sewing pins to hold the pieces together before you sew. This helps keep everything in place.
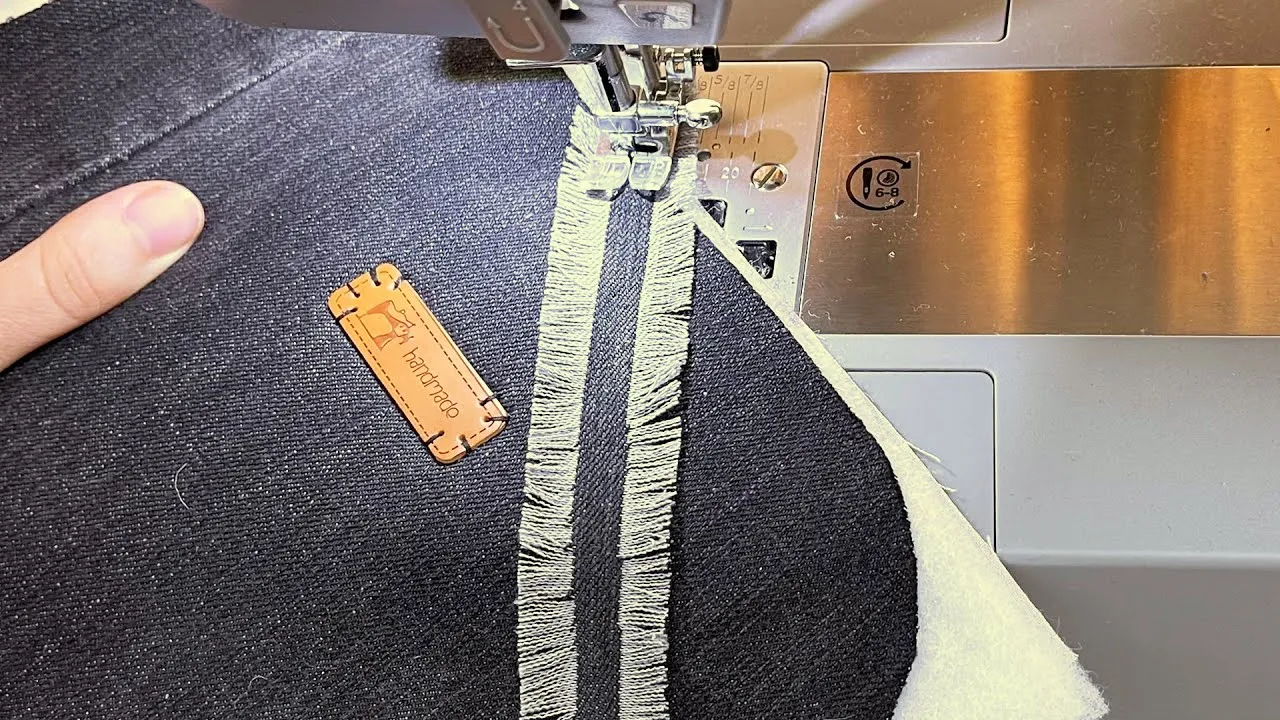
- Sew the Sides: Begin sewing from the bottom up to the top. Use a straight stitch and maintain a quarter-inch seam allowance.
- Reinforce the Corners: Go over the corners twice for added strength, especially if you plan to carry heavier items.
- Attach the Bottom: After securing the sides, sew the base piece to the bottom of your bag. Make sure it’s snug and secure!
Finally, turn your bag inside out, and voila! You have a basic bag structure. Don’t worry if it looks a bit rough; we’ll tidy it up with some finishing touches next!
Also Read This: Explore Aesthetic Presentation Templates with Canva Presentation Templates Aesthetic
Adding Finishing Touches
Okay, you've sewn up your bag, and it’s looking pretty good! Now, let’s add those finishing touches that will elevate it from just 'okay' to absolutely fabulous!
First, consider the handles. If you cut the waistband from the jeans, you can use it as a stylish handle. Just attach it securely to the top edges of the bag. Here’s how:
- Measure and Cut: Cut the waistband to your desired length.
- Attach: Fold the ends over and sew them onto the inner sides of the bag.
Next, let’s talk about embellishments. Think about adding:
- Buttons: Sew on some funky buttons for a pop of style.
- Patches: Use old patches or fabric scraps to personalize your bag.
- Lining: Consider adding a fabric lining for a polished look.
Finally, don’t forget to give your bag a good press with an iron to smooth out any wrinkles. And there you have it! A trendy, eco-friendly bag that’s all your own. Show it off and enjoy your creation!
Transform Your Old Jeans into a Stylish Bag with This Step-by-Step Dailymotion Tutorial
Are you tired of your old jeans taking up space in your closet? Why not give them a new lease on life by transforming them into a stylish bag? This DIY project is not only eco-friendly but also allows you to create a unique accessory that showcases your personal style. In this post, we will guide you through the steps outlined in a fantastic Dailymotion tutorial that will make this transformation easy and fun!
Here’s a quick overview of what you will need for the project:
- Old jeans
- Scissors
- Sewing machine or needle and thread
- Measuring tape
- Fabric glue (optional)
- Embellishments (e.g., buttons, patches, or fabric paint)
*Step-by-Step Process*:
- Prepare Your Jeans: Start by selecting a pair of jeans that you no longer wear. Cut off the legs and set them aside for later.
- Create the Bag Body: Use the main portion of the jeans as the body of the bag. You can either keep the pockets for added style or remove them for a cleaner look.
- Sew the Bottom: Fold the bottom of the jeans and sew it shut. This will form the base of your bag.
- Add Handles: Cut strips from the leftover fabric to create handles. Attach them securely to the bag.
- Embellish: Personalize your bag with patches, buttons, or fabric paint to make it truly one-of-a-kind!
By following these simple steps, you can easily transform your old jeans into a fashionable bag that you’ll be proud to carry. This project not only reduces waste but also gives you a chance to express your creativity!
Conclusion: Transforming your old jeans into a stylish bag is a rewarding DIY project that combines sustainability with creativity, allowing you to create a unique accessory while minimizing waste.