ShootProof is a true revolution for photographers like us balancing the art of creativity with the everyday tasks of running our business. When I stumbled upon ShootProof I was blown away by how it simplified my routine. Just picture a platform where you can effortlessly upload and display your images while also selling them straight to clients. Its like having a dedicated aide by your side to guide you through the intricate realm of the photography industry.
Here are a few advantages that set ShootProof apart.
- User-Friendly Interface: The platform is designed with simplicity in mind. You don’t need to be a tech guru to navigate through it.
- Customizable Galleries: Create beautiful galleries that reflect your unique style. You can add logos, choose colors, and make it personal.
- Client Management: ShootProof allows you to manage client interactions seamlessly. Send invoices, contracts, and even reminders all in one place.
- Secure Photo Storage: Your images are stored safely, ensuring that they are protected from loss or damage.
- Direct Sales Options: Sell prints and downloads directly from your galleries, making it easier for clients to access their favorite shots.
In brief ShootProof is more than just a tool; it serves as a companion in your photography adventure simplifying your ability to concentrate on what truly counts – your creative expression.
Getting Started with Your ShootProof Account
Getting started with ShootProof feels like opening a present the thrill grows as you discover its functionalities. When I made the choice to try it out I found the registration process to be pleasantly straightforward. Just an email address is required and you’re all set in just a few minutes. The moment you log in you’ll be greeted by a user friendly dashboard that serves as your hub for managing everything.
To set up your account just follow these simple steps.
- Visit the ShootProof website.
- Click on the “Sign Up” button.
- Fill in your details and create a secure password.
- Verify your email address.
- Log in to your new account and explore!
Once you’ve signed in take a moment to get accustomed to the interface. There’s a handy walkthrough that takes you through the functionalities. Believe me, investing some time here will be beneficial down the road when you start uploading photos and creating galleries. And feel free to contact their support team if you have any inquiries; they’re truly supportive!
Also Read This: Effective Techniques for Removing Watermarks from Getty Images
Preparing Your Photos for Upload
Before you hit that upload button taking a moment to get ready can make a difference. I still recall my experience uploading pictures and it taught me that not all files are the same. Here are some tips to make sure your images shine when they land in the hands of your clients.
First, consider the following:
- File Formats: ShootProof supports various formats, but JPEG and PNG are the most common. Make sure your files are in one of these formats for seamless uploads.
- Image Resolution: Aim for high-resolution images. I usually go for 300 DPI to ensure crisp prints. Lower resolutions might look fine on screens but can be disappointing in print.
- Editing: Take some time to edit your photos. Adjust brightness, contrast, and colors to ensure they shine. Trust me; clients appreciate the extra effort.
- Organizing Your Files: Create folders for different shoots. This will make it easier to find and upload specific images later on.
Lastly make sure to back up your photos. I learned this the hard way after losing some cherished pictures once. Use cloud storage or an external hard drive to keep your originals secure. Once you’ve taken care of your images you’ll be all set to upload them confidently!
Also Read This: How to Use Shutterstock Images Without a Watermark Legally
Step-by-Step Guide to Uploading Your Photos to ShootProof
I still recall the rush of emotions I had when I uploaded pictures to ShootProof for the first time. There was this blend of thrill and anxiety in the air. Wanting everything to work out perfectly I took a moment to compose myself and went through a set of straightforward steps. So let me share with you a concise, step by step guide that will navigate you smoothly through the process.
Let’s break it down:
- Log into Your ShootProof Account: Start by logging into your account. If you’ve followed the previous steps, this should be a breeze!
- Navigate to the Upload Section: On your dashboard, look for the “Upload” button. It’s usually easy to spot.
- Select Your Photos: Click on the upload button and choose the photos you want to add from your computer. You can select multiple files at once, which saves time.
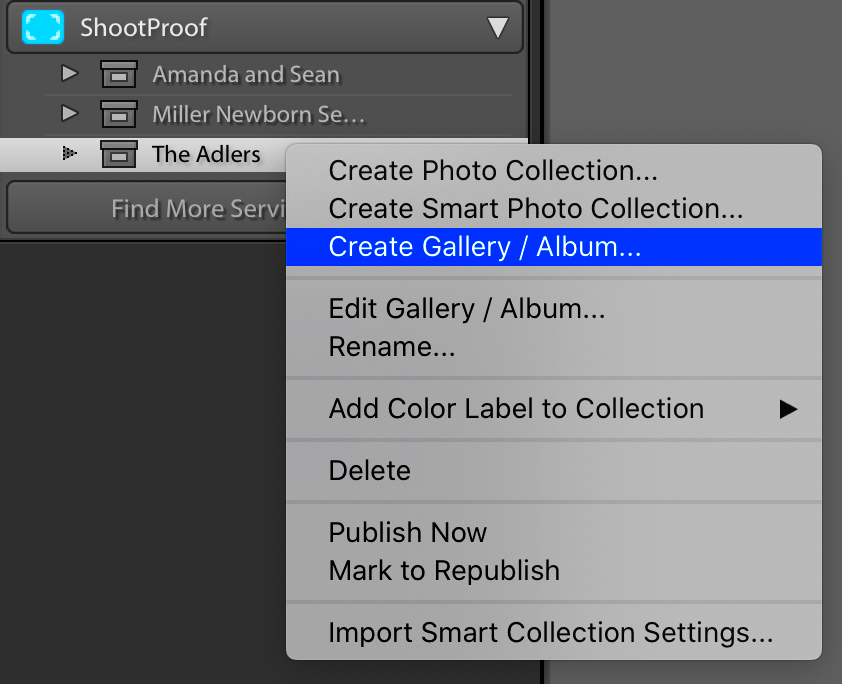
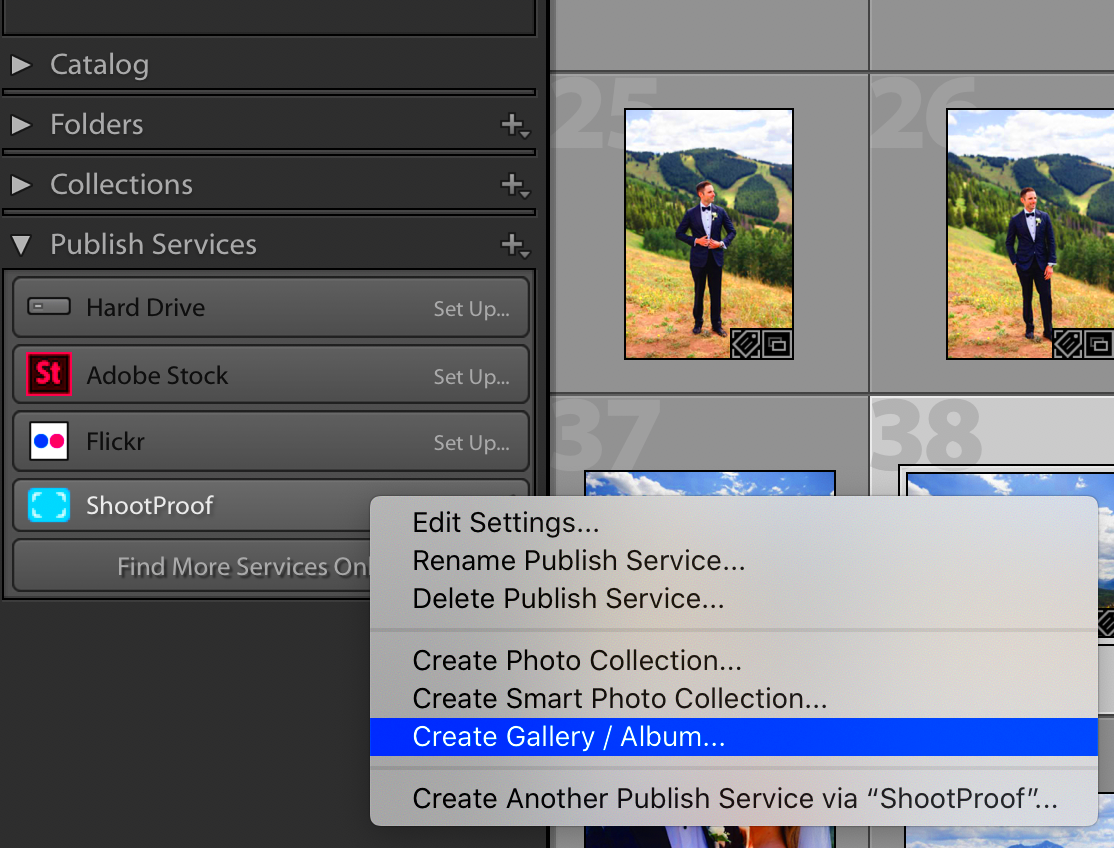
- Choose the Right Gallery: You’ll need to select or create a gallery for your photos. Organizing them into different galleries makes it easier for clients to find what they’re looking for.
- Add Captions and Descriptions: As you upload, consider adding captions or descriptions. This little touch can make a big difference, as it helps convey the story behind the images.
- Review Before Finalizing: Take a moment to review your uploads. Make sure everything looks good and is in the right order.
- Hit the Publish Button: Once satisfied, click publish! Your photos are now live and accessible to your clients.
This guide aims to make the process of uploading to ShootProof feel effortless. Every time I do it, it becomes more seamless and I cant help but feel a sense of satisfaction seeing my work showcased in a way.
Also Read This: How the Behance Algorithm Works
Organizing Your Photos Within ShootProof
Once you upload your pictures to ShootProof the fun part starts sorting them out! I like to think of it as setting up an art show. You want your creations to stand out and convey a narrative. In my early days I made some blunders like blending personal and client projects. But with time I figured out how to keep everything well organized. Here's a guide on how to sort your photos, with finesse.
Start with these helpful tips:
- Create Galleries for Different Projects: Whether it’s a wedding, a family shoot, or a corporate event, separate galleries help clients navigate easily.
- Use Tags and Keywords: Take advantage of tagging your photos with relevant keywords. This makes searching for specific images much simpler in the future.
- Implement a Consistent Naming Convention: I found that naming files systematically—like “ClientName_Date_Description”—makes everything easier to track.
- Regularly Update Your Galleries: As you complete new projects, regularly update and refresh your galleries. It keeps your portfolio looking fresh and engaging.
- Archive Old Projects: If you have older projects that are not relevant anymore, consider archiving them. This keeps your main galleries uncluttered.
When you invest effort into sorting your pictures, you make it easier for your clients to navigate through them and spare yourself from potential stress down the line. Witnessing all your visuals beautifully organized and readily available is truly a satisfying experience.
Also Read This: Download Songs from YouTube on Mac for Offline Listening
Common Issues When Uploading and How to Solve Them
No matter how good you are with technology, uploading photos can be a bit challenging at times. I’ve encountered my share of obstacles like sluggish internet speeds and problems with file sizes. However every setback has taught me valuable lessons and I’m here to share some common issues and their solutions so you can upload your photos stress free.
Here are some problems you might encounter and suggestions on how to address them.
- File Size Too Large: If your images are too large, you’ll receive an error. Try resizing your photos before uploading. Aim for a maximum of 10 MB per image for optimal results.
- Slow Upload Speeds: A poor internet connection can make uploads frustrating. If you’re experiencing slow speeds, consider uploading during off-peak hours when traffic is lower.
- Browser Compatibility Issues: Sometimes, your browser might not play nice with the platform. If you encounter problems, try switching to a different browser, like Chrome or Firefox.
- Image Format Not Supported: Make sure your images are in JPEG or PNG format. If not, convert them using any free online tool before uploading.
- Upload Timeout: Long uploads can time out, especially with larger files. If this happens, try splitting your uploads into smaller batches.
By getting ready for these problems you’ll discover that uploading to ShootProof is a much more seamless process. I frequently tell myself that technology isn’t flawless and a bit of patience can make a difference. Enjoy your uploading!
Also Read This: Community Builder: Create a Group on DeviantArt
Using the ShootProof Mobile App for Photo Uploads
In today’s world being able to upload photos on the move is a real game changer and that’s where the ShootProof mobile app comes in handy. When I first got the app I was really excited about how simple it was to handle my tasks directly from my phone. I could share pictures while chilling at a café or waiting for my train. It gave me a sense of staying connected to my job no matter where life took me.
Here’s a guide on maximizing your experience with the ShootProof app.
- Download and Install: Available for both iOS and Android, start by downloading the app from your device's app store. The installation is straightforward, and within moments, you’ll be ready to log in.
- Log Into Your Account: Use your existing ShootProof credentials to log in. If you’ve set everything up on your desktop, it’ll be familiar.
- Access Your Galleries: Once logged in, you can access all your galleries. It’s like having your entire portfolio at your fingertips.
- Upload Photos: To upload, simply tap on the upload button, choose photos from your phone’s gallery, and select the desired gallery for them. It’s quick and efficient!
- Edit and Add Captions: You can edit your photos, add descriptions, and even tag clients right from the app. This feature has saved me so much time!
- Push Notifications: Enable notifications to stay updated on client activities, like when they view or purchase photos. It keeps you in the loop.
The ShootProof app has really streamlined my process. I recall an instance when I was at a gathering and snapped some spontaneous shots. Uploading those pictures right away was such a rewarding experience. The convenience it offers truly makes the app a must have for photographers who are constantly on the go.
Also Read This: Ultimate Guide to Using uBlock Origin for Ad-Free YouTube Viewing
Frequently Asked Questions About Uploading Photos to ShootProof
Just like with any platform people have questions especially when they are exploring something new like ShootProof. I recall my own initial experiences being filled with doubts and uncertainties. So I want to tackle some common inquiries that photographers frequently have when it comes to uploading their photos.
Here are some common questions that could help clarify things:
| Question | Answer |
|---|---|
| What file formats does ShootProof support? | ShootProof supports JPEG and PNG formats for uploads. Make sure your images are in one of these formats before uploading. |
| What is the maximum file size for uploads? | The maximum file size for each image is 10 MB. If your files exceed this limit, consider resizing them. |
| Can I upload photos from my mobile device? | Absolutely! The ShootProof mobile app allows you to upload photos directly from your smartphone. |
| How can I organize my photos once uploaded? | You can create galleries for different projects, use tags, and implement a consistent naming convention for easy organization. |
| What if I encounter technical issues during upload? | If you face any issues, check your internet connection, file size, or format. The ShootProof support team is also very responsive! |
These inquiries address a few of the worries I encountered during my initial journey. Its beneficial to have support available and I urge you to connect with the ShootProof community for any questions you may have.
Wrapping Up Your Photo Upload Journey with ShootProof
As you wrap up your photo upload journey with ShootProof take a breather to look back on the experience. Moving from those first doubts to confidently using the platform is all part of the evolution as a photographer. I recall the thrill of achievement I felt each time I uploaded a batch of pictures and shared them with clients. It was a moment filled with satisfaction knowing I had displayed my efforts.
Here are some concluding thoughts to ponder.
- Stay Organized: As you continue uploading, maintain your organization system. It will save you time in the long run.
- Engage with Clients: Use ShootProof not just as a gallery but as a platform for engagement. Communicate with your clients and keep them updated.
- Keep Learning: Photography is an ever-evolving field. Stay updated with new features on ShootProof and enhance your skills continuously.
- Seek Feedback: Don't hesitate to ask clients for feedback on their experience with your galleries. Their insights can help you improve.
To sum up ShootProof offers not only a way to upload images but also a space that nurtures creativity and relationships. Embrace the adventure treasure the memories you capture and allow your love for photography to radiate. Enjoy your photography journey!