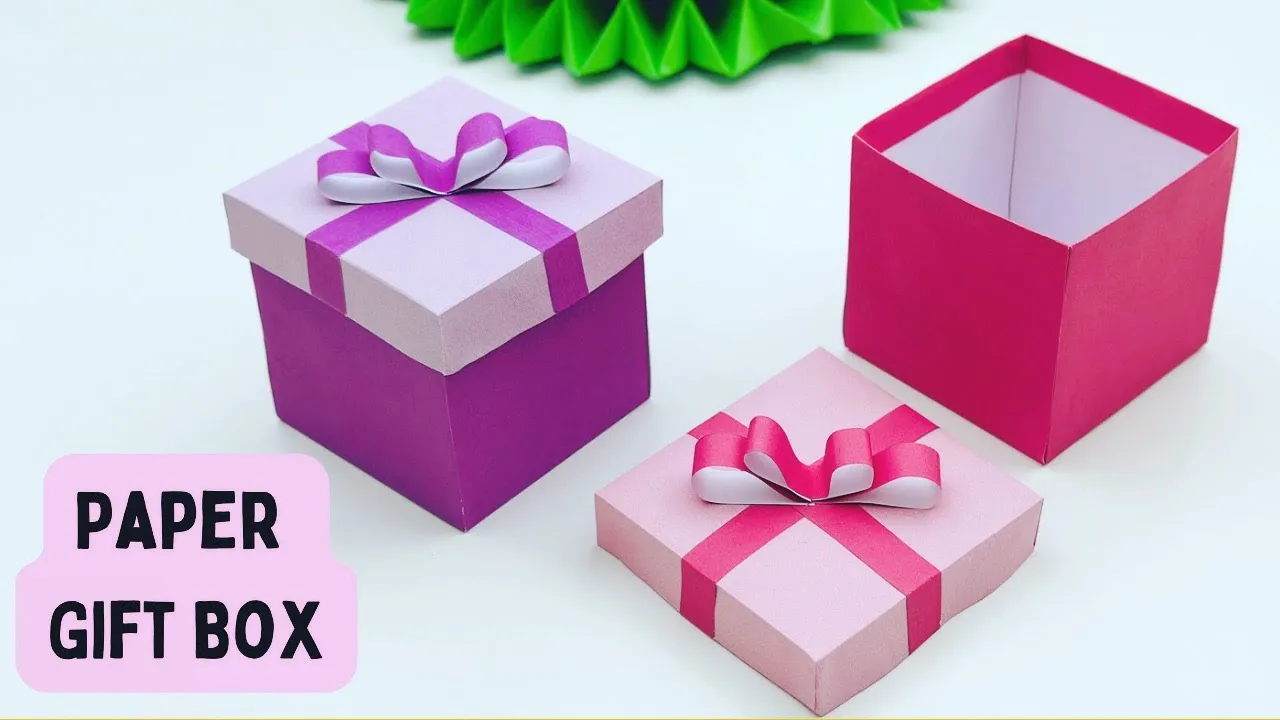
Creating a paper gift box is not just a practical skill; it’s a delightful way to add a personal touch to your gifts! Whether you're wrapping up a birthday present, a holiday surprise, or a thoughtful token for a friend, a handmade gift box shows that you care. In this guide, we’ll walk you through each step of the process, from gathering materials to crafting your own unique box. Let’s dive in and unleash our creativity!
Materials Needed
Before we start crafting your paper gift box, it’s important to gather all the necessary materials. Here’s a list of what you’ll need:
- Paper: You can use decorative craft paper, wrapping paper, or even recycled paper for a more eco-friendly option. Aim for a thickness that will hold up well.
- Scissors: A sharp pair will make cutting the paper easier and more precise.
- Ruler: This will help you measure and mark straight lines accurately.
- Pencil: For marking measurements on your paper. Make sure to use a light touch so it can be easily erased later.
- Glue or Double-Sided Tape: This is crucial for securing the corners of your box. Double-sided tape gives a cleaner finish.
- Bone Folder (optional): This tool helps to create crisp, clean folds. If you don’t have one, the back of a spoon works well too!
- Embellishments (optional): Consider adding ribbons, stickers, or stamps to personalize your box and make it stand out.
Having everything prepared in advance will make the process smooth and enjoyable. Gather these materials, and you’re ready to create a beautiful paper gift box!
Also Read This: How to Save Images from Behance
Step 1: Choosing Your Paper

When it comes to making a paper gift box, the first and most crucial step is selecting the right paper. The type of paper you choose can greatly influence the overall look and sturdiness of your gift box. Here are some options to consider:
- Cardstock: A popular choice for gift boxes, cardstock is thicker and more durable than regular paper. It comes in various colors and patterns, making it ideal for festive occasions.
- Wrapping Paper: If you want to add a decorative touch, wrapping paper can be used. Just keep in mind that it's typically thinner, so you might need to reinforce it with another layer or use double-sided tape for added support.
- scrapbook paper: This type of paper often features beautiful designs and textures. It’s perfect if you’re looking to create something unique and personal.
- Kraft Paper: For a rustic vibe, kraft paper is a fantastic option. It’s sturdy and can be easily decorated with stamps, stickers, or drawings.
Whichever paper you choose, be sure to consider the occasion, the recipient's tastes, and the weight of the items you plan to put inside the box. A well-thought-out choice will ensure that your gift box not only looks good but also holds up nicely!
Also Read This: Understanding the Causes of a Rumbling Car When Stopping
Step 2: Measuring and Cutting the Paper
Now that you've picked the perfect paper, it's time to measure and cut it to the right dimensions for your gift box. This step is critical because accurate measurements ensure a properly fitting box. Here’s how to do it:
- Decide on the Size: Determine the size of your box based on the gift you want to package. A good rule of thumb is to add a half-inch to each dimension to allow for folding and securing the edges.
- Measure Carefully: Use a ruler or measuring tape to measure the paper. If you're making a standard box, you'll usually need a single sheet for the base and four flaps.
- Mark Your Lines: Lightly pencil in the dimensions on the paper. This includes the base and the height of the sides. Don’t forget to make a note of where the fold lines will go!
- Cut with Precision: Using a sharp craft knife or scissors, carefully cut along the marked lines. Take your time here to ensure clean edges!
Once you’ve cut out your pieces, you can fold along the lines. This is where your carefully measured and cut paper starts to transform into a beautiful gift box. Remember, precision is key!
Also Read This: Did Collins Key Quit YouTube? Exploring the Future of Collins Keyâs YouTube Channel
Step 3: Scoring the Paper for Folding

Scoring the paper is a crucial step in making a paper gift box. It helps create clean, crisp folds, ensuring your box looks neat and professional. Don’t worry; it’s easier than it sounds! Here’s how to do it:
- Gather Your Tools: You’ll need a scoring tool (like a bone folder or a scoring wheel), a ruler, and a cutting mat or a soft surface to score on.
- Measure and Mark: Use your ruler to measure where the folds will be. Typically, you’ll want to score along the lines corresponding to your box’s edges. Mark these spots lightly with a pencil.
- Score the Lines: Place the ruler along the marked line. Using the scoring tool, press down firmly and slide it along the ruler to create a groove in the paper. This groove will allow the paper to fold easily along this line.
- Repeat for All Folds: Make sure to score all necessary lines, including the base and sides of your box. The more precise you are, the better your box will turn out!
Remember, scoring is about making your folding process smoother. Take your time and be precise—your gift box will thank you!
Also Read This: The Critical Role of High-Quality Visuals in Creating a Successful Blog
Step 4: Folding the Paper
Now that you've scored the paper, it's time for the fun part: folding! This is where your gift box starts to take shape. Here’s a handy guide to help you through the folding process:
- Identify the Fold Lines: Take a moment to observe the scored lines. They will be your guides as you fold the paper into the box shape.
- Begin with the Sides: Start folding along the scored lines. Gently press along the folds to ensure they’re sharp. You can run your finger along the score or use your bone folder for extra sharpness.
- Fold in Sequence: Fold the sides up first, then the base. This sequence helps keep everything aligned. If your box has a lid, don’t forget to fold that part too!
- Secure the Folds: For added strength, you can apply some double-sided tape or glue to hold the folds in place. Make sure it’s secure but avoid overdoing it—too much can create messiness.
Once you've folded everything neatly, step back and admire your handiwork! You've just transformed flat paper into a beautiful box ready for gifting.
Also Read This: How Can 123RF Image Downloader Save You Time on Your Next Creative Project?
Step 5: Assembling the Box
Assembling your paper gift box is where all your hard work comes together! This step is crucial, as it transforms your flat pieces of paper into a beautiful box ready for gifting. Here’s how to do it:
- Pre-Fold the Edges: Begin by taking your base and lid pieces. Gently fold along all the score lines. This will make it easier to assemble the box later.
- Apply Adhesive: Grab your favorite adhesive. You can use glue, double-sided tape, or a glue stick. For a sturdy hold, I recommend using a liquid glue. Apply it generously along the edges of the base piece.
- Attach the Sides: Start attaching the sides of the box. Fold one side up and press it against the glue. Hold it for a few seconds to ensure it adheres well. Repeat this for all four sides.
- Secure the Corners: Once the sides are up, make sure the corners are tight. You can run a finger along the seams to reinforce the bond.
- Let It Dry: If you used liquid glue, allow the box to dry completely before moving to the next step. This will ensure that your box holds its shape.
And there you have it! You've successfully assembled the base of your gift box. The lid will be put together in the same manner, so don’t worry if it seems repetitive!
Also Read This: How to Embed Prototype in Behance
Step 6: Adding Decorative Elements
Now comes the fun part—adding decorative elements to make your gift box truly unique! Personal touches elevate your gift and show the recipient how much you care. Here are some creative ideas:
- Wrap with Ribbon: A simple piece of ribbon can transform your box. Choose a color that complements your paper. Tie a bow around the box for a classic look.
- Add Stickers or Stamps: Use themed stickers or rubber stamps to add personality. You can even create a custom stamp with a special message!
- Use Decorative Paper: Consider layering another piece of decorative paper on top of the box. This could be a contrasting color or a patterned design.
- Include a Tag: Don’t forget to add a tag! Write a heartfelt message or a simple “Happy Birthday” on a tag and attach it to the ribbon.
Feel free to get creative! Mix and match these ideas to design a gift box that stands out. Remember, the goal is to reflect the recipient’s personality and make the experience of opening the gift just as exciting as receiving it!
Also Read This: How to Make a Robot at Home Easily in Hindi
9. Conclusion
Congratulations! You've made it through the entire process of creating your very own paper gift box. This project not only enhances your gift-giving experience but also allows you to add a personal touch that store-bought boxes simply can't match. Remember, the joy of giving is heightened when your gift is beautifully wrapped in something unique!
Now that you know how to craft a lovely paper gift box, consider the following:
- Customization: Feel free to personalize your box with different colors, patterns, and embellishments. Use wrapping paper, stickers, or even ribbons to add flair.
- Practice: Like any craft, the more you practice, the better you'll get. Don't hesitate to try different sizes and styles until you find your favorite.
- Sharing: This is a fun activity for friends and family! Host a crafting session where everyone can create their boxes together.
By taking the time to make your own gift box, you're not just wrapping a gift; you're creating an experience. Your loved ones will appreciate the effort you put into it, making your present even more special. So, gather your materials and start making those boxes—happy crafting!
10. Watch
Looking for a visual guide to complement your crafting skills? Watching someone else create a paper gift box can provide invaluable tips and tricks that written instructions sometimes miss. We recommend checking out some of these fantastic video tutorials:
- YouTube: Search for channels like "Crafting with {Your Name or "Paper DIY" where you can find step-by-step videos.
- Instagram Reels: Many crafty creators share quick, engaging tutorials on platforms like Instagram. Search for hashtags like #GiftBoxDIY or #PaperCrafts.
- Pinterest: Pin videos from creators who specialize in DIY projects. You’ll find a plethora of inspiration and detailed videos that can guide you through the process.
Whether you prefer a quick tutorial or an in-depth walkthrough, these resources will inspire and help you refine your technique. So grab your materials, follow along, and let your creativity shine!