I just have to say how awesome ShootProof is for photographers. When I stumbled upon it I was instantly relieved. This platform is all about making it easier to share photos with clients. Picture this you can send out images without dealing with messy file transfers. That’s what makes ShootProof so special!
One of the advantages of ShootProof is how easy it is to use. It's made specifically for photographers so we can concentrate on what we enjoy doing most capturing stunning moments. You can set up galleries share photos directly and personalize experiences for clients. Additionally the feature to safeguard your work with passwords adds an extra layer of security, by keeping your valuable images away from unwanted viewers.
ShootProof stands out for its versatility. Whether you specialize in weddings, portraits or events this platform caters to your requirements. With different pricing choices available it ensures accessibility for all. Its seamless integration into your workflow allows you to focus on your passion rather than getting caught up in logistics.
- User-friendly interface: Easy to navigate for both photographers and clients.
- Secure galleries: Protect your work with passwords.
- Flexible pricing: Options for every budget.
- Customizable experiences: Tailor galleries for each client.
Setting Up Your ShootProof Account
Creating your ShootProof account is a straightforward process. When I initially started this adventure I recall experiencing a blend of anticipation and anxiety. However I must say it was quite smooth sailing! You kick things off by heading to the ShootProof website and registering using your email. In no time at all I was all set to dive into the features.
After setting up your account the next move is to customize your profile. Here are my suggestions for doing that.
- Complete your profile: Add your business name, logo, and a short bio. This makes your account feel professional and inviting.
- Set your preferences: Take some time to explore the settings. You can choose how you want to send photos, whether it’s via email or links, and customize notifications.
- Upload a few sample images: Before diving into real client work, upload a few of your favorite shots. This helps you get familiar with the interface.
Once I had everything in place I was all set to wow my clients. The great thing is that ShootProof offers a ton of support to guide you through using the platform. So go ahead and jump right in!
Also Read This: How to Get LinkedIn Code in Email
Preparing Client Photos for Email
Getting client photos ready for email is an important part of ensuring a smooth experience. When I was starting out I had no idea how much work is involved in this task. Believe me taking some time to prepare makes a big difference. Here’s my approach to it.
To start I sort the pictures into a specific folder. This helps me locate and choose the top images more efficiently. Here’s a brief list of steps I stick to.
- Select the best images: Go through your gallery and choose the top photos that best represent the shoot.
- Edit and enhance: Use editing software to make necessary adjustments. Brightness, contrast, and cropping can significantly improve your images.
- Resize for emailing: Ensure your images are not too large, which can cause delivery issues. Aim for a resolution of around 1200 pixels on the longest side.
- Create a cohesive collection: Group images that tell a story or theme. This adds a personal touch and engages your clients.
Lastly remember to add a touch message when sharing the pictures. This small act can leave a lasting impact. By including a note about my moment from the session I establish a bond with my clients that makes the whole experience unforgettable.
Also Read This: Canva Background Removal
Steps for Sending Client Photos via Email
Sharing pictures with clients over email might appear simple at first glance. However I’ve come to realize through my experiences that adding some organization can enhance the overall experience. When I sent my set of photos I was filled with excitement and a touch of anxiety. Would my clients adore them? Would everything proceed without a hitch? Allow me to share the ways in which I've streamlined this process throughout the years.
Begin by choosing the pictures you wish to share. Once you have your preferred ones prepared just follow these easy steps.
- Create a new email: Open your preferred email service and click on “Compose.” This is your canvas for communication.
- Craft a heartfelt subject line: Something like “Your Beautiful Memories Await!” can set a positive tone.
- Write a personal message: Begin with a warm greeting. Share a brief anecdote about the shoot or express your excitement about the photos. Here’s a little tip: I often mention a favorite moment from the session to make it feel more intimate.
- Attach your images: You can either attach files directly or share a link to your ShootProof gallery. If you opt for attachments, ensure they’re appropriately resized. Aim for a balance between quality and file size.
- Include a call to action: Encourage your clients to provide feedback. Something like, “I can’t wait to hear what you think!” adds a nice touch.
Before hitting that send button take a moment to go through everything. I’ve come to realize that a quick check can help you avoid any mishaps. By following these steps I’ve consistently been able to leave my clients thrilled and eager to relive their cherished memories.
Also Read This: Understanding EMS Telegram
Tips for Ensuring Successful Photo Delivery
When I began sharing pictures with my clients I soon understood that delivering them effectively involves more than simply hitting the send button on an email. With time I came up with some proven strategies that have streamlined and enhanced my delivery process. Here’s what I suggest.
- Use a reliable email service: Ensure you’re using a trusted email provider. I’ve found that Gmail or Outlook offers great delivery rates.
- Check your internet connection: A stable connection is crucial. Nothing is worse than an interrupted upload!
- Compress images if necessary: Large files can be a hassle. Using tools like TinyPNG can help you compress images without losing quality.
- Send a test email: Before sending to clients, consider sending a test email to yourself. This helps verify that everything looks perfect on the receiving end.
- Follow up: A day or two after sending the photos, drop your clients a quick message asking if they received everything. This shows you care and helps catch any issues early.
From what I’ve seen these small gestures can have a significant impact. There was an instance when I neglected to follow up and a client missed their email. Fortunately I acted swiftly to address the situation but it served as a lesson on the importance of being meticulous!
Also Read This: Exploring Indie Gems: Discovering Hidden Treasures on IMDb
Common Issues and How to Troubleshoot Them
Even with our intentions things can occasionally go awry during the delivery process. I’ve come across a few bumps in the road and have figured out ways to overcome them. Here’s a rundown of issues and how to tackle them.
- Emails bouncing back: This usually happens if the recipient's email address is incorrect. Double-check the address and try resending.
- Large file sizes causing delivery failures: If your images are too big, consider compressing them or using a file-sharing service like Google Drive. This way, your clients can download them without hassle.
- Clients not receiving emails: Sometimes, emails end up in spam folders. I always remind my clients to check their spam or junk mail. A gentle follow-up email can also help resolve this.
- Image quality issues: If your images appear blurry or pixelated, ensure you’ve exported them in a high-quality format before sending. Avoid using low-resolution images.
By navigating through challenges I’ve come to realize that maintaining a mindset focused on finding solutions is crucial. The more you take the initiative to address potential problems the smoother your photo delivery process will go. Every obstacle presents a chance to grow and I’ve noticed that my clients value my commitment to ensuring they receive their images seamlessly.
Also Read This: Canceling My Depositphotos Account: A Guide
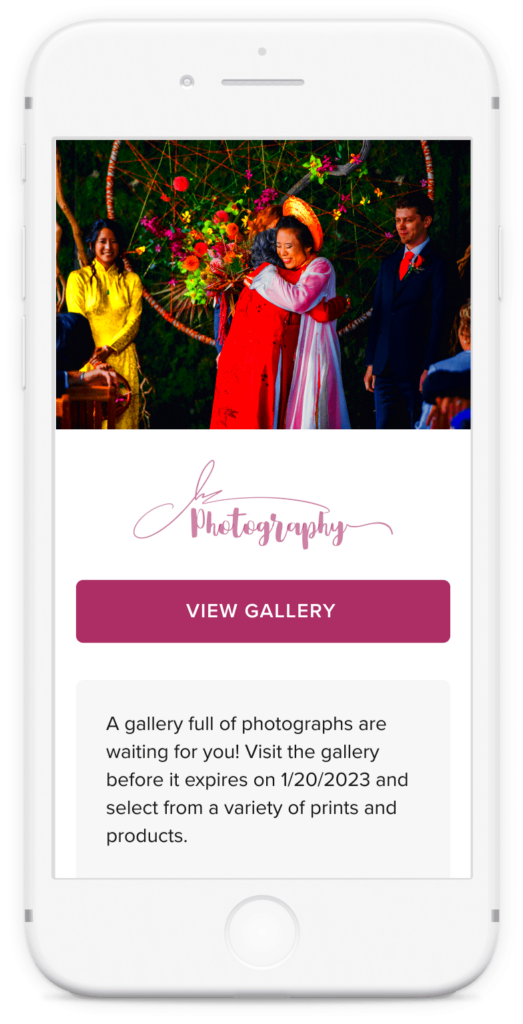
Enhancing Client Experience with ShootProof
As a photographer witnessing the joy on my clients faces when they receive their photos brings me immense happiness. Throughout the years I have discovered that ShootProof has revolutionized my client interactions transforming a routine photo delivery into a meaningful experience. Its not solely about sharing pictures; its about crafting a memorable journey for them to treasure.
ShootProof has a range of features designed to improve the experience for clients. One standout aspect is the ability to create visually appealing galleries that showcase your work in an impressive way. I like to tailor these galleries to match the individuality of each client and capture the essence of the photo shoot. Adding personal touches such as a cover or carefully chosen captions can really leave a lasting impression.
Here are a few ways I’ve leveraged ShootProof to enhance client experiences:
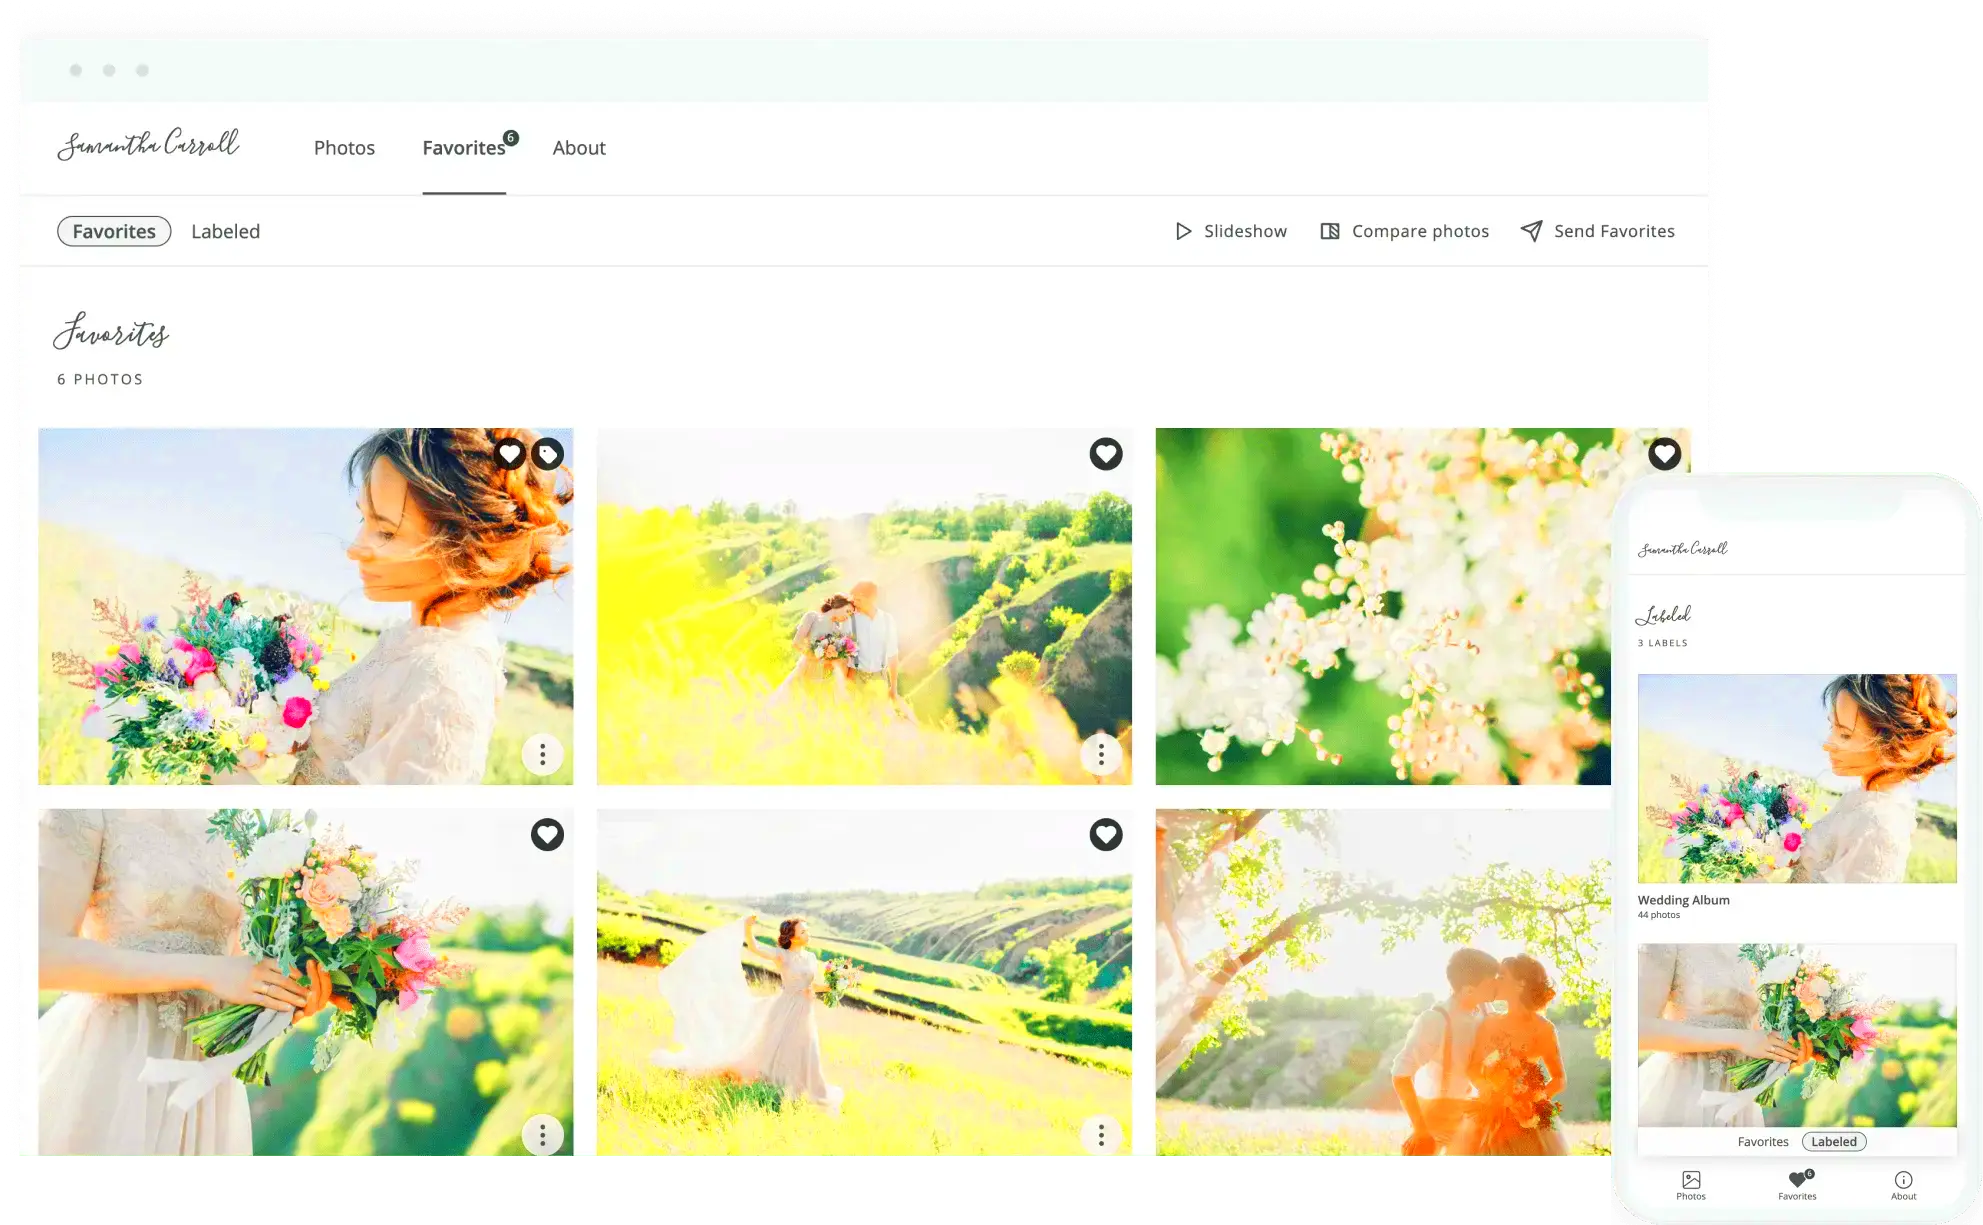
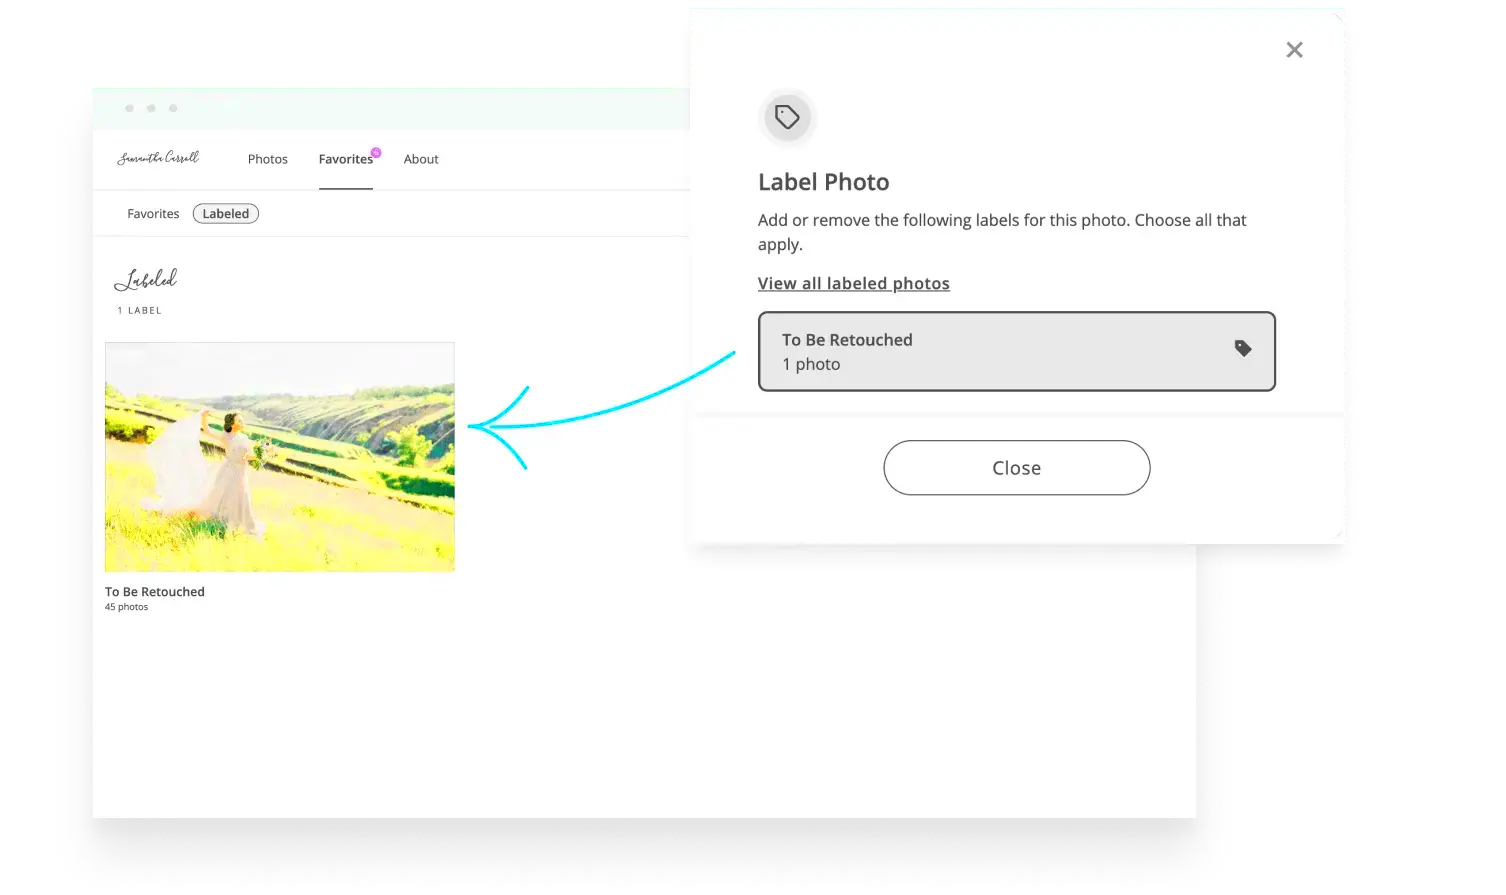
- Customizable galleries: Tailoring galleries to suit individual clients gives them a sense of ownership. I love including a little backstory about each photo.
- Client proofing: Allowing clients to select their favorite images for editing fosters collaboration and makes them feel involved in the process.
- Easy downloads: Clients appreciate how effortless it is to download their photos directly from the gallery, saving them time and frustration.
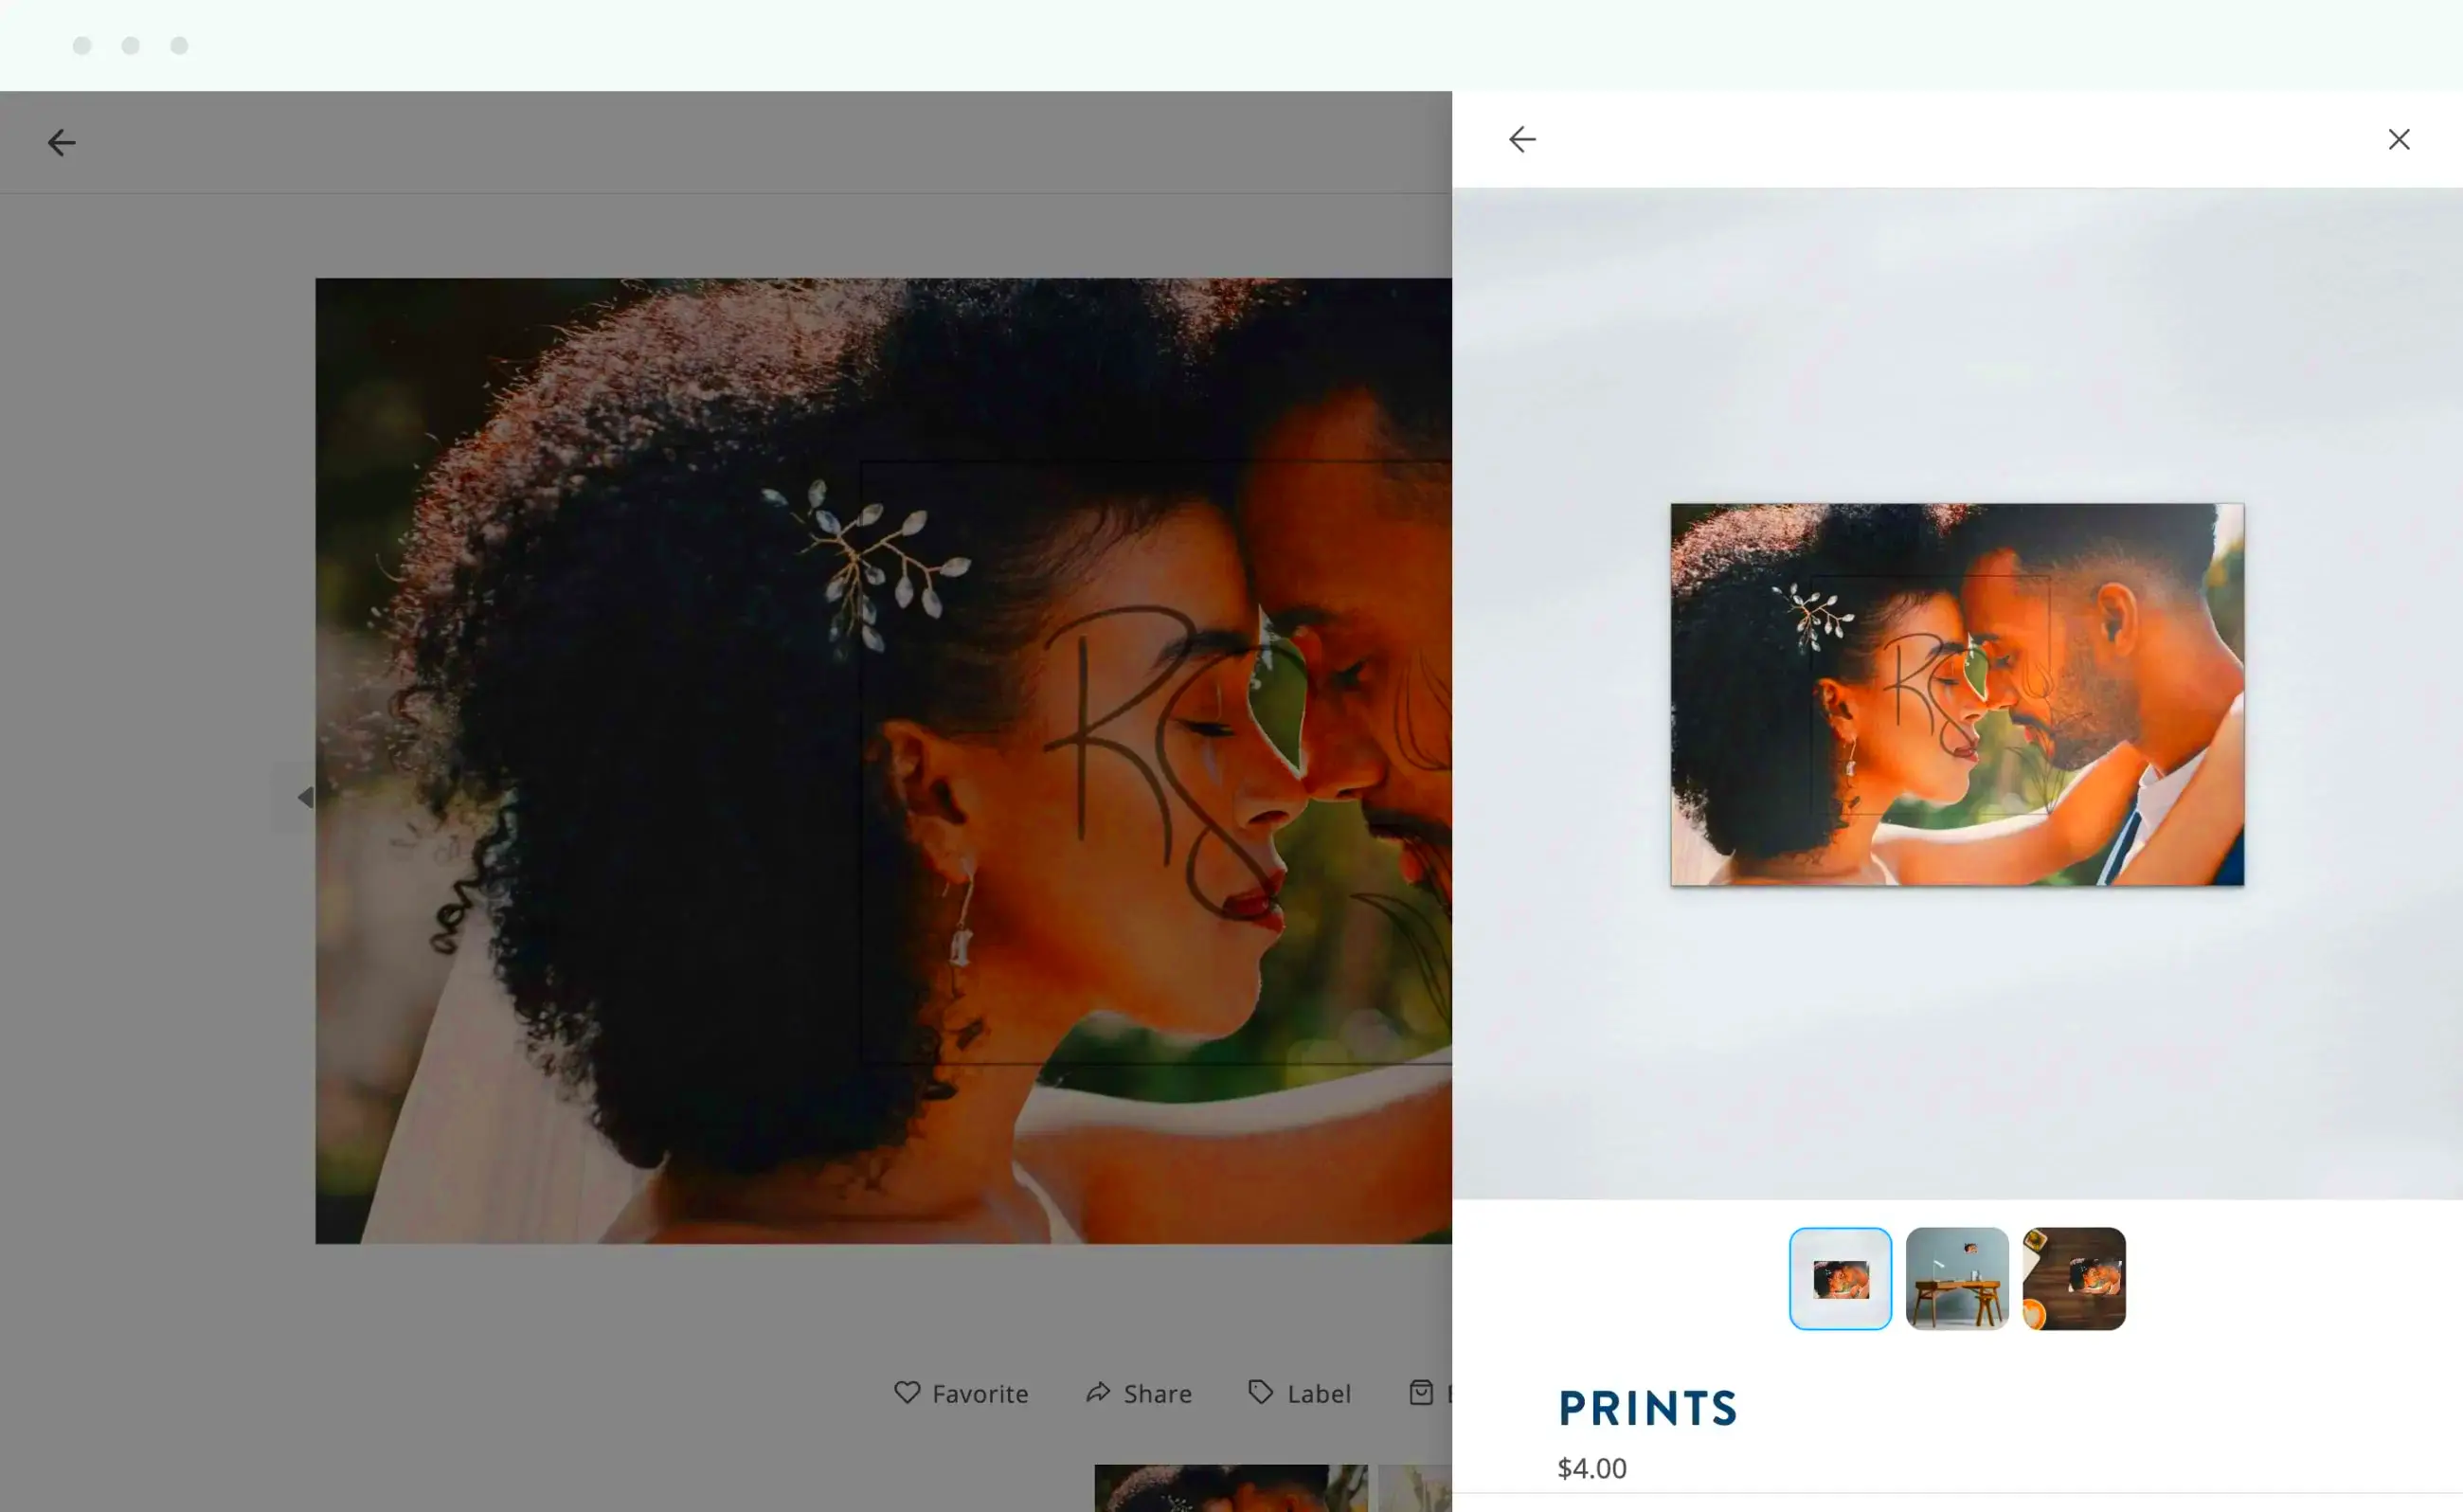
- Print ordering: Offering the option to order prints directly from ShootProof is a huge plus. I’ve seen clients light up when they realize they can have their favorite memories framed beautifully.
These aspects have had an impact on how I connect with my clients. Each engagement presents an opportunity to leave a mark and thanks to ShootProof I feel well prepared to achieve that.
Also Read This: Effective Strategies for Connecting with Recruiters on LinkedIn
Frequently Asked Questions
When I began my journey with ShootProof I found myself grappling with a lot of inquiries. It’s completely normal to seek clarity, particularly regarding a platform that holds significance for your photography venture. Here are some frequently asked questions I’ve come across along with my thoughts on them.
- Is ShootProof easy to use? Absolutely! The interface is intuitive, and I found myself navigating through the features without any hassle.
- Can I customize my galleries? Yes! You can personalize galleries with covers, captions, and even themes that resonate with your brand and style.
- How secure is my work? ShootProof prioritizes security. You can set passwords for galleries to protect your images from unauthorized access.
- What if my client doesn’t receive their email? It happens! I always advise clients to check their spam folder. If they still can’t find it, resending the link usually does the trick.
- Are there storage limits? ShootProof offers various plans, some with unlimited storage, so you can choose what fits your needs best.
These frequently asked questions address some of the worries I had at first and I’ve discovered that tackling them can boost other peoples confidence in using ShootProof. Its really about seeking solutions to make the experience more seamless.
Wrapping Up and Final Thoughts
As I take a moment to think about my time with ShootProof I cant help but appreciate the doors it has opened for me. It has improved how I interact with clients and made my work process more efficient. This tool has genuinely been a significant turning point for me. Each time I send out a gallery I am reminded of my initial passion for photography – the power to freeze and share cherished moments.
As you think about adding ShootProof to your process keep in mind that its not solely about the tech; its also about the relationships you establish with your customers. Here are some final reflections
- Stay authentic: Always let your personality shine through in your communication. Clients appreciate a personal touch.
- Embrace the learning curve: Like any new tool, there’s a learning phase. Don’t rush it; enjoy the process and keep experimenting.
- Keep client feedback in mind: Their insights can help you improve and adapt your approach, ensuring you meet their expectations.
Ultimately the use of ShootProof aims to enrich the experience for both you and your clients. Every gallery you craft reflects your dedication and I truly hope you discover as much happiness in this adventure as I do.