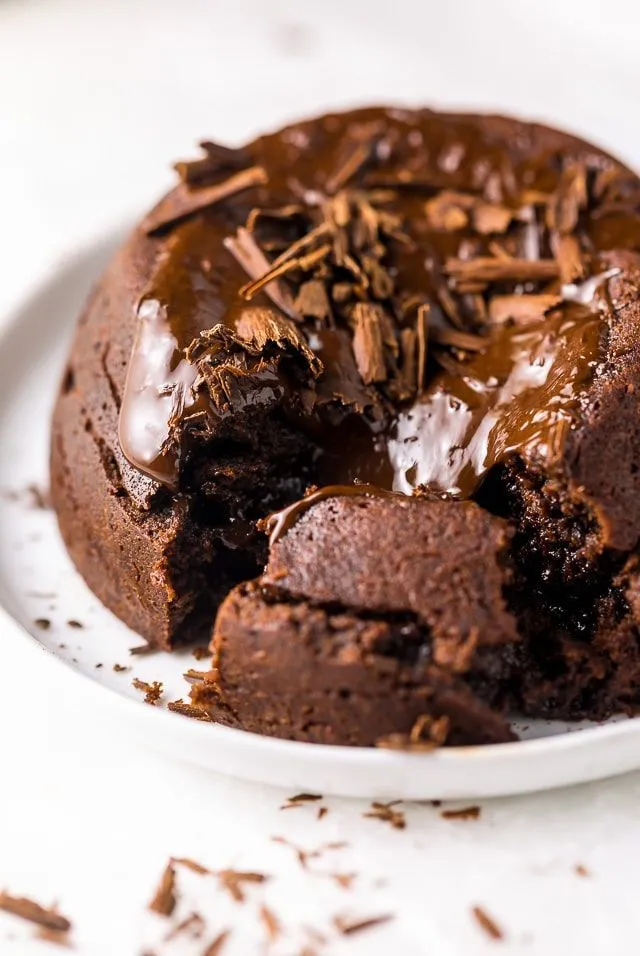
Are you craving something sweet but short on time? Look no further! This Quick and Easy Microwave Molten Lava Cake recipe is your answer to satisfying that dessert urge in just a few minutes. Imagine a rich, chocolatey cake with a gooey center, all made in the comfort of your own microwave. Whether it’s a midnight snack or a last-minute dessert for guests, this recipe is a game-changer!
Ingredients Needed
To whip up this delicious molten lava cake, you'll need just a handful of ingredients. Here they are:
- 4 tablespoons (1/4 cup) unsalted butter
- 1/2 cup semi-sweet chocolate chips
- 1/4 cup all-purpose flour
- 1/4 cup granulated sugar
- 1 large egg
- 1/2 teaspoon vanilla extract
- Pinch of salt
These simple ingredients come together to create that irresistible molten center. Feel free to customize your cake by adding a pinch of espresso powder for a richer flavor or a sprinkle of sea salt on top for that perfect sweet-salty contrast!
Here’s a quick reference table for your ingredients:
| Ingredient | Measurement |
|---|---|
| Unsalted Butter | 4 tablespoons (1/4 cup) |
| Semi-Sweet Chocolate Chips | 1/2 cup |
| All-Purpose Flour | 1/4 cup |
| Granulated Sugar | 1/4 cup |
| Large Egg | 1 |
| Vanilla Extract | 1/2 teaspoon |
| Salt | Pinch |
With these ingredients on hand, you're just moments away from digging into a delightful molten lava cake!
Also Read This: What Happened to Rumble Johnson – A Tribute to the Fighter
Step-by-Step Instructions
Making a delicious molten lava cake in the microwave is simpler than you might think! Just follow these easy steps, and you’ll have a delectable dessert ready in no time.
- Gather Your Ingredients: You will need 4 tablespoons of unsalted butter, 1/4 cup of semisweet chocolate chips, 1/4 cup of powdered sugar, 1 egg, and 2 tablespoons of all-purpose flour. Optional: a pinch of salt and vanilla extract for flavor.
- Melt the Butter and Chocolate: In a microwave-safe bowl, combine the butter and chocolate chips. Microwave them in 30-second intervals, stirring in between, until fully melted and smooth. This usually takes about 1-1.5 minutes.
- Mix in the Sugar and Egg: Once melted, stir in the powdered sugar until well combined. Then, add the egg and whisk until the mixture is smooth and glossy.
- Add Flour and Optional Ingredients: Gently fold in the flour, and if you like, add a pinch of salt and a splash of vanilla extract to enhance the flavor.
- Prepare Your Mug: Spray a microwave-safe mug or ramekin with non-stick cooking spray. This ensures your cake comes out easily once it’s cooked.
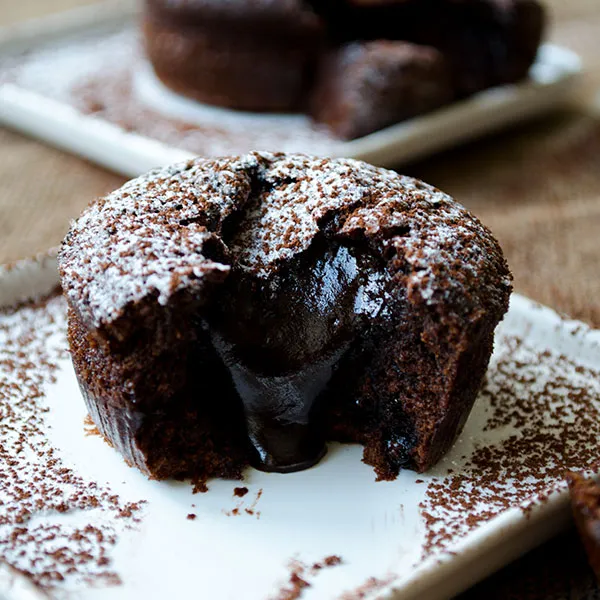
- Pour and Microwave: Pour the batter into your prepared mug, filling it about halfway. Microwave on high for 40-60 seconds. Keep a close eye on it; you want it to be set around the edges but still gooey in the center!
- Let It Rest: Allow the cake to cool for a minute before carefully running a knife around the edges to loosen it. Invert the mug onto a plate to release the cake.
And there you have it—a gorgeous molten lava cake that’s ready to indulge in!
Also Read This: Easy Tutorial for Making Crochet Caps
Tips for Perfect Lava Cake
To make sure your molten lava cake turns out perfectly every time, here are some handy tips you can follow:
- Use Quality Chocolate: Opt for high-quality chocolate chips or a chocolate bar. The better the chocolate, the richer your cake will taste!
- Don’t Overcook: Microwave wattages vary, so start with 40 seconds. If it’s not quite set, add time in 10-second intervals. You want that gooey center!
- Experiment with Add-Ins: Try adding a teaspoon of instant coffee for a mocha flavor or some chopped nuts for a crunchy texture.
- Serving Suggestions: Serve with a scoop of vanilla ice cream or a dollop of whipped cream. A sprinkle of powdered sugar on top adds a nice touch!
- Practice Makes Perfect: Don’t worry if your first attempt isn’t perfect. Adjusting cooking times and ingredient ratios can help you find your ideal lava cake!
With these tips, you'll be well on your way to mastering the art of microwave molten lava cake! Enjoy your baking adventure!
Also Read This: How to Connect Your Own Domain to Behance for Free
5. Serving Suggestions
Now that you've whipped up your delicious microwave molten lava cake, it's time to make it shine! Here are some delightful serving suggestions to elevate your dessert experience:
- Ice Cream Delight: A scoop of vanilla or coffee ice cream on top of your lava cake creates a wonderful contrast of temperatures. The cold ice cream melts slightly into the warm cake, enhancing the molten center.
- Fresh Berries: Add a handful of strawberries, raspberries, or blueberries for a burst of freshness. Their tartness balances the sweetness of the cake beautifully.
- Chocolate Drizzle: Drizzle some warm chocolate sauce over the cake for an extra indulgent touch. You can even use caramel sauce for a different flavor profile.
- Whipped Cream: A dollop of freshly whipped cream adds a light and airy texture that complements the richness of the cake.
For a more festive presentation, consider serving your lava cake in individual ramekins. Dust them with powdered sugar and add a sprig of mint for a charming touch. You could also pair your dessert with a strong coffee or a rich dessert wine to round off the meal perfectly.
6. Conclusion
In just a few minutes, you can indulge in a decadent microwave molten lava cake that feels like a gourmet treat. This recipe is not only quick but also incredibly versatile, allowing you to customize it with your favorite flavors and toppings.
Whether you're hosting a dinner party, surprising a loved one, or simply treating yourself, this dessert is sure to impress. The best part? You don't need a lot of fancy kitchen equipment or a lot of time to create something special. Just your microwave, a few ingredients, and a pinch of creativity!
So, next time you're craving something sweet and indulgent, remember this easy microwave molten lava cake recipe. With a little practice, you'll be able to whip it up in no time. Enjoy every gooey bite!