Behance is a vibrant online platform that connects creative professionals across the globe. Whether you’re a graphic designer, photographer, illustrator, or any other type of artist, Behance serves as your digital portfolio, showcasing your work to potential clients, employers, and a community of like-minded individuals. With millions of projects and a supportive network, the platform not only allows you to display your talents but also helps you gain exposure in an increasingly competitive creative economy.
But why is Behance so important? Here are a few reasons:
- Networking Opportunities: Connect with other creatives, collaborate on projects, and discover new trends.
- Showcase Your Work: Create a visually appealing portfolio that demonstrates your skills and creativity.
- Feedback and Improvement: Receive constructive criticism and encouragement from peers that can help you grow as an artist.
- Job Opportunities: Many companies and recruiters browse Behance for talent, making it an ideal spot to land your dream job.
Overall, Behance is not just a portfolio site; it's a thriving community where you can grow, learn, and succeed in your creative journey.
Creating a Behance Account
Setting up a Behance account is a breeze, and it’s your first step toward building a strong online presence. Here’s how you can get started:
- Visit the Behance Website: Go to www.behance.net.
- Sign Up: Click on the “Sign Up” button located at the top right corner. You can register using your Adobe ID, Google account, or sign up with an email address.
- Profile Information: Fill out your profile details, including your name, location, and a brief bio. This is your chance to make a great first impression!
- Upload a Profile Picture: Choose a professional-looking image that represents you well.
- Showcase Your Work: Start uploading projects right away or come back later. Remember, quality matters!
Here’s a quick table summarizing the steps:
| Step | Description |
|---|---|
| 1 | Visit Behance |
| 2 | Sign Up |
| 3 | Fill Out Profile |
| 4 | Upload Profile Picture |
| 5 | Showcase Your Work |
Once your account is set up, you’re ready to dive into the creative world of Behance and start sharing your projects with the community!
Also Read This: Simple Steps to Spoof Your YouTube TV Location
Preparing Your Creative Project for Upload
Getting your creative project ready for upload on Behance can feel like a mix of excitement and anxiety. But don't worry! With some smart preparation, you can make this process smooth and efficient. Here are a few key steps to consider:
- Curate Your Content: Before uploading, take a moment to select the best pieces of your project. Whether it's illustrations, photos, or designs, only choose work that truly represents your vision.
- Optimize File Formats: Ensure your files are in formats that look great online. JPEG and PNG work well for images, while PDF is ideal for showcasing documents.
- Consider File Sizes: Large files can slow down loading times, so compress images without losing quality. Tools like TinyPNG or ImageOptim can help with that.
- Write Compelling Descriptions: Every piece of work deserves a story. Write descriptions that not only explain your process but also engage your audience emotionally.
- Gather Feedback: Before hitting that upload button, share your project with a trusted friend or mentor. Their insights can refine your work and catch issues you might have overlooked.
Taking these steps will ensure that your project not only looks fantastic but also conveys the right message to your viewers. Now, let’s dive into the actual uploading process!
Also Read This: How to Download LinkedIn Videos Quickly and Easily
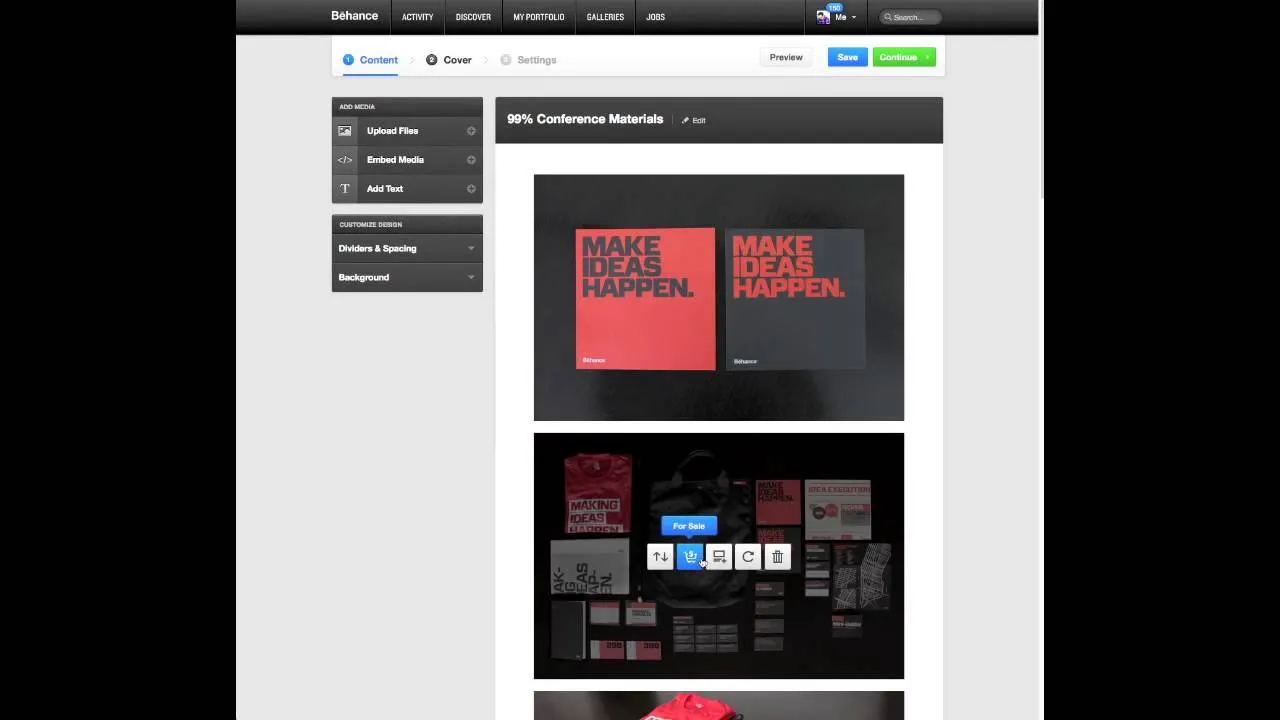
Step-by-Step Guide to Uploading Your Project
Uploading your project to Behance is a breeze when you follow these simple steps. Let’s walk through the process together!
- Create or Log into Your Behance Account: If you don’t have an account, sign up for free. If you do, just log in to get started.
- Click on the "Create a Project" Button: This button is usually prominently displayed on your dashboard. Give it a click to begin.
- Upload Your Files: Drag and drop your curated files into the upload area or click to select them. You can add images, videos, and even documents.
- Arrange Your Content: After uploading, you can rearrange the order of the pieces. Make sure they tell a cohesive story!
- Add Project Details: Fill in the title, description, and tags. Use descriptive keywords to help people find your project.
- Adjust Settings: Set your project’s visibility. You can keep it public, private, or share it with specific people.
- Publish: Review everything one last time. If you’re happy with it, hit that publish button! Your work is now live for the world to see.
And there you have it! A straightforward guide to uploading your creative projects on Behance. Remember, the more you practice, the more comfortable you'll become with the platform. Happy uploading!
Also Read This: Closing Time: Guide to Closing Your Shopify Store
5. Optimizing Your Project for Maximum Visibility
When you upload your creative project to Behance, you want it to be seen by as many eyes as possible. Here are some effective strategies to enhance the visibility of your project:
- High-Quality Images: Use crisp, high-resolution images. Projects with vibrant visuals grab attention and encourage viewers to engage.
- Compelling Titles: Craft a title that is both descriptive and intriguing. This is the first thing people see, so make it catchy!
- Detailed Descriptions: Provide a thorough description of your project. Explain your creative process, inspiration, and any techniques used. This not only informs but also captivates your audience.
- Relevant Tags: Utilize keywords and tags that relate to your project. This helps in searchability, making it easier for others to find your work.
- Engage with the Community: Interact with other creatives on Behance. Comment on their projects and respond to feedback on yours to build a network.
- Share on Social Media: Promote your project through platforms like Instagram, Twitter, or Facebook. Direct traffic to your Behance project page for increased views.
By implementing these strategies, you can significantly boost the visibility of your projects and attract more viewers who appreciate your creative efforts.
Also Read This: Exploring VectorStock’s Top Features That Make It Stand Out
6. Understanding Project Settings and Privacy Options
Behance offers various project settings and privacy options that can help you control how your work is perceived and shared. Here’s a quick rundown:
| Setting | Description |
|---|---|
| Project Visibility | Choose between public or private visibility. Public projects are visible to everyone, while private projects can only be seen by you and invited collaborators. |
| Creative Commons Licensing | Select a license that fits your needs. Whether you want full rights reserved or to allow others to use your work under certain conditions, this option is crucial. |
| Comments Settings | Decide if you want to allow comments on your project. This can foster community engagement but might also invite criticism. |
| Project Editing | You can edit your project settings at any time. This flexibility allows you to adapt to feedback or change your mind about visibility. |
Understanding and utilizing these settings will ensure that you maintain control over your creative work and how it interacts with the Behance community.
Also Read This: Best Practices for Saving JPEG Files for Adobe Stock
7. Engaging with the Behance Community After Upload
Uploading your creative projects on Behance is just the beginning! Engaging with the community is crucial for maximizing your exposure and receiving valuable feedback. Here’s how you can do it:
- Comment on Other Projects: Take some time to explore projects similar to yours. Leave thoughtful comments that reflect your genuine interest. This not only builds relationships but also encourages others to check out your work.
- Join Groups: Behance has various groups catering to specific interests. Joining these groups can help you find like-minded creatives. Participate in discussions, share your insights, and promote your projects when appropriate.
- Respond to Feedback: If someone comments on your work, reply to them! Acknowledge their input and engage in a conversation. This shows appreciation and fosters a sense of community.
- Follow and Share: Follow other artists whose work you admire. Share their projects on your profile or through social media, giving them credit. This reciprocal gesture often leads to networking opportunities.
- Utilize the “Appreciate” Feature: Don’t forget to appreciate projects you love! It’s a simple yet effective way to support fellow creatives and encourage them to visit your profile in return.
Engagement is a two-way street. The more involved you are, the more likely you are to build a supportive network that can benefit your creative journey.
8. Conclusion: Best Practices for Future Uploads
As you continue uploading your projects to Behance, keeping certain best practices in mind can enhance your experience and your work’s visibility. Here’s a handy checklist:
| Practice | Description |
|---|---|
| Quality Over Quantity | Focus on uploading fewer high-quality projects rather than many mediocre ones. Each project should showcase your best work. |
| Consistent Branding | Maintain a consistent style across your projects. This helps in building your personal brand and makes your profile easily recognizable. |
| Optimize Your Tags | Use relevant and specific tags to improve your project’s visibility. Think about what potential viewers might search for. |
| Engage Regularly | Set aside time each week to engage with the community. Consistent interaction keeps your profile active and increases your chances of being noticed. |
| Seek Feedback | Don’t shy away from asking for constructive criticism. Use feedback to grow and improve your future projects. |
By applying these best practices, you’ll not only make the most of your uploads but also cultivate a thriving presence within the Behance community. Happy creating!