
Alright, let’s dive into the delightful world of baking your very own Barbie cake! This step-by-step guide will walk you through the essentials to ensure your cake turns out as fabulous as Barbie herself. Here’s what you’ll need:
- Ingredients:
- 2 cups of all-purpose flour
- 1 ½ cups of sugar
- 1 cup of unsalted butter (softened)
- 4 large eggs
- 1 cup of milk
- 2 ½ tsp of baking powder
- 1 tsp of vanilla extract
- Pinch of salt
- Equipment:
- Mixing bowls
- Electric mixer or whisk
- Measuring cups and spoons
- Barbie doll (for the cake center)
- Oven
- Round cake pans
Now, let’s get to the fun part—baking!
- Preheat your oven: Set it to 350°F (175°C) so it’s hot and ready for your cake.
- Mix the dry ingredients: In one bowl, combine the flour, baking powder, and salt. Stir them well.
- Cream the butter and sugar: In another bowl, beat the softened butter and sugar together until creamy and fluffy.
- Add eggs and vanilla: Mix in the eggs one at a time, followed by the vanilla extract.
- Combine the mixtures: Gradually add the dry ingredients to the wet mixture, alternating with the milk.
- Prepare your pans: Grease your round cake pans and divide the batter evenly.
- Bake: Place the pans in the preheated oven and bake for 25-30 minutes or until a toothpick comes out clean.
- Cool: Once baked, let the cakes cool in the pans for 10 minutes, then transfer to a wire rack.
And there you have it! Your Barbie cake layers are ready for decorating!
Decorating the Barbie Cake
Now that you have your beautifully baked cake, it’s time to unleash your creativity and transform it into a stunning Barbie masterpiece! Decorating is where the magic happens, so let’s roll up our sleeves and dive in.
Here’s what you’ll need for decorating:
- Frosting: You can use buttercream, fondant, or whipped cream—whatever tickles your fancy!
- Food coloring: Get vibrant colors to match Barbie’s outfit!
- Decorative items: Sprinkles, edible glitter, and cake toppers can add that extra flair.
- Tools: Piping bags, spatula, and cake decorating tools are essential for a polished finish.
Let’s break down the decorating process:
- Level the cakes: If your cakes have domed tops, trim them for a flat surface.
- Stack and frost: Place one layer on a cake board, spread a layer of frosting, and then add the second cake on top.
- Crumb coat: Apply a thin layer of frosting around the entire cake to seal in crumbs. Chill for about 30 minutes.
- Add the final coat: Once chilled, spread a thick layer of frosting over the entire cake for a smooth finish.
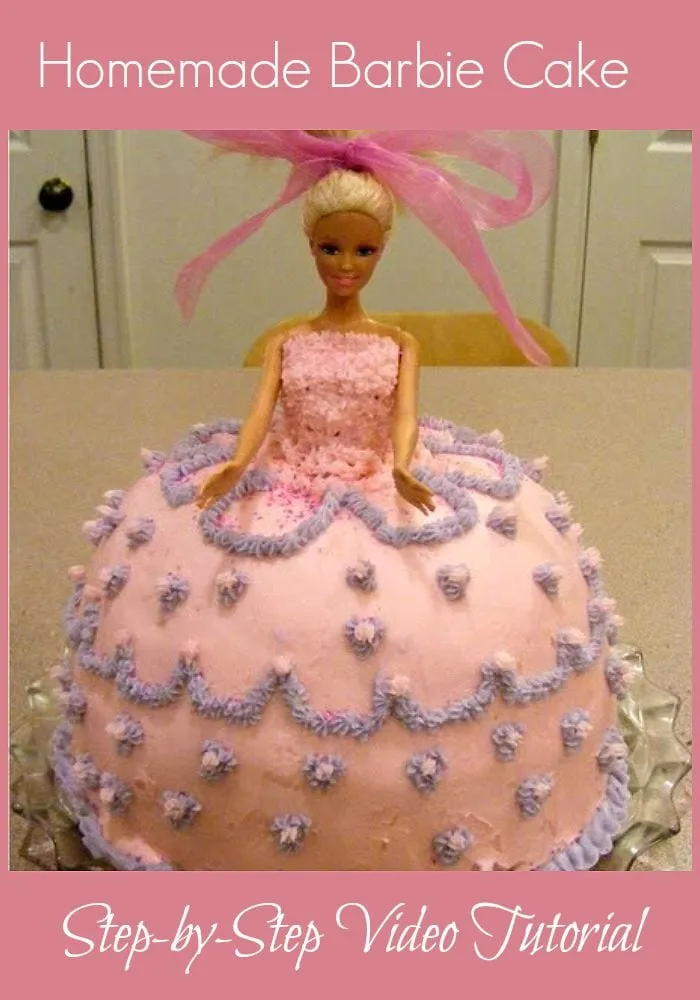
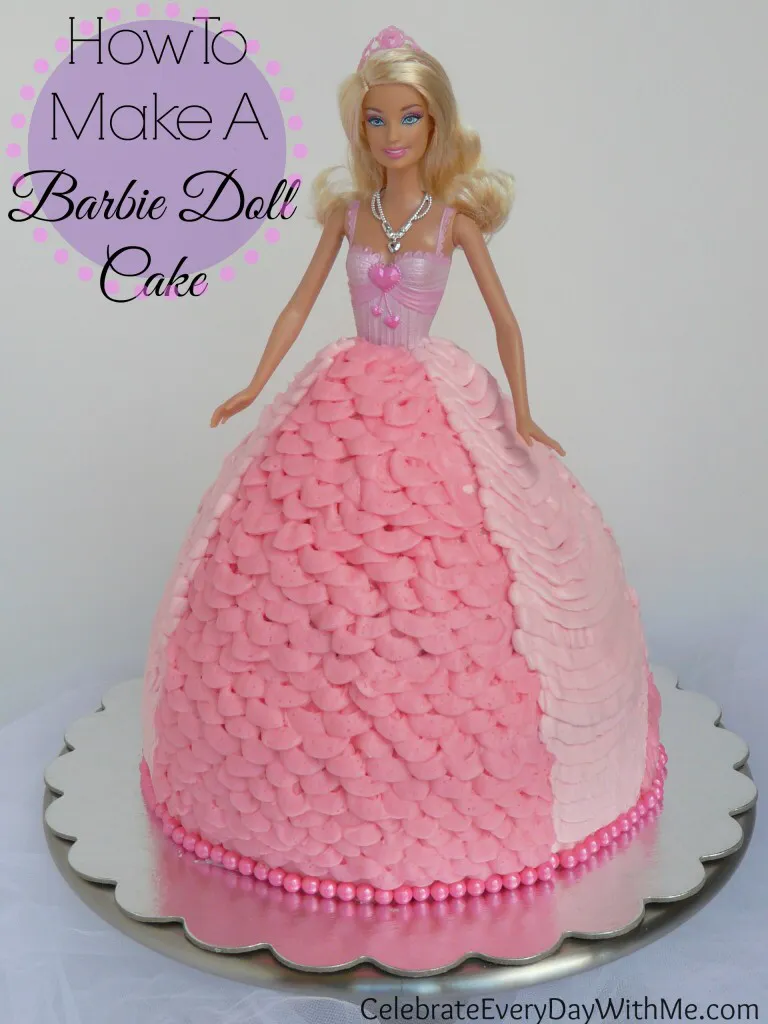
- Dress up your Barbie: Insert the Barbie doll into the center of the cake (you can cut a hole for her body). Dress her up with frosting or a fondant skirt around her.
- Decorate: Use food coloring to tint your frosting and pipe fun designs. Add sprinkles, edible glitter, or any other decorations you like.
And voila! Your Barbie cake is ready to shine at the party! Remember, the best part about decorating is that there are no rules—just have fun and let your creativity flow!
Also Read This: Design Eye-Catching Door Hangers Using Canva Door Hanger Template
5. Tips for Perfecting Your Barbie Cake
Creating a stunning Barbie cake is not just about following a recipe; it's about mastering the art of presentation and flavor. Here are some tips that will help you elevate your baking game and ensure your Barbie cake is a showstopper!
- Choose the Right Cake Flavor: While chocolate and vanilla are popular choices, consider fun flavors like red velvet or lemon for a unique twist. This adds a delightful surprise when guests take their first bite!
- Use a Sturdy Base: Your cake needs a solid foundation, especially if you’re stacking layers. A pound cake or a dense sponge cake works best for the structure, preventing any collapses during the decorating process.
- Level Your Cakes: Once baked, ensure your cakes are level. This is crucial for stability and achieving a professional look. You can use a cake leveler or a serrated knife to trim the tops.
- Chill Before Decorating: Refrigerating your cakes for a few hours before adding frosting helps the layers firm up, making it easier to handle and decorate without crumbling.
- Get Creative with Frosting: Utilize different types of frosting like buttercream, cream cheese, or fondant. Each offers a unique texture and taste, so feel free to mix and match!
- Don’t Skimp on Decorations: The Barbie doll and themed decorations are what truly bring this cake to life. Use edible glitter, colorful sprinkles, and themed toppers to enhance the overall look.
Remember, practice makes perfect! The more Barbie cakes you create, the more skilled you’ll become at it.
6. Conclusion and Additional Resources

Mastering the art of Barbie cake creation is a journey of creativity, patience, and lots of fun! With the right techniques and a sprinkle of imagination, you can whip up a cake that not only looks fabulous but also tastes amazing. Don’t forget to share your cake creations with friends and family, or even on social media to inspire others!
To further support your baking adventures, here are some additional resources that can help you refine your skills:
| Resource | Description |
|---|---|
| Dailymotion Creative Baking Tutorials | Explore various baking tips and techniques through engaging video content. |
| Online Baking Courses | Consider enrolling in a baking course that covers everything from basic techniques to advanced cake decorating skills. |
| Baking Blogs | Check out popular baking blogs for new recipes, tips, and community support. |
| Social Media Groups | Join baking groups on social media platforms to share experiences and gain inspiration from fellow bakers. |
Happy baking, and may your Barbie cakes shine as brightly as the dolls themselves!