Welcome to the world of Photoshop CS6! If you're looking to elevate your photography skills and create stunning images, mastering editing techniques in this powerful software is essential. Photoshop CS6 offers a plethora of tools and features that can transform your pictures from ordinary to extraordinary. Whether you're a beginner or someone with a bit of experience, this guide will help you navigate through the editing process, making it as enjoyable as it is effective. Get ready to unleash your creativity and learn some fantastic techniques that will take your images to the next level!
Understanding the Photoshop CS6 Interface
Before diving into editing techniques, it's crucial to familiarize yourself with the Photoshop CS6 interface. Understanding how the program is laid out will make your editing journey smoother and more intuitive. Here’s a quick breakdown of the key components:
- Menu Bar: Located at the top, this is where you'll find various options such as File, Edit, Image, and more. Each dropdown contains different commands for editing and organizing your work.
- Options Bar: Just below the Menu Bar, this changes based on the tool you select. It provides additional settings and adjustments for the tool in use, allowing for more precise edits.
- Toolbox: Typically located on the left side, this is your arsenal of editing tools. From selection and retouching tools to brushes and text, each tool has a specific purpose.
- Panels: On the right, you’ll find various panels like Layers, Adjustments, and History. These are essential for managing your edits, adjusting colors, and keeping track of changes.
- Canvas Area: This is where your image resides. You can zoom in and out, rotate, and view your work at various levels of detail.
As you start exploring Photoshop CS6, take the time to play around with these components. Familiarity will boost your confidence and enhance your efficiency, making your editing process much more enjoyable!
Also Read This: How to Legally Use Music in YouTube Videos and Avoid Copyright Issues
7. Sharpening and Noise Reduction Techniques
When it comes to editing photos in Photoshop CS6, sharpening and noise reduction are two crucial techniques that can make or break the quality of your final image. Let's dive into how you can expertly apply these techniques to enhance the clarity of your pictures while minimizing unwanted grain.
Sharpening is all about enhancing the details in your image. It makes the edges of objects appear more defined, which can give your photo a crisp, professional look. Here are some effective sharpening methods:
- Unsharp Mask: This tool allows you to control the amount, radius, and threshold of sharpening. Start with a low value for the radius (around 1) and adjust the amount until you see a noticeable improvement without introducing artifacts.
- Smart Sharpen: This option provides more advanced settings, such as removing Gaussian Blur and Lens Blur. It also allows you to preview the sharpening effect before applying it.
On the flip side, you might encounter noise in your images, especially if they were shot in low light conditions. Noise can look like random speckles of color, which detracts from your photo's quality. To reduce noise:
- Reduce Noise Filter: Found under the Filter menu, this tool allows you to adjust strength, preserve details, and reduce color noise.
- Camera Raw Filter: If you want more control, accessing the Camera Raw Filter gives you advanced noise reduction options, including luminance and color noise sliders.
By mastering sharpening and noise reduction, you can significantly enhance the quality of your pictures, bringing out the best in every shot!
Also Read This: The Ultimate Guide to Uploading Photos to ShootProof
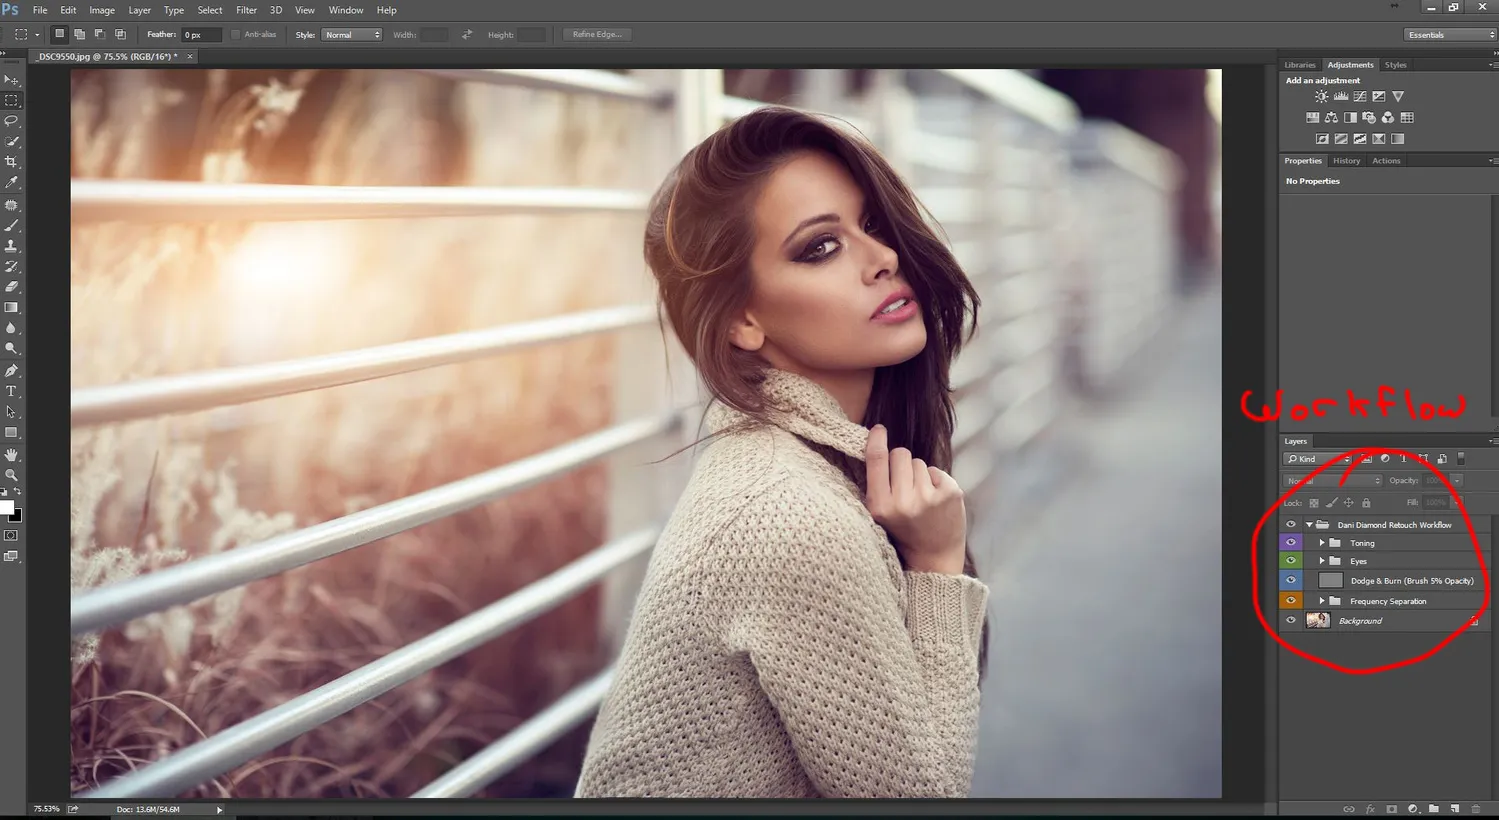
8. Using Layers for Non-Destructive Editing
One of the most powerful features of Photoshop CS6 is its ability to use layers for non-destructive editing. This means you can make changes to your images without permanently altering the original file. It’s like having a safety net as you experiment with different edits!
What are Layers? Think of layers as transparent sheets stacked on top of each other. Each layer can contain different elements of your image, such as adjustments, text, or other images. Here’s why using layers is essential:
- Flexibility: You can hide, show, or rearrange layers at any time, allowing you to experiment freely without the fear of losing your original image.
- Adjustment Layers: These are special layers that apply changes (like brightness, contrast, or color adjustments) without affecting the actual image layer. You can easily tweak these adjustments later on!
- Layer Masks: With masks, you can selectively hide or reveal parts of a layer. This is perfect for blending images or applying effects to specific areas without losing details.
Tip: Always start with a duplicate of your original image layer. This way, you have a backup to return to if needed. As you edit, try to create a habit of using layers for every adjustment. It can make your editing process much cleaner and more efficient.
Mastering layers in Photoshop CS6 will transform your editing game, allowing you to create stunning images while preserving the integrity of your original work.
Also Read This: Understanding Shutterstock’s Commission and Fees
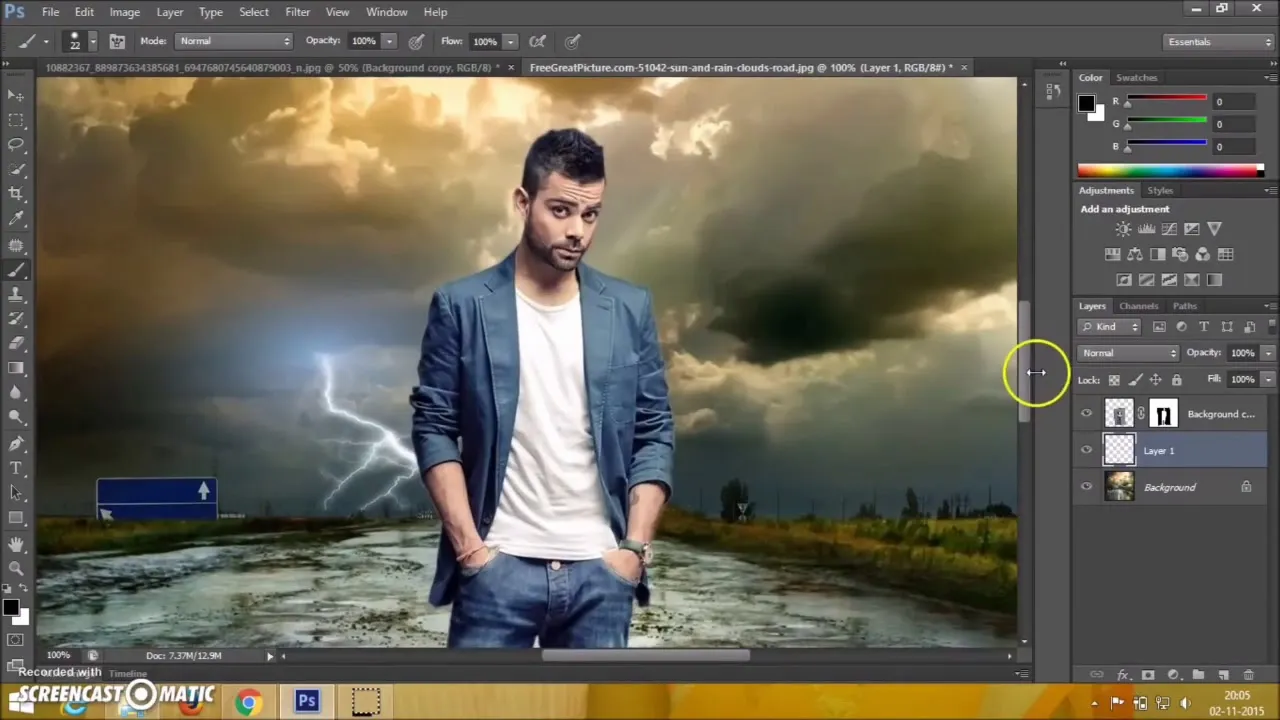
9. Creating Stunning Effects with Filters
When it comes to enhancing your images in Photoshop CS6, filters are your best friends. They can turn a mundane photo into a stunning masterpiece in just a few clicks! The beauty of filters is that they allow you to experiment with various styles and techniques without permanently altering your original image. Let's dive deeper into how you can create stunning effects using filters.
First, navigate to the Filter menu at the top of your workspace. Here, you'll find a plethora of options, including:
- Blur: Soften your image or create a dreamy effect.
- Sharpen: Increase the clarity and detail in your photos.
- Distort: Manipulate your image for a unique look.
- Stylize: Add artistic touches that make your images pop.
One popular filter is the Gaussian Blur, which is fantastic for softening backgrounds. Simply select the area you want to blur and apply the filter to achieve that lovely bokeh effect. On the other hand, if you're looking to add some drama, try the High Pass filter. This filter enhances edges and textures, giving your photo a striking contrast.
Another fun way to use filters is by combining them. You can layer different effects and adjust the opacity to create something truly unique. Just remember to use the Smart Filters option, allowing you to edit or remove filters later on.
So, don’t hold back! Get creative with filters and explore the endless possibilities they offer in Photoshop CS6. Your images will thank you!
Also Read This: How to Create Foundation at Home Using Dailymotion
10. Final Touches and Exporting Your Images
Now that you've put in all that hard work editing your photo, it’s time for the final touches and exporting your masterpiece. This is a crucial step because you want your image to look its best across various platforms, whether it’s for social media, a website, or printing.
Start with the final adjustments. Here are some tips to polish your image:
- Check the Levels: Use the Levels adjustment layer to ensure your photo has a good balance of highlights, midtones, and shadows.
- Color Correction: Adjust the color balance to ensure your image doesn’t have any unwanted color casts.
- Sharpening: Apply subtle sharpening to enhance details. Be careful not to overdo it, as it can create unwanted noise.
Once you’re satisfied with the final look, it’s time to export your image. Click on File in the menu, then select Export and choose Save for Web (Legacy) for web use. Here you can adjust the quality settings and see a preview of how your image will look. If you're preparing your photo for print, use the Save As option and choose a format like TIFF or JPEG, ensuring you have the appropriate resolution.
Lastly, always keep a copy of your original file in PSD format, so you can return to it for future edits. With these final touches and proper exporting, you'll be ready to showcase your stunning images to the world!
Mastering Editing Techniques for Perfect Pictures in Photoshop CS6
Photoshop CS6 is a powerful tool that enables photographers and digital artists to transform ordinary images into stunning works of art. Mastering its editing techniques can significantly enhance the quality of your pictures. Here, we will explore essential tools and techniques you can use to achieve perfect pictures.
Essential Editing Tools in Photoshop CS6
Photoshop CS6 offers a plethora of tools that can help you refine your images. Here are some of the most useful ones:
- Crop Tool: Helps in framing your image and eliminating distractions.
- Clone Stamp Tool: Allows you to duplicate parts of an image to remove imperfections.
- Healing Brush Tool: Perfect for correcting blemishes and smoothing out skin textures.
- Adjustment Layers: These non-destructive layers let you modify the brightness, contrast, and colors.
- Filters: Use various filters to add effects and enhance your images creatively.
Basic Techniques for Image Enhancement
To achieve a polished look, consider implementing the following techniques:
- Color Correction: Adjust the color balance to achieve a natural look.
- Sharpening: Enhance the details by applying sharpening filters.
- Noise Reduction: Minimize graininess using noise reduction techniques.
- Layer Masking: Utilize masks to apply adjustments selectively.
Common Mistakes to Avoid
To ensure your images look their best, keep these pitfalls in mind:
| Common Mistake | Solution |
|---|---|
| Over-saturation | Use adjustment layers for subtle changes. |
| Excessive sharpening | Apply sharpening judiciously to avoid artifacts. |
| Ignoring composition | Pay attention to the rule of thirds when cropping. |
By mastering these editing techniques in Photoshop CS6, you can elevate the quality of your images and create stunning visuals that resonate with viewers.
Conclusion and Further Resources
In conclusion, mastering editing techniques in Photoshop CS6 can transform your photography skills and lead to breathtaking images. For further learning, consider exploring online tutorials, Photoshop forums, and books dedicated to advanced editing techniques.