Roti, a staple in many households, is more than just a bread; it's a cherished tradition that brings families together. Making the perfect roti may seem daunting at first, but with the right techniques and a little practice, it becomes an enjoyable and rewarding experience. Thanks to platforms like Dailymotion, you can easily access a wealth of tutorials that guide you through every step of the roti-making process. Whether you're a beginner or looking to refine your skills, these videos offer visual guidance and tips that can make all the difference. So, let’s dive into the essentials of creating the perfect roti!
Essential Ingredients for Perfect Roti

Creating the perfect roti starts with the right ingredients. While the recipe is simple, the quality and type of ingredients you use can elevate your roti from good to exceptional. Here’s a breakdown of what you’ll need:
- Whole Wheat Flour (Atta): The primary ingredient for roti, whole wheat flour is rich in nutrients. Look for finely ground flour for a softer texture.
- Water: This is crucial for kneading the dough. Use lukewarm water for a pliable dough that’s easy to work with.
- Salt: Although optional, adding a pinch of salt enhances the flavor of the roti.
- Oil or Ghee: A small amount of oil or ghee can be added to the dough for extra softness and flavor. Some prefer to brush it on the roti while cooking for a richer taste.
Now, let’s take a closer look at these ingredients:
| Ingredient | Purpose |
|---|---|
| Whole Wheat Flour | Main ingredient for structure |
| Water | Hydrates the flour to form dough |
| Salt | Enhances flavor |
| Oil/Ghee | Adds softness and flavor |
With these essential ingredients in hand, you’re well on your way to mastering the art of making delicious, soft roti. Remember, the key lies in the kneading process and cooking technique, which you can learn through the fantastic tutorials available on Dailymotion!
Also Read This: Understanding Rumble Strips and Their Role in Road Safety
Step-by-Step Guide to Making Roti
Making the perfect roti might seem daunting at first, but with a little practice and the right guidance, you can master this art in no time. Here’s a simple, step-by-step guide to help you along the way:
- Gather Your Ingredients: You’ll need whole wheat flour (atta), water, and a pinch of salt. Optional ingredients include oil or ghee for extra softness.
- Make the Dough:
- In a large bowl, add about 2 cups of whole wheat flour.
- Add a pinch of salt and mix it well.
- Gradually add water while kneading the flour to form a soft dough. Aim for a consistency that isn’t sticky.
- Optionally, add a teaspoon of oil or ghee to make it even softer.
- Rest the Dough: Cover the dough with a damp cloth and let it rest for at least 20-30 minutes. This helps in gluten formation, making your roti softer.
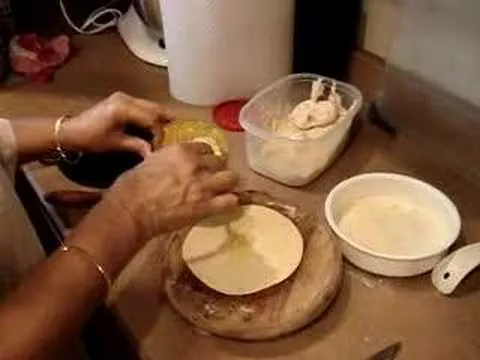
- Divide and Shape: After resting, divide the dough into small balls (about the size of a golf ball). Roll each ball in your palms to make them smooth.
- Roll the Roti: Dust a flat surface and a rolling pin with flour. Take one ball, flatten it slightly, and roll it out into a round shape. Aim for about 6-8 inches in diameter.
- Cook the Roti:
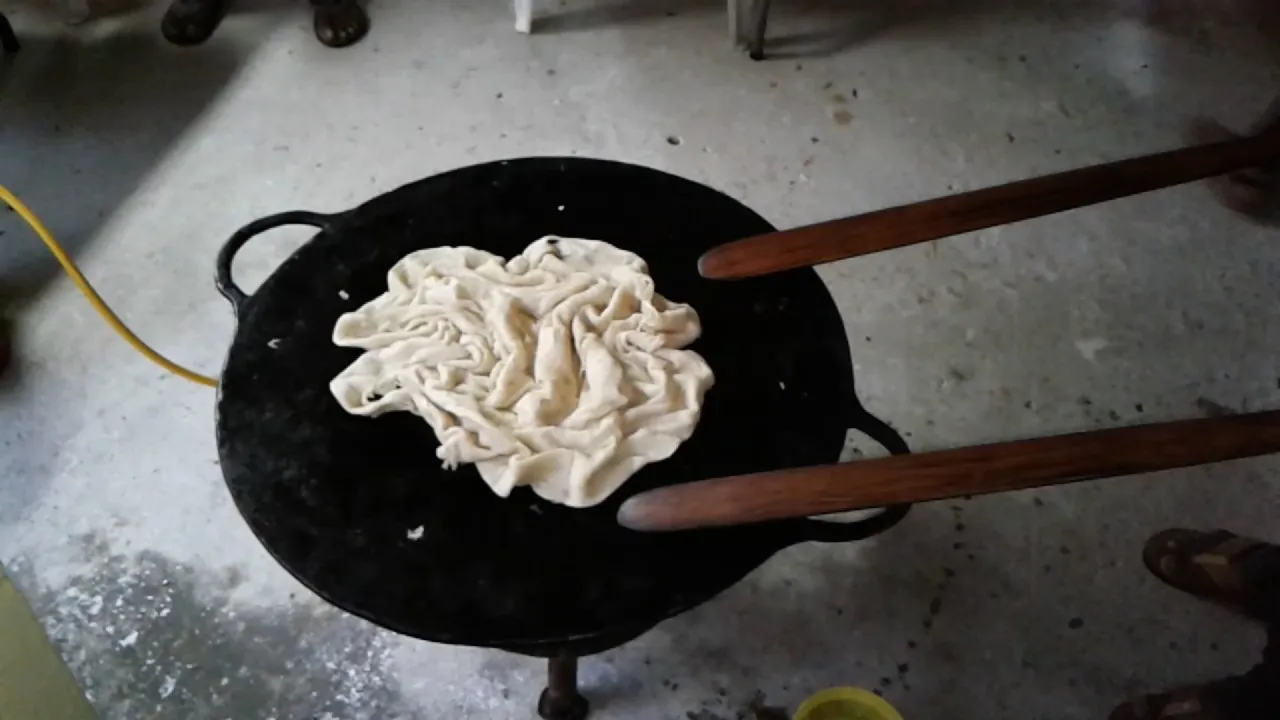
- Heat a tawa or flat skillet on medium heat.
- Place the rolled roti on the hot skillet. Cook for about 30 seconds or until you see bubbles forming.
- Flip it over and cook the other side for another 30 seconds.
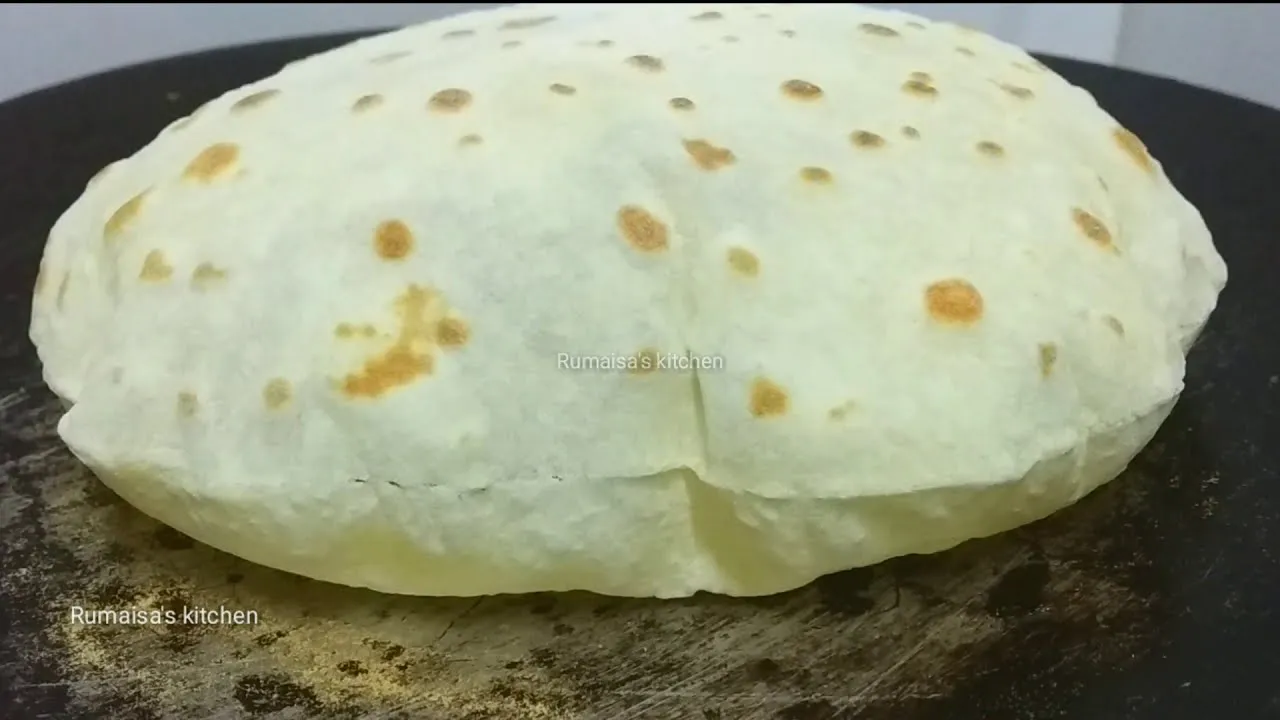
- For that perfect puff, press gently with a spatula or directly over the flame until it puffs up.
- Serve Hot: Brush with ghee or butter if desired, and serve immediately with your favorite curry or vegetables!
Also Read This: Easy Hairstyles to Make at Home with Step-by-Step Videos
Common Mistakes to Avoid
Even seasoned cooks can make mistakes when it comes to making roti. Here are some common pitfalls and how to avoid them:
| Mistake | Description | Solution |
|---|---|---|
| Too Much Water | Using too much water can make the dough sticky and difficult to roll. | Start with a little water and gradually add more until you get the right consistency. |
| Not Resting the Dough | Skipping the resting period can lead to tough roti. | Always allow the dough to rest for at least 20-30 minutes. |
| Uneven Rolling | Rolling the dough unevenly can result in uneven cooking. | Take your time and roll it out evenly, adjusting pressure as needed. |
| Incorrect Heat | Cooking on too high or too low heat can burn or undercook the roti. | Use medium heat and adjust as needed based on how the roti is cooking. |
| Ignoring Puffs | Not encouraging the roti to puff can lead to dense bread. | Gently press the roti while cooking to encourage it to puff up. |
By avoiding these common mistakes, you’ll be well on your way to making delicious, soft roti every time!
Also Read This: How to Save a YouTube Video to Your Files for Free
5. Tips for Perfectly Cooked Roti
Making the perfect roti isn't just about the ingredients; it's also about the technique and a few helpful tips. Here are some essential pointers to elevate your roti-making game:
- Use the Right Flour: Opt for whole wheat flour (atta) for the best texture and flavor. You can also experiment with different flours like millet or chickpea for a unique twist.
- Sift Your Flour: Sifting not only removes impurities but also aerates the flour, leading to softer rotis.
- Hydration is Key: The dough should be soft but not sticky. Use warm water to knead the dough, allowing it to rest for at least 30 minutes. This helps in gluten formation, making the roti softer.
- Rolling Technique: Roll evenly from the center outwards. A well-rolled roti should be thin and circular. If you notice uneven thickness, don't hesitate to re-roll!
- Cooking Temperature: Preheat your tawa (griddle) until it’s hot but not smoking. A medium-high heat works best to ensure the roti cooks evenly without burning.
- Flip with Care: Flip the roti when you see bubbles forming on the surface. This indicates that it’s time to cook the other side.
- Puffing Technique: To achieve that beautiful puff, gently press the roti with a spatula or place it directly on the flame for a few seconds. This creates steam, making it light and airy.
With these tips, you’ll be well on your way to mastering the art of making perfectly cooked roti!
Also Read This: How to Work for Getty Images Job Opportunities and Insights
6. Exploring Different Types of Roti
Roti isn't just a one-size-fits-all kind of bread. There’s a delightful variety of rotis, each with its unique flavor and texture. Let’s explore some popular types:
| Type of Roti | Ingredients | Texture/Flavor |
|---|---|---|
| Chapati | Whole wheat flour, water | Soft, slightly chewy |
| Paratha | Whole wheat flour, ghee/oil | Flaky, rich |
| Naan | All-purpose flour, yogurt, yeast | Soft, pillowy |
| Missi Roti | Whole wheat flour, besan (gram flour), spices | Nutty, flavorful |
| Bhakri | Whole wheat flour, millet flour | Thick, rustic |
Each of these rotis can be paired with a variety of dishes, from curries to vegetables, and they bring their own unique flair to the dining table. So why not try making a couple of these variations? You might discover a new favorite!
Also Read This: How to Have Smaller Images in Behance
Utilizing Dailymotion Tutorials for Visual Learning
When it comes to mastering the art of making perfect roti, visual learning can be a game-changer. Dailymotion offers a plethora of tutorials that cater to different skill levels, from beginners to seasoned cooks. Watching experienced chefs demonstrate the techniques can help you grasp the nuances that written recipes might miss.
Here’s why Dailymotion is an excellent resource for your roti-making journey:
- Step-by-Step Guidance: Most tutorials break down the process into manageable steps, making it easy to follow along. You can pause and rewind as needed, ensuring you don’t miss any crucial details.
- Variety of Techniques: Different regions have unique styles of making roti. Dailymotion’s diverse content allows you to explore various techniques, from the traditional tandoor method to modern stovetop approaches.
- Visual Cues: Seeing the right consistency of dough or the perfect puff of a roti gives you a reference point, helping you replicate the process at home.
- Engaging Content: Many tutorials incorporate storytelling or cultural context, making the learning process not only informative but also enjoyable.
To get started, simply search for "roti making tutorials" on Dailymotion. You’ll find a treasure trove of videos waiting to inspire you. As you watch, don’t hesitate to take notes or even try to mimic the techniques demonstrated. The more you practice while learning, the more confident you'll become!
Conclusion and Encouragement to Practice
In conclusion, mastering the art of making perfect roti is not just about following a recipe; it’s about understanding the process and feeling confident in your skills. Utilizing Dailymotion tutorials can provide you with the visual guidance that makes all the difference. Remember, every cook has their unique touch, and finding yours will take some time and practice.
Here are some encouraging thoughts to keep you motivated:
- Practice Makes Perfect: The more you make roti, the better you'll get. Each attempt will teach you something new.
- Don’t Fear Mistakes: Every expert was once a beginner. Mistakes are just stepping stones to improvement.
- Share Your Journey: Cooking is often more fun when shared. Invite friends or family to join you in the kitchen.
- Experiment: Once you feel comfortable with the basics, try adding different flours, spices, or fillings to create your own versions of roti.
So go ahead, roll up your sleeves, and dive into the world of roti-making. With patience and practice, you’ll soon be impressing your loved ones with your delicious, homemade rotis!