Henna, a beautiful form of body art, has been cherished for centuries across various cultures. Creating intricate designs with henna paste is not just an art form; it's a way to express creativity, celebrate special occasions, and connect with tradition. One of the most essential tools for applying henna is the henna cone. These cones allow for precision and control, making it easier to create delicate, detailed patterns. In this guide, we’ll explore how to make your own henna cones at home, ensuring you have everything you need to start your henna journey with confidence.
Materials Needed for Making Henna Cones
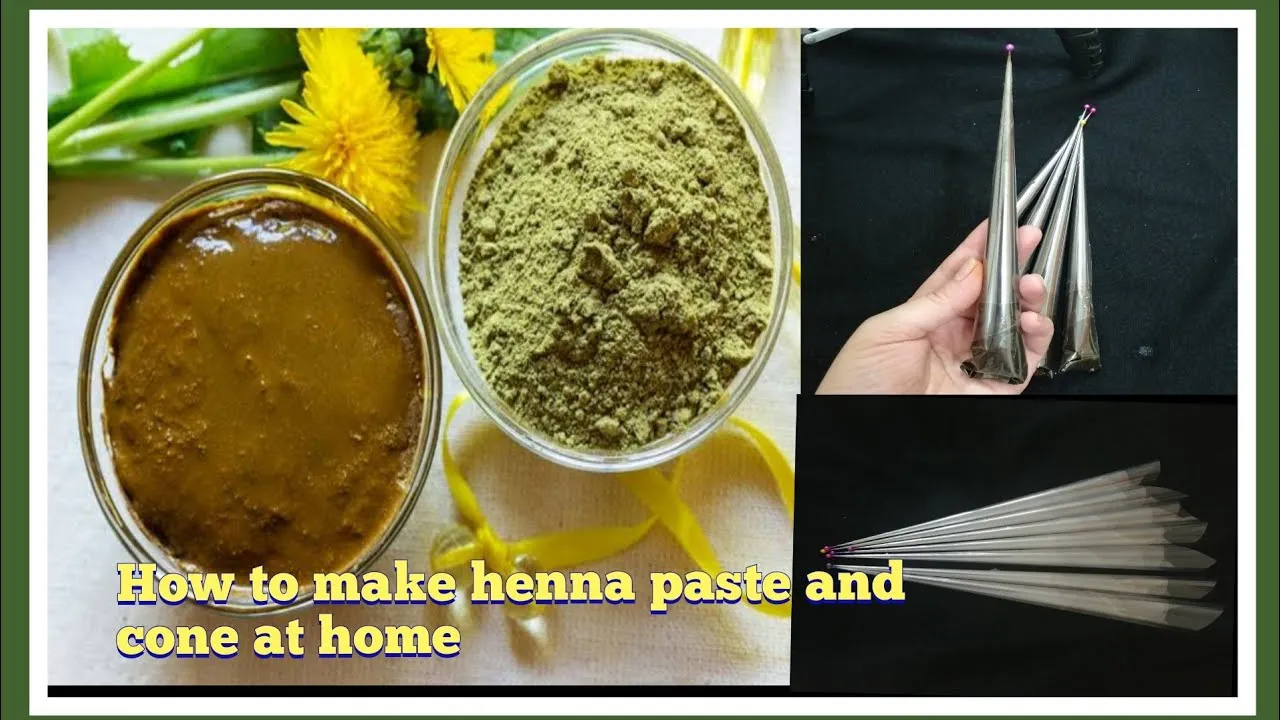
Before diving into the process, it’s crucial to gather all the necessary materials. Having everything on hand will make the henna cone-making experience smooth and enjoyable. Here’s a list of what you’ll need:
- Henna Powder: Look for high-quality, organic henna powder to ensure vibrant color and a smooth paste.
- Essential Oils: Oils like eucalyptus or lavender enhance the color and scent of your henna. They also help the henna to stain better.
- Water: Use filtered or distilled water to mix with the henna powder for a smoother consistency.
- Plastic or Parchment Paper: This will be used to create the cones. Ensure it’s thick enough to hold the paste without tearing.
- Scissors: A pair of scissors will be needed to cut the paper into the right shape for cones.
- Tape or Glue: Use tape or glue to secure the edges of your cones, preventing any leaks.
- Small Bowl: This is for mixing your henna paste.
- Spoon or Spatula: A tool to help mix and transfer the henna paste into the cones.
- Optional: Sifter: If your henna powder has clumps, a sifter can help achieve a fine consistency.
Once you have gathered these materials, you’ll be all set to create your very own henna cones. Remember, the quality of your materials can significantly impact the final outcome, so choose wisely!
Also Read This: How Shutterstock Makes Money
Step-by-Step Guide to Preparing Henna Paste
Making henna paste at home can be a fun and creative activity! Here’s a simple guide to help you prepare a rich, vibrant henna paste that you can use for stunning designs.
Ingredients You'll Need:
- Henna powder (Lawsonia inermis)
- Warm water
- Essential oils (like eucalyptus or lavender)
- Sugar (optional, for better consistency)
- Plastic or glass mixing bowl
- Plastic wrap or airtight container
Instructions:
- Measure the Henna: Start with about 100 grams of henna powder. This amount is typically enough for several applications.
- Add Water: Gradually mix in warm water. Aim for a consistency similar to yogurt. You can start with half a cup of water and adjust as needed.
- Incorporate Essential Oils: Add 1-2 teaspoons of essential oils. This not only enhances the scent but also helps in dye release.
- Mix Well: Use a whisk or your hands to combine everything thoroughly until the paste is smooth and lump-free.
- Let It Rest: Cover the bowl with plastic wrap and let the paste sit for at least 6-12 hours, preferably overnight. This allows the dye to develop fully.
- Check Consistency: After resting, check the paste. It should be thick but spreadable. If it's too thick, add a little more water.
Once your henna paste is ready, you can either use it directly or store it in an airtight container in the fridge for up to a week. Happy hennaing!
Also Read This: How to Get Longhorn Network on YouTube TV
Techniques for Rolling Henna Cones
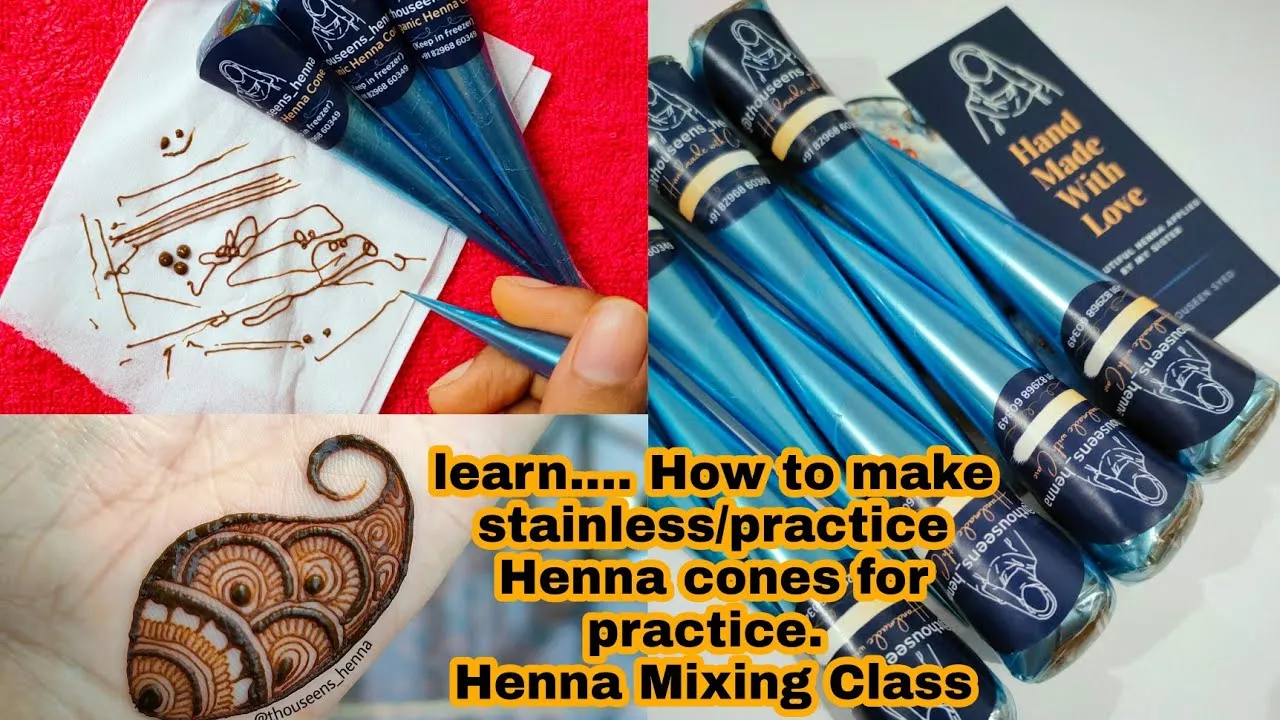
Creating your own henna cones at home is a rewarding experience that can elevate your henna application. The good news? It’s easier than you might think! Let’s dive into some simple techniques for rolling your henna cones.
Materials Needed:
- Henna paste (prepared as per the previous section)
- Cellophane or plastic wrap
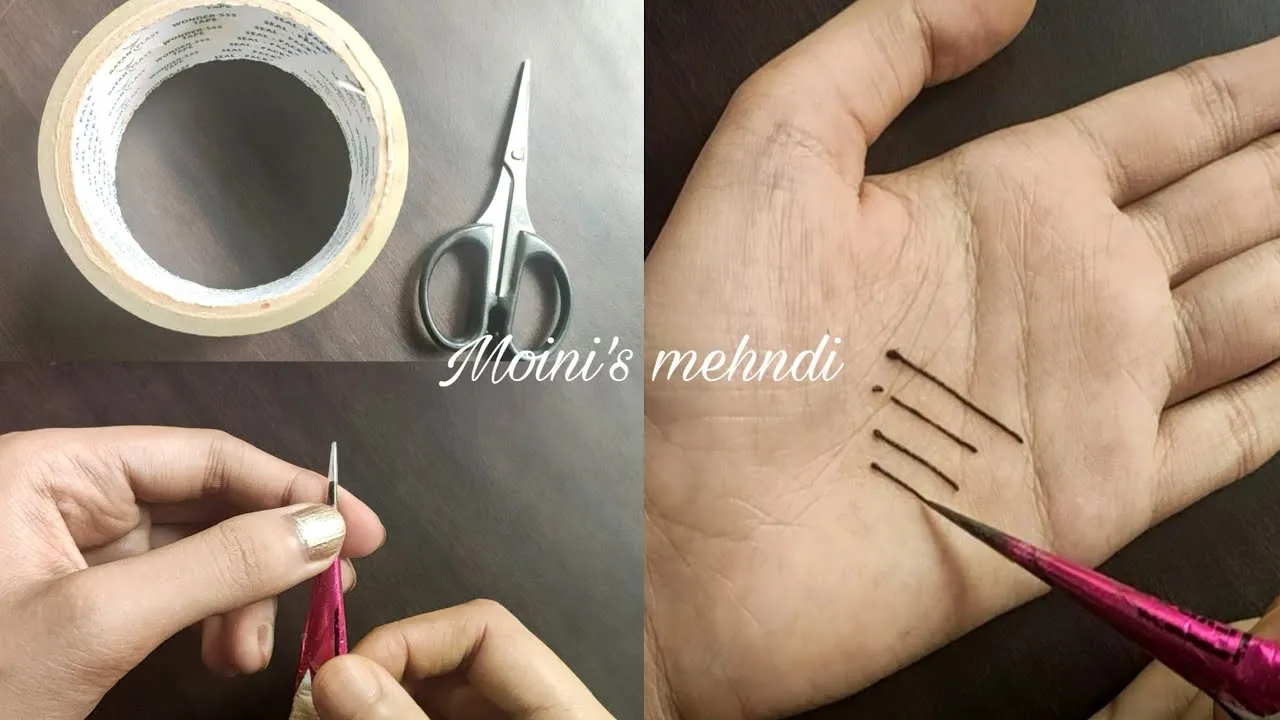
- Scissors
- Tape (optional)
Steps to Roll a Henna Cone:
- Cut the Material: Start by cutting a piece of cellophane or plastic wrap into a square, approximately 8x8 inches. This will give you enough material to form a cone.
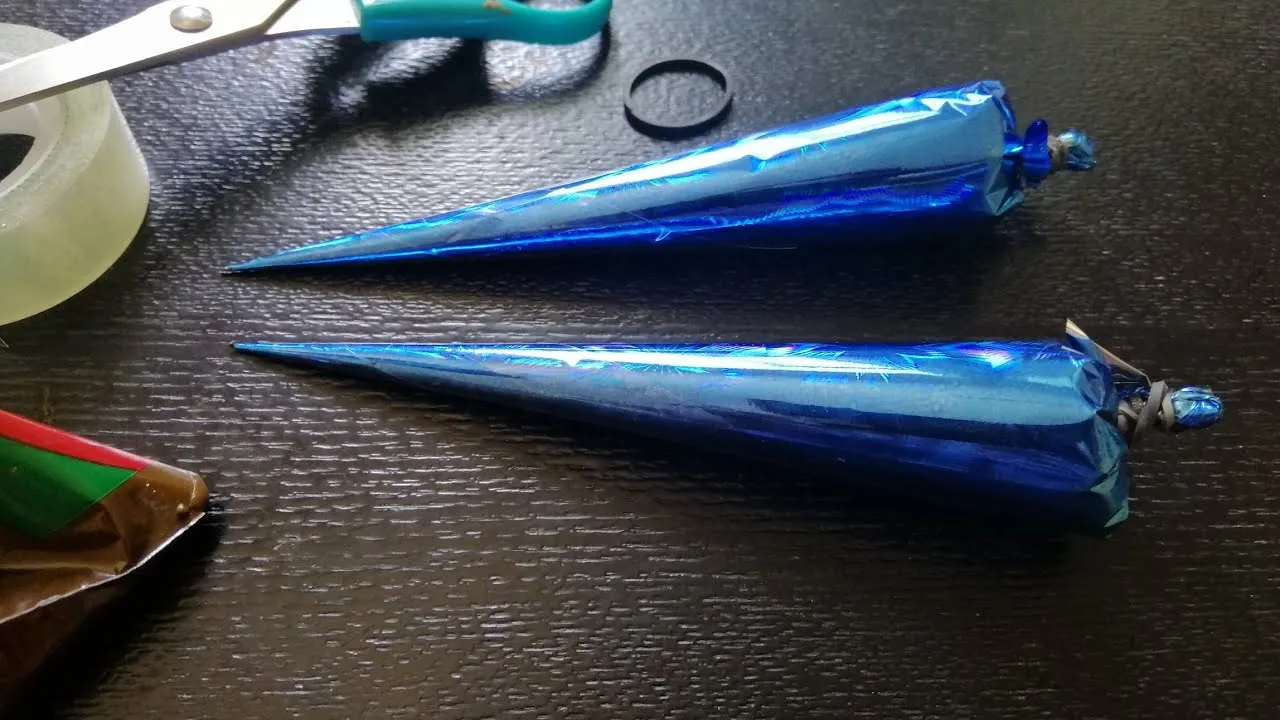
- Form the Cone Shape: Take one corner of the square and fold it to the opposite corner to create a triangle. Roll the triangle from the top corner down to form a cone shape, ensuring it’s tight and the tip is narrow. You can secure it with a small piece of tape if needed.
- Fill the Cone: Use a spoon or a small spatula to fill the cone with your prepared henna paste. Fill it only about three-quarters full to allow room for the tip.
- Seal the Cone: Once filled, pinch the top of the cone tightly to prevent any henna from leaking out. You can fold it over and secure it with tape or a rubber band.
- Trim the Tip: Cut a small hole at the tip of the cone. The size of the hole will determine the width of your henna lines, so adjust according to your preference!
And there you have it! Your very own henna cone, ready to create beautiful designs. With practice, you’ll be a pro in no time!
Also Read This: How to Find Free Templates on Behance
Tips for Storing and Using Henna Cones
Storing and using henna cones properly can make a significant difference in the quality of your designs and the longevity of your henna. Here are some essential tips to help you get the most out of your henna cones:
- Keep Them Cool: Henna paste can degrade in heat. Always store your henna cones in a cool, dark place. A refrigerator is ideal for long-term storage, while a cool, dry cupboard will suffice for short-term use.
- Airtight Container: For best results, place your henna cones in an airtight container. This prevents air exposure and keeps the moisture level consistent, which is crucial for maintaining the potency of the dye.
- Use Within a Week: Fresh henna is best used within a week of making your cones. If you're using them for a special occasion, try to prepare your henna cones a few days in advance so you can enjoy the best results.
- Check the Consistency: Before using your henna cone, make sure the paste is smooth and free of lumps. If it's too thick, you can add a tiny bit of lemon juice or water to achieve the right consistency.
- Test First: If you're unsure about the henna's potency, do a small test design on a paper or a less visible area of your skin. This will give you an idea of how well the henna will stain.
- Seal the Deal: After applying henna, seal the paste with a mixture of lemon juice and sugar to enhance the stain's darkness and longevity.
Conclusion and Additional Resources
Learning to make henna cones at home is not just a fun craft; it's a way to express creativity and share a beautiful tradition. With the right ingredients, techniques, and care, you can create stunning henna designs that will amaze your friends and family. Remember, practice makes perfect, so don’t be discouraged if your first few attempts don't turn out exactly how you envisioned.
To continue your henna journey, here are some additional resources you might find helpful:
- Online Tutorials: Websites like YouTube offer countless tutorials on henna application techniques, design ideas, and troubleshooting common issues.
- Henna Community Forums: Join online forums and social media groups where henna enthusiasts share tips, experiences, and even patterns. It's a fantastic way to connect with others who love henna.
- Books on Henna Art: Consider picking up books dedicated to henna art. They often provide in-depth information on history, designs, and application techniques.
- Workshops: Look for local workshops or community events that focus on henna art. Learning from experienced artists can greatly enhance your skills.
So gather your supplies, follow these tips, and unleash your creativity with henna! Happy designing!