Welcome to the fun world of crafting! In this blog post, we’re diving into a delightful project that’s sure to bring out your inner child: making a jumping paper frog. This easy and entertaining craft is perfect for kids and adults alike, providing a great opportunity to get creative while practicing some basic folding techniques. Whether you’re looking for a fun activity to do with family or a solo project to unwind, creating a jumping paper frog is not only enjoyable but also a fantastic way to impress your friends with your newfound skills. So, let’s hop right into it!
Materials Needed
Before we get started with making our jumping paper frog, it’s important to gather all the materials you’ll need. Don’t worry; you won’t need to make a trip to the craft store for fancy supplies. Most of these items can be found around your home. Here’s a handy list:
- Paper: A square piece of paper (origami paper works best, but any paper will do). A size of 10x10 cm is ideal.
- Scissors: For cutting if you’re starting with rectangular paper.
- Markers or Crayons: To decorate your frog. Get creative with colors!
- A ruler: Useful for measuring and ensuring your paper is square.
- Glue (optional): If you want to attach decorations or create a more permanent design.
- A flat surface: A table or desk where you can comfortably fold the paper.
Once you have everything set up, you’ll be ready to jump into the folding fun! Remember, creativity knows no bounds, so feel free to add any additional materials that inspire you. Are you ready? Let’s get crafting!
Also Read This: How to Add Private Work to Behance
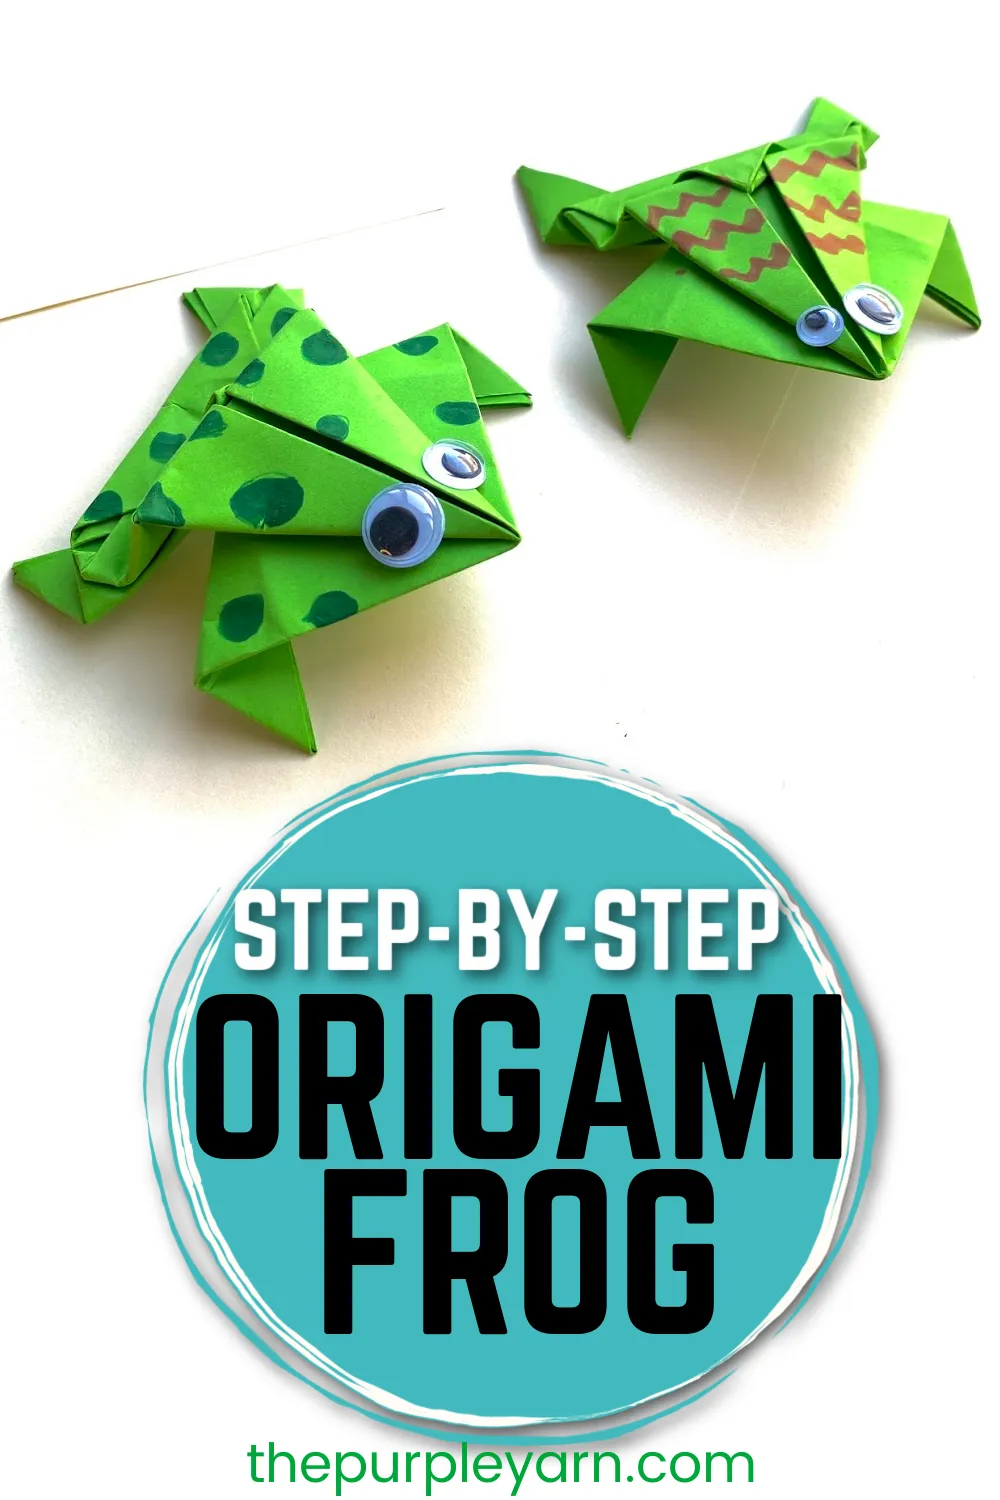
Step-by-Step Instructions
Making a jumping paper frog is not only fun but also a fantastic way to engage your creativity! Here’s a simple guide to help you craft your very own paper frog:
- Gather Your Materials: You’ll need a square piece of paper (origami paper works best), scissors, and a pencil.
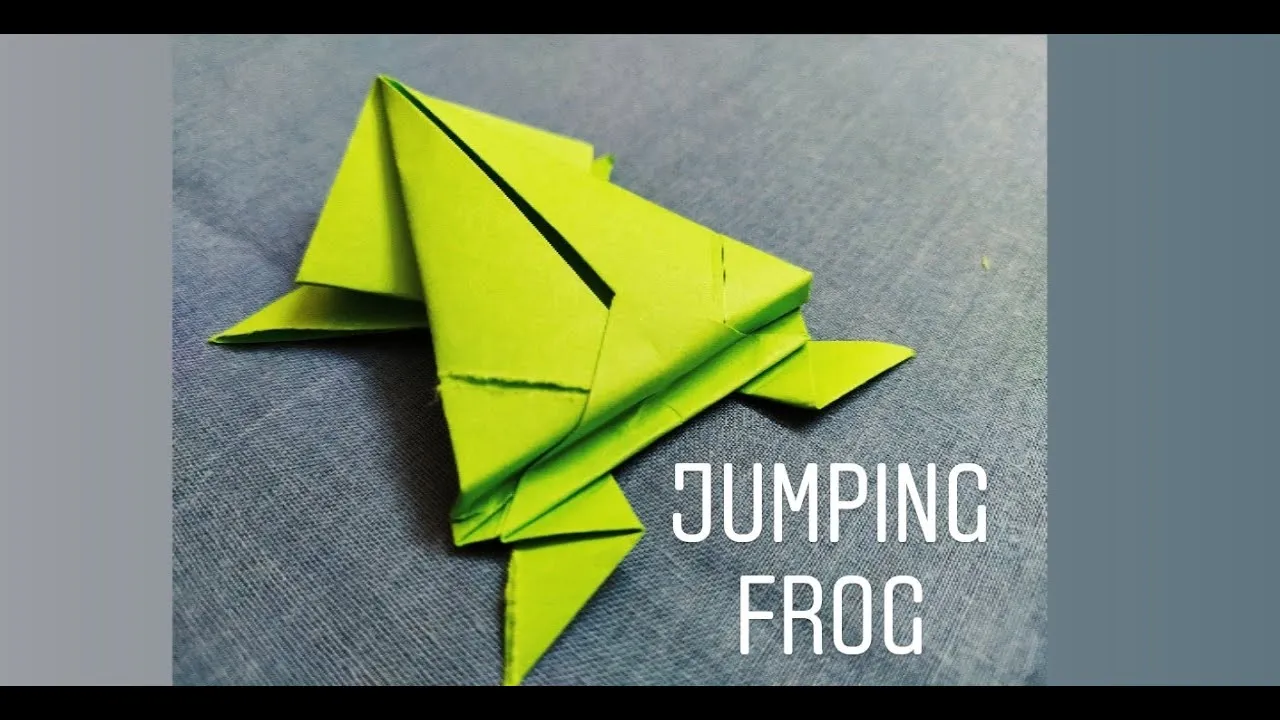
- Fold the Paper: Start by folding the square in half diagonally to form a triangle. Unfold it to reveal a crease in the center.
- Make the Body: Fold the top corners down to the center crease to create a smaller triangle. This will form the frog's head.
- Create the Legs: Flip the paper over. Now, take the bottom corners and fold them up to meet the top of the triangle. This action will create the frog’s legs.
- Form the Jump Mechanism: Fold the bottom edge of the triangle up about an inch, creating a flap. This flap will act as the frog's jumping mechanism.
- Final Creases: Flip the paper back over and press down on the flap you just created. The more you press, the better it will jump!
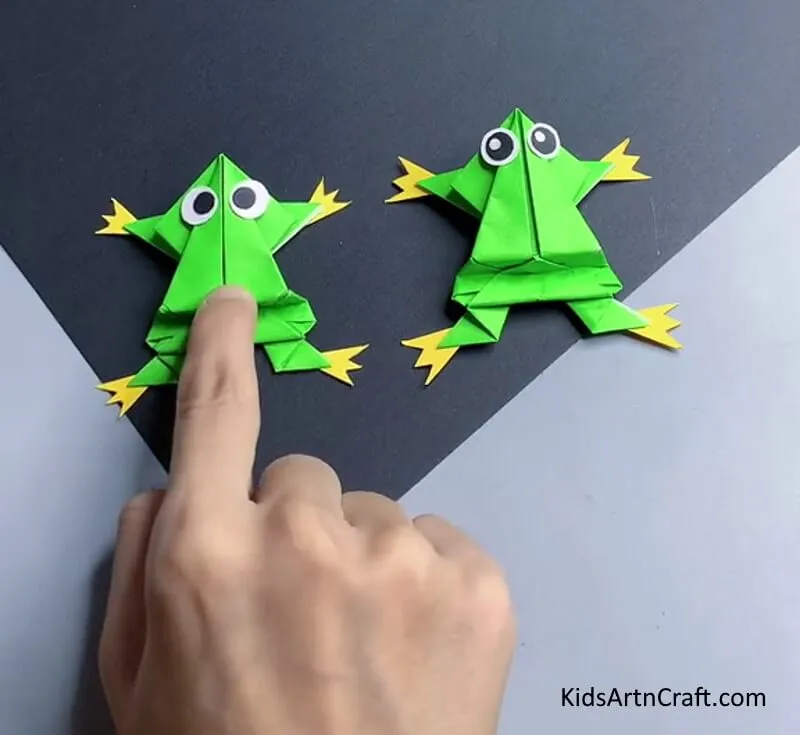
- Decorate Your Frog: Use markers or colored pencils to give your frog some personality. Add eyes, spots, or any design you like!
- Test Your Frog: Place your frog on a flat surface, press the flap down, and release it to watch it jump!
Also Read This: How to Download YouTube Videos for Offline Viewing
Tips for Success
Creating your jumping paper frog can be a breeze if you keep these tips in mind:
- Choose the Right Paper: Lighter paper, like origami paper, will give your frog better jumping power compared to heavier stock.
- Make Precise Folds: The neater your folds, the better your frog will look and jump. Take your time with each crease.
- Experiment with Sizes: Try different sizes of paper to see how it affects the jump. A larger frog might create a bigger jump!
- Add Weight Strategically: If your frog isn’t jumping well, consider adding a small piece of tape or paper to the back for balance.
- Invite Friends: Making frogs together can be a lot of fun! Have a frog-jumping contest to see whose can jump the furthest!
With these instructions and tips, you're all set to make some fantastic jumping paper frogs! Enjoy crafting!
Also Read This: Making a Jumping Frog with Paper Fun DIY on Dailymotion
5. Variations and Customizations
Once you've mastered the basic jumping paper frog, the fun doesn’t stop there! You can take your creativity to the next level by exploring various variations and customizations. Here are some ideas to inspire your next project:
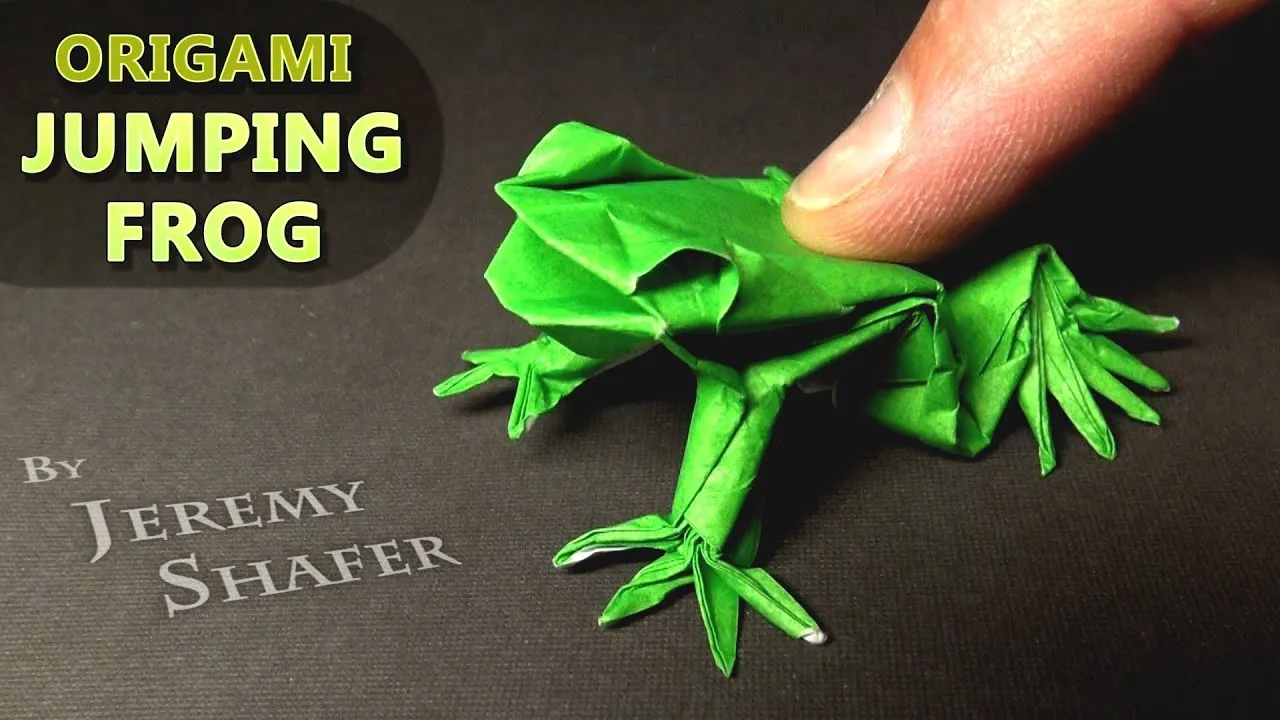
- Colorful Patterns: Instead of plain paper, use patterned or colored origami paper. This adds a vibrant touch to your frog. Consider using neon colors or nature-inspired designs to mimic a real frog's appearance.
- Size Matters: Experiment with different sizes of paper. A smaller frog can be a challenge to jump, while a larger one can be more impressive. You can even create a giant paper frog for a fun display!
- Eye-catching Features: Add googly eyes or draw your frog’s face to give it personality. A cheerful smile or funny expression can make your frog even more delightful.
- Themed Frogs: Try to create frogs that fit a certain theme, like a Christmas Frog with a Santa hat or a Halloween Frog with spooky decorations.
- Obstacle Courses: Set up a mini obstacle course for your frogs to jump through. Use small objects, like books or toys, as hurdles and see how your frog performs!
These variations will not only enhance your crafting experience but also encourage you to think outside the box. So grab your paper and let your imagination run wild!
6. Conclusion
Making a jumping paper frog is more than just a simple craft; it's an engaging activity that fosters creativity and fine motor skills. Whether you’re crafting solo or sharing this fun project with friends and family, it’s a delightful way to unwind and connect.
Throughout this guide, you’ve learned the step-by-step process of creating your own jumping paper frog, along with tips for variations and customizations. Remember, the beauty of this craft lies in its simplicity and versatility. You can make it as intricate or as straightforward as you like!
So, what are you waiting for? Gather your materials, unleash your creativity, and enjoy the delightful experience of watching your paper frog leap. Happy crafting!