Have you ever wanted to create something that defies gravity, even if just for a moment? Making a flying paper helicopter is not only a fun project but also a fantastic way to understand basic aerodynamics. With a few simple materials and a little bit of creativity, you can make your own helicopter that spins and glides through the air. So, let’s dive into the exciting world of paper helicopters and get started on this delightful DIY adventure!
Materials Needed
Before we launch into constructing our paper helicopter, let’s gather all the necessary materials. Don’t worry, you won’t need anything fancy! Here’s a simple list:
- Paper: Any type will do—printer paper, construction paper, or even scrap paper. The lighter, the better for flight!
- Scissors: For cutting the paper into the right shapes.
- Tape or Glue: To secure parts of the helicopter together.
- Ruler: To measure and ensure straight cuts (optional but helpful).
- Pencil: For marking measurements on the paper.
Here’s a quick overview table of the materials:
| Material | Purpose |
|---|---|
| Paper | Main body of the helicopter |
| Scissors | Cutting the paper |
| Tape or Glue | Securing the helicopter parts |
| Ruler | Measuring for accuracy (optional) |
| Pencil | Marking measurements |
With these materials in hand, you’re all set to start building your very own flying paper helicopter. Let’s get creative and watch it soar!
Also Read This: Memes Accounts: Top 10 Accounts to Follow on Twitter for Memes
3. Step-by-Step Instructions
Making a flying paper helicopter is a fun and simple project that you can do at home. Follow these easy steps to create your own!
- Gather Materials: You’ll need:
- A piece of paper (like printer paper or construction paper)
- Scissors
- A ruler
- A pencil
- A paperclip (optional, for weight)
Also Read This: Understanding YouTube's Storage Usage and How to Optimize It
4. Tips for Successful Flying
To ensure your paper helicopter flies like a pro, consider these handy tips:
- Use Lightweight Paper: Thinner paper works better because it’s lighter and allows for better airflow, making your helicopter float longer.
- Adjust Blade Angles: Experiment with different angles for the blades. A steeper angle can create more lift, while a shallower angle can make it spin faster.
- Trim and Refine: Don’t hesitate to trim the blades or body a bit more if it seems too heavy or unbalanced. Just a little snip can make a big difference!
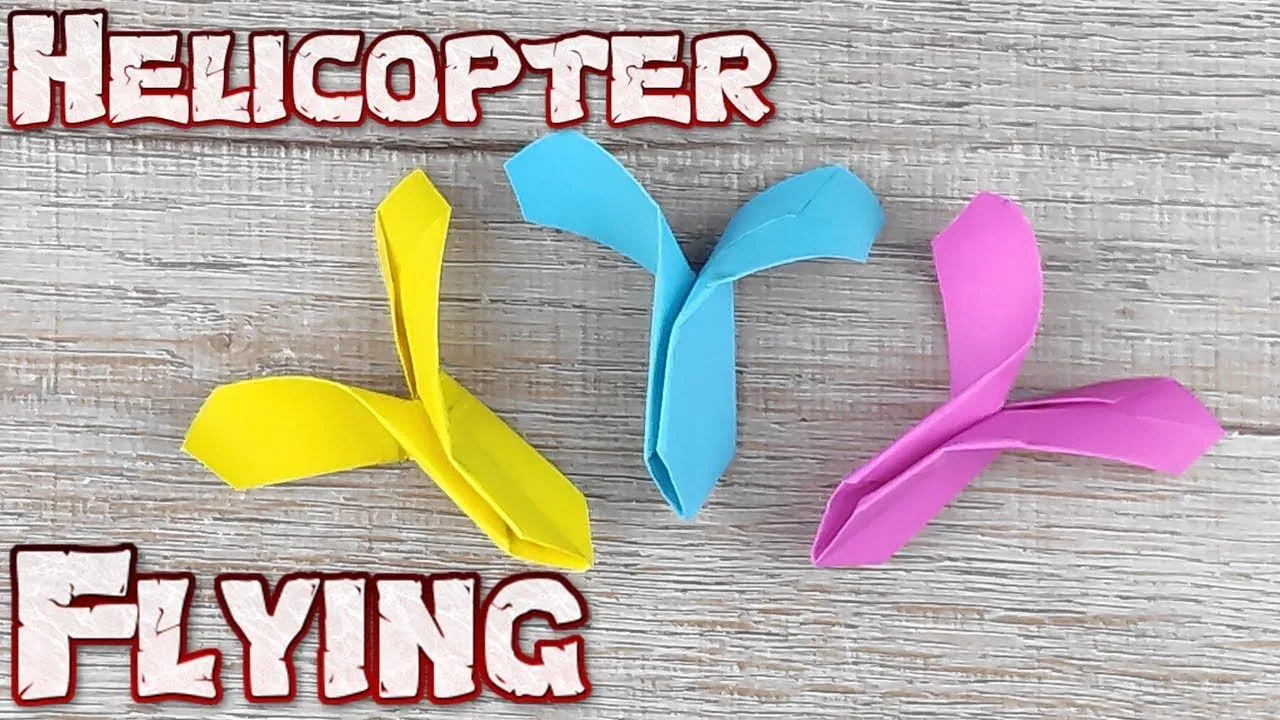
- Try Different Sizes: Make helicopters of various sizes and shapes. You might be surprised at how different designs affect flight!
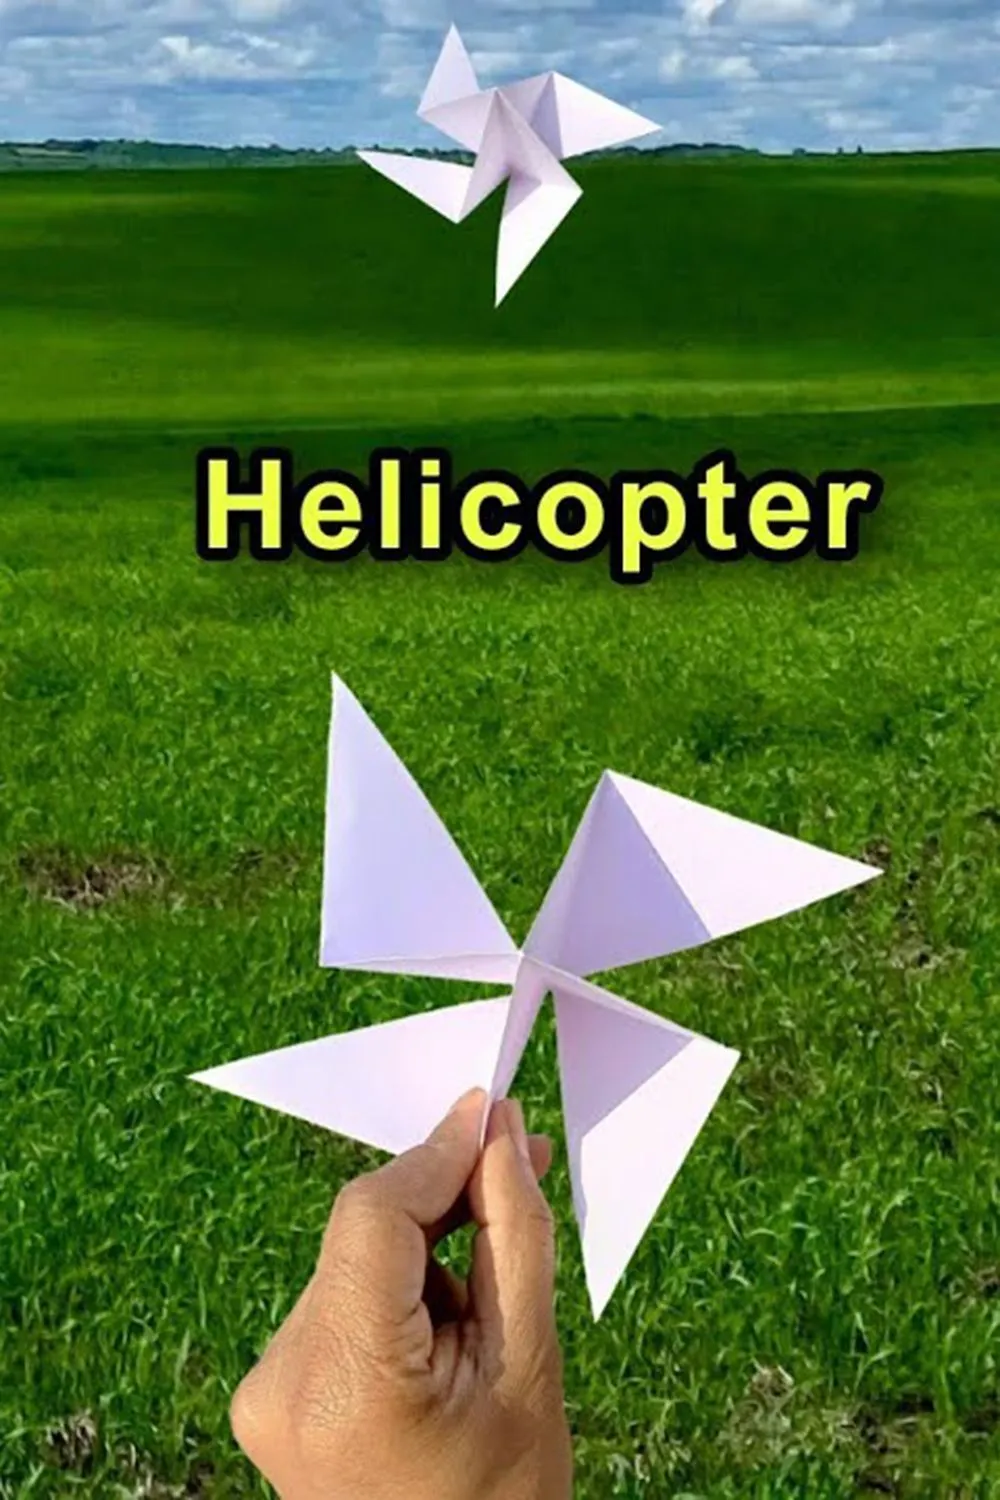
- Outdoor Launch: For best results, launch your helicopter outside where there are no obstructions. A slight breeze can also add a fun twist to the experience!
With these instructions and tips, you’re all set to create your flying paper helicopter. Enjoy flying!
Also Read This: Using Foap to Sell Feet Pics: A Comprehensive Tutorial
Common Mistakes to Avoid
Creating a flying paper helicopter can be a fun and rewarding experience, but it's easy to make some common mistakes that could hinder your helicopter's performance. Let’s take a look at those pitfalls so you can soar without a hitch!
- Poor Weight Distribution: A well-balanced helicopter is crucial for stable flight. If you place too much weight on one side, your helicopter will spin out of control. Ensure that any added weight, like paper clips, is evenly distributed.
- Incorrect Blade Length: The length of the helicopter blades affects air resistance and lift. If the blades are too short, they won’t catch enough air. Aim for the recommended length to optimize flight time.
- Insufficient Blade Angle: The angle of the blades can make or break your helicopter's flight. If they’re too flat or too steep, they won’t create the necessary lift. A slight upward angle (around 30 degrees) is often effective.
- Skipping the Folding Steps: Each fold serves a purpose in ensuring structural integrity and aerodynamics. Avoid rushing through this part; take your time to make precise folds for the best results.
- Using the Wrong Paper: Not all paper is created equal! Heavier paper may not flutter as well, while lighter paper might not be sturdy enough. Experiment with a few types to find the perfect fit.
By steering clear of these common mistakes, you’ll be well on your way to crafting a successful flying paper helicopter!
Also Read This: Top Reasons Why OK.ru Is Perfect for Preserving and Sharing Memories
Conclusion
Making a flying paper helicopter is not just a delightful craft; it’s an exploration of principles like aerodynamics and balance. Whether you’re creating these little flyers for fun, education, or just to impress friends, the process is fulfilling.
Remember, patience is key. Each attempt teaches you something new about your design and flight mechanics. So, don’t be discouraged by initial failures; they’re merely stepping stones to success!
Let’s recap a few tips to keep in mind:
- Pay attention to weight distribution.
- Ensure the blade length and angle are optimal.
- Follow the folding steps carefully.
- Experiment with different types of paper.
Now that you’re equipped with the knowledge to make your own flying paper helicopter, gather your materials and start experimenting! Soon, you’ll be watching your creations soar gracefully through the air. Happy flying!
Learn to Make a Flying Paper Helicopter
Creating a flying paper helicopter is a fun and educational project that can be enjoyed by both kids and adults. This simple activity not only sparks creativity but also introduces basic principles of aerodynamics and physics. With just a few materials and steps, you can make your own flying helicopter that can spin and glide through the air!
Materials Needed
- 1 sheet of paper (A4 or letter size)
- Scissors
- Tape or glue
- Pencil
- Ruler
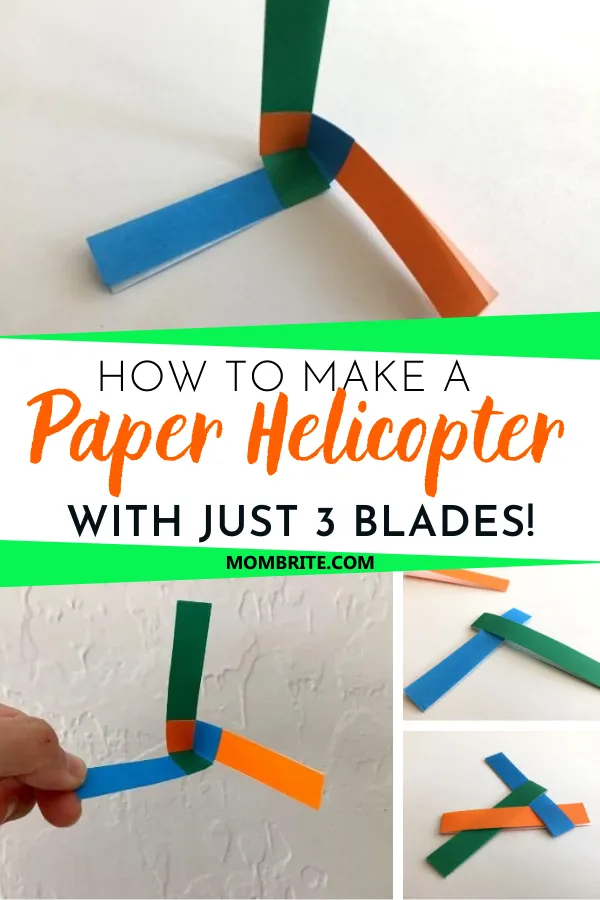
Steps to Create Your Paper Helicopter
- Cut the Paper: Cut a rectangular strip measuring 10 cm by 5 cm.
- Create the Blades: From the top of the strip, measure 5 cm down and cut a slit (2 cm) in the center to create two equal blades.
- Fold the Blades: Gently fold each blade outward at a 45-degree angle.
- Add a Weight: Tape or glue a small piece of paper or a paperclip to the bottom of the helicopter to serve as a weight.
- Prepare for Flight: Hold the top of the helicopter and drop it from a height of about 1 meter.
How It Works
The paper helicopter spins as it falls due to the design of its blades, which create lift and drag. The weight at the bottom helps stabilize the helicopter during its descent.
Experiment and Learn
Try adjusting the blade length, weight, or drop height to see how it affects flight performance. Document your findings to learn about the principles of flight!
In conclusion, making a flying paper helicopter is an engaging way to explore the concepts of aerodynamics while having fun. With simple materials and a bit of creativity, anyone can enjoy the thrill of watching their homemade helicopter take flight!