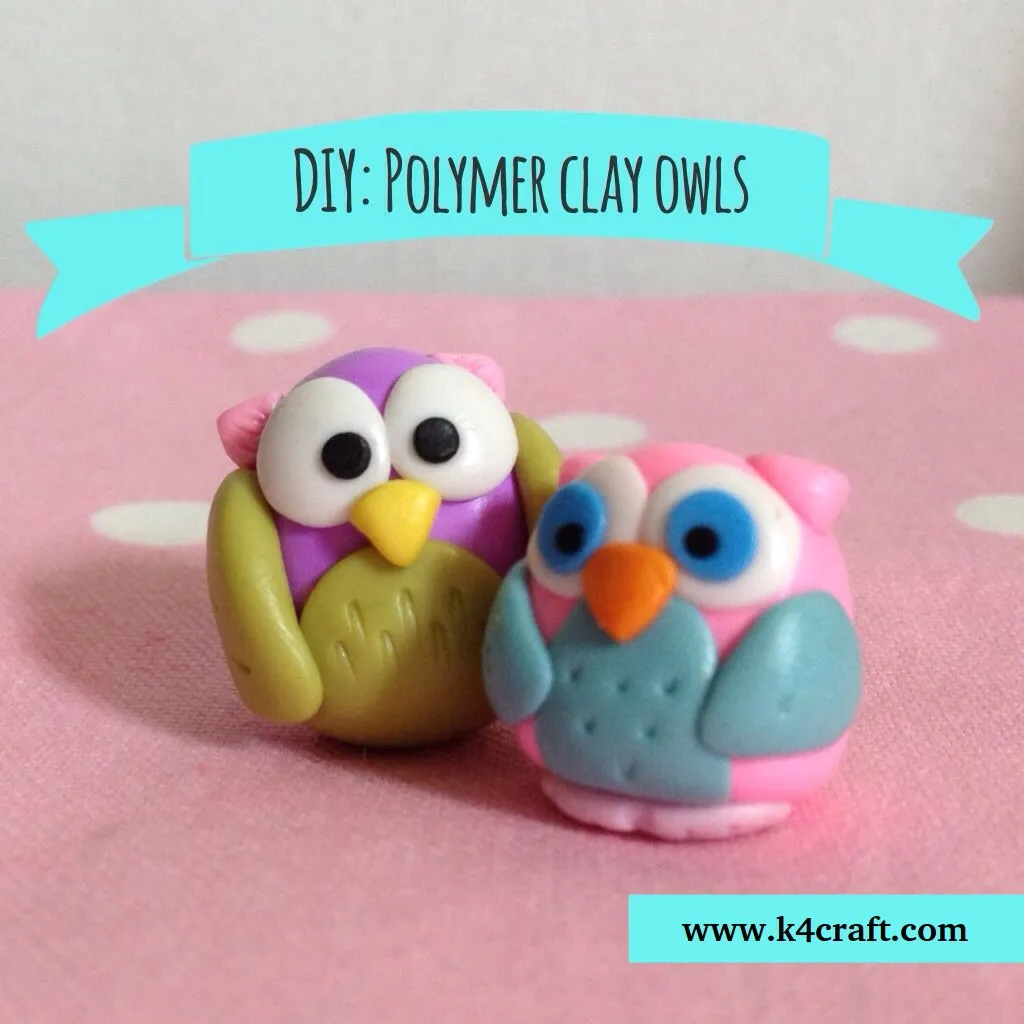
Polymer clay is a versatile modeling material that’s perfect for both beginners and seasoned crafters alike. It’s a non-toxic, malleable substance made from PVC (polyvinyl chloride) that can be shaped into virtually any form. Once you sculpt your masterpiece, the magic happens when you bake it in the oven. This hardens the clay, making it durable and ready for use in jewelry, figurines, or decorative items. The beauty of polymer clay lies in its ability to mimic other materials, such as ceramic or stone, while being lightweight and easy to work with.
What makes polymer clay so appealing? For starters, it comes in a rainbow of colors, allowing you to unleash your creativity without limits. You can blend colors, create intricate designs, and even add textures. Plus, it’s a fantastic way to unwind and enjoy some “me time.” Whether you’re crafting for fun, making gifts, or starting a small business, polymer clay can provide endless possibilities. So, if you’re ready to dive into this exciting world of crafting, grab your tools and let’s get started!
Essential Tools and Materials Needed

Before you embark on your polymer clay journey, it’s essential to gather all the necessary tools and materials. Having the right supplies can make your crafting experience smoother and more enjoyable. Here’s a handy list of what you’ll need:
- Polymer Clay: Choose a variety of colors to get started. Brands like Sculpey and Fimo are popular and widely available.
- Clay Tools: Invest in a basic set that includes:
- Rolling pin – for flattening clay
- Cutters – for shaping and cutting out designs
- Clay blade – for detailed cuts
- Needle tool – for fine detailing and texturing
- Work Surface: A smooth, non-stick surface is ideal. A ceramic tile or a dedicated craft mat works perfectly.
- Baking Tray: Use a tray lined with parchment paper to bake your creations in the oven.
- Glaze or Sealer: For a shiny finish, consider using a polymer clay glaze once your piece is baked.
Optional but helpful items include a pasta machine for conditioning clay, sculpting tools for adding texture, and storage containers to keep your clay fresh. With these essentials in hand, you’ll be well-equipped to start your polymer clay adventure!
Also Read This: Understanding HD Rumble Technology in Pro Controllers
Preparing Your Workspace
Creating with polymer clay can be an incredibly rewarding experience, but before you dive in, it’s essential to set up a workspace that’s both functional and inspiring. Here’s how to prepare your area for a smooth crafting session:
- Choose a Suitable Surface: Find a flat, sturdy table or desk that can handle some creativity. You might want to cover it with a non-stick surface like a silicone mat or parchment paper. This makes cleanup easier and protects your furniture.
- Gather Your Tools: Before you start, ensure you have all your tools at hand. Here’s a quick list of essentials:
- Polymer clay in various colors
- Cutter and blade
- Rolling pin or pasta machine
- Clay sculpting tools
- Oven for curing
- Good Lighting: Ensure your workspace is well-lit. Natural light is best, but if that’s not available, a good quality lamp will do. You want to see all the details as you work!
- Organize Your Materials: Keep your clay and tools organized. Use containers or trays to separate colors and tools. This will save you time and help you stay focused.
- Minimize Distractions: Turn off the TV and put your phone on silent. A distraction-free environment will help you concentrate and unleash your creativity!
Once your workspace is set up, you're ready to jump into the fun of polymer clay crafting!
Also Read This: Gaining Recognition on EyeEm: A Comprehensive Guide
Step-by-Step Guide to Creating Polymer Clay Items
Creating polymer clay items can be as simple or as complex as you want it to be. Whether you’re making beads, figurines, or decorative items, following a step-by-step guide can help ensure your success. Here’s a straightforward process to get you started:
- Choose Your Project: Decide what you want to create. Start with something simple, like beads or a small charm, if you’re a beginner.
- Condition the Clay: Take your polymer clay and knead it in your hands until it’s soft and pliable. This process is crucial as it helps prevent cracking when you bake it.
- Shape Your Clay: Use your hands or tools to shape the clay into your desired design. You can roll, flatten, or sculpt the clay. Don’t be afraid to experiment!
- Add Details: Use sculpting tools or even household items to add texture and details to your creation. Think about how you can make your item unique.
- Check for Flaws: Take a moment to inspect your piece. Smooth out any fingerprints or imperfections with your fingers or a soft tool.
- Bake Your Creation: Preheat your oven according to the clay’s instructions, usually around 275°F (130°C). Place your item on a baking sheet lined with parchment paper and bake for the recommended time.
- Cool and Finish: Once baked, let your item cool completely. You can then paint, glaze, or add any finishing touches as desired!
And voila! You’ve just created your very own polymer clay item. The more you practice, the better you’ll get, so don’t hesitate to try new techniques and projects!
Also Read This: What Happened to Dre Monie on Hallelujah FM Today
5. Techniques for Shaping and Designing
When it comes to working with polymer clay, your creativity is truly your only limit. There are several techniques you can use to shape and design your creations that can help bring your ideas to life. Below are some popular methods you might want to try:
- Rolling and Slicing: Start by rolling your clay into a smooth ball, then slice it with a blade to create different shapes. This is perfect for making flat pieces or adding details.
- Pinching: Use your fingers to pinch and manipulate the clay into desired forms. This technique is great for creating organic shapes or adding texture.
- Stamping: You can use rubber stamps or other textured items to imprint designs onto your clay. This can add a unique pattern to your creations.
- Building: Layer different pieces of clay to build up shapes. This is particularly useful for creating 3D objects like figurines or intricate designs.
- Molding: If you have specific shapes in mind, consider using molds. There are countless molds available or you can make your own using silicone.
Experiment with these techniques and see which ones resonate with your artistic style. Remember, practice makes perfect, so don’t hesitate to try new things!
6. Baking and Finishing Your Polymer Clay Creations
Once you've shaped your polymer clay masterpiece, it's time to bake it to bring it to life! Baking is crucial because it hardens the clay, making it durable and ready for the real world. Here’s a step-by-step guide on how to do it:
- Preheat Your Oven: Set your oven to the temperature recommended on the clay packaging, usually around 275°F (130°C).
- Prepare Your Baking Surface: Line a baking tray with parchment paper or a ceramic tile. This prevents sticking and ensures even heating.
- Bake Your Creation: Place your polymer clay piece on the prepared surface and bake it for the time suggested on the package, typically 15-30 minutes depending on the thickness.
- Cooling Down: Once baked, allow your piece to cool completely before handling it. This is important as it can be fragile right after baking.
- Finishing Touches: After cooling, you can sand, paint, or glaze your creation for a polished look. Use fine sandpaper for smoothing rough edges, and acrylic paints for adding color.
And there you have it! Your polymer clay creation is ready to be displayed or gifted. Just remember, the more you practice, the better you’ll become, so keep experimenting and have fun!