Many users in need of impressive visuals whether for personal or business marketing on social media websites have made Canva their favorite tool. An important skill when working with Canva is learning how to resize templates properly. Resizing is very important because this ensures that all your designs fit well on different platforms maintaining an official appearance. Here are explanations why resizing matters while we guide you on re-sizing without compromising the quality of your templates.
Why Resizing Canva Templates is Important
Resizing Canva Templates is Important for Various Reasons:
- Platform Compatibility: Different platforms have unique dimensions for images. A template made for Instagram might not work well on Facebook or Twitter. Resizing ensures your visuals look great everywhere.
- Improved Engagement: Properly sized images can boost engagement. When your graphics fit well and are easy to view, viewers are more likely to interact with your content.
- Consistent Branding: If you regularly resize templates for your brand, it helps maintain a consistent look and feel across all your marketing materials.
- Time Efficiency: Knowing how to resize quickly can save you time. Instead of starting from scratch for each size, you can adjust an existing template.
To sum up, making dimensions adjustments on your Canva templates is important so that the end visuals are neat, refined, and able to connect with the target consumers- this is very important.
Also Read This: How to Sell Your Photos on 123RF for Beginners
Steps to Resize a Canva Template Without Losing Quality

Let’s get into the nitty gritty of how to resize a Canva template without any hassle. So, let’s examine it stepwise:
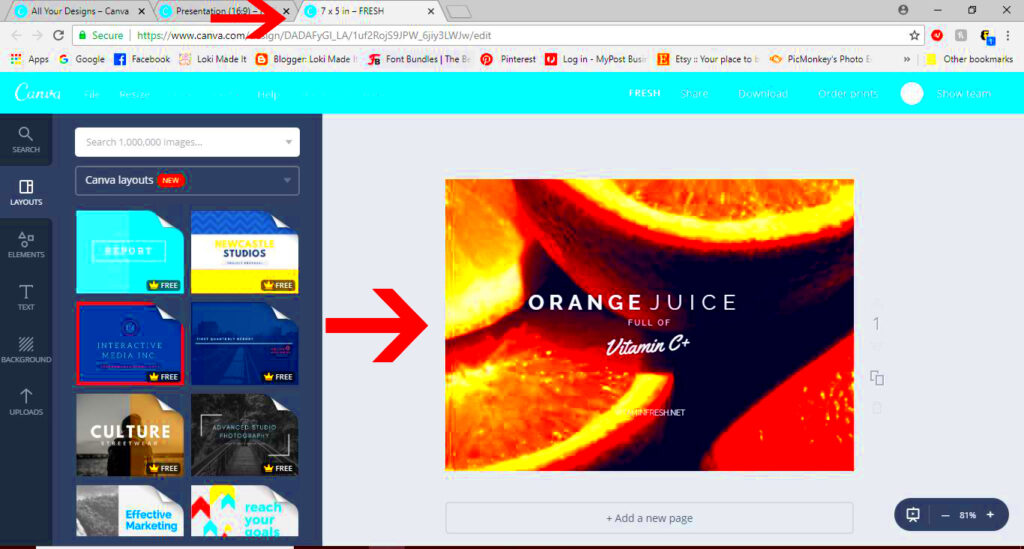
- Open Your Design: Start by logging into Canva and opening the template you want to resize.
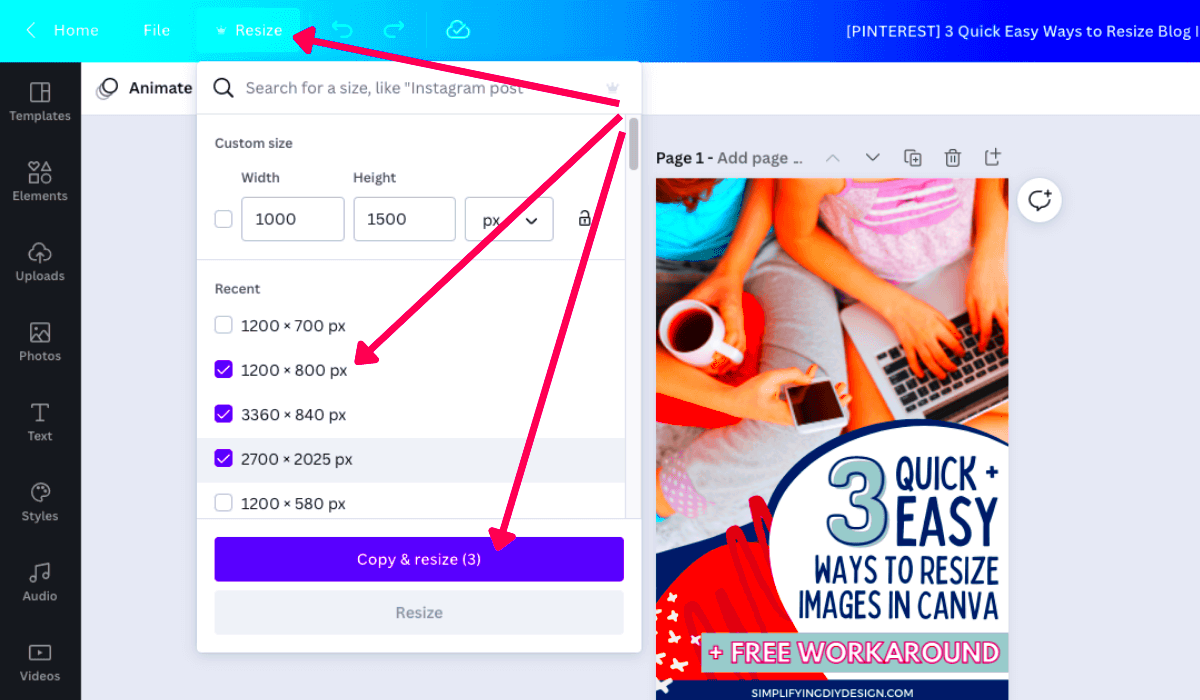
- Select the Resize Option: On the top toolbar, you’ll see a “Resize” button. Click on it. If you don’t see this button, you may need a Canva Pro account to access this feature.
- Choose Your New Dimensions: You can select from preset sizes for different platforms or enter custom dimensions. Make sure to keep the aspect ratio in mind.
- Adjust Elements as Needed: Once you resize, some elements may not fit perfectly. Drag and adjust them so everything looks good together.
- Preview Your Design: Before finalizing, use the preview feature to see how your design looks. This step is crucial to ensure quality.
- Download Your Resized Template: When you're satisfied, download your resized template. Choose the appropriate file format for your needs, such as PNG or JPEG.
So as this, you may have a quality mean the following means you may want to meet the highest lunar is a product in up can give you some good tokens can be called graphic text papers like that but something must be done for us to make these affordable methods for hard workers through online image processing services which tend to spoil everything with millions of pixels all over, we provided one best example of how they are working in order not to become bankrupt trying to build their own machinery and so on.
The simple things which you can do in order to resize your Canva templates efficiently such that they never lose out on their quality but then again it helps you design excellent templates fast without any hassle.
Also Read This: Design Engaging Videos with Canva Video Template
Common Issues When Resizing Templates and How to Fix Them
Modifying templates in Canva is typically as simple as a piece of cake; however, things may not always go according to script on other occasions. There are some recurrent problems that can affect your design course but here is where this article allures readers. By knowing these challenges, you will be able to solve them easily and let inspiration pour out of you without pause.
Canva typically makes it easy to adjust and manipulate templates, but sometimes it does not go as expected. In some cases, you may find yourself facing a few common challenges that can ruin your design process. But if you are aware of such challenges, then you will be able to act on them instantly without interrupting your creative state of mind.
Making adjustments to the templates created by Canva is normally effortless, though at times everything may not happen as planned. You can experience few typical issues that will hinder your designing procedure. However, when you know such problems, fixing them becomes very easy and hence allows for unhindered flow of creative energy.
- Elements Getting Cut Off: One common issue is elements being cut off after resizing. This usually happens when the design isn't adjusted proportionally. To fix this, ensure all elements are grouped before resizing. Use the "Position" feature to center everything once resized.
- Text Overlap: After resizing, text may overlap or become too small. Always check your text size and line spacing. If it looks cramped, increase the font size or adjust the spacing between lines.
- Image Quality Loss: Resizing can sometimes lead to blurry images, especially if you stretch them too much. To avoid this, try to use high-resolution images from the start. If quality suffers, consider replacing the image with a higher quality version.
- Misaligned Elements: After resizing, elements may become misaligned. Take a moment to manually adjust them, or use Canva's alignment tools to ensure everything is lined up perfectly.
Common issues perceived to exist are generally known and avoided hence enhancing designs appearance of sharpness and professionalism.
Also Read This: How to Handle Videos on Shootproof
Tips to Maintain Proportions While Resizing
When it comes to resizing, it's crucial that you maintain the proportions so that your designs don’t end up looking awful. Below are some useful suggestions that can guide you in doing so:
- Use the Lock Aspect Ratio Feature: Canva has an option that locks the aspect ratio when resizing. This ensures that your width and height are adjusted proportionately, preventing distortion.
- Resize from the Corners: Always drag from the corners of the image or element to maintain its proportions. If you stretch from the sides, it can lead to unwanted stretching or compressing.
- Check Dimensions Before and After: Take a moment to note the original dimensions of your template. After resizing, compare them to ensure you haven't altered the proportions in a way that looks unprofessional.
- Preview Your Design: Use the preview feature to see how your resized template looks. This step helps you catch any proportion issues before you finalize your design.
With the use of these recommendations, you can adjust your Canva templates to fit new sizes without making them look strange or irrelevant at all!
Also Read This: Understanding Changes in YouTube Video Font Size and How to Fix Display Issues
Using Canva Pro Features for Resizing
An ideal decision would be considering Canva Pro especially if design is the priority for you. The pro version gives you more extra tools; hence template modifying becomes easier and faster than before. This section will highlight how to tap into those trees:
- Magic Resize: This feature allows you to resize your design for multiple formats at once. Simply select the designs you want to convert and choose the dimensions. It saves you time and effort.
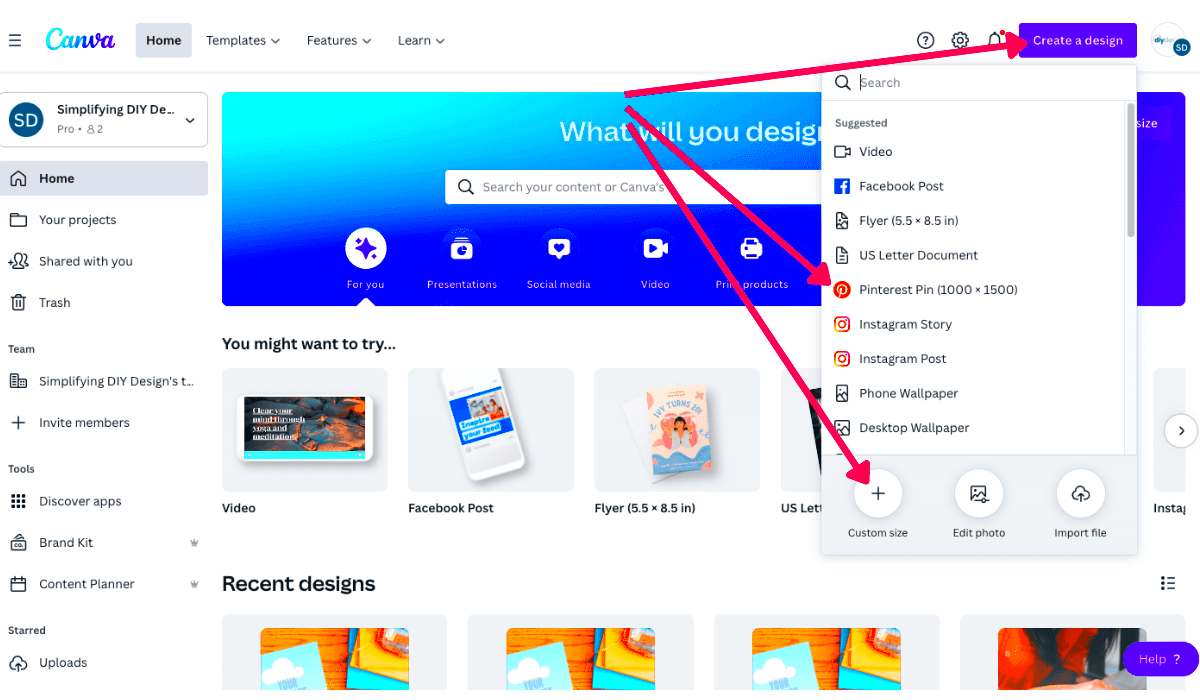
- Custom Dimensions: Canva Pro allows you to set custom dimensions for your designs. This feature is particularly useful for unique project requirements where standard sizes don't fit.
- Background Remover: If you're resizing an image and want to remove the background, the Pro version offers a one-click solution. This ensures that your subject remains the focus of your design without distracting backgrounds.
- Grid and Frame Tools: Use these tools for precise alignment and proportional resizing. They help in maintaining a clean layout, especially when you are adjusting multiple elements.
Having access to Canva Pro functionalities makes size adjustment not only simple but also enjoyable. You can design exceptional images that suit your requirements perfectly!
Also Read This: Effective Messaging Tips for Engaging a Hiring Manager on LinkedIn
Frequently Asked Questions About Resizing Templates in Canva
When it comes to changing size of templates in canva, there are several questions that many users have asked. Here are answers to some of the commonly asked questions that may guide you through the resizing process without any hitches.
- Can I resize a template after sharing it? Yes, you can resize a template even after you have shared it. Just open the design, follow the resizing steps, and then share the updated version.
- Will resizing affect the quality of my images? It can, especially if you stretch them too much. To maintain quality, always use high-resolution images and avoid excessive resizing.
- Is there a limit to how much I can resize a template? While there’s no strict limit, resizing too much can lead to distorted images or text. It’s best to make gradual adjustments and keep proportions in mind.
- Do I need a Canva Pro account to resize templates? You can resize templates with a free account, but some advanced features, like Magic Resize, are only available with Canva Pro.
- Can I resize templates for print and digital use? Absolutely! Just make sure to set the correct dimensions based on the medium. For print, consider the print resolution, while digital use may focus more on pixel dimensions.
You can be sure that your designs will look good by resizing the templates in Canva after understanding these frequently asked questions.
Conclusion
Having skills on how to resize templates in Canva can help improve quality and speed of your designs. By understanding prevailing concerns, proportionality maintenance hints and use of Canva Pro properties; you will be able to create amazing visuals that serve your purpose. Regardless if it is for personal projects or professional presentations, accurate resized templates ensure that your designs stand out at all times!