Installing WhatsApp on your PC can open up a world of convenience, letting you chat seamlessly from your computer while you work or browse. One of the easiest ways to do this is by using Bluestacks, an Android emulator that allows you to run Android apps on your desktop. In this guide, we’ll walk you through the process of setting up Bluestacks and installing WhatsApp, so you can stay connected with friends and family without missing a beat.
What is Bluestacks?
Bluestacks is a popular Android emulator that lets you run Android applications on your PC. It creates a virtual Android environment on your computer, enabling you to use apps just like you would on a smartphone or tablet. Here’s a closer look at what makes Bluestacks a go-to choice for many users:
- Compatibility: Bluestacks works on both Windows and Mac, making it accessible to a wide range of users.
- User-Friendly Interface: The interface is designed to mimic an Android device, making it easy for anyone to navigate, regardless of their tech-savviness.
- Performance: With advanced graphics and performance enhancements, Bluestacks allows you to run apps smoothly and efficiently.
- Multi-Instance Feature: Bluestacks allows you to run multiple apps simultaneously, which can be particularly useful if you want to use more than one app at a time.
- Regular Updates: Bluestacks is frequently updated to ensure compatibility with the latest Android apps, keeping your experience fresh and up-to-date.
Whether you're a gamer looking to play mobile games on a bigger screen or someone who wants to use messaging apps like WhatsApp, Bluestacks provides a versatile platform to enhance your experience. Its combination of ease of use and powerful features makes it an excellent choice for anyone wanting to bring Android applications to their desktop.
Also Read This: How to Allow NSFW Content on Telegram
3. System Requirements
Before diving into the installation of WhatsApp on your PC using Bluestacks, it's essential to ensure your system meets the necessary requirements. This will help you avoid any hiccups during the installation process and ensure smooth functionality. Here’s what you need:
- Operating System: Windows 7 or higher. Bluestacks works best on Windows 10.
- Processor: Intel or AMD processor with virtualization support. Dual-core processors are recommended for optimal performance.
- RAM: At least 4GB of RAM. More is better, especially if you plan on multitasking.
- Storage: A minimum of 5GB of free disk space. Make sure you have extra room for app installations and updates.
- Graphics: A graphics card with OpenGL 3.0 support. This is crucial for running apps smoothly.
- Internet Connection: A stable internet connection is necessary for downloading Bluestacks and WhatsApp.
Once you've confirmed that your PC meets these requirements, you're all set to jump into the installation process!
Also Read This: Linking Your Behance to LinkedIn to Showcase Your Work Across Professional Networks
4. Downloading Bluestacks
Now that you've checked your system requirements, the next step is to download Bluestacks. Here’s how to do it:
- Visit the Official Website: Go to the Bluestacks website. Always download from the official site to avoid any malicious software.
- Select the Download Button: You’ll see a prominent download button on the homepage. Click it, and the download will start automatically.
- Choose the Right Version: Make sure you're downloading the version compatible with your operating system (Windows or Mac).
- Run the Installer: Once the download is complete, locate the installer file in your downloads folder and double-click it to start the installation process.
Just follow the on-screen instructions, and you’ll have Bluestacks up and running in no time. After that, you’re ready to install WhatsApp and connect with your friends and family from your PC!
Also Read This: How to Use 191xt on YouTube for Beginners
5. Installing Bluestacks
Installing Bluestacks is a straightforward process that brings the Android experience to your PC, allowing you to run apps like WhatsApp seamlessly. First, you’ll want to head over to the official Bluestacks website to ensure you’re downloading the latest version. Here’s a simple step-by-step guide to get you started:
- Visit the Bluestacks Website: Open your web browser and go to bluestacks.com.
- Download the Installer: Click on the 'Download Bluestacks' button. It’s usually prominently displayed on the homepage, so you can’t miss it.
- Run the Installer: Once the download is complete, locate the file (usually in your Downloads folder) and double-click it to start the installation.
- Follow the On-Screen Instructions: The installer will guide you through the process. You may need to agree to the terms and conditions and choose an installation location.
- Complete the Setup: After a few minutes, Bluestacks will install on your PC. You’ll see a notification when it’s ready to use.
And just like that, you now have Bluestacks installed! You’re one step closer to using WhatsApp on your PC.
Also Read This: Celebrate with Taylor Swift Eras Tour Poster Template from Canva
6. Setting Up Bluestacks
Once you have Bluestacks installed, it’s time to set it up so you can start using your favorite apps. The setup process is user-friendly, ensuring that even those who aren’t tech-savvy can navigate through it easily. Here’s how to get started:
- Launch Bluestacks: Double-click the Bluestacks icon on your desktop to open the application.
- Sign in to Google: You’ll be prompted to log in with your Google account. This step is crucial as it allows you access to the Google Play Store.
- Complete the Initial Setup: Follow the prompts to customize your Bluestacks experience. You can adjust settings like language and location.
- Access the Google Play Store: Once logged in, locate the Play Store icon on the home screen. Click it to open and start searching for apps.
- Install WhatsApp: In the Play Store, type 'WhatsApp' in the search bar. Click 'Install' to download the app.
After installation, you can open WhatsApp from the Bluestacks home screen and start chatting! Setting up Bluestacks is a breeze, and soon you’ll be enjoying all the features of WhatsApp right from your PC.
Also Read This: Understanding YouTube's Compatibility with MKV Files and Other Video Formats
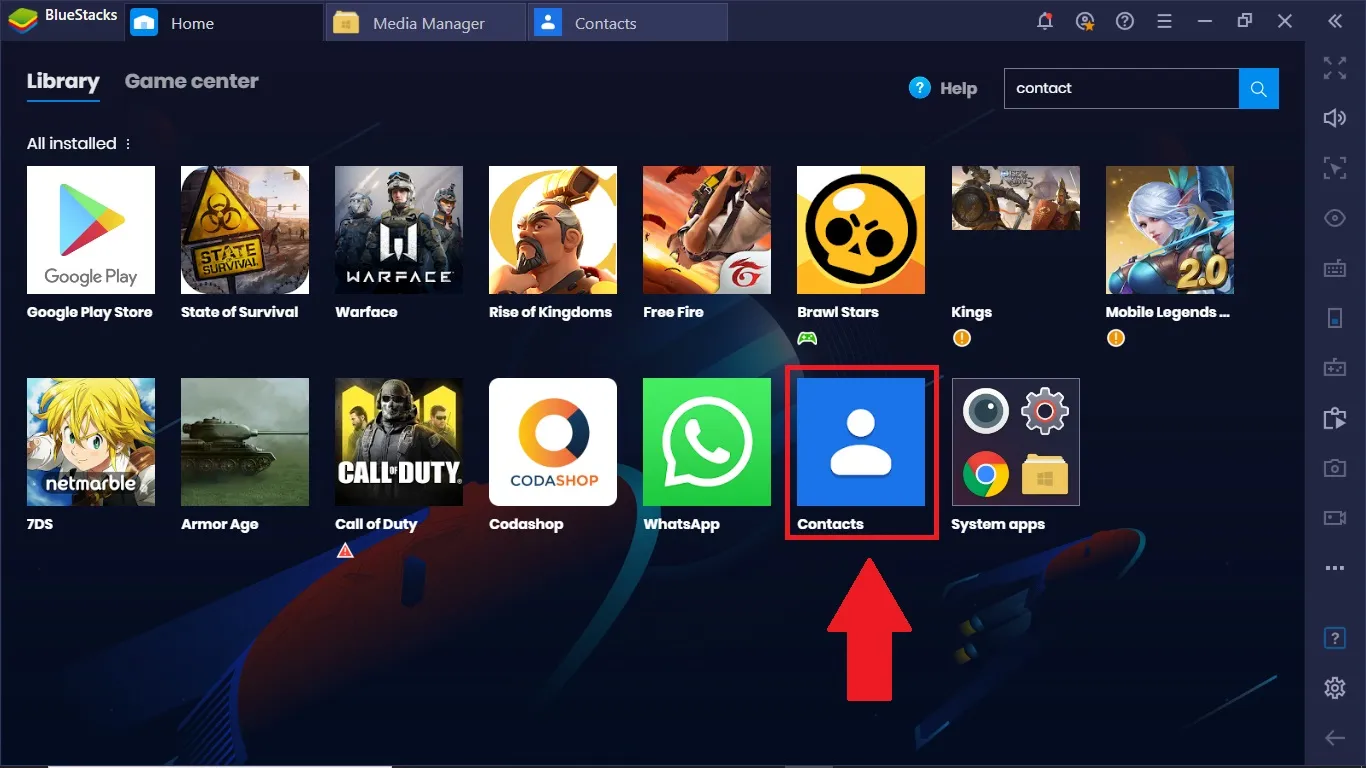
7. Installing WhatsApp
Installing WhatsApp on your PC using BlueStacks is a straightforward process that opens up a world of convenience. Follow these simple steps to get started:
- Download BlueStacks: Visit the official BlueStacks website and download the latest version of the emulator. This software allows you to run Android apps on your PC.
- Install BlueStacks: Open the downloaded file and follow the on-screen instructions to install BlueStacks. Make sure to allow any necessary permissions during the installation process.
- Launch BlueStacks: Once installed, open BlueStacks. You’ll be greeted by a user-friendly interface that mimics an Android device.
- Access Google Play Store: Click on the Google Play Store icon. If it’s your first time using it, you’ll need to sign in with your Google account to access the app store.
- Search for WhatsApp: In the Play Store, type “WhatsApp” in the search bar. You’ll see the official WhatsApp Messenger app appear in the results.
- Install WhatsApp: Click on the WhatsApp icon and then hit the “Install” button. The app will begin downloading and installing automatically.
And just like that, you’re one step closer to using WhatsApp on your PC!
Also Read This: Download Free Canva Templates for Various Projects
8. Configuring WhatsApp
Once WhatsApp is installed through BlueStacks, it’s time to configure it to start chatting. The configuration process is smooth and similar to setting up WhatsApp on a mobile device:
- Open WhatsApp: Click on the WhatsApp icon within BlueStacks to launch the app.
- Agree to Terms: You’ll be prompted to agree to WhatsApp’s terms and conditions. Simply click “Agree and Continue” to proceed.
- Enter Your Phone Number: Input your mobile phone number. Make sure to select the correct country code for your area.
- Verification Code: You will receive a verification code via SMS. Enter this code in the designated field to verify your phone number.
- Set Up Profile: Once verified, you can set up your profile by adding your name and a profile picture. This helps your friends identify you easily.
Your WhatsApp is now configured and ready to use! You can start chatting, sending files, and even making video calls right from your PC.
Also Read This: How to Download 123RF Photos Without Watermarks
Troubleshooting Common Issues
Installing WhatsApp on your PC using Bluestacks can be a smooth process, but sometimes you might encounter a few bumps along the way. Let's dive into some common issues and how to solve them.
- Installation Errors: If you run into errors during installation, ensure your PC meets the system requirements for Bluestacks. Check for any pending Windows updates and try running the installer as an administrator.
- WhatsApp Not Syncing: If messages aren’t syncing between your phone and WhatsApp on Bluestacks, make sure both devices are connected to the internet. Try logging out and back into WhatsApp on Bluestacks as well.
- Performance Issues: If Bluestacks runs slowly, adjust the settings to allocate more RAM and CPU resources. You can do this by going to Bluestacks settings > Engine and tweaking the performance options.
- Audio/Video Issues: Sometimes, audio or video may not work properly. Ensure that your PC’s audio drivers are up to date. You might also want to check the settings within Bluestacks to ensure sound is enabled.
- Account Verification Problems: If WhatsApp fails to send the verification code, check your mobile number for correctness. Additionally, try using a different phone number if possible to receive the code via SMS or call.
If you continue to experience issues, visiting the Bluestacks support forums or WhatsApp FAQs can provide additional guidance and solutions tailored to specific problems.
Conclusion
Installing WhatsApp on your PC using Bluestacks opens up a world of convenience, allowing you to chat seamlessly while working on your computer. With the ability to send messages, share files, and make calls, you can stay connected without constantly switching devices.
To summarize:
- Ensure your PC meets the requirements for running Bluestacks.
- Follow the installation steps carefully to set up WhatsApp.
- Be prepared to troubleshoot common issues that may arise during the process.
- Regularly update both Bluestacks and WhatsApp for the best performance.
In conclusion, with a little patience and the right steps, you can enjoy the full functionality of WhatsApp on your PC. Happy chatting!