Curly hair, here we come! If you’ve ever thought about curling your hair using a straightener, you're in for a treat. This versatile styling tool isn’t just for sleek looks; it can also create beautiful, bouncy curls. Whether you want loose beach waves or tighter ringlets, mastering the straightener for curling is easier than you think. In this guide, we’ll walk you through the steps and tips to achieve stunning curls with your straightener. Let’s get started!
Choosing the Right Straightener
Not all straighteners are created equal, especially when it comes to curling hair. Here are some key factors to consider when selecting the perfect straightener for curling:
- Plate Material: Look for straighteners with ceramic or tourmaline plates. These materials distribute heat evenly and help prevent damage to your hair while ensuring a smooth glide.
- Plate Width: A narrower plate (1 inch or less) is often better for curling as it allows for more control and can create tighter curls. If you prefer looser waves, a slightly wider plate (1 to 1.5 inches) can work too.
- Heat Settings: Opt for a straightener with adjustable temperature settings. Fine or damaged hair requires lower heat, while thicker strands may need higher temperatures for effective styling.
- Weight and Design: Choose a lightweight and easy-to-handle straightener. A comfortable grip is essential, especially if you’ll be curling for an extended period.
Here’s a quick comparison table of popular straighteners suitable for curling:
| Model | Plate Material | Plate Width | Temperature Range |
|---|---|---|---|
| BaBylissPRO Nano Titanium | Titanium | 1 inch | 270°F - 450°F |
| ghd Platinum+ Styler | Ceramic | 1 inch | 365°F |
| Remington S9500PP Pearl Pro | Keratin-infused ceramic | 1 inch | 410°F |
Investing in the right straightener can make all the difference in achieving those flawless curls. Happy styling!
Also Read This: How to Optimize Your Behance Profile for Better Discoverability
3. Preparing Your Hair
Before diving into the world of curling with a straightener, it's essential to prepare your hair properly. This ensures that your curls hold beautifully and remain healthy. Here’s how to get your hair ready:
- Start with Clean Hair: Wash your hair with a sulfate-free shampoo and a moisturizing conditioner. Clean hair curls better because product buildup can weigh it down.
- Dry Your Hair: Gently towel-dry your hair and then use a blow dryer. Aim for 80% dry to keep some moisture, which helps in achieving better curls.
- Apply Heat Protectant: Always use a heat protectant spray or serum to safeguard your hair from heat damage. This step is crucial for maintaining your hair's health.
- Detangle: Use a wide-tooth comb to eliminate knots. Tangled hair can lead to uneven curls, so take your time here!
- Section Your Hair: Divide your hair into manageable sections. Typically, 2-4 sections work well depending on your hair's thickness. Secure the top sections with clips.
By following these steps, you'll ensure your hair is in the best condition to hold those gorgeous curls and look fabulous all day long!
Also Read This: How to Get Popular on Behance
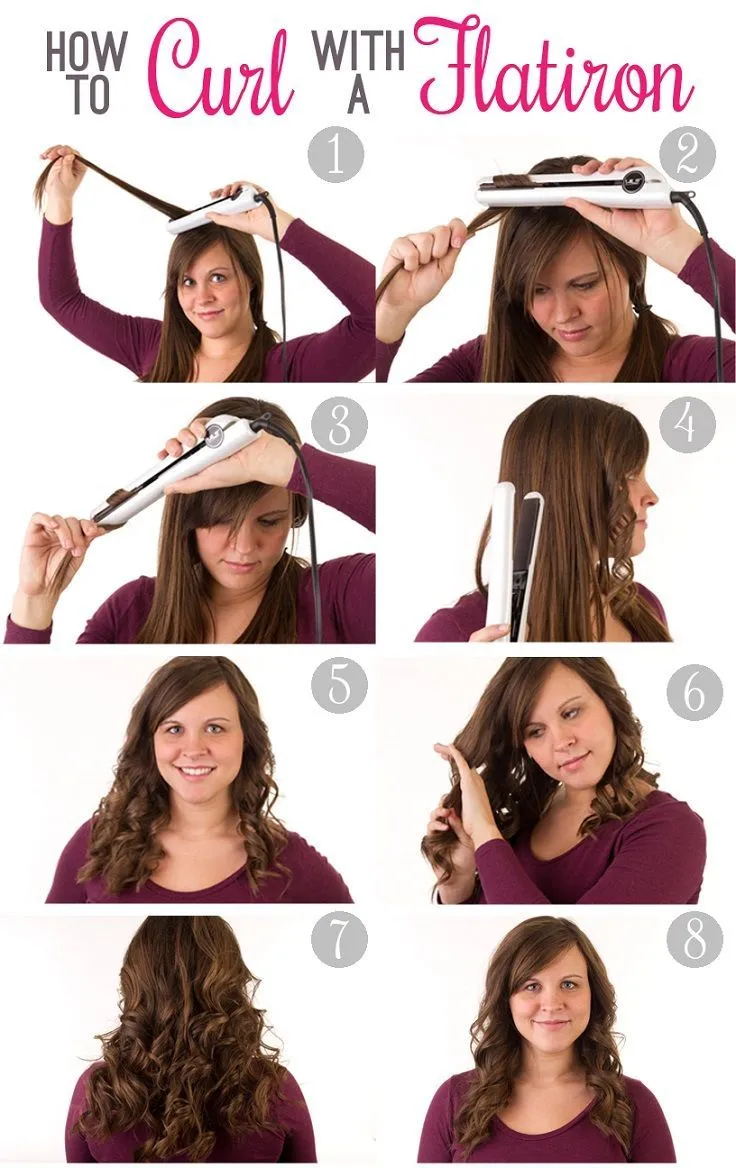
4. Step-by-Step Curling Technique
Now that your hair is prepped and ready, let’s get to the fun part—curling with a straightener! Follow these steps for perfect curls:
- Heat Up the Straightener: Set your straightener to a temperature suitable for your hair type. Fine hair does well at around 300°F (150°C), while thick, coarse hair can handle up to 400°F (200°C).
- Take a Section: Grab a small section of hair, about 1-2 inches wide. The size of the section will influence the tightness of your curls. Smaller sections yield tighter curls!
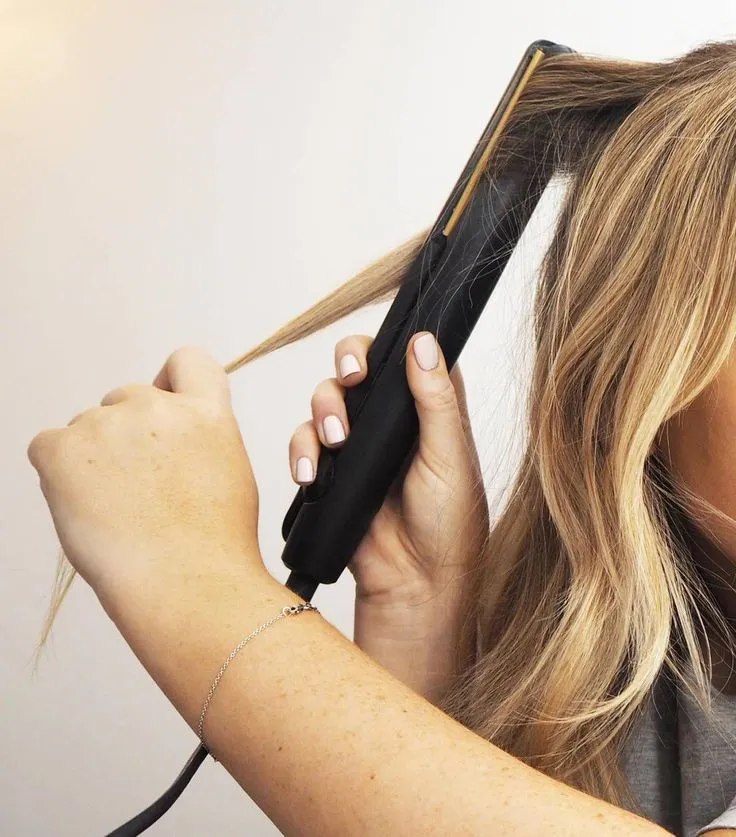
- Clamp and Twist: Place the straightener near the roots of the section, clamp it down, and then give it a half turn away from your face. This twisting motion is key for creating a beautiful curl.
- Slide and Release: Slowly slide the straightener down the hair shaft while maintaining that twist. Release the hair gently at the ends to form the curl.
- Pin Your Curls: For long-lasting results, pin the curls to your scalp with a bobby pin or clip while they cool. This helps them set and hold their shape.
- Repeat: Continue this process with the remaining sections of your hair until you’ve curled everything. Don’t forget to alternate the direction of your curls for a more natural look!
And voilà! You should have beautiful, bouncy curls that look effortlessly chic. Finish with a light hairspray for hold, and you’re ready to rock your stunning hairstyle!
Also Read This: How to Hide a Video on YouTube by Making It Private or Unlisted
5. Finishing Touches
Once you've curled your hair with the straightener, it’s time to add those finishing touches that will elevate your hairstyle from good to fabulous! Here are some steps to ensure your curls look stunning and stay in place:
- Let Your Curls Cool: After you've finished curling each section, allow the curls to cool down. This helps set the curl shape and ensures longevity. Consider pinning each curl up with a bobby pin while it cools for added hold.
- Apply Hair Spray: Use a light hold hairspray to lock in your curls. Hold the can about 12 inches away and lightly mist over your styled hair. This will help maintain volume without making your hair feel stiff.
- Fluff It Up: Once your curls are cool and set, gently run your fingers through them to separate and fluff them. This will give your curls a more natural, voluminous look.
- Finish with Serum: To add shine and reduce frizz, apply a small amount of hair serum to your ends. This not only enhances the look but also keeps your hair healthy.
- Adjust the Part: Sometimes a simple change in parting can enhance your curls. Experiment with side or middle parts to see what looks best!
These finishing touches can transform your styled hair into a gorgeous, polished look that’s perfect for any occasion.
Also Read This: The Art of Creating Effective Calls-to-Action
6. Tips for Long-Lasting Curls
Want your beautiful curls to last all day? Here are some tried-and-true tips that can help keep your curls looking fresh from morning to night:
- Heat Protectant: Always start with a heat protectant spray before styling. This not only protects your hair from damage but also helps your curls hold longer.
- Sectioning is Key: Curl your hair in small sections. The smaller the section, the tighter and longer-lasting the curl will be. Aim for 1-inch sections for best results.
- Use the Right Temperature: Adjust the straightener’s temperature based on your hair type. For fine hair, use lower heat, while thicker hair may require a higher setting.
- Don’t Overdo It: Avoid running the straightener through the same section multiple times, as this can create heat damage. One smooth pass is often enough.
- Sleep on It: If you want curls that last, consider sleeping in a loose braid or bun. This will help maintain the shape overnight and reduce frizz!
By following these tips, you can enjoy beautiful, long-lasting curls that turn heads and spark compliments!
How to Use a Straightener to Curl Hair with Step-by-Step Styling Tips
Curling your hair with a straightener is a versatile styling technique that can create beautiful, bouncy curls or soft waves. In this guide, we will provide you with easy-to-follow steps to achieve stunning curls using a flat iron. Let's get started!
What You Will Need:
- A quality flat iron (preferably with rounded edges)
- Heat protectant spray
- Hair clips or ties
- Comb or brush
- Hair spray (optional)
Step-by-Step Instructions:
- Prep Your Hair: Start with clean, dry hair. Apply a heat protectant spray evenly to avoid damage.
- Section Your Hair: Divide your hair into manageable sections using clips or ties. This will make curling easier and more organized.
- Heat the Straightener: Turn on your flat iron and set it to the appropriate temperature for your hair type (usually between 300°F to 400°F).
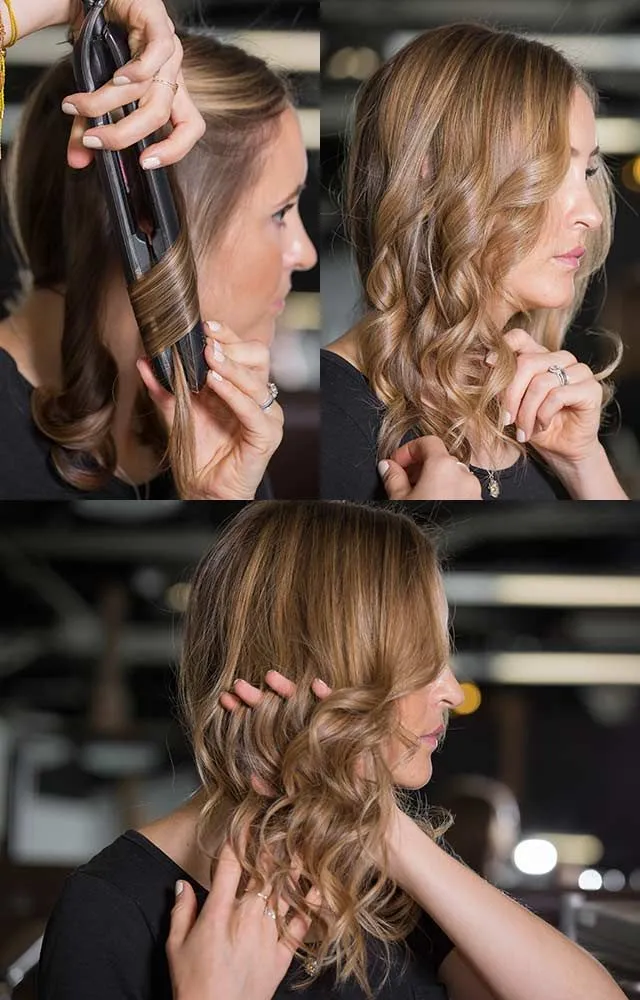
- Begin Curling: Take a small section of hair (about 1 inch wide). Clamp the straightener close to the roots, then twist the straightener away from your face while pulling it downwards.
- Release and Shape: Slowly pull the straightener through the hair to form a curl. Allow the curl to cool in your hand before releasing it for a more defined shape.
- Repeat: Continue this process throughout all sections of your hair, alternating the direction of the curls for a more natural look.
- Finish Up: Once all sections are curled, run your fingers through your hair to loosen the curls. Apply hair spray for hold if desired.
Tips for Best Results:
| Tip | Description |
|---|---|
| Use Smaller Sections | Smaller sections create tighter, more defined curls. |
| Practice on Low Heat | If you're new, start at a lower temperature to avoid damaging your hair. |
| Experiment with Curl Size | Try different section sizes for varying curl styles. |
By following these step-by-step tips, you can master the art of curling your hair with a straightener, achieving salon-worthy results at home. With practice, you'll find the technique that works best for you, allowing you to switch up your hairstyle effortlessly.