Uploading and organizing videos on ShootProof might seem overwhelming at first, particularly if you're a newcomer. However I promise you it's not as tricky as it appears. When I first started using this platform I struggled a bit with the features trying to figure out the best way to share my creations. But once I got the hang of things it became second nature. Videos offer an impactful means to engage with clients showing not your work but also your unique personality. So let's explore how to make this process seamless and enjoyable.
Setting Up Your ShootProof Account

To start uploading your videos the initial thing you need to do is create a ShootProof account. If you already have an account that's great! But if you don't no need to stress; it's an easy process. Here's a guide on how to get it done:
- Visit the ShootProof website.
- Click on the “Sign Up” button.
- Fill in your details, like your name, email, and password.
- Verify your email address to activate your account.
After getting your account ready, spend some time checking out the dashboard. Getting to know the layout well can really help you out in the long run. I recall feeling a bit confused at first, but before long I found the pleasure in customizing my preferences. Feel free to experiment and make the space uniquely yours!
Also Read This: What Are the Top Tips for Navigating Adobe Stock’s Library for Budget-Friendly Assets?
Steps to Upload Videos
With your account set up, you can now proceed to upload your videos. Follow these easy steps to get started.
- Log in to your ShootProof account.
- Navigate to the “Media” section in the dashboard.
- Click on the “Upload” button.
- Select the video files from your device that you want to upload.
- As the videos upload, you’ll see a progress bar indicating how much has been uploaded.
- Once completed, you’ll be prompted to add details such as the video title, description, and any tags.
- Finally, hit the “Save” button to finish the process.
Uploading videos is a breeze! But I discovered the importance of keeping my files sorted out beforehand. Giving files clear names and having a specific folder on my device has made it simpler to find what I'm looking for down the line. Believe me, a bit of planning can make a difference!
Also Read This: How to Wear Matha Patti for Traditional Head Jewelry Styling
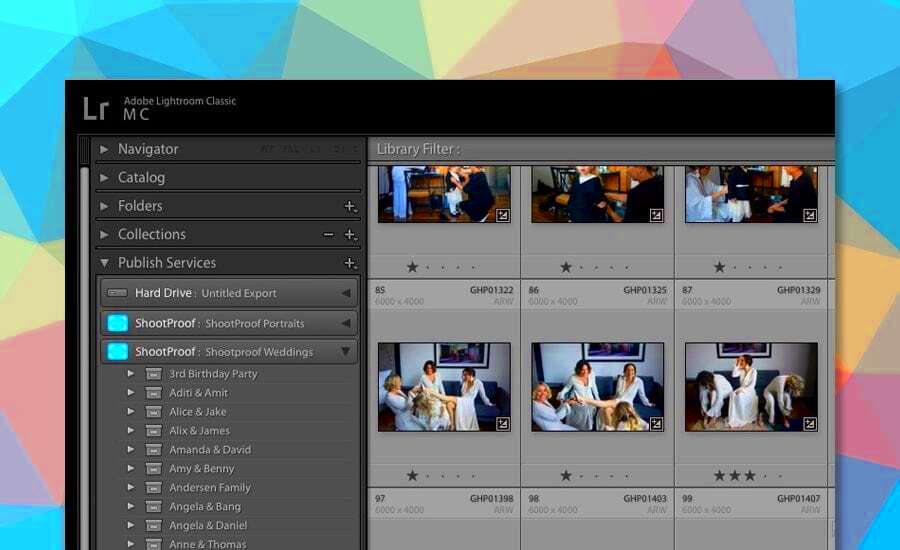
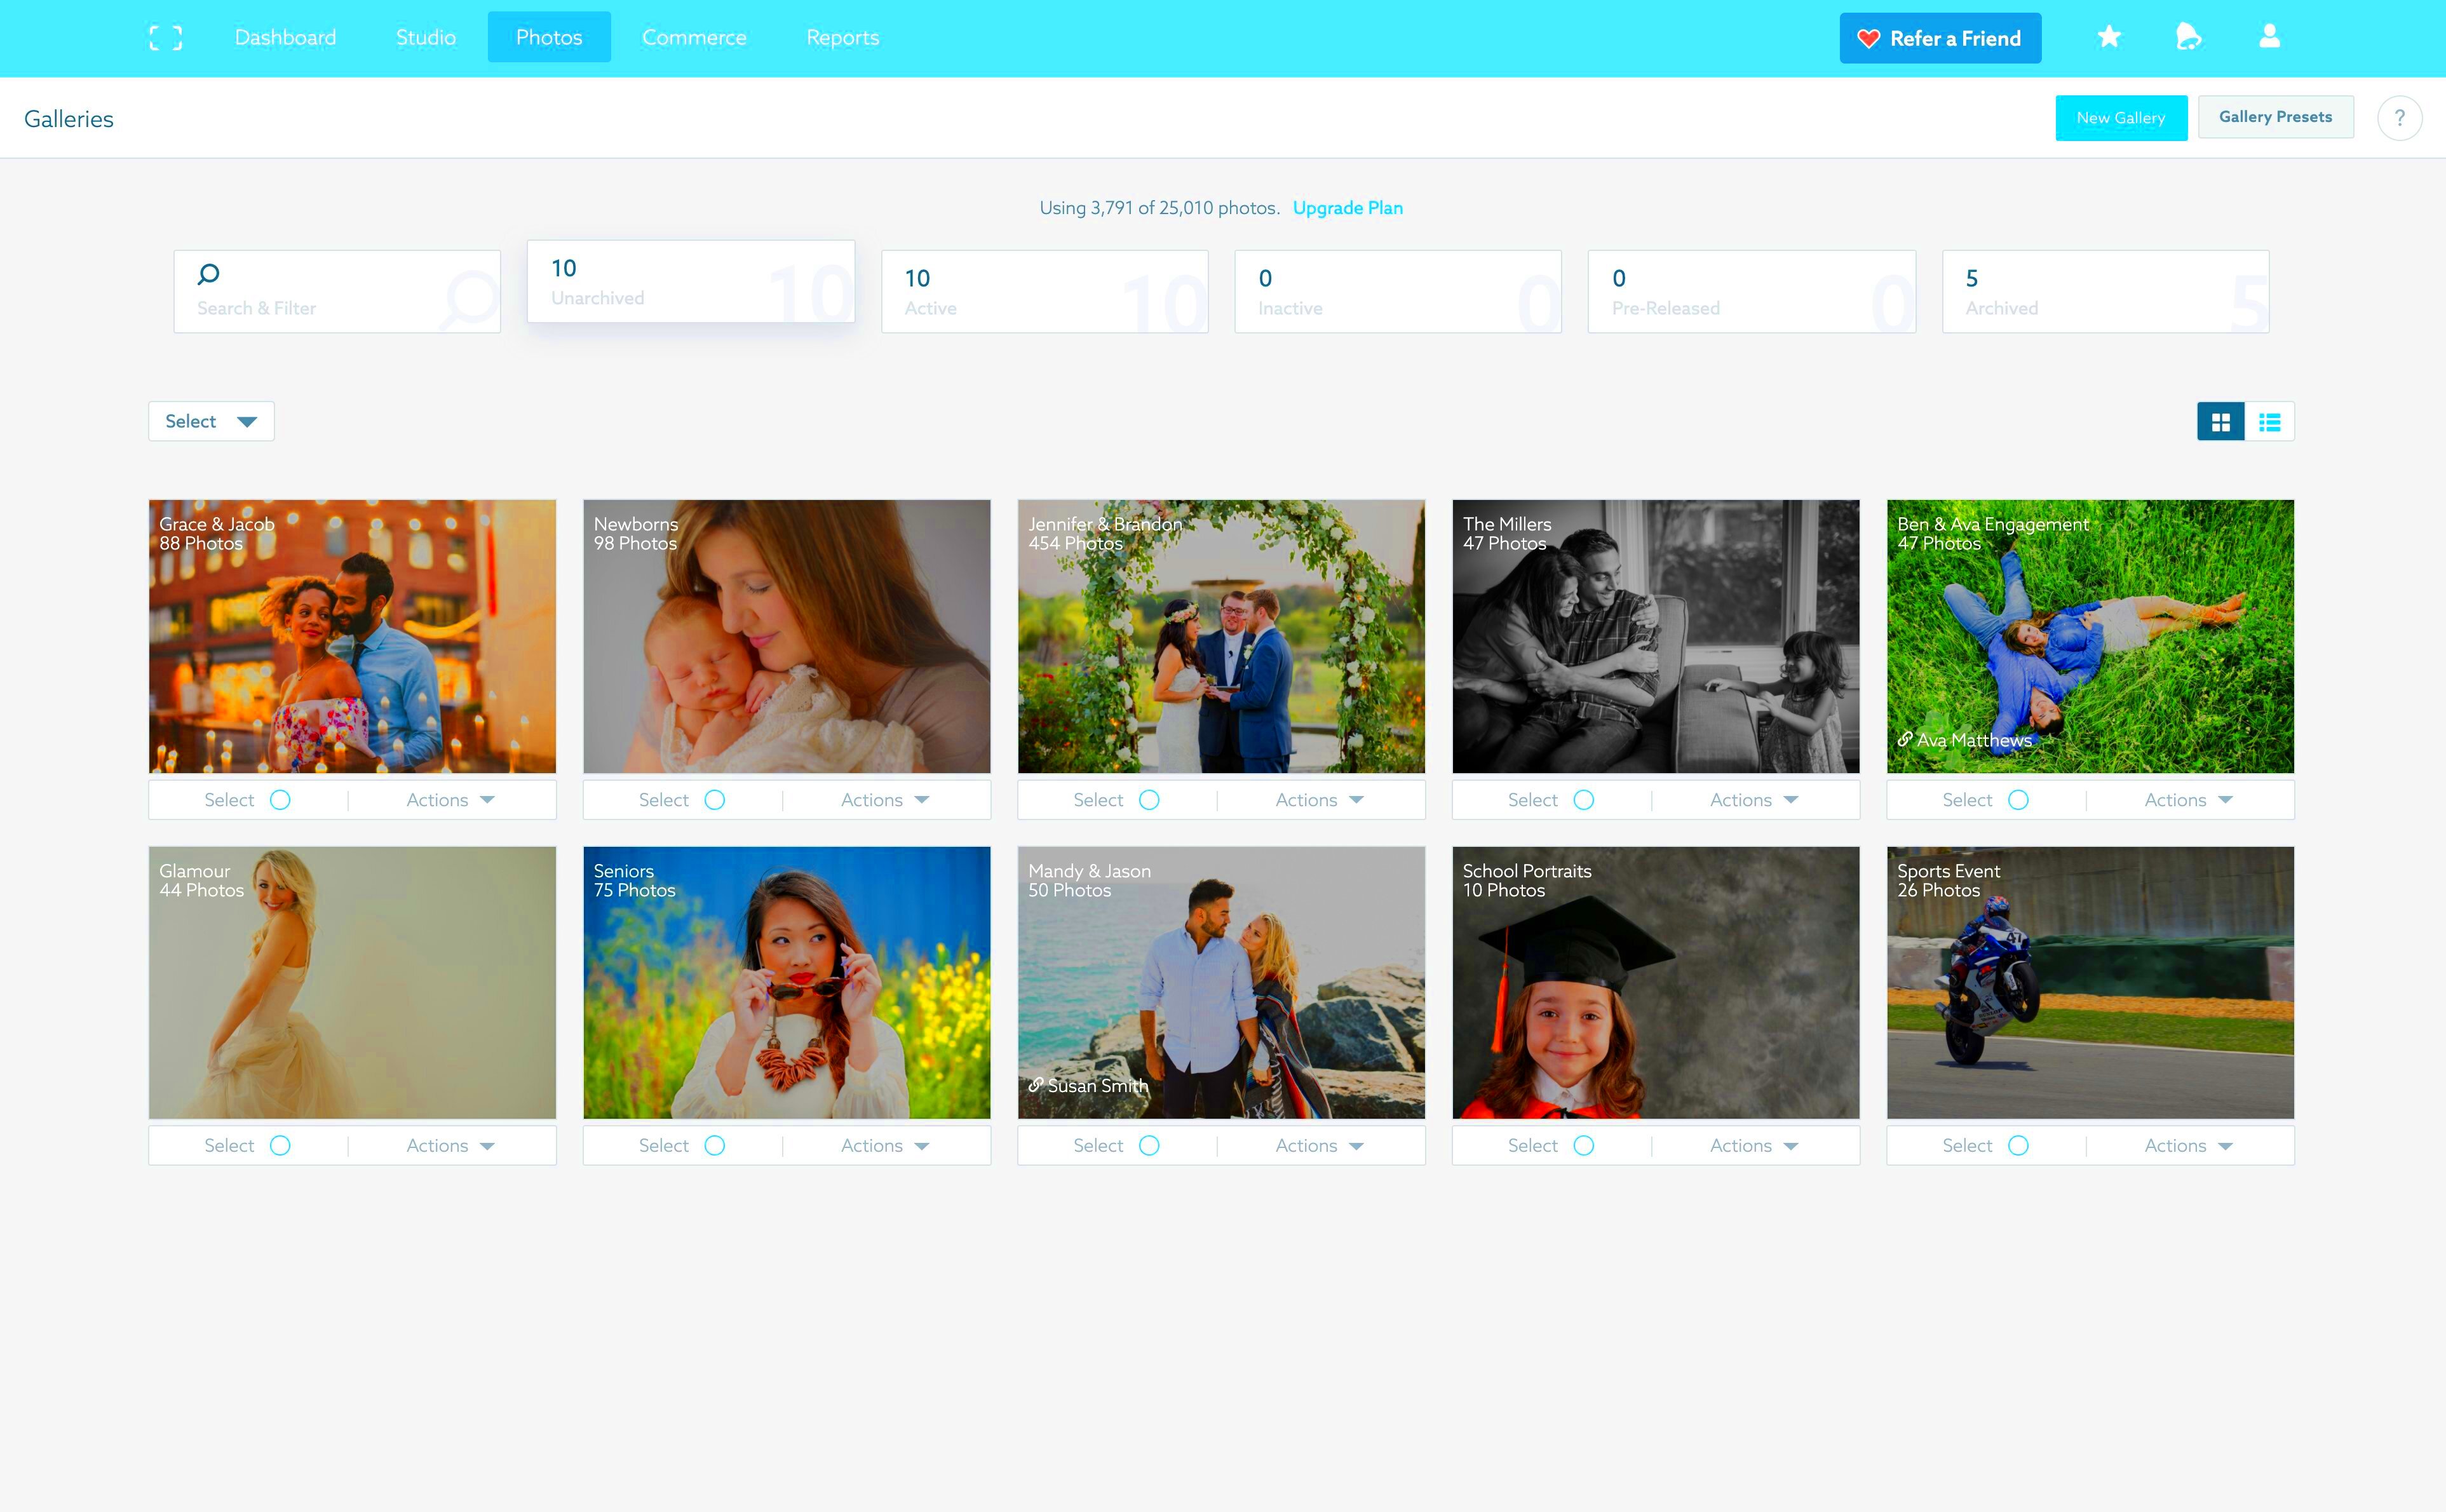
Organizing Your Video Library

After you’ve uploaded your videos it’s important to get your video collection sorted out. Imagine this scenario you’ve uploaded a bunch of videos but when you need to locate that particular clip you find yourself scrolling through the library for ages. Trust me I’ve experienced that frustration firsthand. Having a library not only saves you valuable time but also allows you to showcase your work in the way.
Here are a few techniques that have proven to be incredibly effective for me.
- Create Folders: Just like physical files, digital files deserve a home. Set up folders based on categories—weddings, events, personal projects, etc. This way, you can easily navigate through your content.
- Use Descriptive Titles: Instead of generic titles like “Video1,” try using more descriptive ones. For example, “John and Priya’s Wedding Highlights” tells you exactly what to expect.
- Tag Your Videos: Tags help in quick searches. Use keywords that relate to the video content, making it easier to retrieve them later.
- Regular Maintenance: Make it a habit to revisit and reorganize your library periodically. Delete outdated or redundant files to keep your space fresh.
From what I've seen a bit of order can make a difference. There’s nothing quite like the satisfaction of effortlessly locating what you're looking for. It’s about setting up an environment that mirrors your artistic path.
Also Read This: Understanding the Changes to YouTube Shorts Format
Editing and Managing Video Details
While it may come across as a task editing and organizing video information is crucial to the overall process. The initial impression can significantly influence how a client perceives things. There was an instance when I rushed to upload a video without being mindful of the specifics and it felt like I had omitted a part of myself from the presentation.
Here’s a way to maximize the effectiveness of this stage.
- Add a Compelling Description: Your description should tell a story. Give context to the video, share your thoughts, and let the audience connect with it. For example, describe the emotions you felt while capturing a wedding moment.
- Include Thumbnails: A captivating thumbnail can draw viewers in. Choose a frame that represents the video’s essence and intrigues potential viewers.
- Adjust Privacy Settings: Decide who can view your videos. Whether you want to keep them private or share them with the world, managing these settings is vital.
- Utilize Metadata: Don’t overlook metadata. Adding information like the date, location, and client details can help you later when searching for specific videos.
When you focus on these aspects you not only improve the quality of the video but also elevate the overall experience for the audience. It’s similar to putting on an outfit for an event; you aim to present your work in the way possible.
Also Read This: Choosing the Right Industry on LinkedIn for Remote Job Searches
Sharing Your Videos with Clients
Now comes the moment to share your videos with clients! This is when all your efforts truly pay off. I remember feeling a blend of excitement and jitters when I sent out my creations at first. Would they recognize my hard work? Would they resonate with my vision? As time went on I realized that the way you present your content matters as much, as the content itself.
Here are some strategies to promote your videos:
- Email Links: Sending a personalized email with a link to the video is a classic approach. Include a brief message expressing your excitement about sharing this moment with them.
- Client Galleries: Create a dedicated gallery for each client. This not only organizes your work but also gives clients a special place to revisit their memories.
- Social Media Sharing: If the client is comfortable, share snippets on social media. Tag them and encourage them to share their experience. It’s a great way to showcase your work and attract new clients.
- Feedback Request: After sharing, don’t shy away from asking for feedback. It’s an opportunity to improve and shows your clients that you value their opinions.
Sharing your videos is a way to showcase your creativity and connect with your clients. The happiness they experience as they see their cherished memories brought to life is something invaluable. I hold these moments dear and I think they add depth to our path as artists.
Also Read This: Create a Paper Gun with a Shooting Trigger
Best Practices for Video Uploads
When it comes to uploading videos sticking to best practices can really improve your efficiency and the overall quality of your work. I’ve picked up valuable lessons from numerous uploads each one offering me insights. It’s similar to cooking; using the right ingredients and methods can greatly impact the outcome of a dish. Lets delve into some tried and true strategies that I hold dear.
- Choose the Right Format: Always upload your videos in a format supported by ShootProof, like MP4 or MOV. These formats maintain quality while keeping file sizes manageable.
- Optimize File Size: Before uploading, ensure your video isn’t too large. Use video compression tools to reduce file size without sacrificing quality. I remember a time when I tried uploading a massive file, and it took forever! Since then, I always check the size first.
- Use High-Quality Footage: Always aim for the highest quality possible. Shoot in 1080p or higher if you can. Quality footage makes your work look professional and leaves a lasting impression on viewers.
- Preview Before Uploading: Always watch your video one last time before hitting upload. This is your chance to catch any mistakes or awkward moments. Trust me; it’s better to notice these things beforehand!
- Stay Consistent: If you’re working on a series or a collection, keep a consistent style throughout. This helps in brand recognition and creates a cohesive experience for your viewers.
By following these tips you can make your video uploads smoother and showcase your work in the way. Its all about making a great impression!
Also Read This: Use KDP Cover Template in Canva with How to Use KDP Cover Template in Canva
FAQ
When using a platform such as ShootProof its normal to have inquiries, particularly about uploading videos. Here are some frequently asked questions Ive come across during my journey along with responses that could assist you.
- What file formats are supported for uploads?
ShootProof supports MP4, MOV, and a few others. Stick to these for a seamless experience. - Is there a maximum file size for uploads?
Yes, ShootProof has limits on file sizes, typically around 4GB. Always check before uploading to avoid issues. - Can I edit video details after uploading?
Absolutely! You can return to your video anytime to update titles, descriptions, and tags. - How do I share videos with clients?
You can share via email, create client galleries, or even share snippets on social media, depending on your preference. - What if my video fails to upload?
Check your internet connection and file size. If the problem persists, try uploading a different video to see if the issue is with the file.
These frequently asked questions tackle a few of the usual bumps in the road you may encounter. Keep in mind that every obstacle is a chance to gain knowledge!
Conclusion
In the fast changing landscape of content creation understanding the ins and outs of uploading and handling videos on ShootProof can really take your artistic flair and professionalism up a notch. Whether its getting your account ready or sorting through your video collection each action is crucial in highlighting your talent. I cant emphasize enough the positive impact these habits have had on my creative journey. Witnessing my clients delight in their videos brings me immense joy.
Whether you’re a seasoned expert or a newcomer to the field, I encourage you to really consider these perspectives. Embrace the process of learning and keep in mind that every upload brings you closer to personal development. As you explore this platform, I wish you find delight in expressing your enthusiasm and creativity with others. Enjoy your uploads!