Behance is not simply a platform; it's a bustling community that nurtures creativity. When I first discovered Behance I was blown away by the diverse range of projects presented by gifted individuals worldwide. It felt like stepping into a realm brimming with inspiration where each click unveiled a story through art, design, photography and more. Behance offers an opportunity to connect with fellow artists receive feedback and even join forces on thrilling ventures. It's the camaraderie and encouragement that set Behance apart. Here you'll encounter not work but also love and commitment infused into every endeavor.
Getting Your Prototype Ready for Upload
Before sharing your prototype take the time to get it ready. Begin by making sure your design is refined and set for presentation. Here are some steps to keep in mind.
- Review Your Work: Take a step back and look at your prototype with fresh eyes. Check for any design inconsistencies or areas that need refinement.
- Gather Feedback: Share your prototype with trusted friends or colleagues. Constructive criticism can be invaluable in spotting issues you might have overlooked.
- Organize Your Files: Make sure your files are well-organized. This not only helps in the uploading process but also ensures that viewers can easily navigate through your work.
When you are sure about your prototype its time to consider how you want to showcase it on Behance. A meticulously crafted project can greatly impact the way it is perceived by the community.
Also Read This: Easy Tutorials for Making Goody Bags from Paper on Dailymotion
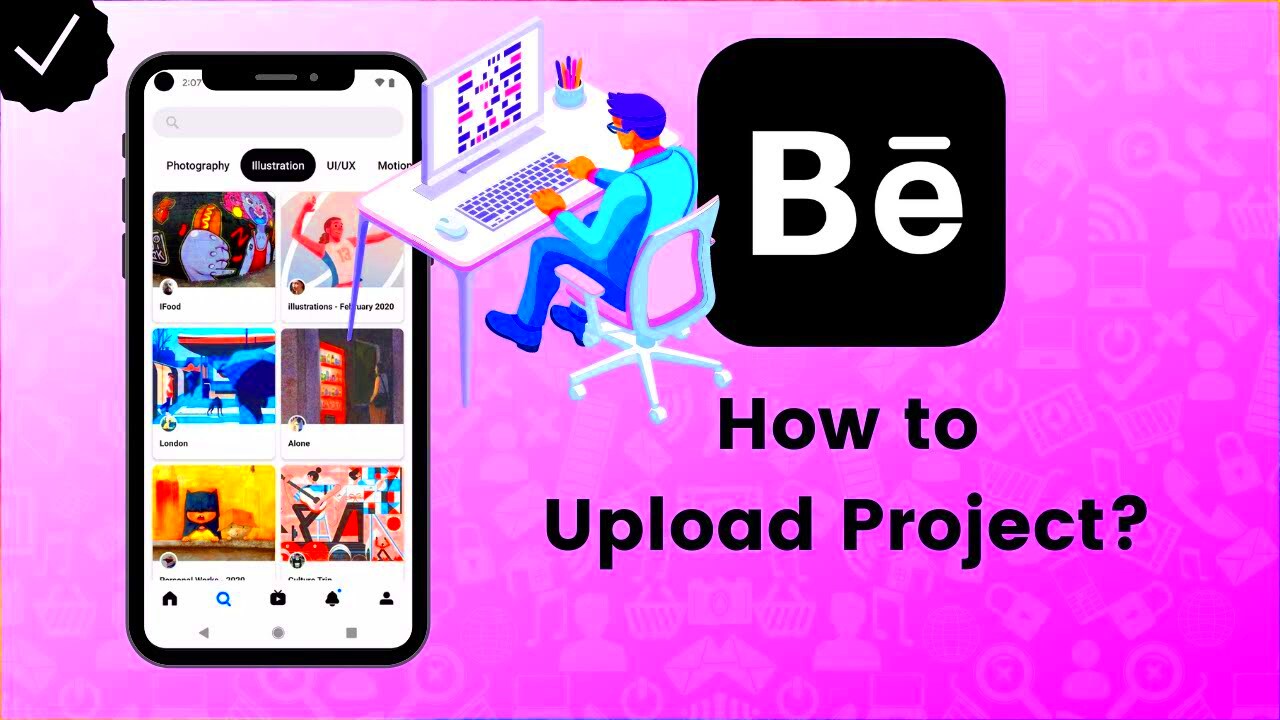
Navigating to the Upload Section on Behance

Locating the upload area on Behance is a task. Upon my initial login I was genuinely impressed by the simplicity of the platform. Allow me to share a brief walkthrough to assist you in getting around.
- Log In to Your Account: If you don’t have an account, creating one is simple. Just follow the prompts and fill in your details.
- Go to Your Profile: Click on your profile picture at the top right corner to access your account dashboard.
- Look for the Create Button: You’ll find a large 'Create a Project' button on your dashboard. This is your gateway to uploading your work.
- Select Your Prototype Files: Choose the files you want to upload. You can drag and drop files directly or use the upload button to select them from your computer.
As you go through these steps keep in mind to pace yourself. Submitting your work isn’t merely a chore; it’s an opportunity to showcase your imagination to the universe.
Also Read This: How to Cancel a YouTube Trial Without Losing Data
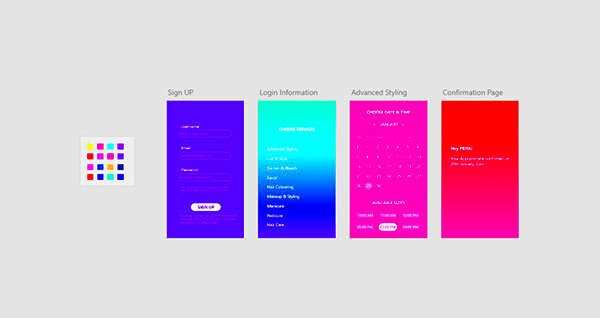
Selecting the Right Project Type for Your Prototype
When I joined Behance I was taken aback by the wide range of project types on offer. It's essential to choose the one that suits your prototype as it sets the stage for how your work will be showcased. Each project type comes with its own set of features that can elevate your presentation so it's crucial to make a selection. Consider your audience and their potential engagement with your prototype. Here are project types you might want to explore.
- Web Design: Ideal for showcasing user interfaces and web layouts.
- Mobile App: Perfect for mobile prototypes, highlighting user experience on smaller screens.
- Graphic Design: Great for presentations that include visuals, infographics, or branding.
- Animation: If your prototype has animated elements, this type will help display them effectively.
When choosing the type of project you want to work on consider the elements that will showcase your work most effectively. Keep in mind that your decision affects not the design but also how viewers will engage with it. It’s similar to putting on an outfit for an event you want to leave a memorable impact.
Also Read This: Can You Use YouTube TV in Multiple Locations at Once
Uploading Your Prototype Files
Once you’ve selected the project type it’s time to get your prototype files up. This part can be a bit stressful but it’s also super thrilling! I still vividly recall my first upload. My heart was pounding as I dragged and dropped my files. To help you breeze through the uploading process here are some handy tips:
- Check File Formats: Ensure your files are in compatible formats such as JPG, PNG, or PDF. If you’re working with interactive prototypes, consider using formats like HTML or GIF.
- Optimize for Web: Compress your files to reduce loading time without sacrificing quality. This can significantly enhance user experience.
- Upload in Batches: If your prototype has multiple files, upload them in batches. It helps keep everything organized and manageable.
As you upload your files, take a moment to appreciate your hard work. Every document reflects the time and creativity you’ve poured into it. Embrace this milestone, as it brings you closer to unveiling your vision to the world!
Also Read This: Becoming an Influencer on LinkedIn
Adding Descriptions and Tags to Enhance Visibility
After you upload your documents the next thing to do is include some descriptions and tags. This step is crucial for drawing in an audience to your prototype. A thoughtfully written description can convey the narrative behind your creation making it more relatable and captivating. Here are some tips on how to seize this opportunity:
- Be Clear and Concise: Describe your prototype’s purpose, features, and the problem it solves. Keep it straightforward but captivating.
- Use Relevant Keywords: Think about what terms potential viewers might use to find your work. Incorporate these keywords naturally into your description.
- Add Tags: Tags act like breadcrumbs for users searching for specific content. Include 5-10 relevant tags that align with your prototype’s theme and content.
When crafting your words envision having a conversation with an individual who is keen to discover more about your endeavor. Infusing a touch into your writing can add a personal and relatable flair to your work. Keep in mind that the aim is to establish a connection with your audience and ignite their inspiration through your imagination.
Also Read This: Organize Your Recipes with Canva Recipe Template
Sharing Your Prototype with the Community
Once you’ve poured your energy into creating a prototype sharing it with the Behance community feels like unwrapping a present that you’ve lovingly packaged. It’s a moment brimming with both thrill and tenderness. When I posted my project for the time I experienced a blend of satisfaction and nerves. Would others recognize my hard work? Would they resonate with my design? Here are some tips to showcase your creations.
- Post on Social Media: Share your Behance project link on platforms like Instagram, Facebook, and LinkedIn. Don’t forget to use engaging captions that invite people to check out your work.
- Engage with Other Creatives: Leave thoughtful comments on projects from other artists. Building relationships can encourage them to return the favor and check out your work.
- Participate in Behance Groups: Join groups related to your field. Engaging in discussions can lead to valuable feedback and new connections.
Keep in mind that sharing is not only about displaying your creations but also about fostering a sense of community. Welcome the feedback you get, be it good or constructive. Every remark presents an opportunity to evolve and bond with other artists.
Also Read This: Visualize Your Goals with Canva Vision Board Templates
Frequently Asked Questions
As you start the process of uploading and sharing your prototypes you may have some queries. Lets address a few frequently asked ones.
- How do I edit my project after uploading? You can easily edit your project by going to your profile, selecting the project, and clicking on the 'Edit' button.
- Can I upload multiple prototypes in one project? Yes, you can! Just ensure that your prototypes are cohesive and tell a unified story.
- What if I don’t get many views initially? Don’t be discouraged! Building an audience takes time. Keep sharing your work and engaging with the community.
These frequently asked questions can ease worries, but dont hesitate to reach out to the community for support. The exchange of insights is what adds to the richness of Behance.
Wrapping Up Your Upload Journey
As you wrap up your upload adventure take a breather to ponder over what you’ve achieved. It’s not solely about showcasing your prototype; it’s also about the insights you’ve gained throughout the process. I can still recall the satisfaction I experienced when my project first went up. Every stage, from getting ready to sharing was an opportunity for growth. Here are a few important lessons to keep in mind.
- Celebrate Your Achievements: Whether it’s your first upload or your hundredth, each project deserves recognition. Acknowledge the effort and creativity you poured into it.
- Keep Improving: Use the feedback you receive to refine your skills. The creative journey is a continuous process of learning and growth.
- Stay Connected: Continue engaging with the community, exploring new projects, and finding inspiration in the works of others.
Your journey of sharing doesn’t stop here; it’s merely the start of a series of thrilling experiences to come. Embrace this moment continue to innovate and always keep in mind that each prototype you present adds to your distinct narrative as a creator.