Scratched CDs can be a real headache, especially when they hold precious memories or your favorite music. Fortunately, there are simple household items that can help restore your CD’s surface and bring it back to life. In this post, we’ll explore the nature of CD scratches and share some effective methods to fix them using items you probably already have at home. Let’s dive in!
Understanding CD Scratches
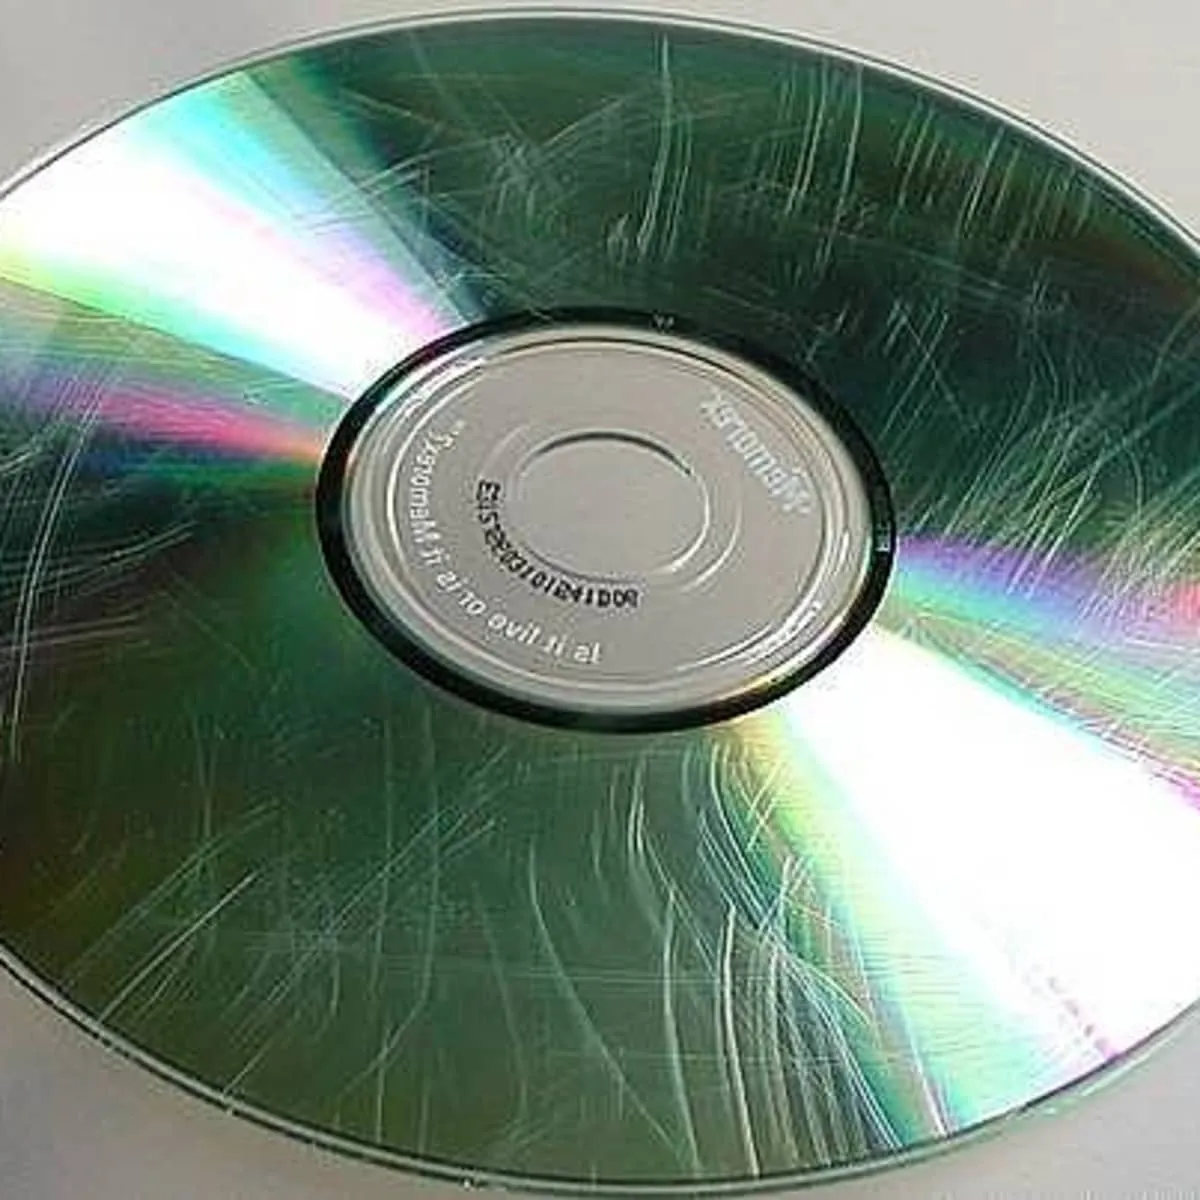
Before we jump into restoration methods, it’s essential to understand what causes CD scratches and how they affect playback. CDs are made of polycarbonate plastic with a reflective layer, and the data is encoded in tiny pits on the surface. Here’s a deeper look:
- Types of Scratches: Scratches can be classified into two main types:
- Shallow Scratches: These are minor surface scratches that usually occur from mishandling or dust.
- Deep Scratches: These penetrate deeper into the disc and can disrupt the data layer, leading to skipping or failure to read.
- How Scratches Affect Playback: When a CD player reads a disc, it uses a laser to detect the pits that represent data. Scratches can cause the laser to skip, leading to interrupted audio or video. The severity of the scratch directly correlates to how badly the CD performs.
- Common Causes of Scratching:
- Improper storage (not using cases)
- Exposure to dust and dirt
- Direct contact with hard surfaces
- Handling with dirty or oily hands
Understanding these factors can help you take better care of your CDs and avoid future damage. Now that we know what we’re dealing with, let’s look at how to effectively restore those scratches!
Also Read This: How to Search for Your Files on Adobe Stock
Household Items You Can Use
Restoring a scratched CD doesn’t require fancy tools or professional help; in fact, you likely already have everything you need right at home! Here are some common household items that can work wonders:
- Toothpaste: A non-gel toothpaste can act as a mild abrasive that helps buff out scratches.
- Banana Peel: Yes, you read that right! The inside of a banana peel contains natural oils and can help polish the surface of your CD.
- Window Cleaner: A glass cleaner can remove smudges and give your CD a nice shine, but it's important to be gentle.
- Olive Oil or Vegetable Oil: These oils can fill in scratches and provide a smooth surface to help your CD read better.
- Soft Cloths: Always use a soft, lint-free cloth to apply any of these materials. Microfiber cloths work especially well!
Each of these items can help in its own way, so choose one that you have on hand and get ready to give your scratched CD a new lease on life!
Also Read This: Mastering the Art of Shooting a Football with Power and Precision
Step-by-Step Restoration Process
Now that you have your household items ready, let’s dive into the step-by-step process to restore your scratched CD. Follow these simple steps:
- Clean the CD: Start by rinsing the CD under lukewarm water to remove any dirt or dust. Dry it off with a soft cloth, wiping from the center outwards.
- Apply Your Chosen Item: Take your selected household item (like toothpaste). Squeeze a small amount onto the soft cloth and gently rub it onto the scratched area of the CD in straight lines, from the center outwards.
- Let it Sit: Allow the item to sit on the scratches for a couple of minutes. This will let it do its magic and fill in the scratches.
- Rinse and Dry: If you used toothpaste or any kind of cleaner, rinse the CD again under lukewarm water and dry it thoroughly with a soft cloth.
- Test the CD: Finally, pop the CD into your player and see if it plays smoothly. You may be surprised at how well it works!
And there you have it! With just a few simple steps and common household items, your scratched CD can be restored and ready for use again!
Also Read This: Building a Professional Brand Identity with 123RF
5. Tips for Successful Restoration
Restoring a scratched CD can be a bit of an art form, and a few handy tips can make all the difference between success and frustration. Here are some tried-and-true methods to enhance your chances of reviving that disc:
- Clean Before You Start: Always begin with a clean surface. Use a soft, lint-free cloth to wipe the CD from the center outwards. Avoid circular motions, as they can create more scratches.
- Test a Small Area: Whether you're using toothpaste or baking soda, test a small, inconspicuous area first. This way, you can ensure there’s no adverse reaction that could worsen the damage.
- Apply Pressure Gently: When applying your chosen abrasive (like toothpaste), use light pressure. You want to polish the scratch, not create new ones!
- Rinse Thoroughly: After applying any substance, rinse the CD under lukewarm water to remove all residues. Dry it completely with a soft cloth before testing it again.
- Use Distilled Water: If you're using water for rinsing, opt for distilled water. It’s pure and won’t leave mineral deposits that could interfere with playback.
By following these tips, you'll maximize your chances of bringing your scratched CD back to life!
Also Read This: How to Record YouTube TV and Save Your Favorite Shows and Movies
6. Preventing Future Scratches
Once you've successfully restored your CD, it’s equally important to protect it from future scratches. Here are some practical steps you can take to keep your discs in pristine condition:
- Store Properly: Always store CDs in their cases. This protects them from dust, dirt, and accidental scratches. If you’re transporting them, use padded CD wallets.
- Handle with Care: Hold CDs by the edges to avoid fingerprints and dirt on the surface. Remember, oils from your fingers can attract dust and grime!
- Avoid Direct Sunlight: Keep your CDs out of direct sunlight and extreme temperatures. UV rays can warp discs over time, and heat can cause them to become unplayable.
- Use a Soft Cloth: When cleaning, always use a soft cloth designed for optical discs. Avoid paper towels or rough materials that can scratch the surface.
- Keep Away from Pets: If you have pets, keep your CDs in a safe place. Curious paws can easily knock them down, leading to scratches or breaks.
By adopting these simple habits, you can significantly extend the life of your CDs and enjoy your favorite music and movies without interruption!
How to Restore a Scratched CD with Household Items
Scratched CDs can be a nuisance, leading to skipped tracks and interrupted playback. Fortunately, you don’t need to purchase expensive repair kits to restore your CDs. Many household items can help you fix minor scratches and improve the disc’s performance. Here’s a step-by-step guide on how to effectively restore a scratched CD using common items found around your home.
Materials Needed
- Toothpaste (non-gel, non-abrasive)
- Vegetable oil or olive oil
- Baking soda
- Soft microfiber cloth or cotton ball
- Water
Methods for Restoration
There are several methods you can employ to restore your scratched CD:
| Method | Instructions |
|---|---|
| Toothpaste Method |
1. Apply a small amount of toothpaste to the scratched area. 2. Gently rub the toothpaste in a straight line from the center to the edge. 3. Rinse with water and dry with a microfiber cloth. |
| Oil Method |
1. Dab a small amount of vegetable or olive oil on a cloth. 2. Rub it over the scratched area in a circular motion. 3. Wipe off excess oil with a clean cloth. |
| Baking Soda Paste |
1. Mix baking soda with water to create a paste. 2. Apply the paste to the scratched area and rub gently. 3. Rinse with water and dry with a soft cloth. |
After applying these methods, test the CD in your player to see if the restoration was successful. If the disc still has issues, you may need to repeat the process or try another method until you achieve the desired results.
Conclusion: Restoring a scratched CD using household items is a simple and cost-effective solution that can help prolong the life of your favorite discs, allowing you to enjoy your music and movies without interruptions.