Have you ever found yourself frustrated by the restrictions imposed by filters on Telegram? Whether you're trying to access certain channels or simply want to enjoy a more open messaging experience, removing these filters can make a significant difference. In this guide, we’ll walk you through the process of removing filters on Telegram, ensuring you can communicate freely and access all the content you desire. Ready to dive in? Let’s get started!
Understanding Telegram Filters
Before we jump into the nitty-gritty of removing filters, it’s essential to understand what they are and why they exist. Filters in Telegram can be set at various levels, including:
- Network Filters: These are imposed by your internet service provider (ISP) or local government, often restricting access to specific content within Telegram.
- Account Filters: Sometimes, users might accidentally enable certain settings within their Telegram accounts that limit what they can see or access.
- Bot Filters: Some bots or channels might have their own filters that prevent certain users from accessing specific messages or features.
Understanding these types of filters is crucial because the method to remove them can vary. Here’s a closer look at how each one impacts your Telegram experience:
| Type of Filter | Impact on Telegram Use | Example |
|---|---|---|
| Network Filters | Can block entire channels or functionalities. | Accessing Telegram in countries with heavy censorship. |
| Account Filters | Limits visibility of messages and channels you can join. | Accidentally disabling notifications for a group chat. |
| Bot Filters | May restrict user interactions with specific bots or channels. | A bot that doesn’t allow certain users to post. |
By understanding these filters, you'll be better equipped to tackle the issue and regain full access to your Telegram experience. Let’s explore the solutions next!
Also Read This: Licensing Adobe Stock Images: Cost Breakdown
Steps to Disable Content Filters
Removing content filters from Telegram is straightforward, but it requires a few steps to ensure you're accessing the app without restrictions. Whether you're using a mobile device or a desktop version, the process is quite similar. Here’s how you can do it:
- Open Telegram: Start by launching the Telegram app on your device.
- Go to Settings: Tap on the three horizontal lines in the top left corner (menu icon) or directly on the "Settings" gear icon.
- Privacy and Security: Scroll down and select the “Privacy and Security” option. This section contains various settings that pertain to the app’s security features.
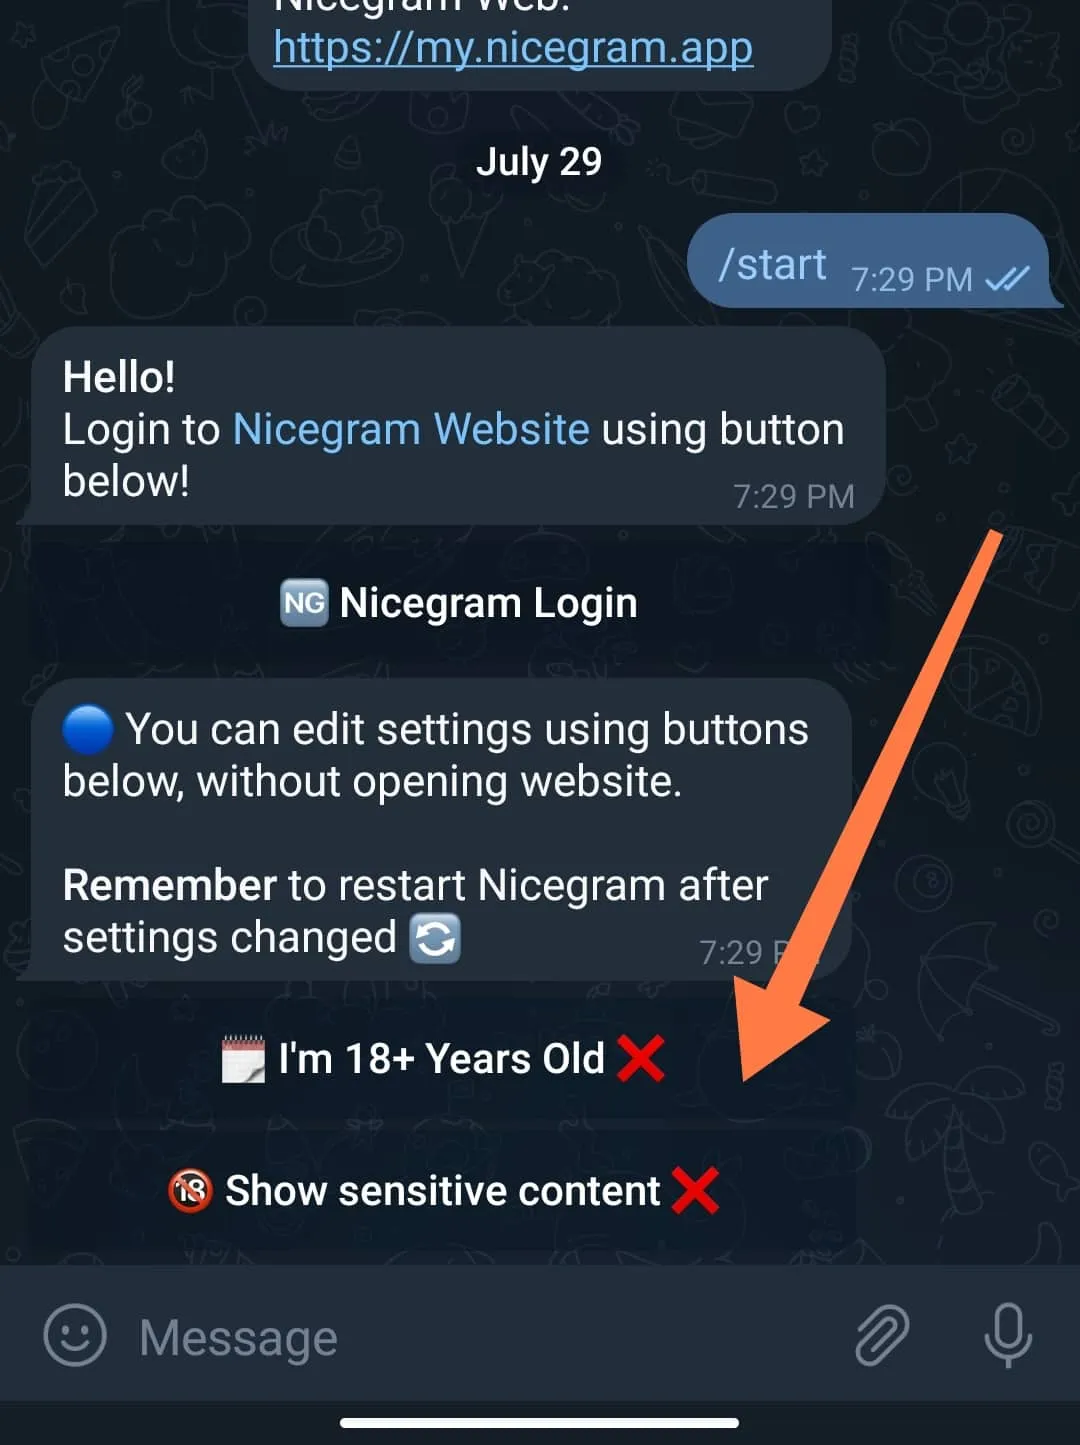
- Content Filtering: Look for an option labeled “Content Filtering.” If you see this option active, you can proceed to disable it.
- Toggle Off: Simply toggle the switch off to disable the filters. You might see a prompt asking for confirmation; click “Yes” to proceed.
- Restart Telegram: After making changes, close the app and reopen it to ensure the settings have taken effect.
By following these steps, you should have successfully disabled any content filters, allowing unrestricted access to channels and groups.
Also Read This: How to Get Hired by Getty Images Insider Tips for Aspiring Photographers
Verifying Filter Removal
Once you’ve disabled the content filters, it’s important to verify that the changes have been applied correctly. Here’s how you can do that:
- Access Restricted Content: Try to access a channel or group that was previously restricted due to filters. If you can view the content, the removal was successful.
- Check Settings Again: Go back to the “Privacy and Security” settings and ensure the content filtering option remains toggled off.
- Update Telegram: Make sure your app is updated to the latest version, as older versions may have bugs that affect settings. You can check for updates in your app store.
- Connect with Others: Sometimes, reaching out to friends or users in Telegram can help confirm if they are experiencing any filters. If they are not, then you have successfully removed yours!
If you still encounter issues after following these steps, consider restarting your device or reinstalling the app for a clean slate.
Also Read This: Enhancing Content Visibility through Keyword Optimization in iStock Searches
Troubleshooting Common Issues
Encountering problems while trying to remove filters from Telegram can be frustrating. Don’t worry; here are some common issues and their solutions to help you navigate through them smoothly.
- Issue 1: Filters Not Removing
Sometimes, you might find that even after following the steps, the filters are still applied. This can happen due to a temporary glitch in the app. Try restarting Telegram or clearing its cache:- Go to your device’s settings.
- Select "Apps" and find Telegram.
- Tap on "Storage" and then choose "Clear Cache."
- Issue 2: App Not Updating
If Telegram isn’t up to date, it might not function as expected. Make sure you have the latest version installed from your app store, as updates often fix bugs and improve performance. - Issue 3: VPN or Proxy Problems
If you're using a VPN or proxy, it might interfere with Telegram's functionality. Try disabling these services temporarily to see if that resolves the issue. - Issue 4: Account Restrictions
Sometimes, account restrictions imposed by Telegram can hinder your ability to remove filters. Ensure your account is in good standing and hasn’t been reported for any violations.
By addressing these issues, you can have a smoother experience with Telegram and effectively manage filters!
Conclusion
In wrapping up, removing filters from Telegram is generally straightforward, but troubleshooting can sometimes be necessary. Remember, it’s all about knowing the right steps and being patient. Here’s a quick recap:
- Understand what filters are and why they might be in place.
- Follow specific procedures to remove them based on your device.
- Use the troubleshooting tips to resolve any issues that arise.
By following the steps outlined in this post, you can enjoy a more open and unrestricted Telegram experience. If you ever run into problems, refer back to the troubleshooting section for quick solutions. Happy messaging!