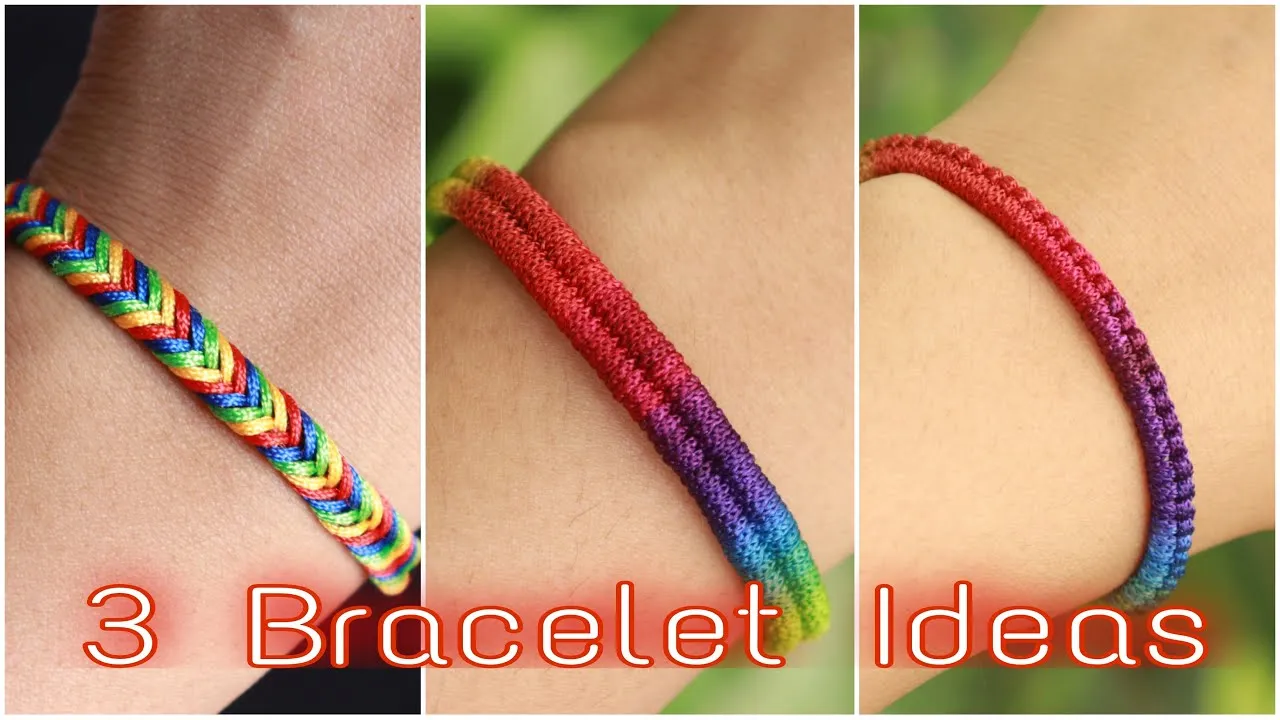
Thread bracelets are not just accessories; they’re a form of self-expression and creativity! Whether you're looking to make a statement or simply enjoy a fun DIY project, these bracelets are perfect for everyone, from beginners to seasoned crafters. With a myriad of colors and patterns to choose from, you can create unique pieces that reflect your personal style or even gift them to friends and family. Plus, making thread bracelets can be a therapeutic activity, allowing you to unwind and focus on your imaginative side.
Materials Needed for Your Bracelet
Before diving into the world of thread bracelets, it's essential to gather your materials. Here’s a handy list of what you'll need:
- Embroidery Floss: Choose a variety of colors. Each skein of embroidery floss typically contains six strands; you can separate them for different effects.
- Scissors: A good pair of scissors is necessary for cutting your threads cleanly.
- Measuring Tape: To ensure the right length for your wrist or the desired bracelet size.
- Clips or Tape: This will help secure your bracelet while you work on it. You can use a clipboard, masking tape, or safety pins!
- Beads (Optional): If you want to add a little sparkle, having some beads on hand can enhance your design.
- Glue (Optional): For securing knots or adding beads securely, a little fabric glue can go a long way.
Once you have all your materials ready, you’re all set to embark on this colorful journey of bracelet-making! Enjoy the process, and don’t be afraid to experiment with different styles and techniques.
Also Read This: Managing Your EyeEm Photos: Deletion and Organization
3. Step-by-Step Instructions for Making Thread Bracelets
Making thread bracelets is not just a fun activity; it’s also a great way to express your creativity! Follow these step-by-step instructions to create your own stunning thread bracelet.
- Gather Your Materials: You’ll need:
- Embroidery thread (in your favorite colors)
- Scissors
- A clipboard or tape to hold your bracelet in place
- A ruler for measuring
- A lighter (optional, for sealing the ends)
And voila! Your beautiful thread bracelet is ready to wear or gift to a friend!
Also Read This: Guide to Installing Drivers on Windows 7 from a CD
4. Tips for Designing Unique Bracelets
Creating unique thread bracelets is all about letting your imagination run wild! Here are some handy tips to help you design bracelets that stand out:
- Explore Color Combinations: Use a color wheel to find complementary colors that will make your bracelet pop. Think about using 2-3 main colors with a contrasting accent.
- Incorporate Beads: Adding beads can add sparkle and texture. You can thread beads onto your strings before you start knotting or braiding.
- Experiment with Patterns: Try different knotting techniques, like the chevron or spiral patterns. You can find tutorials online that can guide you through intricate designs.
- Mix Thread Thickness: Combine different thicknesses of thread for a varied look. This can add dimension and uniqueness to your bracelet.
- Personal Touches: Consider adding charms or initial pendants. These small elements can make your bracelet truly one-of-a-kind!
Remember, the key to designing unique bracelets is to have fun and not be afraid to experiment!
Also Read This: Design Housewarming Invitations with Canva House Warming Template
Common Mistakes to Avoid
Creating thread bracelets can be a fun and rewarding experience, but it’s easy to run into some hiccups along the way. Let’s discuss some common mistakes that beginners often make and how to avoid them for a smoother crafting journey.
- Using the Wrong Thread: Choosing a thread that's too thick or too thin can affect the overall look and durability of your bracelet. Aim for embroidery thread or similar, as these provide the right thickness and variety of colors.
- Not Securing Your Knots: If your knots aren’t tight, your bracelet can unravel. Always double-check your knots, and don’t hesitate to add a drop of fabric glue for extra security.
- Skipping Measurements: Before you start, measure your wrist and cut the thread accordingly. A common mistake is to underestimate how much thread you’ll need, leading to a bracelet that’s too tight or too loose.
- Ignoring Pattern Consistency: If you’re following a pattern, consistency is key. Make sure to keep track of your colors and sequences to ensure a cohesive design throughout.
- Neglecting to Plan Ahead: It’s always a good idea to sketch out your design beforehand. This can save you from frustration and help you visualize how your bracelet will turn out.
By being mindful of these pitfalls, you'll be well on your way to crafting beautiful thread bracelets with ease!
Conclusion and Final Thoughts
Making thread bracelets is not just a creative outlet; it’s also a wonderful way to express your personal style and share handmade gifts with friends and family. Whether you’re a complete beginner or someone looking to refine their skills, this DIY guide equips you with the essential tips you'll need.
Here’s a quick recap of what we covered:
- Gathering Your Materials: Start with the right tools and threads to ensure a successful crafting session.
- Understanding Techniques: Familiarize yourself with various knotting techniques to create different styles.
- Being Creative: Don’t shy away from experimenting with colors and patterns!
As you embark on your bracelet-making adventure, remember to enjoy the process. It’s all about creativity, patience, and a little bit of practice. Share your creations with others and inspire them to join the fun! Happy crafting!