Are you tired of spending a fortune at salons for hair removal? Well, you’re in luck! In this blog post, we’re diving into the world of DIY beauty by exploring how to make sugar wax right in the comfort of your home. Sugar waxing is not only a natural alternative to traditional waxing methods, but it's also super easy to make with just a few simple ingredients. Whether you’re a waxing pro or a newbie, this guide will walk you through every step. Let’s get started!
What is Sugar Wax?
So, what exactly is sugar wax? Simply put, sugar wax is a natural hair removal method made from sugar, water, and lemon juice. Unlike traditional wax, which can be harsh on the skin, sugar wax is gentle and suitable for all skin types. It's an ancient technique that has been used for centuries in various cultures for its effectiveness and skin-friendly properties.
Here are some key points about sugar wax:
- Natural Ingredients: Made from just sugar, lemon juice, and water, it’s free of harsh chemicals.
- Easy to Make: With just a few ingredients and some kitchen tools, you can whip up a batch in no time.
- Eco-Friendly: Sugar wax is biodegradable and doesn’t contribute to environmental waste like many store-bought products.
- Less Painful: Many users find sugar waxing to be less painful than traditional waxing because it adheres only to hair and dead skin, not live skin.
- Exfoliating Properties: The sugar acts as a natural exfoliant, leaving your skin smooth and soft.
Overall, sugar wax is a fantastic DIY option for those looking to manage unwanted hair naturally and affordably. Ready to give it a try? Let’s learn how to make it!
Also Read This: How to Embed Instagram Post on Behance
3. Benefits of Using Sugar Wax
When it comes to hair removal, sugar waxing has gained popularity for several compelling reasons. Not only is it a natural alternative to traditional waxing, but it also comes with a range of benefits that make it a favorite among many. Let’s dive into some of these perks!
- Natural Ingredients: Sugar wax is made from just a few simple ingredients: sugar, water, and lemon juice. This means you can avoid the harsh chemicals often found in commercial waxing products.
- Less Painful: Many users report that sugar waxing is less painful than regular waxing. The sugar paste only adheres to the hair, not the skin, which can make the process more comfortable.
- Easy Cleanup: Since sugar wax is water-soluble, you can easily clean up any mess with just warm water. No more sticky residue to deal with!
- Exfoliation: When you use sugar wax, it can also act as a gentle exfoliant. This helps to remove dead skin cells, leaving your skin feeling smooth and refreshed.
- Longer-lasting Results: Like traditional waxing, sugar waxing pulls hair out from the root, which means you can enjoy smoother skin for a longer time, typically around 3-6 weeks.
- Cost-effective: Making sugar wax at home is not only easy but also budget-friendly. You can whip up a batch for a fraction of the cost of salon waxing.
All these benefits make sugar waxing a fantastic option for anyone looking to achieve smooth, hair-free skin in a natural and gentle way!
Also Read This: Mastering Blocking Techniques in My Hero Rumble
4. Ingredients Needed for Sugar Wax
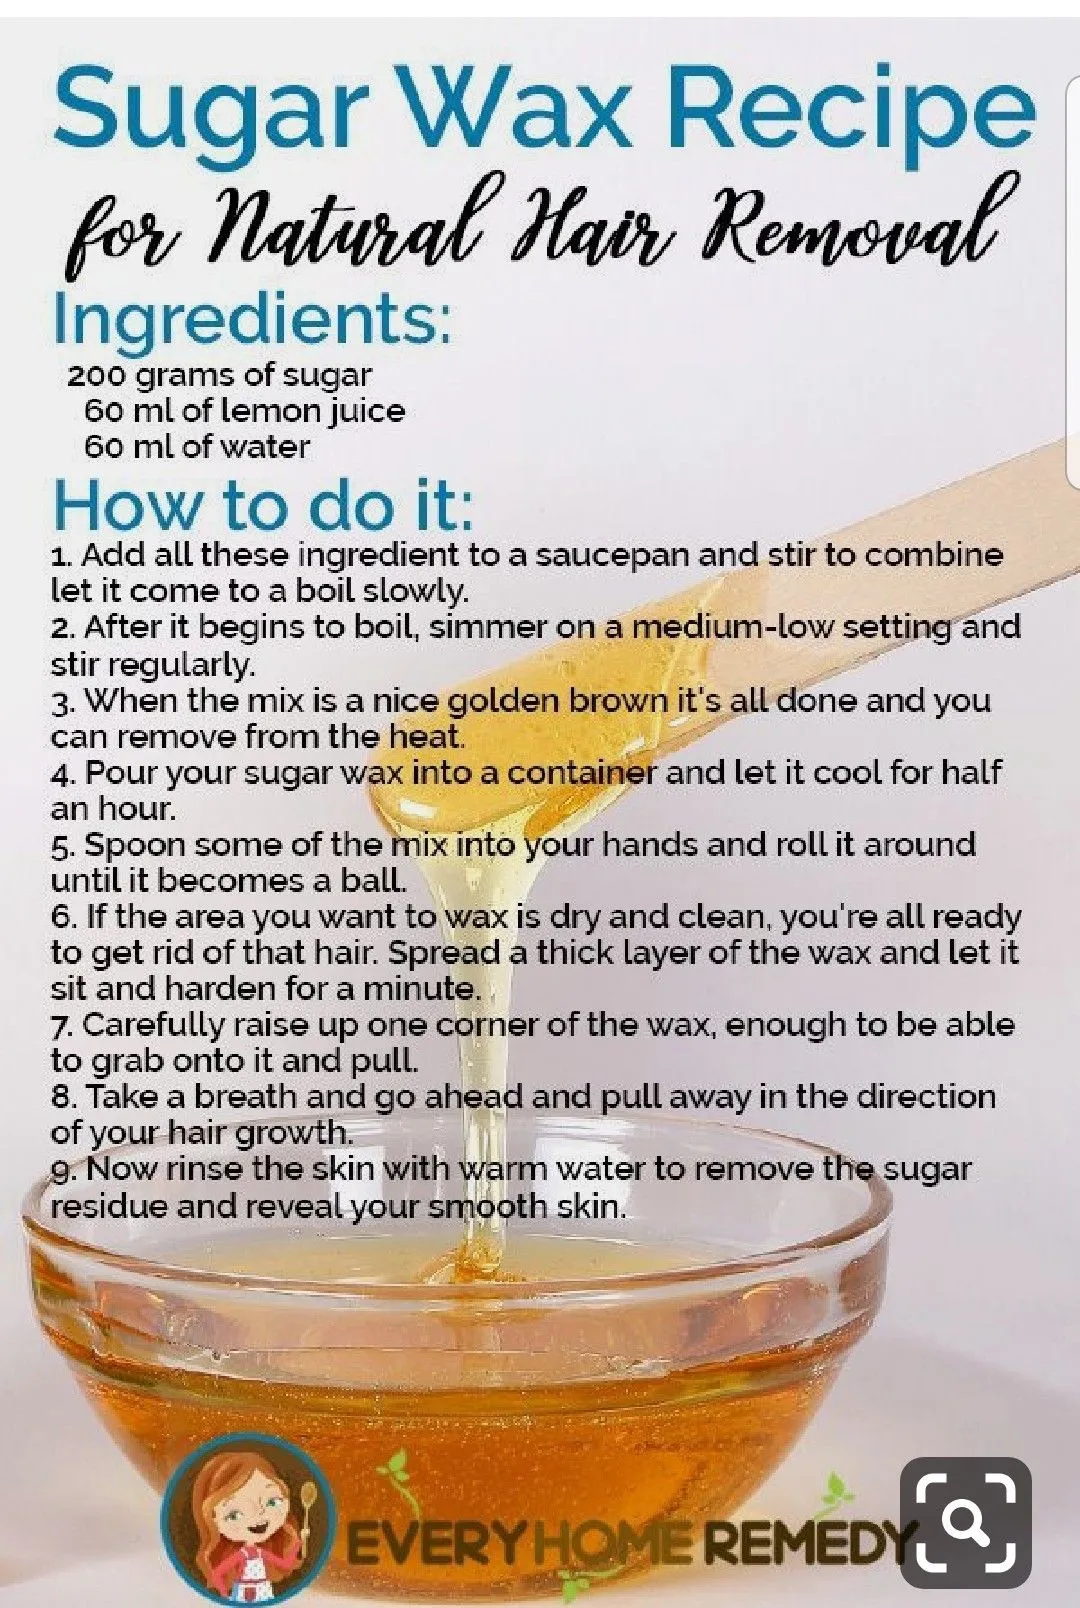
Before you dive into making your own sugar wax, it’s essential to gather the necessary ingredients. The beauty of this DIY sugar wax recipe is how simple and accessible it is. Here’s what you’ll need:
| Ingredient | Quantity |
|---|---|
| Sugar | 2 cups |
| Water | 1/4 cup |
| Lemon Juice | 1/4 cup |
Now, let’s break it down:
- Sugar: Granulated sugar is the main ingredient and provides the sticky consistency needed for effective hair removal.
- Water: This helps to dissolve the sugar, contributing to the syrupy texture.
- Lemon Juice: Not only does lemon juice add a touch of acidity that helps in the caramelization process, but it also brings natural antibacterial properties to the mix.
And there you have it! With these three simple ingredients, you’re well on your way to creating your very own sugar wax at home. Happy waxing!
Also Read This: Extracting Audio from YouTube Videos Using Online Tools
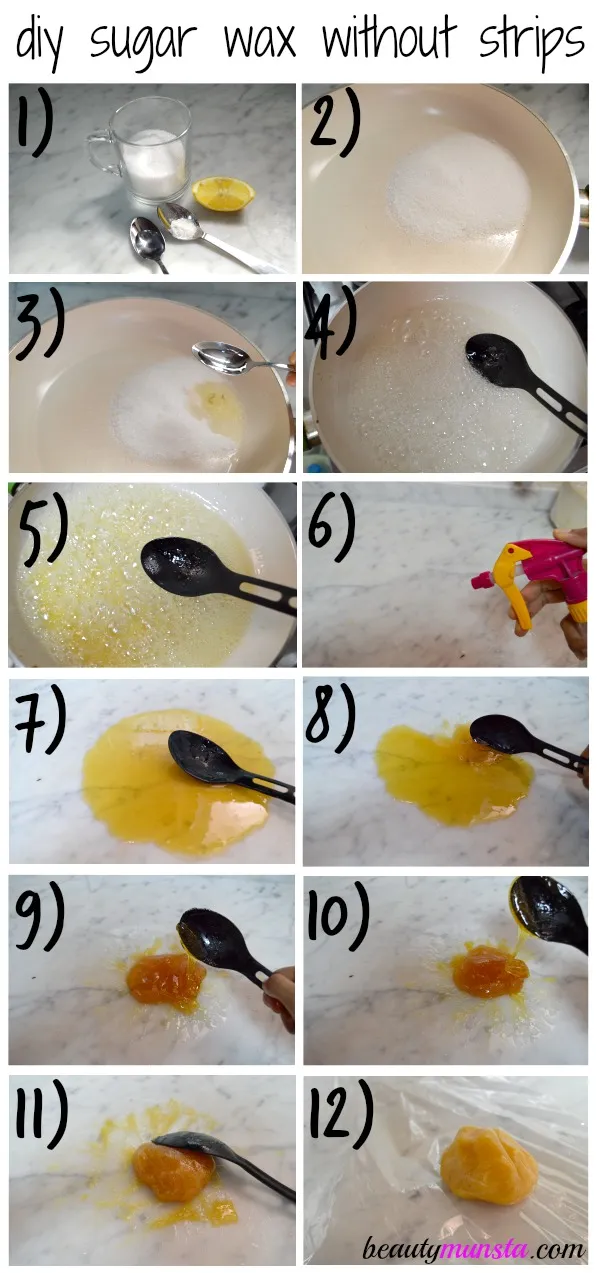
Step-by-Step Guide to Making Sugar Wax
Making sugar wax at home is not only simple but also fun! With just a few ingredients and a little patience, you can whip up your own sugar wax in no time. Let’s dive into the step-by-step process!
- Gather Your Ingredients: You will need:
- 2 cups of granulated sugar
- ¼ cup of water
- ¼ cup of lemon juice (freshly squeezed is best)
And there you have it! Your very own sugar wax ready for use!
Also Read This: Financial Wisdom: How to Invest in Adobe Stock
Tips for Successful Sugar Waxing
Now that you’ve made your sugar wax, let’s make sure you get the best results when using it. Here are some handy tips to keep in mind:
- Prep Your Skin: Always start with clean, dry skin. Exfoliate a day prior to waxing to remove dead skin cells, which can help the wax adhere better.
- Use the Right Temperature: Ensure that your wax is warm but not scalding hot. Test it on your wrist to find a comfortable temperature.
- Apply in the Right Direction: When applying the wax, spread it in the direction of hair growth. This helps the wax grip the hair better.
- Pull Against Hair Growth: When removing the wax, pull it off quickly in the opposite direction of hair growth. This minimizes pain and increases effectiveness.
- Don’t Rush: Take your time! Rushing can lead to mistakes or discomfort. Enjoy the process!
- Moisturize After Waxing: After you’re done, apply a soothing lotion or aloe vera gel to calm the skin. This can help reduce irritation.
By following these tips, you’ll enhance your sugar waxing experience and enjoy smooth, hair-free skin!
Also Read This: How to Add Interests on LinkedIn to Showcase Your Passions
How to Use Sugar Wax for Hair Removal
Using sugar wax for hair removal is not only a natural method but also a surprisingly simple one. Here’s a step-by-step guide to help you get the most out of your sugar waxing experience:
- Preparation: Start by ensuring your skin is clean and dry. Exfoliate a day prior to remove dead skin cells, which will help prevent ingrown hairs.
- Heat the Wax: If your sugar wax has cooled down, gently warm it up in the microwave for a few seconds. It should be warm but not hot.
- Application: Scoop a small amount of sugar wax using your fingers or a spatula. Apply it against the direction of hair growth in a thick layer where you want to remove hair.
- Remove the Wax: Allow the wax to sit for a few seconds to adhere to the hair. Then, swiftly pull the wax away in the direction of hair growth. This helps minimize pain and reduces the likelihood of breakage.
- Repeat: Continue the process until you have removed hair from the desired area. You might need to reheat the wax or apply more as you go.
- Clean Up: Any residue can be washed off with warm water, as sugar wax is water-soluble.
And just like that, you’ve successfully used sugar wax for hair removal! It’s a great way to achieve smooth skin without the harsh chemicals often found in commercial waxes.
Also Read This: Simple Hacks to Remove Scratches from Your Mobile Screen
Aftercare Tips for Smooth Skin
Once you’ve finished waxing, taking care of your skin is essential for maintaining that smooth, hair-free glow. Here are some aftercare tips to keep your skin happy:
- Moisturize: Use a gentle moisturizer or natural oils like coconut oil on the waxed area to hydrate and soothe the skin.
- Avoid Heat: For at least 24 hours, steer clear of hot showers, saunas, or intense workouts. Heat can irritate the skin post-waxing.
- Exfoliate: After a few days, start exfoliating gently to prevent ingrown hairs. Use a soft cloth or an exfoliating scrub.
- Keep it Clean: Avoid applying any heavy creams, fragrances, or lotions for the first 24 hours to minimize irritation.
- Sun Protection: If you plan to be outdoors, apply sunscreen to the waxed area. Newly waxed skin can be sensitive to the sun.
By following these aftercare tips, you can enjoy smooth skin for longer and avoid any post-waxing issues!
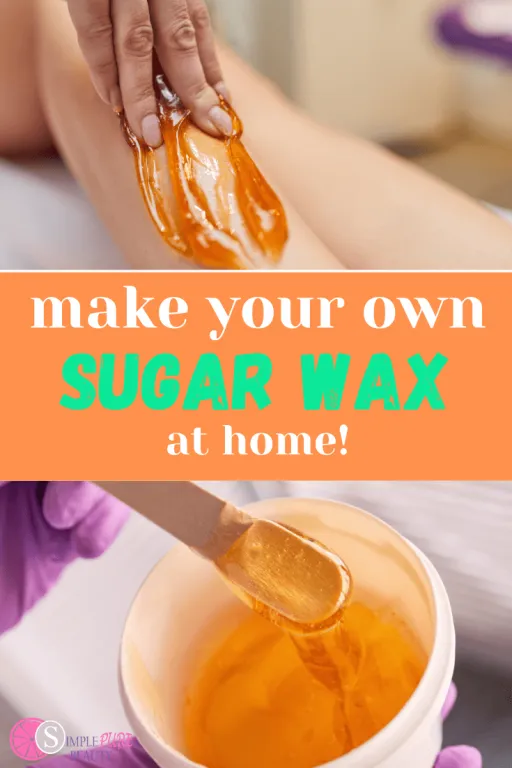
How to Make Sugar Wax at Home with This Easy DIY Tutorial
Sugar waxing is a natural and effective method for hair removal that you can easily do at home. This DIY tutorial will guide you through the process of making your own sugar wax using simple ingredients. Not only is it cost-effective, but it’s also an eco-friendly alternative to traditional waxing methods.
Ingredients Needed
- 2 cups of granulated sugar
- 1/4 cup of lemon juice
- 1/4 cup of water
Equipment Required
- A medium-sized pot
- A wooden spoon or spatula
- A candy thermometer (optional)
- A heatproof container for storage
Step-by-Step Instructions
- Combine Ingredients: In a medium-sized pot, add the sugar, lemon juice, and water. Stir the mixture until the sugar is fully dissolved.
- Heat the Mixture: Place the pot over medium heat. Allow the mixture to boil without stirring. If using a candy thermometer, aim for a temperature of 240°F (115°C).
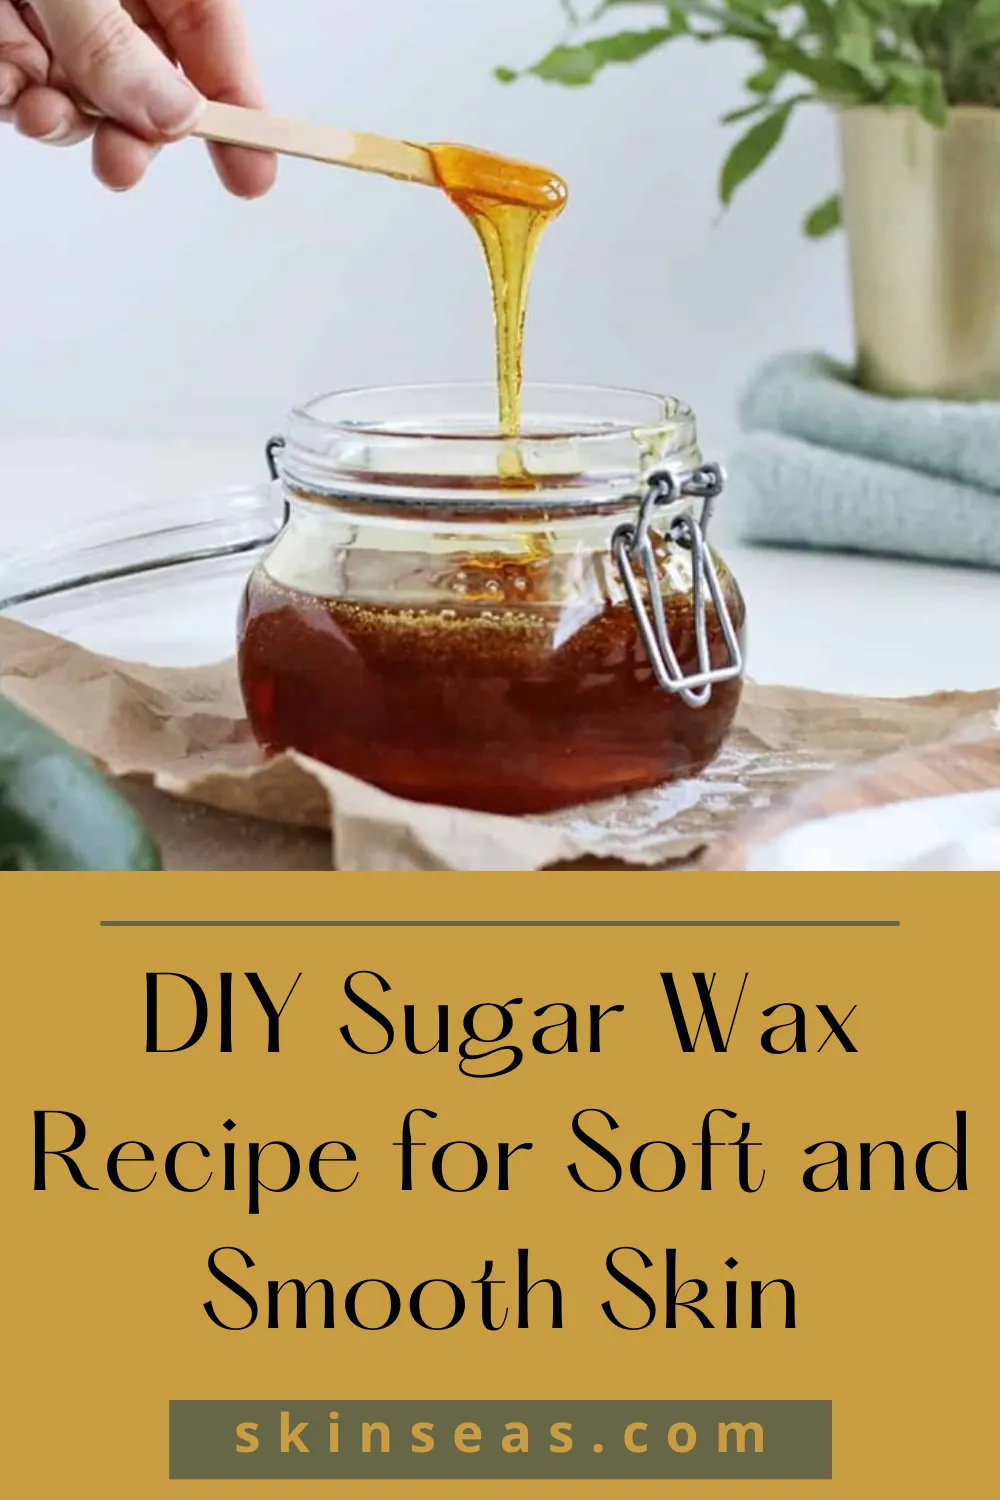
- Check Consistency: After about 10 minutes, check the consistency. The mixture should turn a golden amber color and have a thick syrup-like texture.
- Cool Down: Once done, remove the pot from heat and let it cool for a few minutes. Then pour it into a heatproof container. Allow it to cool completely before use.
How to Use Sugar Wax
To use sugar wax, take a small amount and knead it until it becomes pliable. Apply it to the desired area in the opposite direction of hair growth, then quickly pull it off in the direction of hair growth. Make sure to test the temperature before applying it to your skin.
Benefits of Sugar Waxing
| Benefit | Description |
|---|---|
| Natural Ingredients | Made from sugar, water, and lemon juice, making it safe for sensitive skin. |
| Less Painful | Adheres to hair rather than skin, resulting in less discomfort during hair removal. |
| Eco-Friendly | Biodegradable and free from harsh chemicals found in many commercial products. |
In conclusion, making sugar wax at home is a straightforward, economical, and natural way to achieve smooth skin. With just a few simple ingredients and steps, you can enjoy the benefits of effective hair removal without the need for expensive salon treatments.