Paper crafts are a delightful way to unleash your creativity, offering a hands-on approach to art and design. Whether you're a seasoned artist or a curious beginner, paper crafting invites you to transform simple sheets of paper into beautiful works of art. From origami to scrapbooking, the possibilities are endless! Not only is it a fun hobby, but it also provides an excellent opportunity to unwind and express your thoughts and emotions visually.
What makes paper crafts so appealing is their accessibility. You don't need a lot of fancy materials or equipment to get started—just some basic supplies and a little imagination! Plus, it's a fantastic way to recycle old paper, giving new life to something that might otherwise end up in the trash. In this blog post, we'll explore essential materials you need to kick off your paper crafting journey and some easy techniques to get you started. So, grab your scissors and glue, and let’s dive into the wonderful world of paper crafts!
Essential Materials for Paper Crafting
Before you embark on your paper crafting adventure, it's crucial to have the right tools and materials at your disposal. Here’s a list of essential items that will make your crafting experience smooth and enjoyable:
- Paper: The heart of any paper craft! You can use various types, including construction paper, cardstock, origami paper, and even recycled paper.
- Scissors: A good pair of scissors is essential for cutting paper accurately. Consider getting a pair with a pointed tip for intricate designs.
- Glue: Whether you prefer liquid glue, glue sticks, or double-sided tape, having a reliable adhesive is key to sticking your creations together.
- Ruler: A ruler helps you measure and cut straight lines, ensuring your projects look neat and professional.
- Pencil and Eraser: These come in handy for sketching designs before you cut or glue anything.
- Craft Knife: For more detailed cuts, a craft knife can be a great addition to your toolkit. Just be sure to use it safely!
- Cutting Mat: Protect your surfaces and keep your blades sharp with a self-healing cutting mat.
- Embellishments: Think stickers, washi tape, glitter, and other decorative items to add flair to your projects.
Having these basic materials will set you up for success in your paper crafting endeavors. Remember, the best part about paper crafts is that you can always experiment and add your personal touch to whatever you create!
Also Read This: How to Browse LinkedIn in Private Mode and Stay Anonymous
Simple Techniques for Paper Manipulation
When it comes to working with paper, mastering a few simple techniques can make your crafting experience much smoother and more enjoyable. Here are some essential methods to get you started:
- Folding: One of the most basic yet crucial techniques. Whether you're making origami or simple card designs, precise folds can elevate your project. Always use a bone folder for sharp creases.
- Cutting: A good pair of scissors or a craft knife can work wonders. For straight lines, consider using a paper trimmer. Remember to cut on a self-healing mat to preserve your surfaces!
- Scoring: This technique involves making a shallow cut to create a fold line. It’s especially useful for thicker papers. Use a scoring tool or the back of your craft knife for best results.
- Gluing: A reliable adhesive is key. White glue works well for most projects, but double-sided tape can offer a cleaner finish. Always apply glue sparingly to avoid mess.
- Layering: Don’t be afraid to mix different paper textures and colors! Layering can add depth and interest to your crafts. Consider using patterned paper, cardstock, or even recycled materials.
By practicing these techniques, you'll find that your confidence and skills in paper manipulation will grow exponentially. The more you play around with these methods, the more creative you can become!
Also Read This: Detailed Earnings for Pictures on Shutterstock
Step-by-Step Guide to Creating Paper Crafts
Ready to dive into the world of paper crafts? Here’s a simple step-by-step guide to creating your very own paper masterpiece. Let’s get started!
- Choose Your Project: Decide what you want to create. It could be a greeting card, paper flowers, or even a decorative box.
- Gather Your Materials: Collect all necessary supplies. You’ll typically need:
| Material | Purpose |
|---|---|
| Paper | Base material for your craft |
| Scissors | Cutting shapes and designs |
| Glue | Adhering pieces together |
| Markers/Decorative Items | Adding finishing touches |
- Sketch Your Design: Before cutting, sketch your ideas on a piece of scrap paper. This helps visualize the final product.
- Cut and Assemble: Carefully cut out your pieces and start assembling them according to your design.
- Add Details: Use markers, stickers, or other embellishments to make your craft pop!
- Final Touches: Once everything is glued and set, take a moment to review your work. Trim any uneven edges for a polished look.
And there you have it! You’re well on your way to creating stunning paper crafts. Remember, practice makes perfect, so don't hesitate to experiment and have fun with your projects!
Also Read This: Can You Use YouTube TV in Multiple Locations at Once
5. Tips for Personalizing Your Paper Creations
When it comes to making paper things, personalizing your creations can take them from ordinary to extraordinary. Here are some tips to help you add your unique touch to your paper projects:
- Choose Your Colors Wisely: Colors can evoke emotions and set the tone for your creation. Consider using a color palette that resonates with you. You can also use color theory to make your designs more appealing.
- Incorporate Textures: Mixing different types of paper can add depth to your projects. Think about using textured cardstock, tissue paper, or even fabric scraps to create interesting layers and effects.
- Add Personal Messages: Whether it’s a heartfelt note or a funny quote, including personalized text can make your creation truly special. Use your own handwriting for a more personal touch, or print out a favorite saying.
- Utilize Stamps and Stickers: Stamps and stickers can easily add flair to your paper creations. Look for designs that reflect your personality or the theme of your project. You can even create your own stamps for a truly unique touch!
- Experiment with Shapes: Don’t feel confined to standard shapes! Try cutting your paper into unique silhouettes or layering different shapes to create a visually interesting composition.
- Incorporate Photos: Adding personal photos can make your paper creations more meaningful. Whether it’s a scrapbook, card, or wall art, including images of loved ones or cherished memories can create a lovely personal connection.
By applying these tips, your paper creations will not only reflect your style but also tell your unique story, making them perfect for gifts or personal keepsakes.
6. Conclusion and Inspiration for Future Projects
As we wrap up our exploration into the world of paper creations, it’s clear that the possibilities are endless! Whether you’re crafting a simple card or an elaborate scrapbook, the key is to let your creativity flow. Remember, the journey is just as important as the final product. Here are a few inspirational ideas to spark your next project:
| Project Idea | Description |
|---|---|
| Customized Greeting Cards | Create cards for different occasions, experimenting with various styles, colors, and personal messages. |
| Scrapbook Pages | Compile your favorite memories into a scrapbook, using decorative paper, photos, and embellishments. |
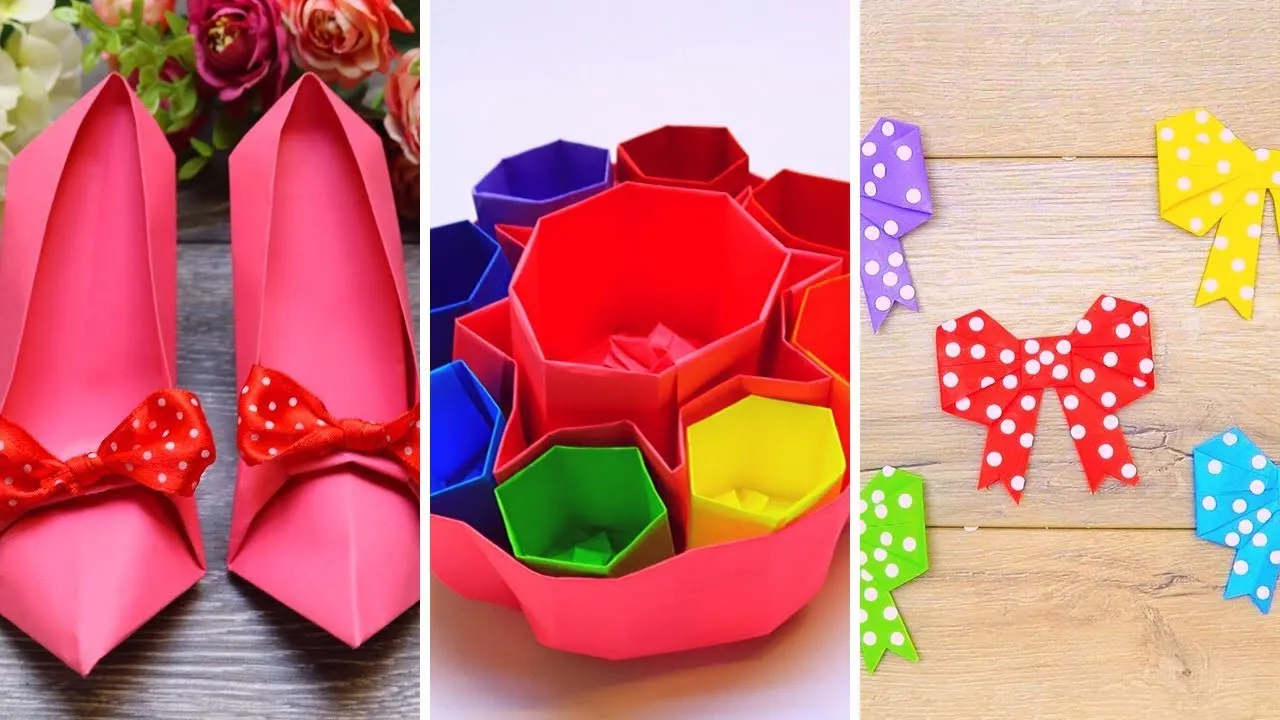
| Paper Flowers | Craft stunning paper flowers that can brighten up any space; perfect for home decor or gifts. |
| Gift Wrap | Make your own personalized gift wrap using stamps, drawings, or collages that reflect the recipient's interests. |
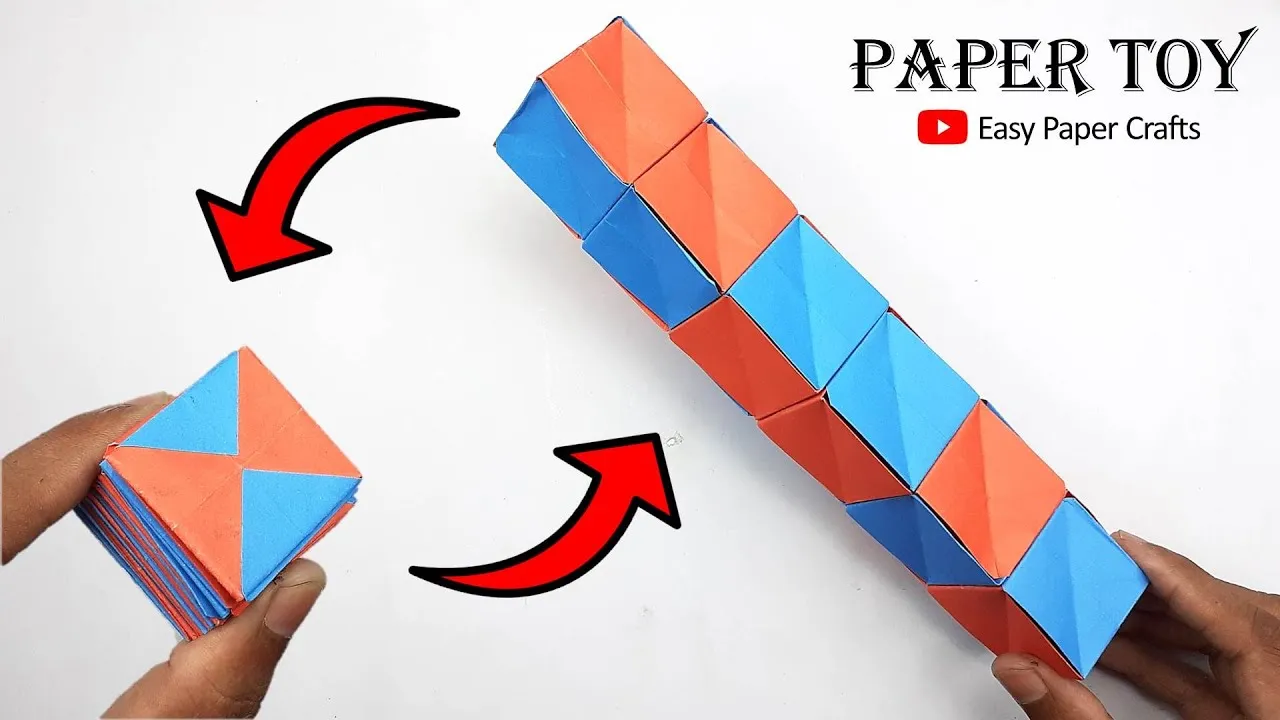
| Origami Art | Explore the world of origami to create intricate designs, from simple cranes to elaborate sculptures. |
So, gather your supplies, unleash your imagination, and dive into your next paper project. Remember, every creation is a chance to express yourself, so enjoy the process and let your personality shine through!