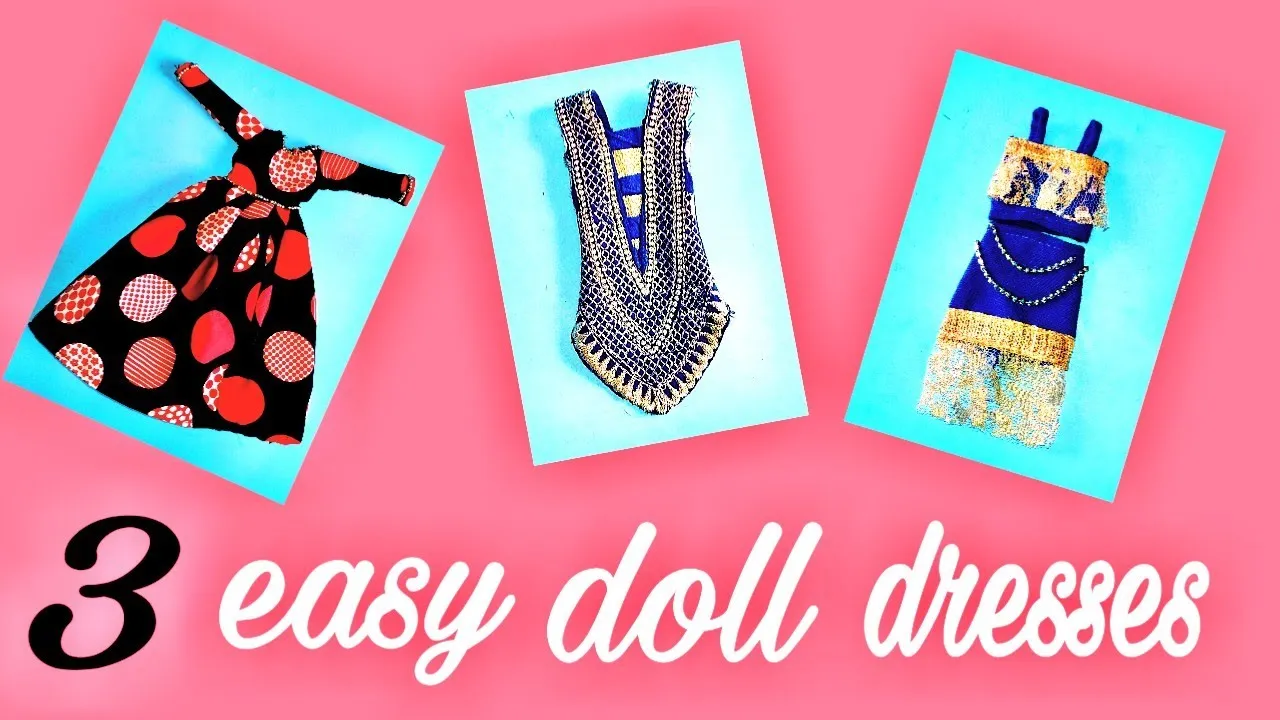
Creating adorable DIY dresses for dolls is a delightful way to express your creativity and add a personal touch to your doll collection. Whether you're making outfits for a special occasion or just for fun, dressing up dolls can be a rewarding experience. In this guide, we'll walk you through the basic materials you'll need and provide some handy tips to help you get started on your sewing journey. Let's dive into the world of doll fashion!
Materials Needed
Before you start crafting those cute dresses, it's essential to gather all the necessary materials. Having everything at your fingertips makes the process smoother and more enjoyable. Here’s a comprehensive list of what you'll need:
- Fabric: Choose lightweight cotton, felt, or any fabric that catches your eye. Patterns like florals, polka dots, or stripes can add charm to your doll's outfit.
- Sewing Kit: This should include needles, thread, scissors, and pins. It's always a good idea to have a variety of thread colors to match your fabric!
- Measuring Tape: Accurate measurements ensure a perfect fit. A flexible measuring tape works best for this task.
- Patterns: You can either create your own or find free templates online. Patterns help guide your cutting and sewing.
- Elastic: This is useful for creating fitted bodices or waistbands. It helps the dress to stay snug on the doll.
- Buttons or Velcro: For closures, you can use buttons for a classic look or Velcro for ease of dressing.
- Embellishments: Think lace, ribbons, or sequins! These can add an extra flair to your custom creations.
- Iron and Ironing Board: Pressing your fabric can make a significant difference in the final look of the dress.
With these materials in hand, you're all set to unleash your creativity and start making some fabulous dresses for your dolls!
Also Read This: Can You Get Hacked Through the Telegram App and Precautions to Take
Basic Sewing Techniques
Creating adorable DIY dresses for dolls can be a delightful adventure, and mastering a few basic sewing techniques will make the process even more enjoyable. Whether you're a seasoned seamstress or a complete novice, these techniques will help you craft beautiful outfits with ease.
- Threading the Needle: Before starting any project, it's crucial to know how to thread your needle properly. Cut a length of thread, about 18 inches, and thread it through the needle's eye, pulling it until there’s an even length on both sides. You can tie a knot at the end of the thread to secure it.
- Running Stitch: This simple stitch is perfect for gathering fabric or securing hems. To create a running stitch, simply push the needle in and out of the fabric at regular intervals. Keep your stitches even for a polished look!
- Backstitch: For a stronger seam, the backstitch is your best friend. Instead of going in and out, you'll go back one stitch and then forward, creating a tight, durable seam that's perfect for dress bodices.
- Hemming: To finish the edges of your dress and prevent fraying, a hem is essential. Fold the fabric edge up about ¼ inch, press it flat, and sew it down with a straight stitch or a zigzag stitch.
- Gathering: This technique will add volume to your dress. Simply sew a long running stitch along the top edge of the fabric, then pull the threads gently to bunch the fabric together. This creates a lovely ruffled effect!
With these basic techniques under your belt, you're well on your way to creating stunning dresses for your dolls. Remember, practice makes perfect, so don't hesitate to try out these stitches on scrap fabric before diving into your main project!
Also Read This: Can I See Who Liked My YouTube Video
Simple Dress Designs
Now that you've got the basic sewing techniques down, let’s dive into some simple dress designs that will bring your doll’s wardrobe to life. These designs are not only easy to make but also incredibly cute!
| Dress Design | Description | Materials Needed |
|---|---|---|
| T-Shirt Dress | A casual and comfy dress made from stretchy fabric, perfect for playtime! | Soft knit fabric, thread, scissors, and a sewing machine. |
| Sun Dress | A light and airy dress ideal for summer, featuring thin straps and a flared skirt. | Cotton fabric, thread, elastic (for straps), and a sewing machine. |
| Half Apron Dress | A playful dress with a built-in apron, great for imaginative cooking adventures! | Colorful fabric, thread, buttons (optional), and scissors. |
| Balloon Dress | A fun, puffy design that gives your doll a whimsical look, perfect for parties! | Stiff fabric (like tulle), thread, and a sewing machine. |
Each of these designs can be customized with different fabrics, colors, and embellishments like buttons or lace to match your doll's personality. Plus, they’re all beginner-friendly, so you can get creative without feeling overwhelmed. So grab your materials and let your imagination run wild!
Also Read This: Installing WhatsApp on Your PC with Bluestacks
5. Accessorizing Your Doll Dresses
Accessorizing your doll dresses is where the real fun begins! Just like in human fashion, accessories can elevate the entire look of your doll’s outfit. Here are some playful ideas to help you get started:
- Jewelry: Small necklaces, bracelets, and earrings can add a touch of glamour. You can easily make these from beads, wire, or even scraps of fabric.
- Headbands: A simple headband can be a game-changer. Use ribbons, fabric scraps, or even floral embellishments to create something unique.
- Shoes: Whether you opt for tiny boots or cute sandals, shoes can really complete the outfit. You can craft these from felt, cardboard, or even repurpose old doll shoes.
- Bags: Small purses or bags can be made from fabric or paper. They not only look adorable but also allow your doll to carry tiny essentials!
- Scarves and Capes: A little scarf can add flair to a dress. Capes are also fun and can be made from tulle or lightweight fabric for a dramatic effect.
Experiment with different colors and styles to match the mood of your doll's dress. The key is to have fun and let your creativity flow!
Also Read This: Can You Upload Porn to Dailymotion? Understanding Content Guidelines
6. Tips for Customization
Customization is where you can really let your imagination shine! Here are some great tips to help you personalize your doll dresses:
- Fabric Choices: Choose fabrics that reflect your doll's personality. From cotton prints to sparkly sequins, the right fabric can make all the difference.
- Color Palette: Consider a cohesive color scheme. Using complementary colors can create a stunning visual effect.
- Patterns: Don’t shy away from experimenting with patterns! Stripes, polka dots, or floral prints can add a unique touch to your designs.
- Embroidery and Appliqué: Adding embroidered designs or fabric appliqués can give your dresses a handcrafted look. You can even incorporate your doll's initials!
- Mix and Match: Feel free to combine different styles. A vintage dress can look adorable with a modern accessory!
Remember, there are no hard and fast rules when it comes to customization. Trust your instincts, and most importantly, have fun creating something that reflects your style!
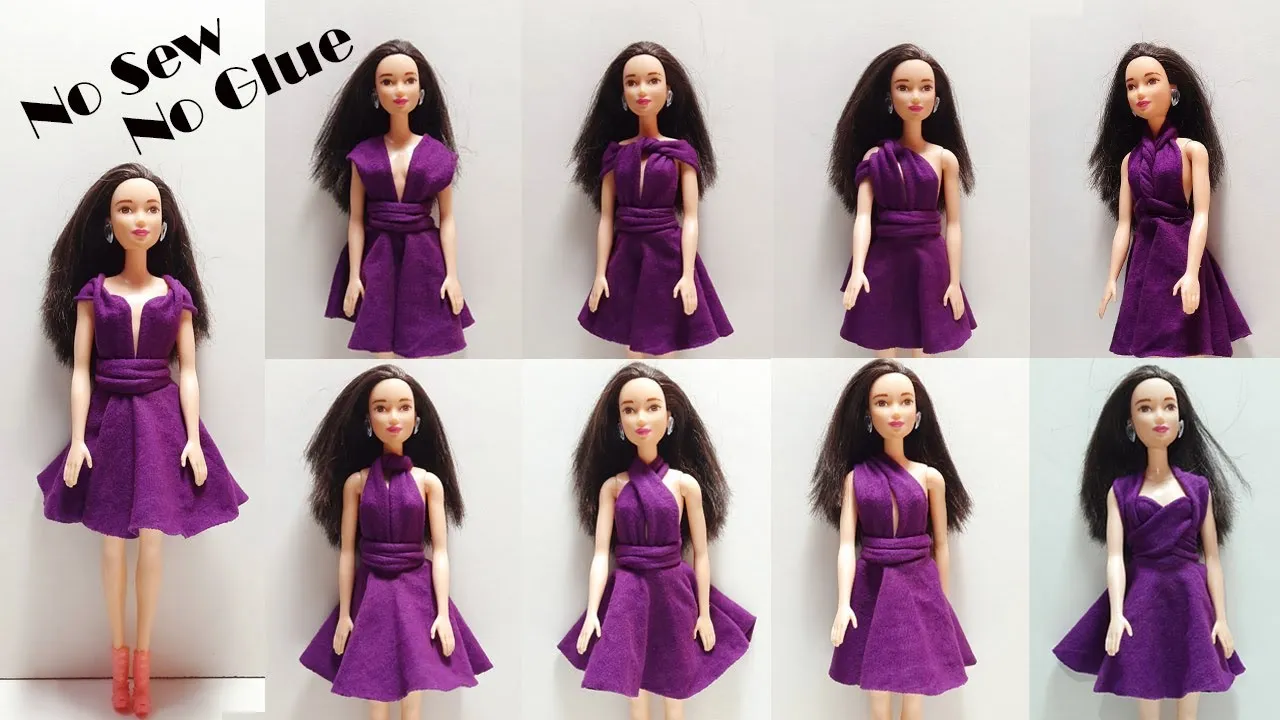
How to Make Cute DIY Dresses for Dolls
Making cute DIY dresses for dolls can be a fun and creative project that allows you to express your style while giving your dolls a fresh new look. Whether you're a seasoned crafter or a beginner, this guide will walk you through the essential steps and materials needed to create adorable dresses.
Materials Needed
- Fabric (cotton, felt, or any colorful material)
- Scissors
- Measuring tape
- Needle and thread (or a sewing machine)
- Fabric glue (optional)
- Buttons, ribbons, or embellishments for decoration
- Pattern paper (for creating dress patterns)
Steps to Create Your Doll Dress
- Measure Your Doll: Use the measuring tape to get the dimensions of your doll's waist, chest, and length of the dress.
- Create a Pattern: Draw a dress pattern on the pattern paper based on your measurements. You can design it in various styles like A-line, shift, or a full skirt.
- Cut the Fabric: Place the pattern on the fabric and cut out the pieces. Remember to leave some extra fabric for seams.
- Sew the Dress: Start by sewing the sides together, then attach the top and skirt sections. Use a sewing machine for quicker results or hand sew for a personal touch.
- Add Embellishments: Once the dress is assembled, you can add buttons, ribbons, or any embellishments to make it unique.
Tips for Success
Experiment: Don’t be afraid to try different fabrics and styles. Practice: The more you sew, the better you'll get! Have Fun: Enjoy the process and let your creativity shine.
Creating DIY dresses for dolls is a delightful way to engage in crafting while enhancing your sewing skills. With a bit of practice and creativity, you can make a stunning wardrobe for your dolls that reflects your unique style.