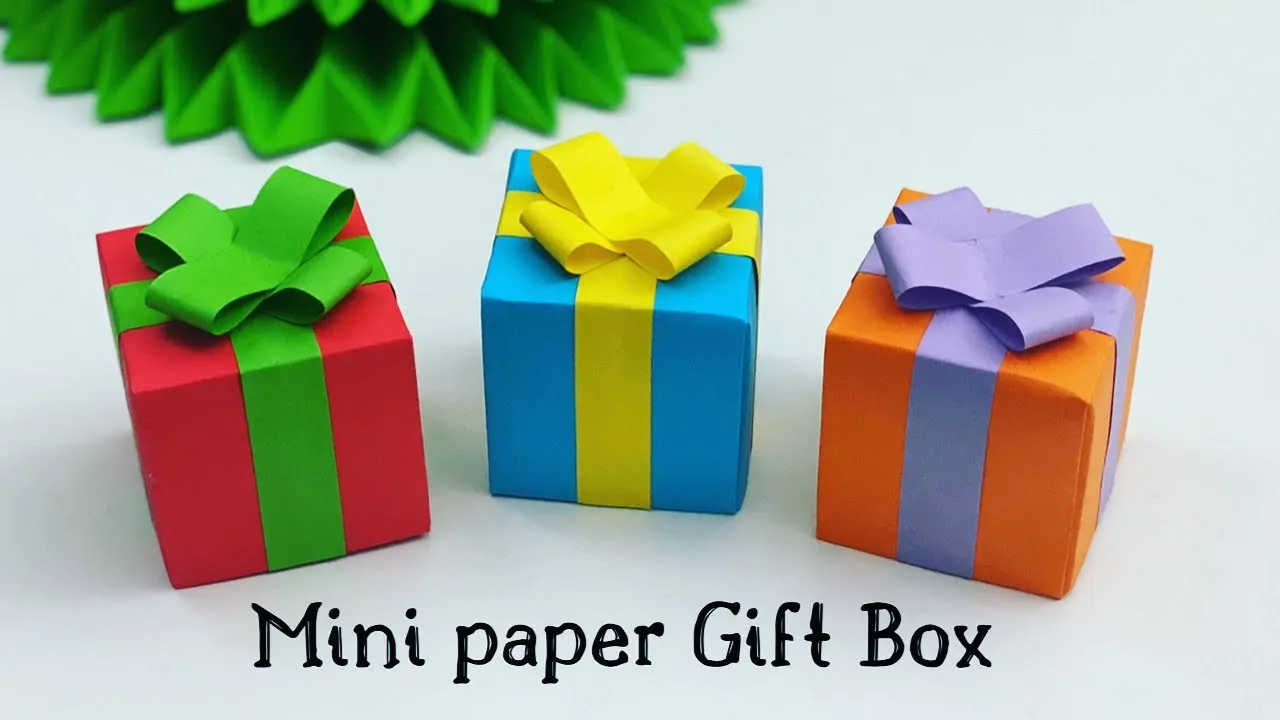
Creating your own paper gift boxes at home is not only a fun craft project but also a fantastic way to personalize your gifts. Whether you're preparing for a birthday, holiday, or just want to surprise someone special, handmade gift boxes add a unique touch that store-bought options simply can't match. In this guide, we'll walk you through the process of making these creative boxes, along with the materials you'll need to get started. So, roll up your sleeves, and let's dive into the world of DIY gift boxes!
Materials Needed
Before you embark on your creative journey, it’s essential to gather all the materials you’ll need to craft beautiful paper gift boxes. Here’s a comprehensive list to ensure you’re fully prepared:
- Paper: Choose from cardstock, scrapbook paper, or even gift wrap for a more festive flair. The thickness and texture of the paper will affect the box's durability and appearance.
- Scissors: A sharp pair of scissors will help you cut your paper accurately.
- Ruler: This is crucial for measuring and ensuring straight lines.
- Pencil: Use a pencil for marking measurements before cutting. It’s easy to erase if you make a mistake.
- Glue or Tape: To hold your box together, you can use craft glue, double-sided tape, or a glue stick. Each option has its own benefits depending on the look you want.
- Embellishments: Think ribbons, stickers, or stamps to decorate your box and make it truly one-of-a-kind.
- Bone Folder (optional): This tool helps create crisp folds, giving your box a professional finish.
- Template (optional): If you’re new to this, consider downloading or drawing box templates to simplify the process.
With these materials at hand, you’re ready to unleash your creativity and start making stunning paper gift boxes!
Also Read This: How to Cite Getty Images Photo in MLA Style
Step-by-Step Tutorials
Creating paper gift boxes at home can be a fun and rewarding project! Let’s dive into a simple tutorial that will guide you through the process, ensuring you create a box that’s not only sturdy but also visually appealing.
Materials Needed:
- Decorative paper (wrapping paper, cardstock, etc.)
- Scissors
- Glue or double-sided tape
- Ruler
- Pencil
Tutorial Steps:
- Measure and Cut: Start by deciding the size of your gift box. For a basic square box, cut a piece of paper into a square, measuring 10 inches by 10 inches.
- Folding: Fold the paper in half both vertically and horizontally. Unfold it to reveal a grid. Then, fold the corners toward the center, creating smaller squares.
- Cut Corners: Cut out a small triangle from the corners you just folded. This will allow the box to form more easily.
- Assemble the Box: Fold the edges up to create the walls of your box. Use glue or double-sided tape to secure the edges together.
- Finishing Touches: Decorate your box! You can add ribbons, stickers, or even hand-painted designs to make it uniquely yours.
And there you have it! A lovely paper gift box ready to fill with surprises.
Also Read This: Earning Potential with Shutterstock
Creative Design Ideas
Let's explore some creative design ideas that can take your paper gift boxes from ordinary to extraordinary. Here are a few concepts that will surely inspire you!
- Nature-Inspired: Use brown kraft paper and embellish with dried flowers or leaves. This rustic approach adds a touch of nature to your gifts.
- Colorful Origami: Try your hand at origami designs. Create intricate folds and shapes from colorful paper to make unique box designs.
- Themed Boxes: If your gift is for a special occasion, personalize the box with themed designs. For example, use snowflakes and winter colors for a holiday gift.
- Interactive Elements: Incorporate a pop-up feature inside the box or a hidden compartment for a fun surprise when the recipient opens it!
- Stencil Art: Use stencils to spray paint or sponge paint designs on your box. Floral patterns, geometric shapes, or even quotes can add flair.
With these ideas, you’re set to unleash your creativity. Remember, the key is to have fun and let your personality shine through each creation!
Also Read This: Behance project promotion ideas
5. Tips for Personalizing Your Gift Boxes
Personalizing your gift boxes adds a special touch that shows your recipient you care. Here are some fun and creative ways to make your gift boxes truly one-of-a-kind:
- Choose Unique Patterns: Instead of plain paper, opt for patterned paper that reflects the recipient's personality. Think floral prints for a friend who loves gardening or comic book designs for a superhero fan.
- Custom Messages: Write heartfelt messages or quotes on the box. You can use decorative markers or stamps to make it visually appealing. A simple “Happy Birthday!” or a personal note can make all the difference.
- Use Photos: Attach a favorite photo of you and the recipient on the box. This not only personalizes the gift but also adds a nostalgic touch.
- Incorporate Their Hobbies: If the person loves baking, consider adding miniature baking tools or cutouts of cupcakes to the box. For a sports enthusiast, small stickers of their favorite team can enhance the presentation.
- Natural Elements: Use twine, dried flowers, or leaves to embellish your gift box. These earthy elements can give your box a charming, rustic feel.
By using these tips, you’ll create a gift box that not only contains a present but also tells a story, making the unboxing experience even more memorable.
6. Conclusion
Creating your own paper gift boxes at home is not just a fun craft; it's also a meaningful way to show your loved ones you care. Throughout this guide, we explored various techniques and styles, from basic folding to intricate designs, that can be tailored to any occasion.
Personalizing these boxes adds an extra layer of love and thoughtfulness. Whether you choose to decorate with patterns, include personal messages, or use natural elements, your creativity will shine through.
So, grab your materials, unleash your imagination, and start crafting those beautiful gift boxes. Remember, the effort you put into making these boxes will surely be appreciated, making your gifts even more special. Happy crafting!