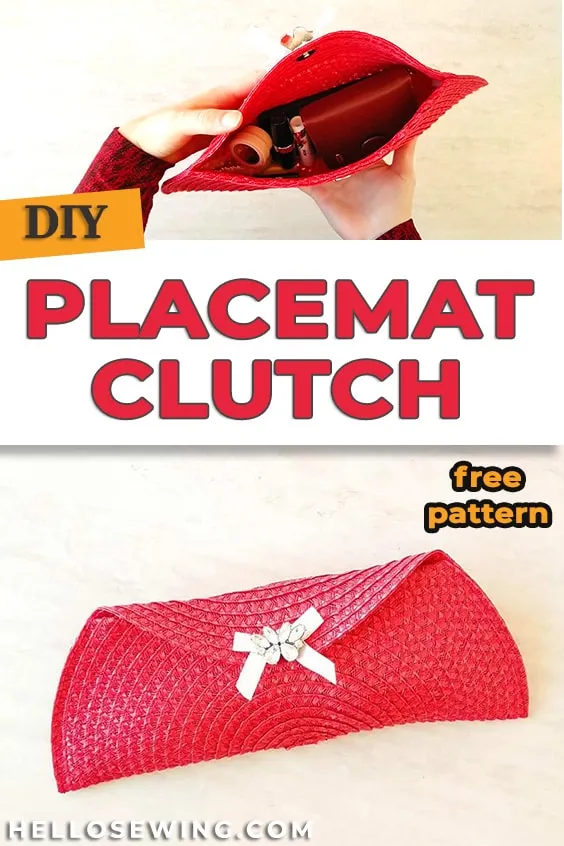
Are you looking to add a personal touch to your accessory collection? Making a clutch purse at home is a fun and rewarding DIY project that allows you to express your creativity. Whether you're preparing for a night out or just want to keep your essentials organized, crafting your own clutch purse is both stylish and practical. In this guide, we’ll walk you through the steps to create a beautiful clutch that you can customize to match your unique style. So, roll up your sleeves, and let’s get started!
Materials Needed
Before diving into the DIY process, it's essential to gather all the materials you'll need. Here's a comprehensive list to ensure you have everything at hand:
- Fabric: Choose a sturdy fabric like cotton, linen, or faux leather. A yard is usually sufficient.
- Lining Fabric: For the inside of your clutch, opt for a lightweight fabric that contrasts or complements your outer fabric.
- Interfacing: This adds structure; fusible interfacing is a great choice.
- Zipper: A 7-10 inch zipper works well for most clutch sizes.
- Scissors: Sharp fabric scissors or rotary cutters for precise cuts.
- Sewing Machine: While hand sewing is possible, a machine makes the process quicker and easier.
- Thread: Match your thread color to your fabric.
- Measuring Tape: To ensure accurate dimensions.
- Pins or Clips: For holding the fabric pieces together while sewing.
- Iron: For pressing seams and fabric before stitching.
Gathering these materials will set you up for success in your DIY clutch-making adventure!
Also Read This: How to Download Behance Photos with a Step-by-Step Guide
3. Step-by-Step Instructions
Creating a clutch purse at home can be a fun and fulfilling experience, and with this step-by-step guide, you’ll be able to craft a stylish accessory that’s uniquely yours. Let’s get started!
- Gather Your Materials: Before diving in, make sure you have everything you need:
- Fabric of your choice (like cotton, leather, or felt)
- Scissors
- Sewing machine or needle and thread
- Clutch frame (optional, for a more structured look)
- Craft glue (if you prefer a no-sew option)
- Measuring tape
- Iron (for a polished finish)
- Measure and Cut Fabric: Decide on the size of your clutch. A common size is about 12 inches wide and 8 inches tall. Cut two pieces of fabric according to your desired dimensions, adding an extra half inch on each side for seam allowances.
- Sew the Pieces Together: Place the two fabric pieces right sides together. Sew along the edges, leaving the top open. Turn the fabric inside out, so the right side is facing out. If using a clutch frame, follow the manufacturer’s instructions to secure it.
- Add Finishing Touches: Hem the top edge and consider adding a closure like a snap button or zipper. You can also embellish with beads, lace, or fabric paint for extra flair!
That’s it! You’ve crafted a beautiful clutch purse that’s ready to impress.
Also Read This: How to Export from Photoshop to Behance
4. Tips for Customizing Your Clutch
Now that you’ve mastered the basics, let’s explore some creative ways to customize your clutch purse. Personal touches can transform your accessory into a statement piece!
- Fabric Choices: Experiment with different fabric patterns and textures. From floral prints to metallic leather, the options are endless.
- Color Blocking: Use multiple fabric pieces to create a color-blocked look. This technique adds dimension and personality to your clutch.
- Stencils and Paint: Use fabric paint to add designs or stencils. A simple geometric shape can make your clutch stand out.
- Embellishments: Consider adding rhinestones, sequins, or fabric flowers. These details can give your clutch a unique, eye-catching appeal.
- Unique Closures: Swap out standard closures for something quirky, like a vintage brooch or a colorful button.
Remember, the key to customizing your clutch is to have fun and let your personality shine through. Happy crafting!
Also Read This: How to Access Your Saved Posts on LinkedIn
Common Mistakes to Avoid
Making clutch purses at home can be an exciting project, but it’s easy to stumble into some common pitfalls. Here’s a rundown of mistakes to steer clear of, ensuring your DIY purse turns out beautifully!
- Skipping the Planning Stage: Before diving into your project, sketch out your design and make a list of materials. This helps you visualize the end product and prevents last-minute trips to the craft store.
- Using Low-Quality Materials: While it might be tempting to save a few bucks, using cheap fabric or hardware can lead to a disappointing final product. Invest in quality materials that will hold up and look great.
- Neglecting Measurements: Always measure twice and cut once! Precision in measuring is crucial for a well-structured clutch. A small error can lead to uneven edges or a purse that doesn’t close properly.
- Forgetting Seam Allowances: When cutting fabric for your purse, don’t forget to account for seam allowances. Leaving out this step can shrink your purse size significantly and may affect the overall design.
- Avoiding the Iron: Ironing your fabric before sewing can make a world of difference. Wrinkles can throw off your measurements and make sewing more difficult. Always press your fabric for crisp edges!
Conclusion
Creating your own clutch purse is not just a fun and creative outlet; it’s also a fantastic way to express your personal style. By following this DIY tutorial, you can craft a stylish accessory tailored just for you!
Remember, the key to a successful project lies in patience and attention to detail. Don’t rush the process, and don’t be afraid to make adjustments as you go. Each mistake is just a stepping stone to mastering your craft!
As you gain more experience, you can experiment with different designs, materials, and embellishments. Soon enough, you’ll be a clutch-making pro, impressing friends and family with your unique creations. Happy crafting!