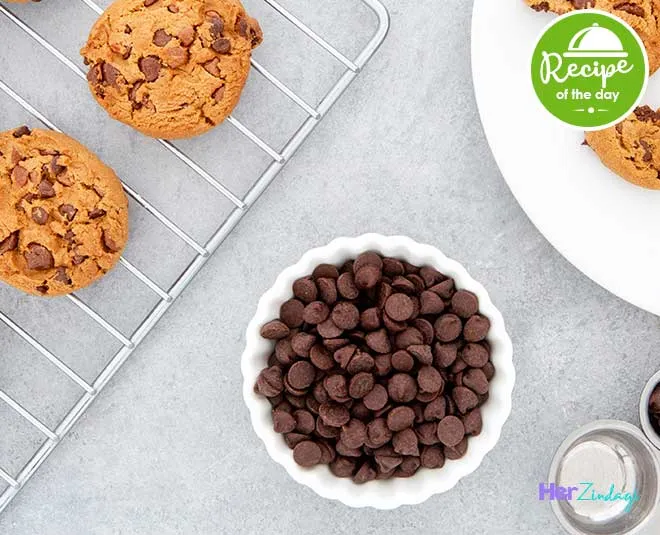
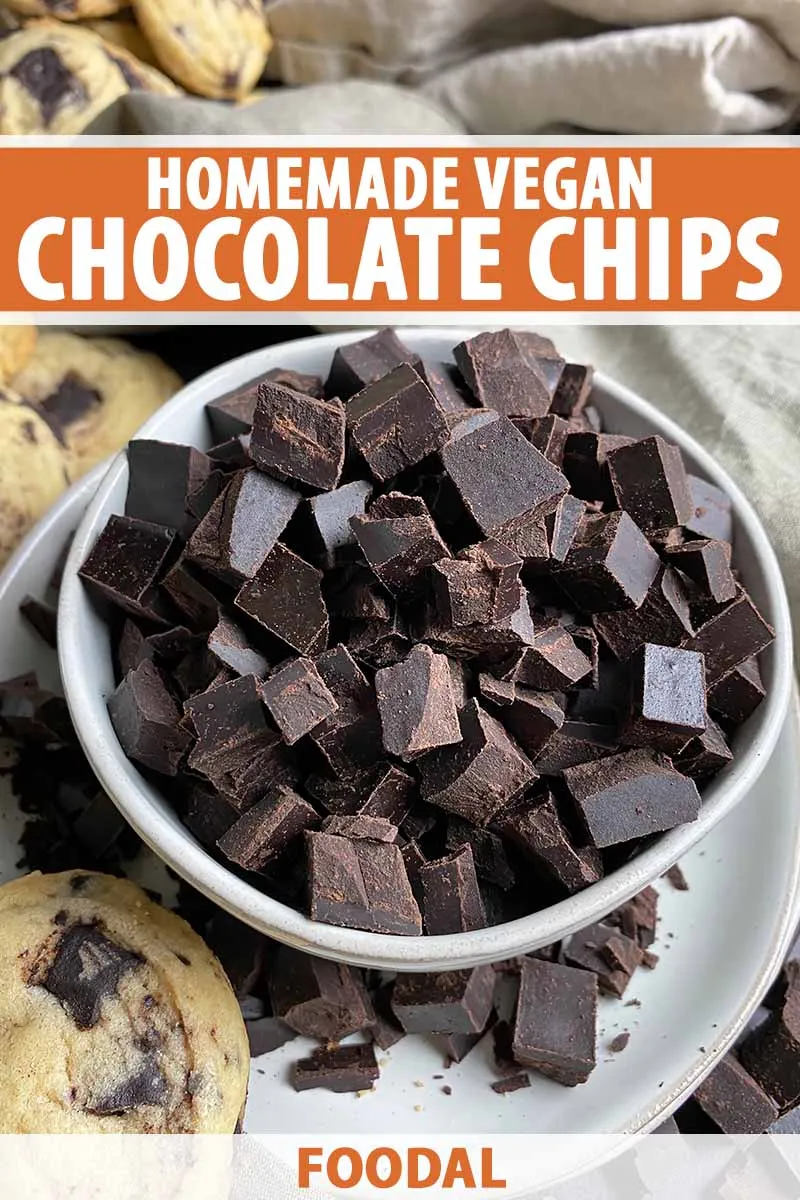
Making chocolate chips at home is not only a fun DIY project but also a rewarding one! Imagine using fresh, homemade chocolate chips in your cookies, pancakes, or just enjoying them as a sweet treat. The best part? You control the ingredients, ensuring they’re exactly how you like them. Plus, it’s surprisingly simple! Let’s dive into the ingredients you’ll need to get started on this delicious adventure.
Ingredients Needed
To whip up your own chocolate chips, you don’t need a long shopping list—just a few basic ingredients. Here’s what you’ll need:
- Cocoa Butter - 1 cup: This is the fat extracted from cocoa beans, giving your chips that delightful rich flavor.
- Cocoa Powder - 1 cup: Choose unsweetened cocoa powder for the best results. This will provide the chocolatey goodness!
- Sweetener - ½ cup: You can use granulated sugar, brown sugar, or even alternatives like honey or maple syrup, depending on your preference.
- Vanilla Extract - 1 teaspoon: Adds a lovely depth of flavor that complements the chocolate.
- Salt - a pinch: This enhances the overall flavor of the chocolate, making it taste richer.
- Milk (optional) - 2 tablespoons: If you prefer creamy chocolate chips, add a splash of milk or a dairy-free alternative.
Once you gather these ingredients, you’re just a few steps away from creating your own delicious chocolate chips. The beauty of this recipe is its flexibility; you can adjust the sweetness or even add flavors like cinnamon or chili powder for a unique twist. Let’s get started!
Also Read This: How to Create a Jumping Paper Frog Fun DIY Craft Tutorial
Step-by-Step Instructions
Making chocolate chips at home can be a delightful and rewarding experience! Follow these simple steps to create your own chocolate chips. Trust me, your baking will never be the same again!
- Gather Your Ingredients: You’ll need:
- 1 cup of cocoa powder
- 1/2 cup of coconut oil or butter
- 1/4 cup of honey or maple syrup (for sweetness)
- 1 teaspoon of vanilla extract
- 1/4 teaspoon of salt
- Optional: Add-ins like nuts or dried fruits
Also Read This: Discover the Home of the Binghamton Rumble Ponies
Tips for Perfect Chocolate Chips
Creating the perfect chocolate chips can be an art! Here are some helpful tips to ensure your homemade chips turn out just right:
- Quality Ingredients: Use high-quality cocoa powder and organic sweeteners for a richer flavor.
- Texture Matters: Ensure your coconut oil or butter isn’t too hot when adding cocoa; this helps maintain a smooth texture.
- Experiment with Sweetness: Adjust the amount of honey or maple syrup to suit your taste. You can also try using stevia for a lower sugar option.
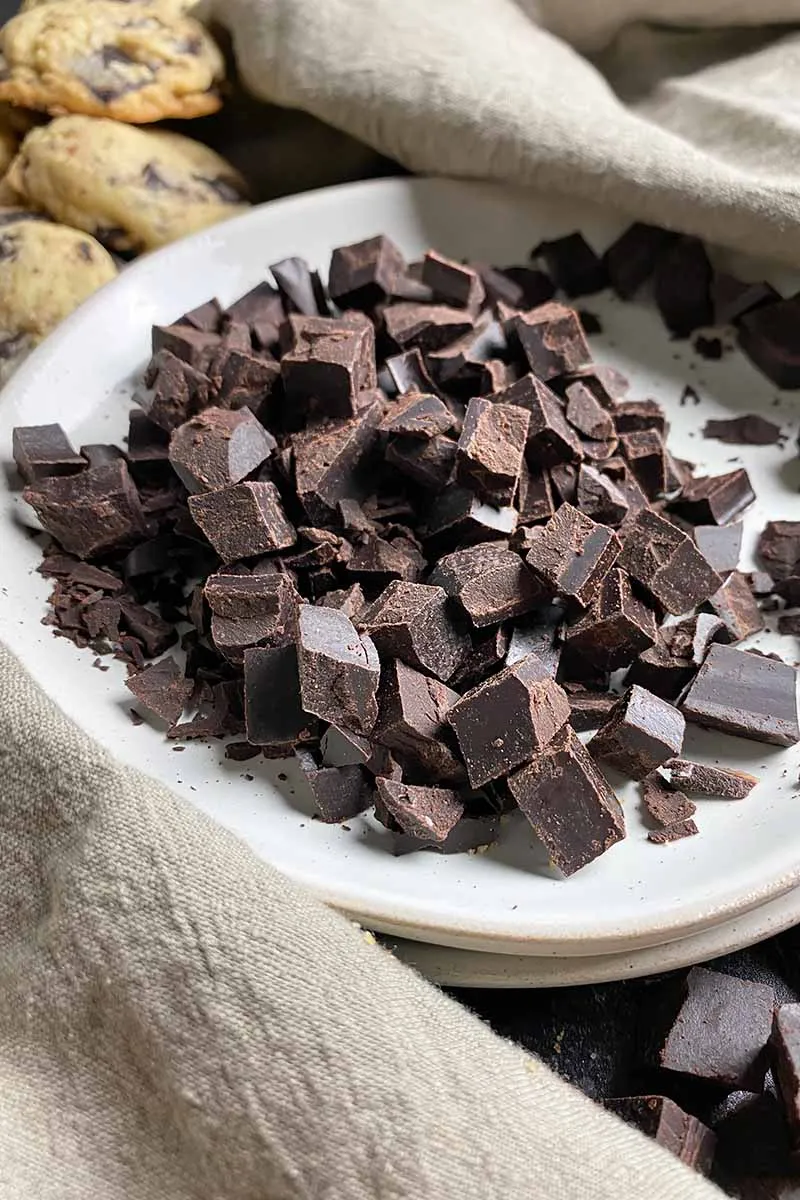
- Perfecting Size: For uniform chips, use a small ice cream scoop or a piping bag to create evenly sized drops.
- Flavor Variations: Add a pinch of cinnamon or a splash of espresso for a unique twist!
- Storage: Keep them in the fridge for a firmer texture, or at room temperature for a softer bite, depending on your preference.
Also Read This: How to Delete Your Storyblocks Account
5. Storing Your Homemade Chocolate Chips
Once you've crafted your delicious homemade chocolate chips, it’s important to store them properly to maintain their freshness and flavor. Here are some tips to ensure your chocolate chips stay in perfect condition:
- Cool Completely: Before storing, make sure your chocolate chips are completely cooled. This prevents condensation, which can lead to unwanted textures.
- Use Airtight Containers: Place your chocolate chips in airtight containers or resealable bags. This helps keep moisture and air out, prolonging their shelf life.
- Label and Date: If you’re making different types of chocolate chips (like dark, milk, or white), label your containers. Remember to include the date you made them!
- Store in a Cool, Dry Place: Keep your chocolate chips in a cool and dry environment, away from direct sunlight. A pantry or cupboard works great.
- Refrigeration for Longer Storage: If you want to extend their shelf life even more, consider refrigerating them. However, be aware that refrigeration can change the texture slightly.
In general, homemade chocolate chips can last for up to 3 months at room temperature and up to 6 months if refrigerated. Just remember, the better you store them, the more delightful they’ll be when you’re ready to bake!
6. Conclusion
Making chocolate chips at home is not just a fun and rewarding process; it also opens up a world of customization! Whether you prefer dark, milk, or even flavored varieties like mint or espresso, the choice is entirely yours. The joy of biting into a cookie filled with your freshly made chocolate chips is an experience like no other.
So, why not give it a try? With just a few simple ingredients and steps, you can create a product that’s not only delicious but also tailored to your taste preferences. Plus, there’s something special about knowing exactly what’s in your food.
Don’t forget to store them properly to enjoy them for as long as possible. And remember, whether you’re baking cookies, adding them to pancakes, or simply enjoying them straight out of the jar, homemade chocolate chips are sure to satisfy your sweet tooth. Happy baking!