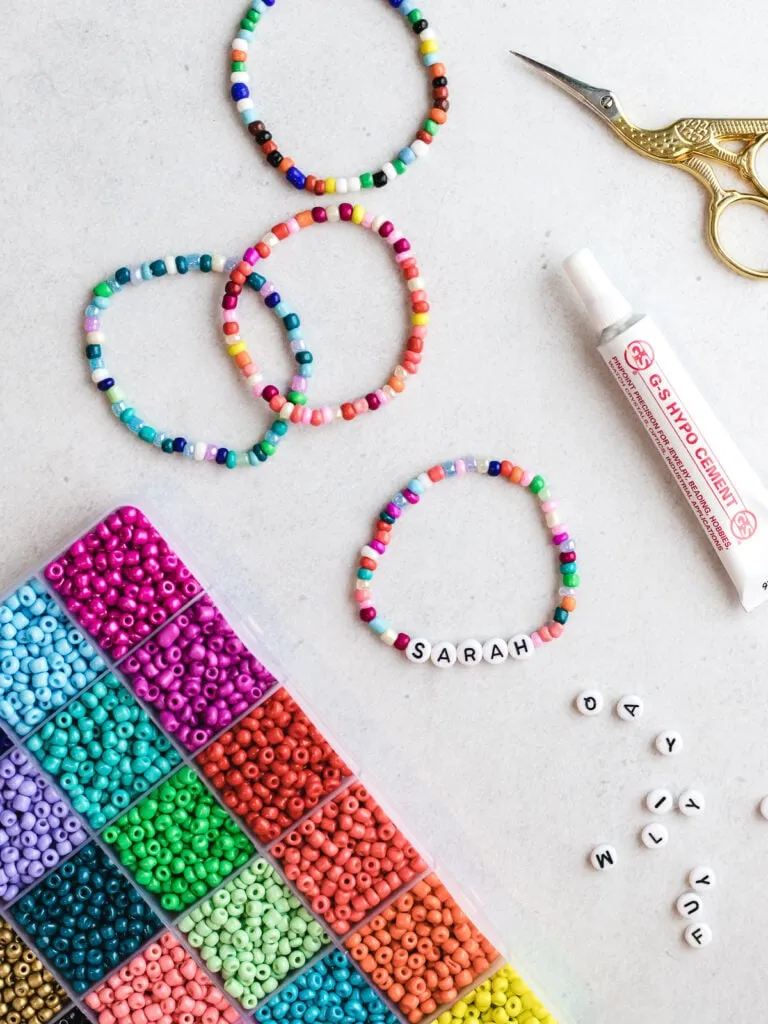
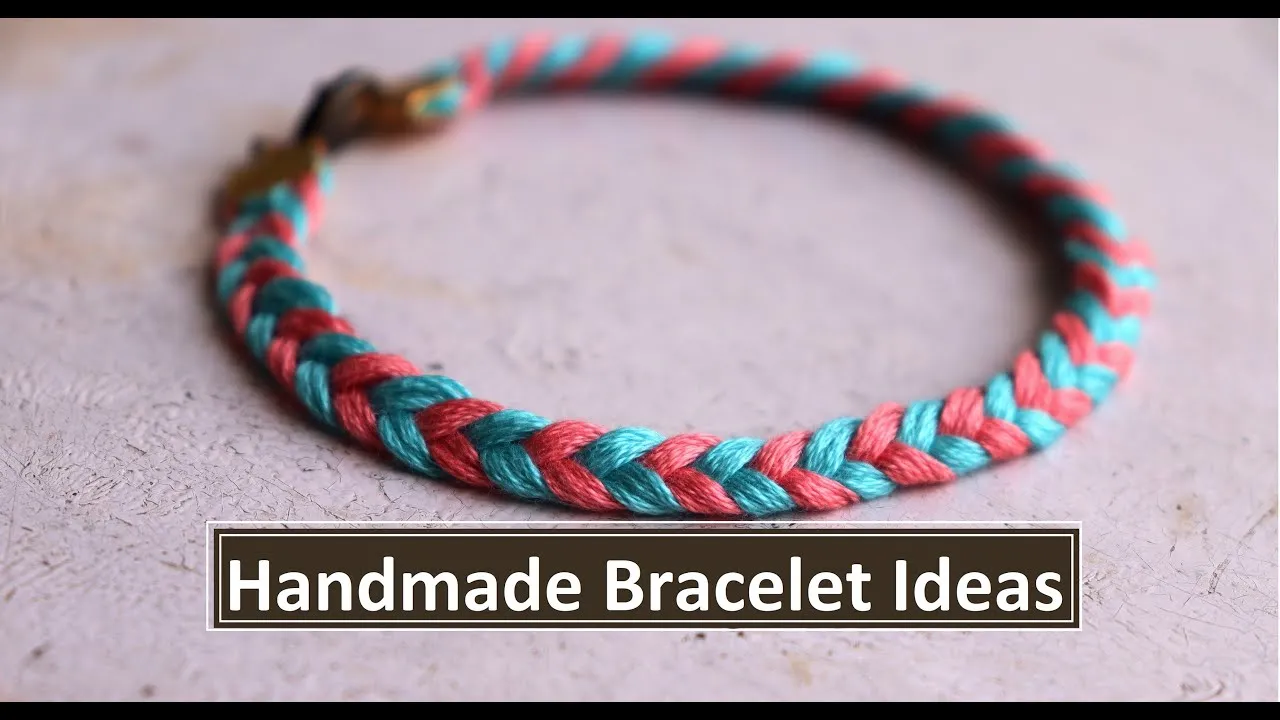
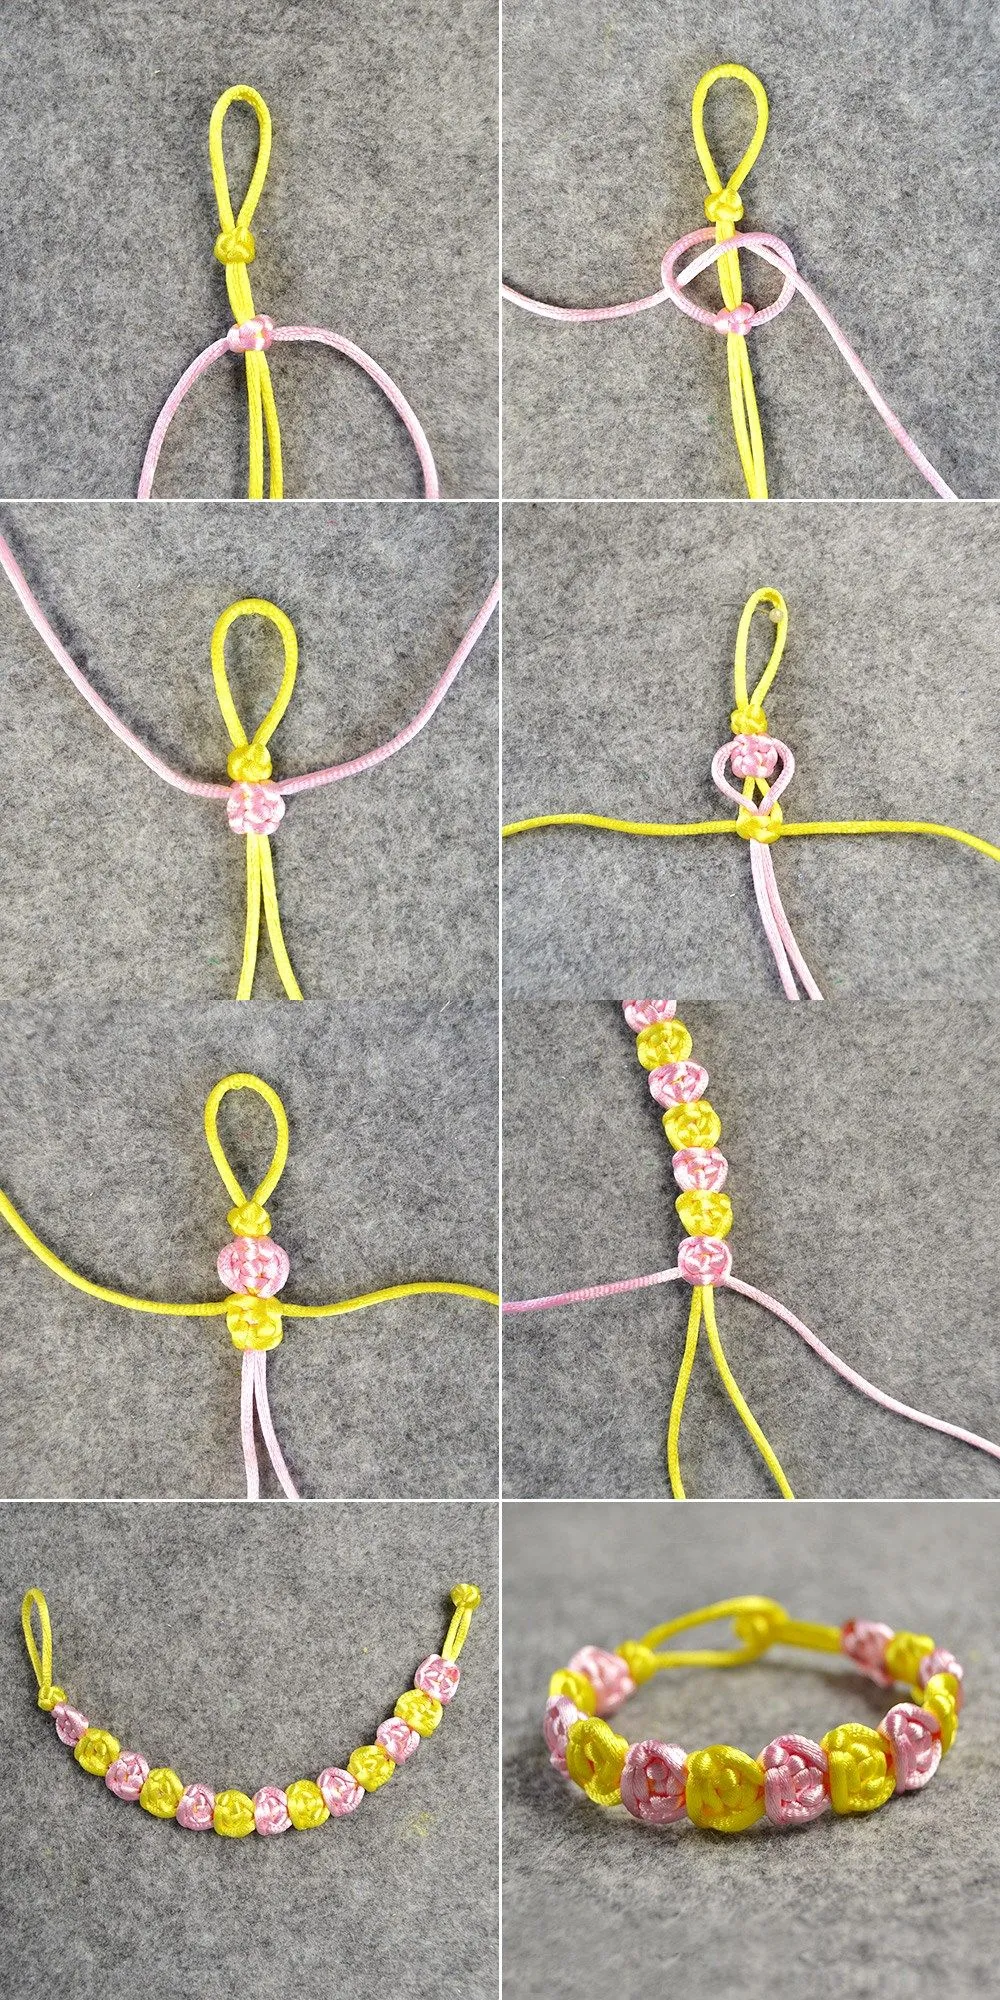
Making bracelets with thread and beads is a fun and creative hobby that allows you to express your personality and style. Whether you’re crafting a gift for a friend or creating something special for yourself, the process is both relaxing and rewarding. Plus, it's a fantastic way to spend time with family or friends while sharing ideas and techniques. In this guide, we’ll walk you through the essentials you need to get started, from choosing the right materials to crafting beautiful designs. So, let’s dive into the world of bracelet-making!
Materials Needed

Before you get started on your bracelet-making journey, it’s important to gather all the necessary materials. Here’s a handy list of what you’ll need:
- Thread: Choose a strong, durable thread that won’t easily break. Some popular options include:
- Embroidery floss
- Beading thread
- Nylon cord
- Beads: There’s a world of beads out there! Select beads based on your design preference. Here are some types:
- Glass beads
- Wooden beads
- Seed beads
- Metal beads
- Scissors: A good pair of sharp scissors is essential for cutting your thread to size.
- Measuring tape or ruler: To measure your thread accurately, ensuring your bracelet fits perfectly.
- Beading needle: If your chosen beads have small holes, a beading needle will help you thread them with ease.
- Clasp (optional): If you want a more polished finish, consider adding a clasp. Choices include:
- Lobster clasp
- Toggle clasp
- Bead mat (optional): This will help keep your beads from rolling away as you work.
Once you have everything gathered, you’re ready to start creating your beautiful bracelets! The combination of thread and beads allows for endless creativity, so let your imagination run wild!
Also Read This: Do YouTubers Get Paid for Likes and How YouTubeâs Monetization System Works
5. Step-by-Step Guide to Creating Your Bracelet

Creating a beautiful bracelet with thread and beads is a rewarding craft that doesn’t require a lot of fancy tools or materials. Let’s break down the process into simple steps. Grab your supplies, and let’s get started!
- Gather Your Materials: Before you begin, collect all the necessary items. You'll need:
- Thread (choose a durable type, like nylon or cotton)
- Beads (mix of colors and sizes)
- Scissors
- A ruler or measuring tape
- A clipboard or tape (optional, to hold your work in place)
- A needle (if your beads have small holes)
- Measure the Thread: Measure a length of thread that’s about three times the size of your wrist. It’s better to have extra than to run short!
- Prepare the Thread: If you’re using multiple strands, tie them together at one end with a simple knot, leaving a small tail.
- Start Beading: Thread your first bead onto the strands. Slide it down, and continue adding beads according to your desired pattern. Remember to keep your beads close together for a snug fit.
- Secure Your Design: Once you’ve reached the desired length, tie another knot to secure the beads in place. You can double-knot for extra security.
- Finish the Bracelet: Measure it on your wrist. If it's the right size, tie the ends together securely. Trim any excess thread, and your bracelet is ready to wear!
And just like that, you've created a lovely bracelet! So easy, right? Now, let’s move on to making it uniquely yours.
Also Read This: How to Download Licensed Images from Adobe Stock and Ensure Legal Use
6. Tips for Personalizing Your Bracelet

Once you’ve mastered the basic bracelet-making technique, the fun really begins! Personalizing your bracelet allows you to infuse your style and creativity into your piece. Here are some tips to help you make it truly yours:
- Choose a Theme: Think about what resonates with you. Whether it’s nature, colors, or even your favorite season, a theme can guide your bead selection.
- Mix and Match Materials: Don’t limit yourself to just beads and thread! Incorporate charms, pendants, or even pieces of fabric to add texture and interest.
- Color Coordination: Pick a color palette that reflects your personality. Use contrasting colors for a bold statement or similar shades for a more understated look.
- Experiment with Patterns: Try different patterns with your beads. Alternate sizes, shapes, or colors to create a unique rhythm in your design.
- Initials or Symbols: Add personal touches like letter beads that spell your name or initials, or symbols that represent something meaningful to you.
- Adjustable Closure: Instead of a fixed knot, consider using an adjustable closure that allows you to change the size of your bracelet, making it more versatile.
Remember, there are no rules in crafting. Let your creativity flow, and don’t be afraid to experiment. Your bracelet should reflect who you are, so have fun with it!
Also Read This: How to Unsubscribe from LinkedIn and Stop Notifications
Common Mistakes to Avoid
Creating bracelets with thread and beads can be an enjoyable and rewarding experience, but it’s easy to fall into a few common traps. Here’s a rundown of mistakes you should steer clear of to ensure your bracelet-making process goes smoothly:
- Using the Wrong Thread: Not all threads are created equal! Make sure to choose a thread that suits the weight and size of your beads. If you’re using heavier beads, opt for a thicker, more durable thread.
- Ignoring Bead Size: Before you start stringing beads, double-check their sizes. Using beads that are too large for your thread can lead to breakage, while tiny beads might not hold well on thicker threads.
- Not Planning Your Design: Jumping right in without a plan can lead to a mismatched and chaotic design. Spend some time sketching or laying out your beads to visualize your bracelet before you start stringing.
- Forgetting to Measure: Don’t skip measuring your wrist! It’s easy to get caught up in the fun and forget sizing. An unmeasured bracelet may end up being too tight or too loose.
- Skipping the Knots: Always secure your knots properly. A small, hastily tied knot can unravel, ruining all your hard work. Make sure to tie strong double knots at both ends for durability.
- Neglecting to Check Your Work: It’s crucial to check your bracelet as you go. Look out for gaps or uneven spacing between beads. Adjusting as you work can save you from significant frustration later on.
By being aware of these common mistakes, you can enhance your bracelet-making skills and enjoy a smoother crafting experience!
Conclusion and Final Thoughts
Making bracelets with thread and beads can be a delightful hobby that allows you to express your creativity. As we wrap up this guide, let’s recap some essential points to remember:
- Gather Quality Materials: Invest in good-quality thread and beads. This investment pays off in the longevity and appearance of your final product.
- Plan Your Design: Take the time to sketch or visualize your design. A well-thought-out plan can make for a more enjoyable and productive crafting session.
- Practice Patience: Don’t rush through your project. Take your time to ensure that each bead is placed correctly and that your knots are secure.
- Be Open to Experimentation: Don’t hesitate to try new patterns, colors, and techniques! The beauty of crafting lies in exploration and personal expression.
Whether you’re making bracelets to wear yourself, as gifts, or even to sell, always remember that the process should be fun and fulfilling. Each bracelet tells a story, and with every bead you string, you’re creating a piece of art that reflects your unique style.
So grab your materials and let your creativity flow. Happy crafting!