Have you ever gazed up at the sky and marveled at the planes soaring above? What if I told you that you could create your very own airplane right at home? This fun DIY tutorial is perfect for kids and adults alike, offering a creative way to explore the principles of flight while engaging in a hands-on project. Whether you're looking for a weekend activity or a unique gift idea, making an airplane can be both educational and entertaining. So, let’s gather our materials and get ready to take off on this exciting journey!
Materials Needed
Before we dive into the fun, let’s ensure we have all the materials ready. Most of the items listed below are things you probably already have at home, making this project accessible and budget-friendly. Here’s what you’ll need:
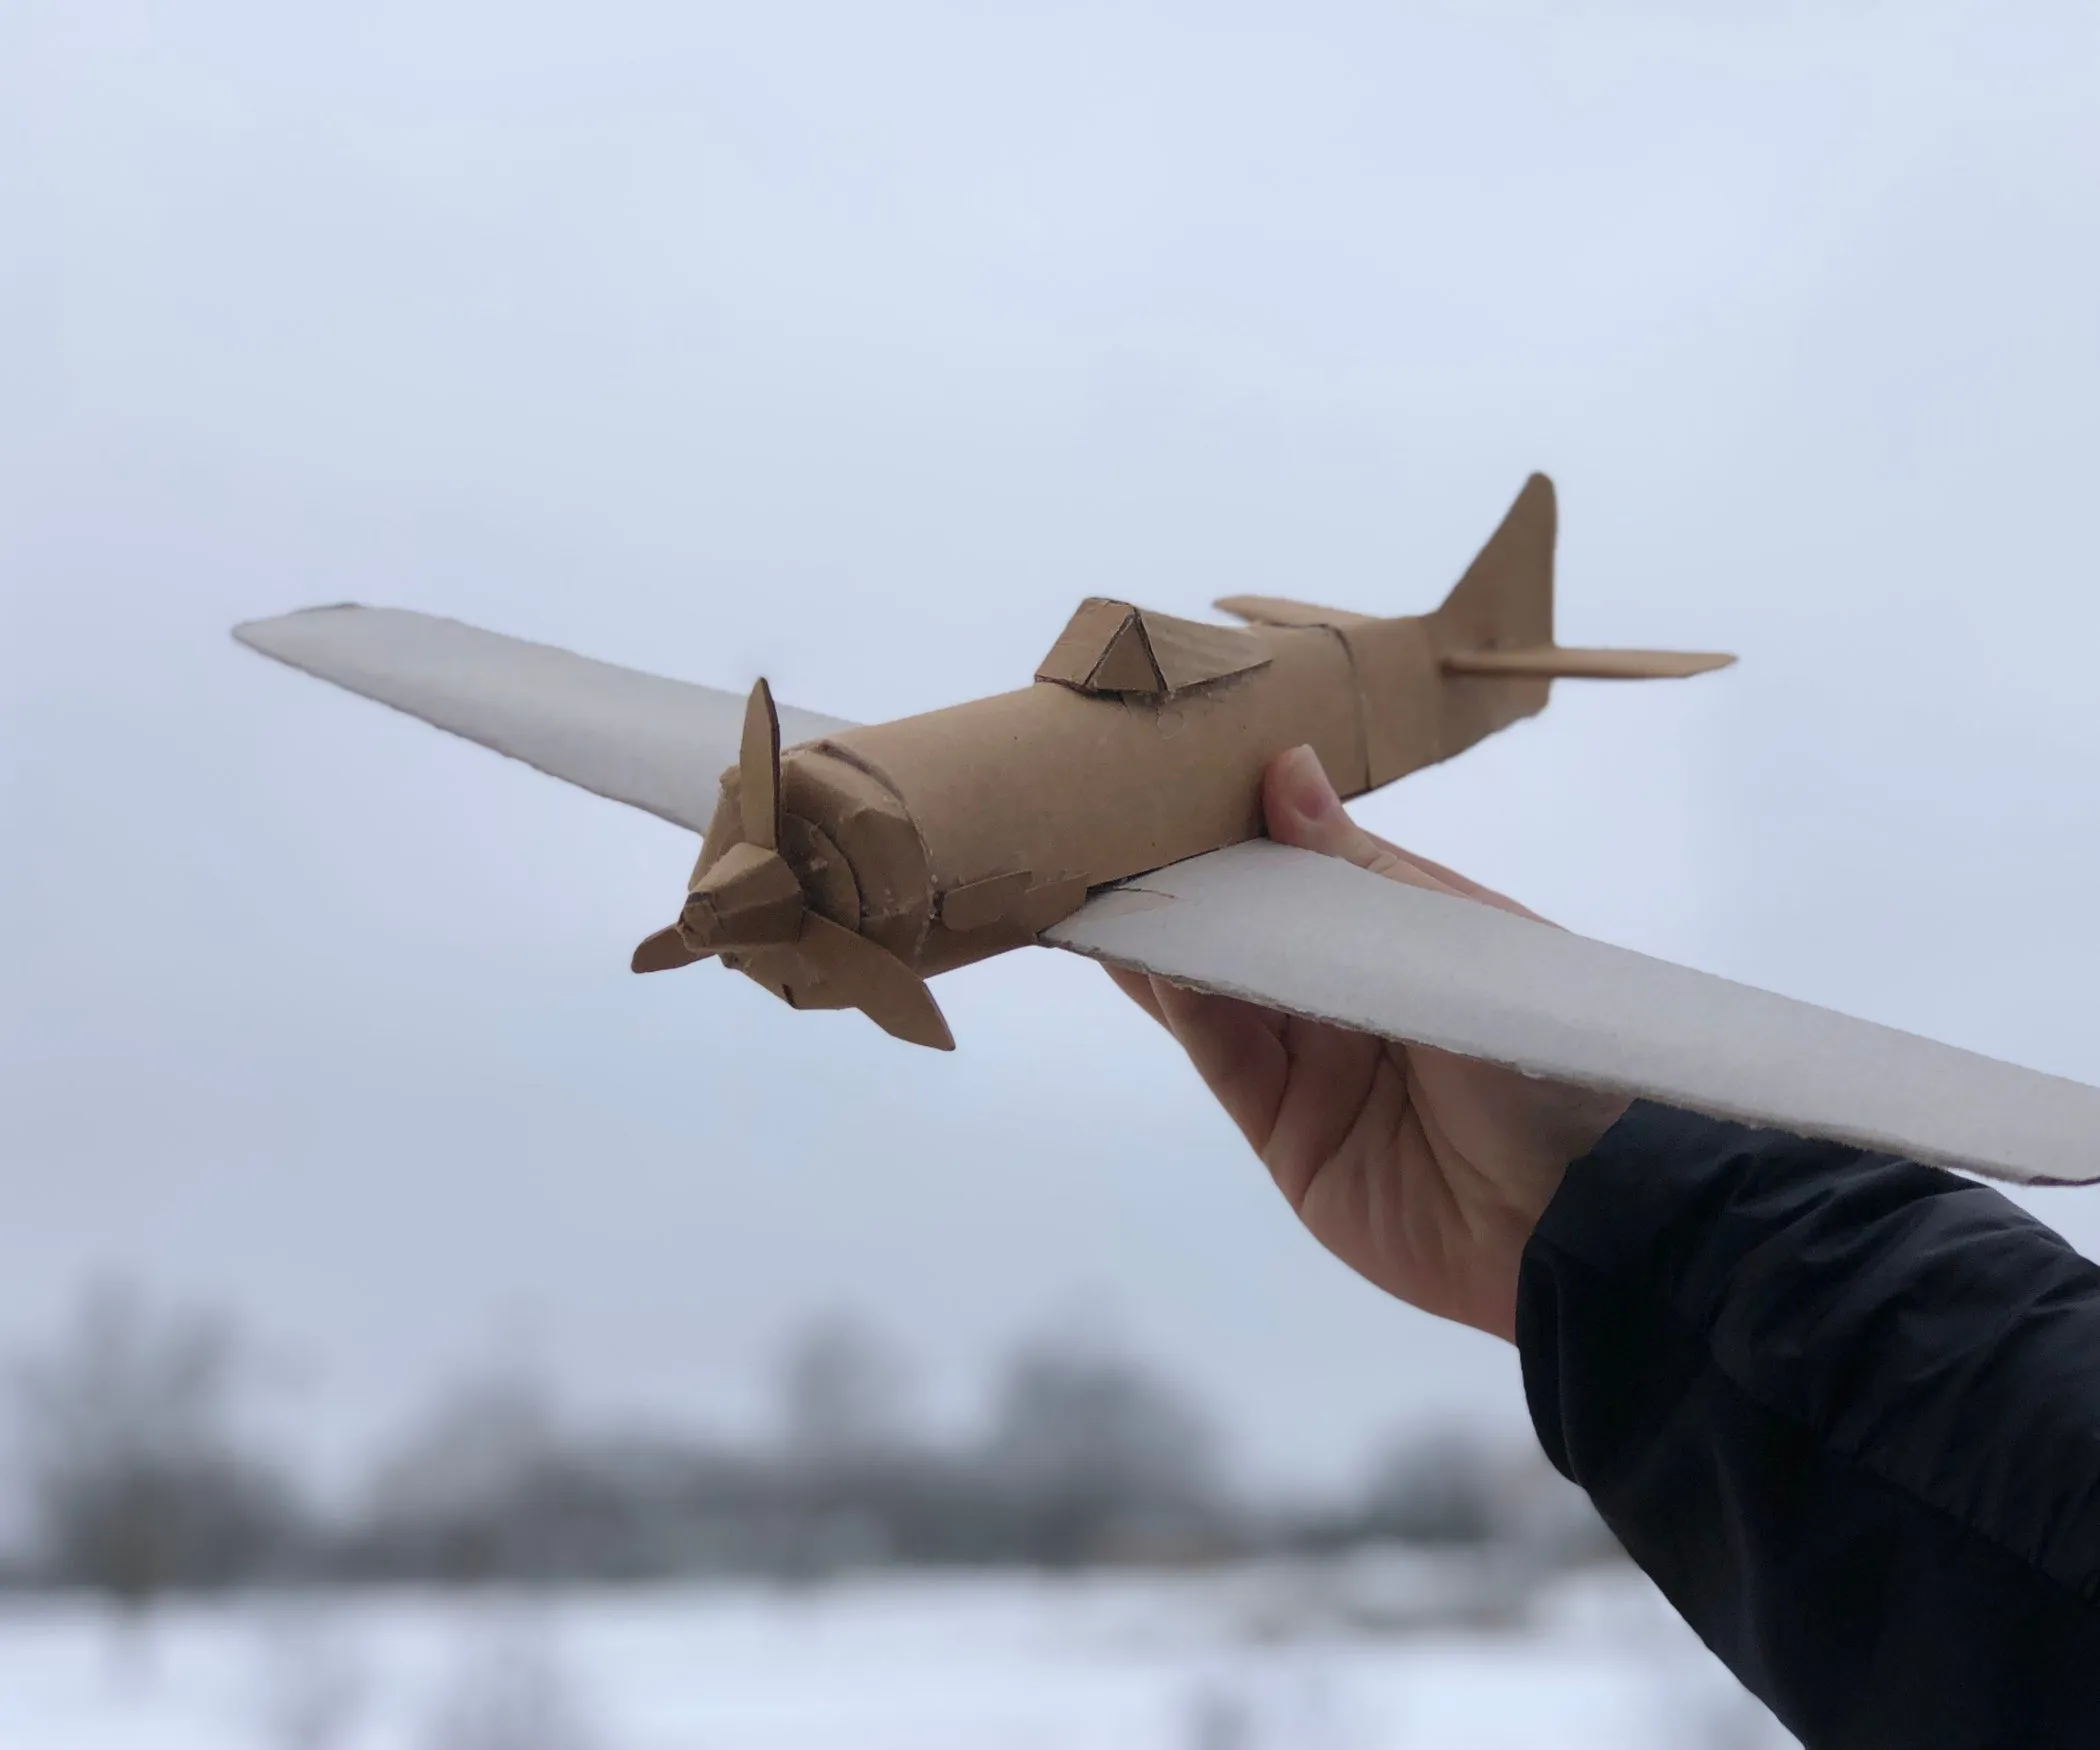
- Cardboard: Thick cardboard is ideal for creating the body and wings of your airplane. You can repurpose old boxes to make it eco-friendly!
- Scissors: A pair of sharp scissors will help you cut the cardboard into the desired shapes.
- Glue: Use strong craft glue or a hot glue gun to ensure all parts stick together securely.
- Markers or Paint: Add some flair to your airplane by decorating it with colorful markers or paint. Let your creativity shine!
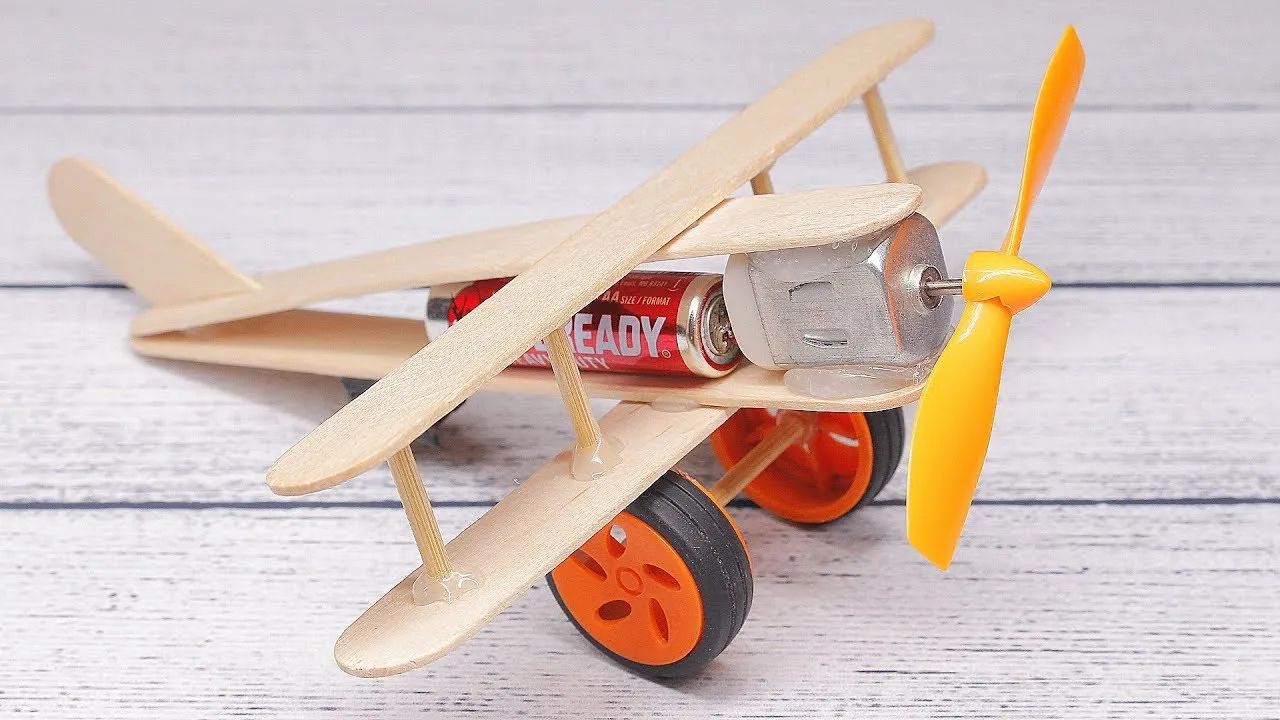
- Straws: These can serve as a lightweight structure for the airplane or as a propeller mechanism.
- Paper Clips: Use these to add weight to the wings if necessary, ensuring better stability during flight.
- Ruler: A ruler will help you measure and cut straight lines, ensuring precise dimensions for your airplane.
- Pencil: For marking measurements on your cardboard before cutting.
Once you gather these materials, you'll be all set to embark on your DIY airplane adventure!
Also Read This: Keep Track with Canva Checklist Templates
Step-by-Step Instructions
Building an aeroplane at home can be a thrilling project, especially if you follow these easy steps. Grab your materials and let’s get started!
- Gather Your Materials: You’ll need lightweight materials like cardboard, glue, scissors, and a ruler. Optional items include paint for decoration and straws to make the wings more sturdy.
- Design Your Plane: Sketch your plane design on paper. Focus on a simple shape, like a glider. Make sure to include dimensions for the wings, body, and tail.
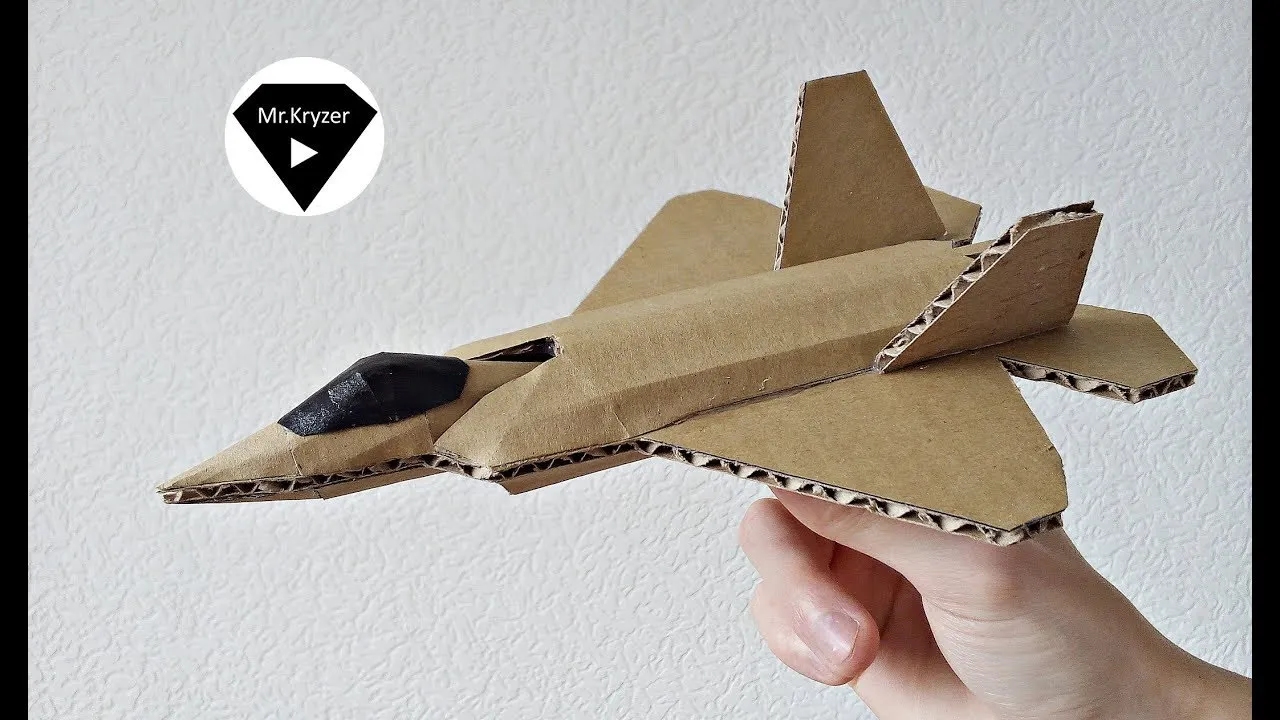
- Cut Out the Parts: Transfer your design onto the cardboard. Use scissors to carefully cut out the body, wings, and tail. Remember, precision is key for balance!
- Assemble the Plane: Start by gluing the wings to the body. Ensure they are symmetrical and straight. Then, attach the tail at the back to help with stability.
- Decorate Your Aeroplane: Here comes the fun part! Use paint or markers to give your plane a unique look. You can also add stickers or designs to personalize it.
- Test Flight: Once everything is dry, take your aeroplane outside. Find an open space, hold it by the body, and give it a gentle toss to see how far it flies!
Also Read This: How to Upload Videos to YouTube from iPhone
Tips for Successful Construction
To ensure your DIY aeroplane project goes smoothly, here are some handy tips:
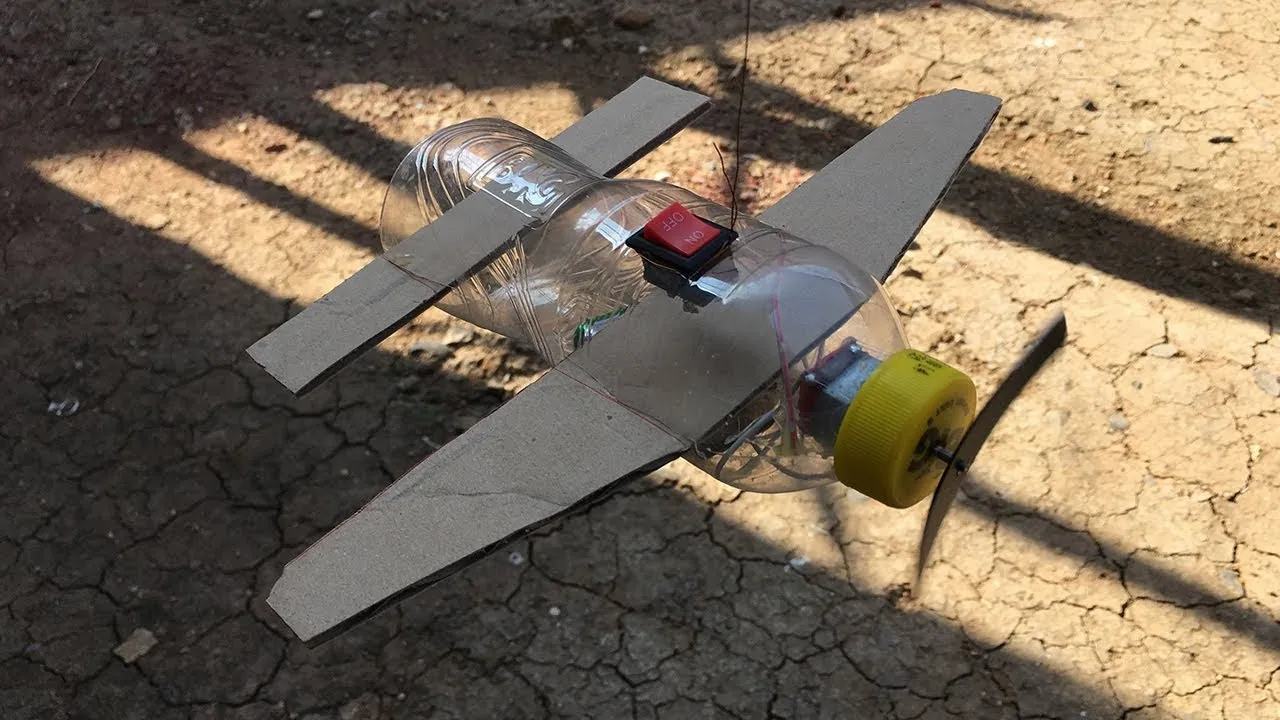
- Choose the Right Materials: Lightweight and sturdy materials are essential. Cardboard works well, but you can also experiment with plastic or foam for durability.
- Follow Aerodynamics Principles: Keep the weight distributed evenly. A well-balanced plane will fly better. Consider using a small weight at the nose for better stability.
- Test and Adjust: Don’t be discouraged if your first flight doesn’t go as planned! Make adjustments to the wings or body based on your test flights. It’s all part of the learning process.
- Involve Friends or Family: Make it a group project! Collaborating can lead to new ideas and creativity. Plus, it’s more fun to share the experience.
- Have Fun! The most important tip is to enjoy the process. Experiment with different designs and see what works best for you!
Also Read This: Understanding Why YouTube Runs Slowly on Chrome and Effective Solutions to Fix It
5. Testing Your Homemade Aeroplane
Once you've crafted your homemade aeroplane, it's time for the exciting part—testing it out! Testing is not just about seeing if it flies; it's a crucial step to understand how well your design works in real-life conditions.
Here’s a simple process to follow:
- Choose the Right Location: Find a spacious outdoor area, like a park or a large backyard, free from obstacles like trees and power lines. A gentle breeze can be beneficial, but avoid windy days to prevent your aircraft from being swept away.
- Initial Toss: Start with a gentle toss to observe the aeroplane’s flight pattern. Look for any immediate issues, such as it nose-diving or veering off to one side.
- Adjust as Necessary: Based on your observations, you may need to make adjustments. This could involve tweaking the wings or adding weight to balance it better. For instance, if it tips forward, try adding a small paperclip to the back.
- Experiment with Launch Techniques: Different throwing techniques can affect your aeroplane's performance. Experiment with varied angles and throwing strengths. You might find that a flat launch provides the best distance.
- Record Your Results: Keep a journal of your flights. Note how far it flies, how long it stays in the air, and any modifications you made. This will help you improve on future designs!
Testing is all about having fun and learning. Don’t be discouraged by early failures; they are stepping stones to success!
6. Conclusion
Creating a homemade aeroplane is not just a fun DIY project; it’s a fantastic way to explore the principles of flight and unleash your creativity. Whether you're a beginner or a seasoned crafter, this project can offer endless hours of enjoyment and learning.
To recap:
- Gather your materials and follow the tutorial step-by-step.
- Be patient during the building process—every tweak can lead to better performance.
- Make sure to test your aeroplane thoroughly and keep notes on what works and what doesn’t.
Remember, the sky’s the limit! Each flight is an opportunity to learn and improve. Share your creations with friends or family and encourage them to join in on the fun. Who knows, you might inspire the next generation of aviation enthusiasts!
So grab your materials and get started; your aeroplane adventure awaits!