Water rockets are a thrilling and educational DIY project that combines science with a bit of fun. They utilize the principles of aerodynamics and physics to create a rocket that soars through the air using just water and air pressure. Whether you’re a student eager to learn about propulsion or a parent looking for a fun activity to do with your kids, building a water rocket is a fantastic way to engage with science in a hands-on manner. Plus, the satisfaction of watching your rocket launch high into the sky is unbeatable!
Materials Needed
To build your very own water rocket, you’ll need a few basic materials. Here’s a handy list to get you started:
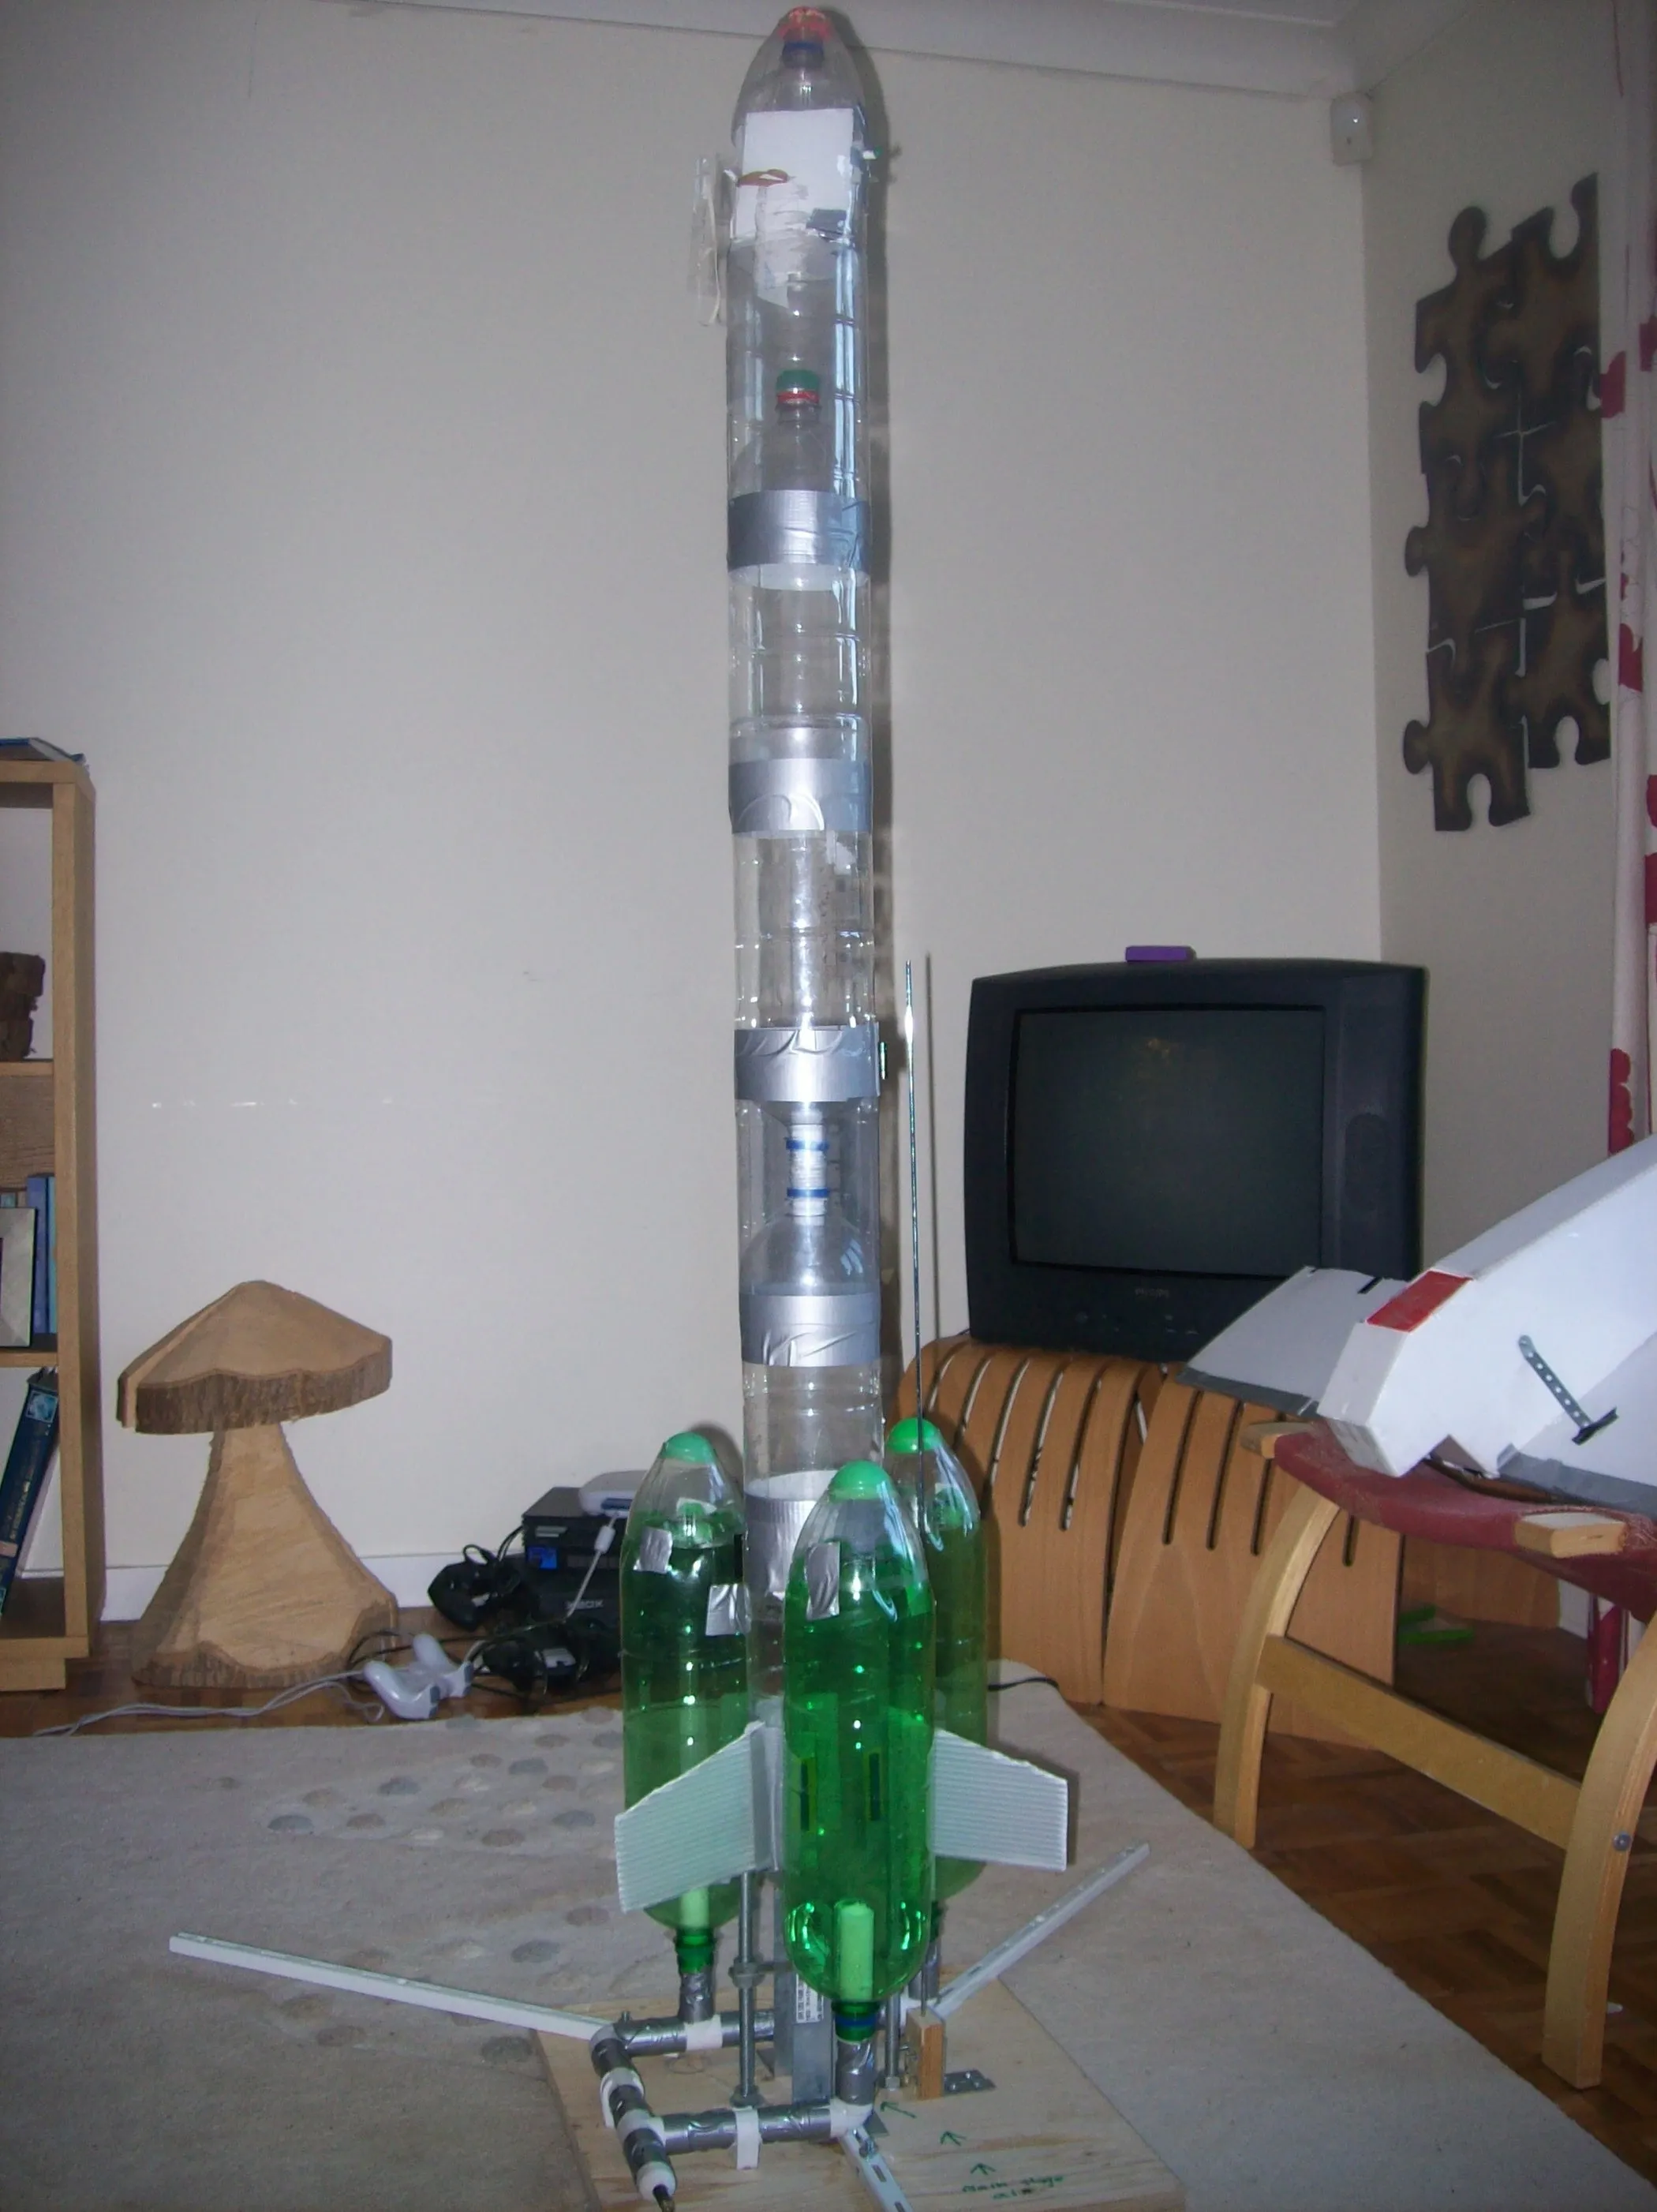
- Plastic Bottle: A 1-liter or 2-liter soda bottle works perfectly as the body of your rocket.
- Water: You’ll need to fill the bottle partially with water. About one-third full is ideal.
- Cork: A cork that fits snugly in the bottle opening will help contain the pressure until launch.
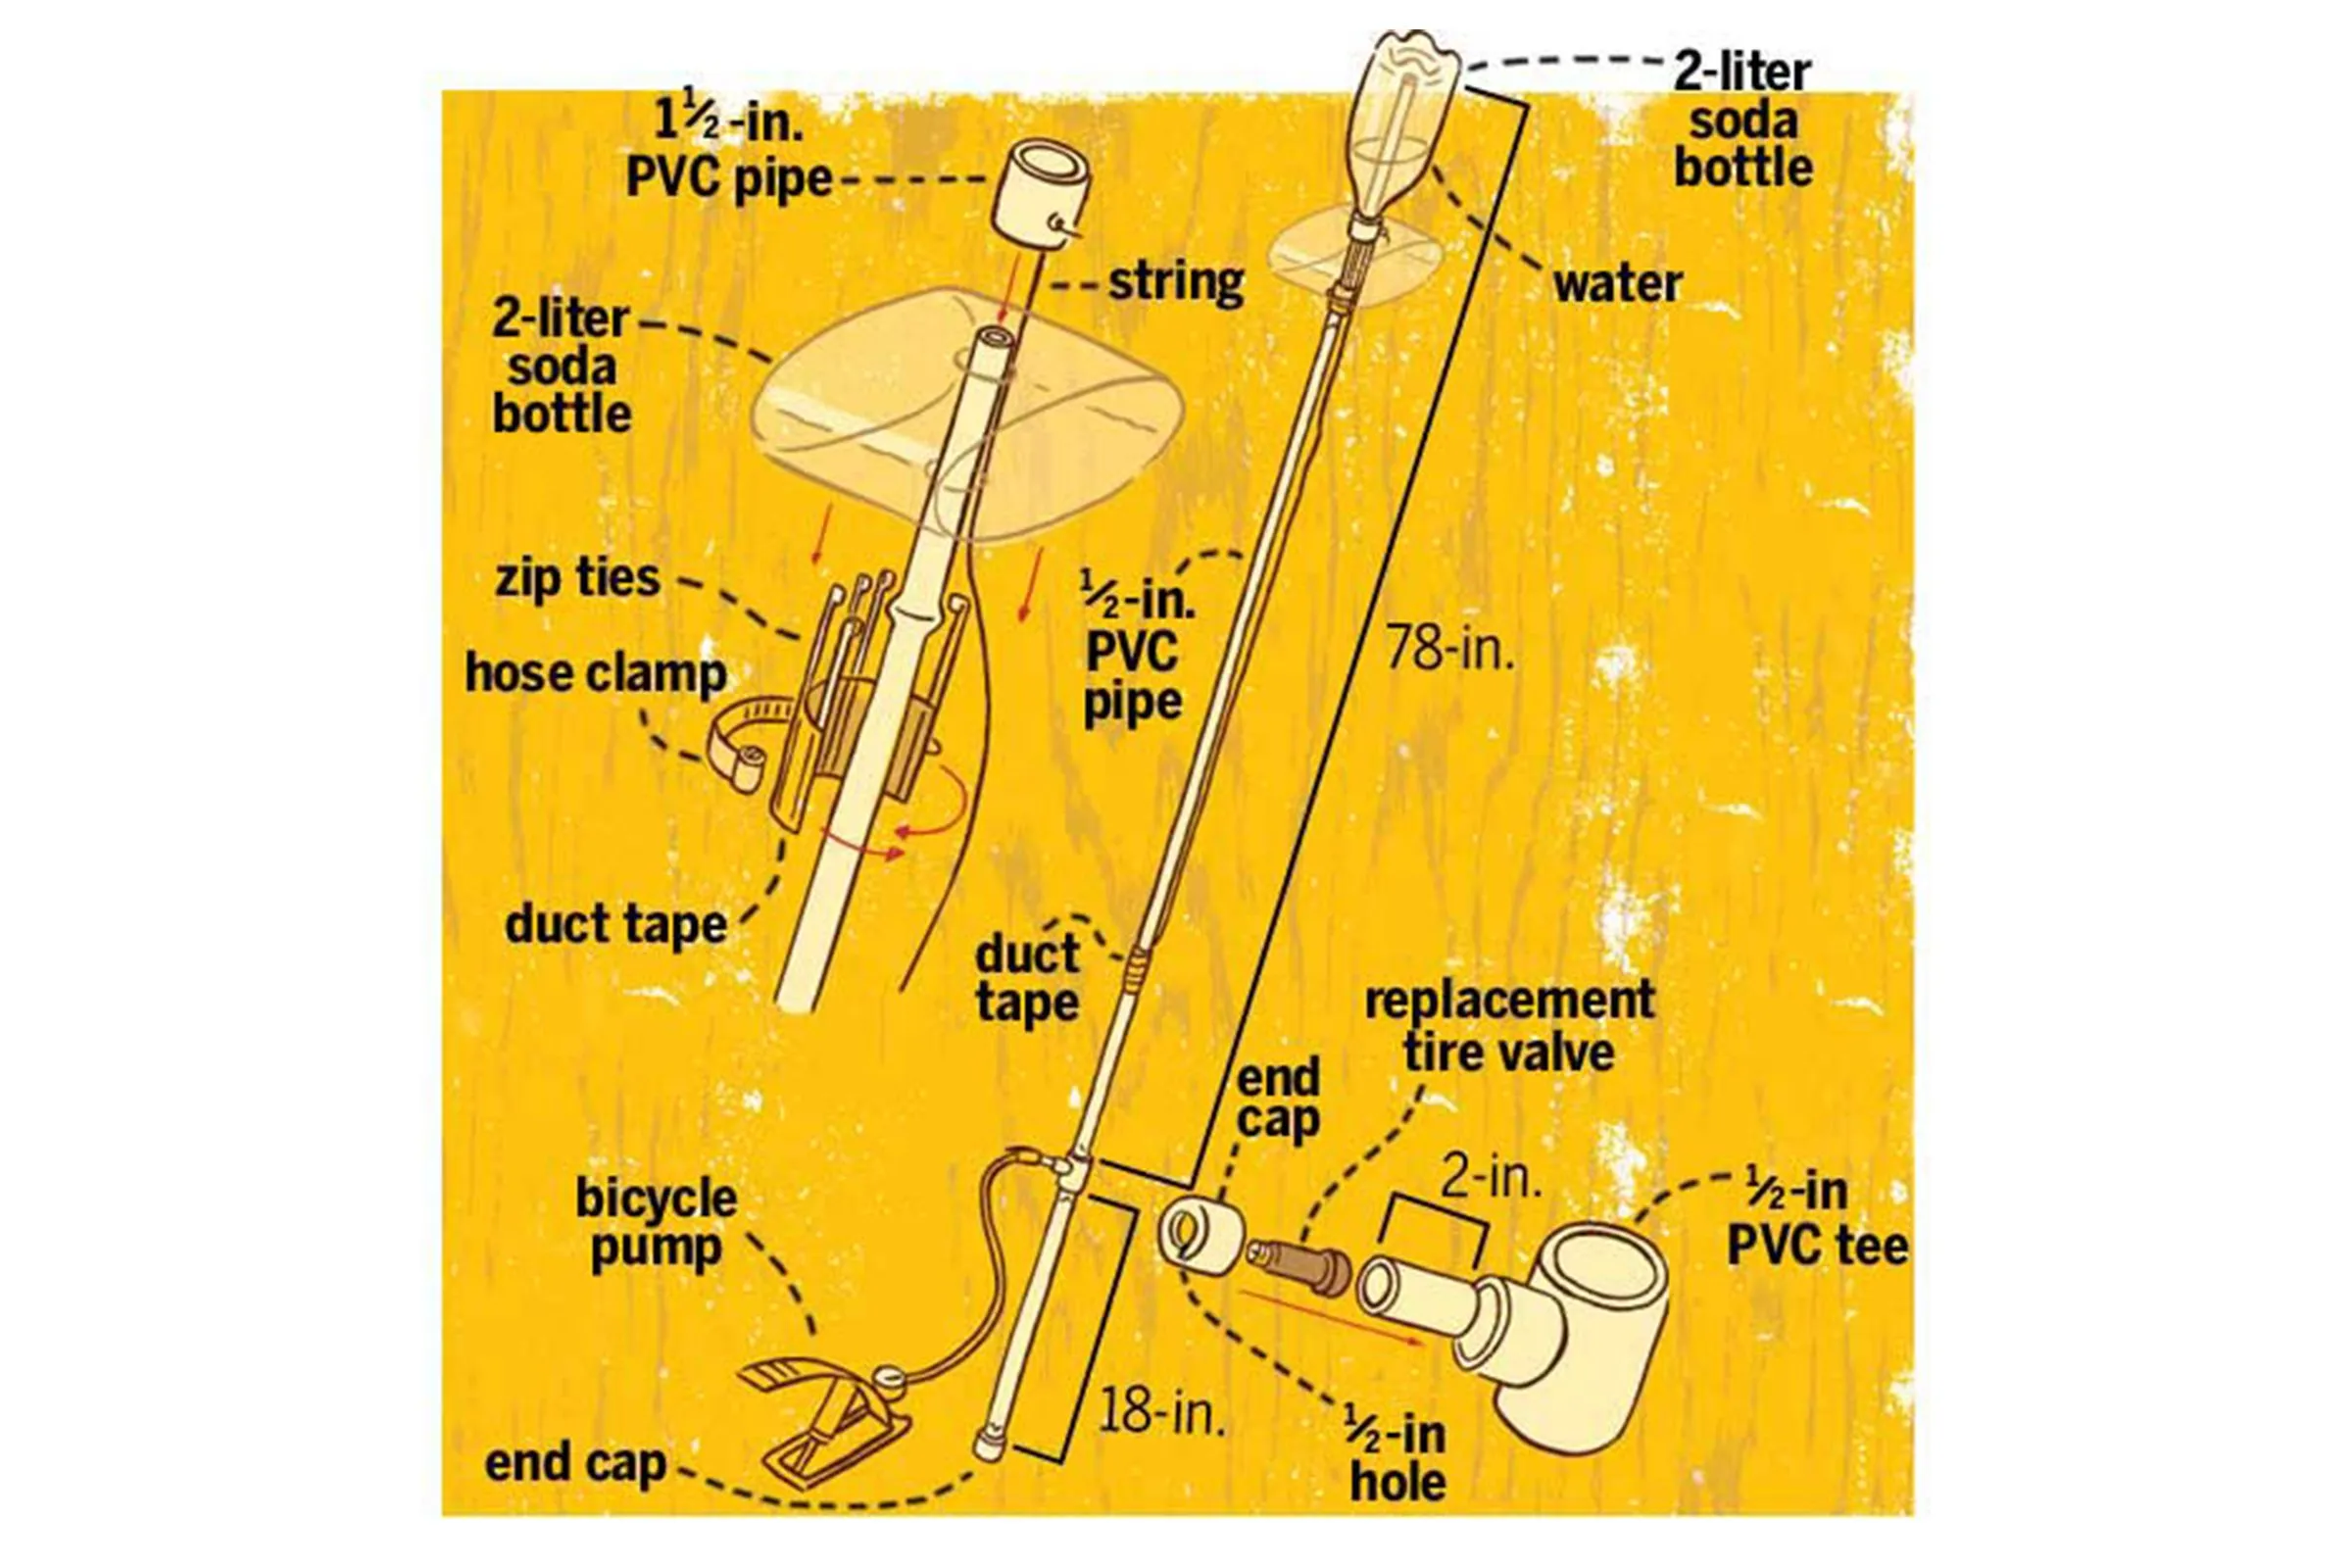
- Pump: A bike pump with a needle adapter is essential for pressurizing the bottle.
- Cardboard or Plastic Fins: To stabilize your rocket during flight. You can cut these into triangular shapes.
- Duct Tape: This handy tool will help secure the fins to the bottle.
- Safety Goggles: Always wear these to protect your eyes during the launch.
Here's a simple table summarizing the materials:
| Material | Description |
|---|---|
| Plastic Bottle | 1-liter or 2-liter soda bottle for the rocket body. |
| Water | Used to create thrust when pressurized. |
| Cork | Seals the bottle until launch. |
| Pump | Pressurizes the water rocket. |
| Fins | Stabilizes the rocket's flight. |
| Duct Tape | Secures components together. |
| Safety Goggles | Protects your eyes during launch. |
With these materials in hand, you’re all set to embark on your water rocket adventure!
Also Read This: Changing Your Foap Username: A Quick How-To Guide
Step-by-Step Instructions
Making a water rocket is an exciting DIY project that combines science and fun! Here’s a straightforward guide to help you get started:
- Gather Your Materials: You will need:
- A plastic bottle (1 or 2-liter soda bottle works best)
- Water
- A cork that fits snugly in the bottle opening
- A bicycle pump with a needle adapter
- Cardboard for fins (optional)
- Tape or glue
Also Read This: How to Record Gameplay on YouTube TV as a Beginner
Tips for Successful Launches
Ready to take your water rocket launching to the next level? Here are some handy tips to ensure your rocket reaches new heights:
- Perfect the Water Ratio: Experiment with different water levels. Too much water can weigh it down, while too little may not provide enough thrust. Aim for around one-third of the bottle's capacity.
- Enhance Stability: If you're using fins, make sure they are symmetrical and securely attached. This will help the rocket fly straight.
- Choose the Right Launch Angle: For maximum altitude, launch your rocket at a slight angle (around 30 degrees) rather than straight up.
- Weather Considerations: Wind can affect the trajectory of your rocket. Try launching on a calm day for the best results!
- Safety First: Always wear safety goggles and ensure everyone is at a safe distance during the launch.
- Record Your Results: Take notes on what works and what doesn’t. Keep track of water amounts, air pressure, and launch angles to repeat successful launches!
Also Read This: How to Work with Shutterstock and Optimize Your Experience
5. Safety Precautions
Before launching your water rocket, it’s essential to prioritize safety. Even though this is a fun DIY project, there are a few precautions you should take to ensure everyone enjoys the experience without any mishaps.
- Choose a Safe Launch Area: Select an open space away from people, pets, and anything fragile. A flat, grassy area is ideal.
- Wear Protective Gear: Consider wearing goggles to protect your eyes from any unexpected splashes or rocket debris.
- Check for Wind Conditions: Avoid launching on windy days. Strong gusts can affect the rocket's trajectory and might lead to accidents.
- Supervise Kids: If children are involved, ensure they are supervised at all times. It’s crucial to explain the importance of staying at a safe distance during the launch.
- Use Proper Materials: Ensure your rocket components are sturdy and securely attached to avoid breakage during flight.
- Test Launches: Conduct a few dry runs to check your setup before the actual launch. This helps identify any potential issues.
By following these safety precautions, you can create a fun and secure environment for your water rocket launch!
6. Conclusion and Next Steps
Congratulations! You've successfully built your water rocket and taken it for a launch. This DIY project isn't just about the thrill of watching your rocket soar; it's also a fantastic opportunity to learn about physics, aerodynamics, and the scientific method.
So, what's next? Here are a few suggestions:
- Experiment with Design: Try modifying your rocket's shape or weight. How do different designs affect its flight? This exploration can lead to exciting discoveries!
- Organize a Launch Event: Gather friends or family for a friendly competition. Who can launch their rocket the highest? Create a leaderboard for some extra fun.
- Dive into Science: Explore the principles of rocket science further. Research topics like thrust, drag, and propulsion to enhance your understanding.
- Document Your Findings: Keep a journal of your launches. Note the altitude, flight time, and any modifications you made. This can be a great resource for future projects.
Remember, the sky's the limit when it comes to creativity and learning with your water rocket project!