Have you ever looked up at the night sky and wondered what it's like to soar among the stars? Making a rocket at home is not just a fun activity; it's a fantastic way to explore the principles of physics, chemistry, and engineering—all while having a blast! In this guide, we’ll walk you through the process step-by-step, and we'll even provide a Dailymotion video for extra clarity. So, gather your materials, roll up your sleeves, and let's launch into this exciting project!
Materials Needed
Before we get started, it's essential to gather all the necessary materials to ensure a smooth building experience. Here's a handy list of everything you'll need:
- Plastic bottle: A 1-2 liter empty plastic soda bottle works best for our rocket body.
- Cork: A cork that fits snugly in the mouth of the bottle. This will act as your rocket's stopper.
- Water: You’ll need a bit of water for propulsion.
- Baking soda: This will be used in combination with vinegar for a chemical reaction.
- Vinegar: A common household item that, when combined with baking soda, creates a gas that propels the rocket.
- Paper towel or small cloth: To wrap the baking soda for a delayed reaction.
- Duct tape: To secure the cork if necessary.
- Safety goggles: Always prioritize safety when conducting experiments!
- Launch pad: A flat surface or an outdoor space clear of obstacles is ideal for launching.
With these materials on hand, you're ready to embark on your rocket-making adventure! Make sure to follow the steps carefully to ensure a successful launch. Ready to blast off?
Also Read This: How to Make Cheese with DIY Cheese Making Tips
Preparation Steps
Before diving into the exciting world of rocket building, it's crucial to prepare properly. This ensures both safety and success in your project. Here’s a checklist to help you get organized:
- Gather Materials: You'll need a few essential supplies including:
- Plastic bottle (1-liter or 2-liter)
- Water
- Baking soda
- Vinegar
- Paper or cardboard (for fins)
- Scissors
- Tape or glue
- Safety goggles
- Open outdoor space
- Measuring cup
- Choose a Launch Site: Find an open area away from trees, buildings, and power lines. Safety first!
- Safety Gear: Always wear safety goggles to protect your eyes. It’s better to be safe than sorry!
- Plan Your Launch: Decide on the time and date for your launch. Make sure the weather is clear and calm.
Once you've got everything in place, you're ready to move on to the fun part—building your rocket!
Also Read This: Creating an Adorable Owl Charm with Dailymotion DIY Tips
Building the Rocket
Now that you've prepared, it’s time to put your rocket together! This is where the real fun starts. Follow these steps carefully, and you'll have your very own rocket ready for launch:
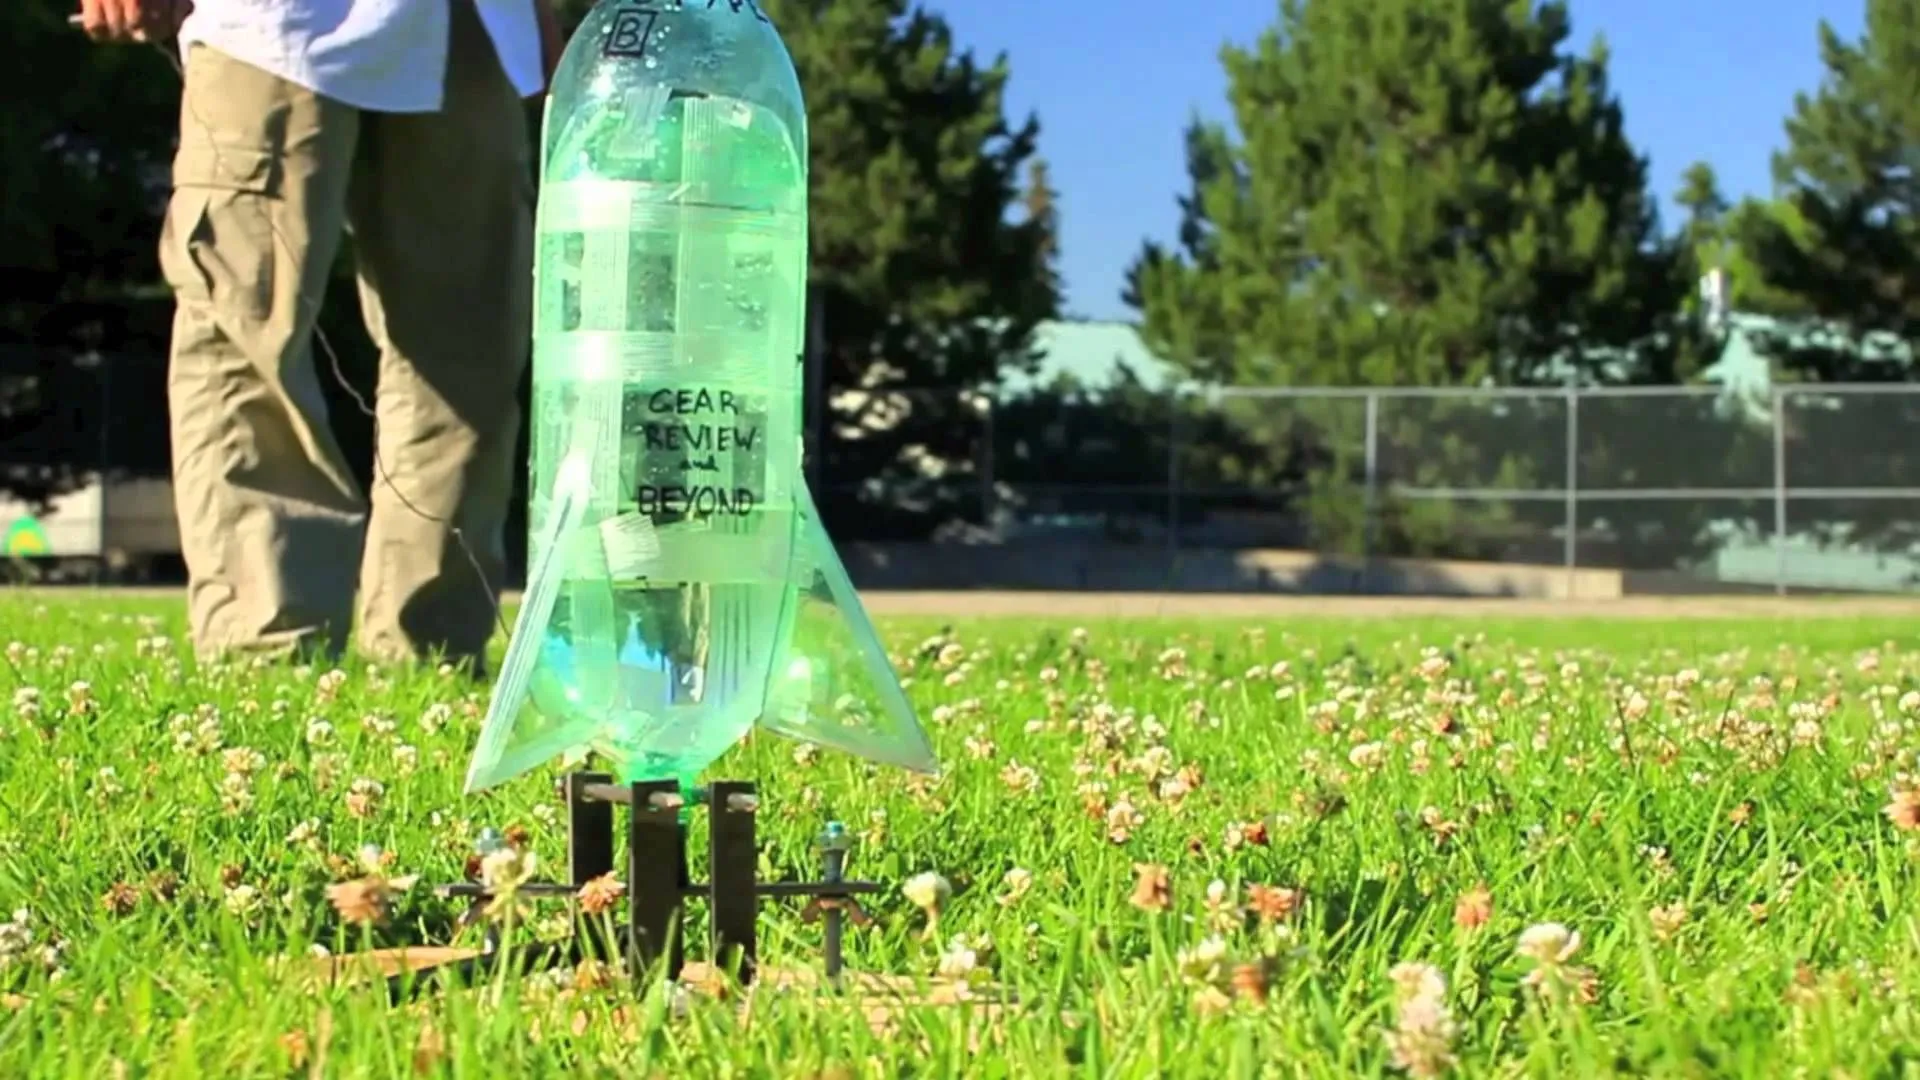
- Create the Rocket Body: Take your plastic bottle; this will be the main body of your rocket. Rinse it out and remove any labels.
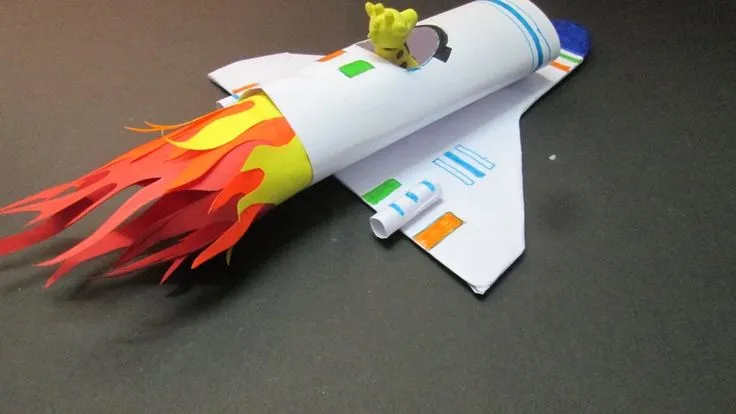
- Make the Fins: Cut out three to four triangular shapes from the paper or cardboard. These will act as stabilizers. Attach them evenly around the bottom of the bottle using tape or glue.
- Add the Nose Cone: For better aerodynamics, create a nose cone using a piece of paper or cardboard. Shape it into a cone and attach it to the top of the bottle.
- Prepare the Fuel: In a separate container, mix vinegar with baking soda. Be cautious, as this will create a reaction!
- Load Your Rocket: Pour a small amount of water into the bottle, then quickly add the vinegar and baking soda mixture. Immediately seal the bottle with the cap.
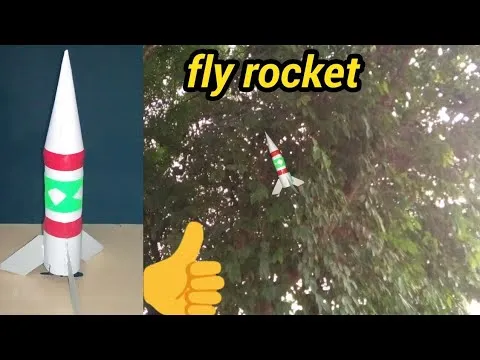
- Launch It! Place your rocket on the ground, step back, and watch it soar into the sky!
And there you have it! You've built your own rocket. Remember, each launch is an opportunity to experiment and improve your design. Have fun and enjoy the thrill of your homemade rocket!
Curl error: Connection timed out after 50003 milliseconds
Also Read This: Best Practices for Uploading Your Projects on Behance
5. Launching the Rocket
After putting in all that hard work to build your rocket, it’s finally time for the moment of truth: launching it! This part is not only thrilling but also requires some careful planning to ensure everything goes smoothly. Here’s how to do it step by step:
- Choose a Launch Site: Find an open space away from trees, buildings, and power lines. A flat area, like a park or a large backyard, is ideal.
- Set Up Your Launch Pad: If you've built a launch pad, make sure it’s stable and securely positioned. If not, you can simply use a flat surface to hold your rocket.
- Check the Weather: Wind can greatly affect your rocket’s flight. Make sure it’s a calm day with little to no wind for the best results.
- Gather Your Launch Gear: You’ll need your rocket, the launch mechanism (like a launch controller), and safety goggles for protection.
- Count Down: Get everyone excited by starting a countdown from 10. This builds anticipation and ensures everyone is ready for the launch.
- Launch! Press the launch button or ignite the rocket according to your design. Watch in awe as your creation soars into the sky!
Remember, the first launch can be a little unpredictable, so enjoy the ride! And don't forget to take notes on how it performed for future improvements.
Also Read This: Shutterstock vs Adobe Stock: Decoding the Battle of Visual Giants
6. Safety Precautions
Safety should always be your top priority when launching a rocket. Even though it’s a fun and educational activity, there are several precautions to keep in mind to ensure everyone has a great time without any mishaps.
- Wear Protective Gear: Always wear safety goggles to protect your eyes from any debris or unexpected explosions.
- Maintain a Safe Distance: Keep a safe distance from the rocket during launch. A distance of at least 15–20 feet is recommended.
- Check Your Rocket: Before launching, inspect your rocket for any loose parts or defects that could cause it to malfunction during flight.
- Have a Fire Extinguisher Ready: If you’re using combustible materials, have a fire extinguisher on hand just in case something goes wrong.
- Never Launch Indoors: Always launch your rocket outdoors. Indoor launches can be incredibly dangerous.
- Follow Local Laws: Check local regulations regarding rocket launches. Some areas have specific guidelines you must follow.
By keeping these safety precautions in mind, you can ensure a fun and safe launching experience for everyone involved. Remember, it’s all about having fun while staying safe!
Also Read This: Connecting with Recruiters on LinkedIn Benefits and Risks
Troubleshooting Common Issues
Building a rocket at home can be an exhilarating experience, but it’s not without its challenges. If you encounter any bumps along the way, don’t worry! Here are some common issues you might face and how to resolve them:
- Rocket Fails to Launch:
This can be frustrating! First, check if your fuel is mixed correctly. If you’re using baking soda and vinegar, ensure the proportions are right—usually about 1 part baking soda to 3 parts vinegar works well. Additionally, make sure the launch angle is optimal; a slight tilt can make a huge difference.
- Rocket Doesn’t Reach Desired Height:
If your rocket isn’t flying as high as you’d hoped, consider the following:
- Increase the amount of fuel used, but don’t overdo it! Too much can lead to instability.
- Check the weight of your rocket. If it’s too heavy, it may not have enough thrust. Lighten it up if possible.
- Ensure the fins are properly attached and aligned. Misaligned fins can cause drag and reduce altitude.
- Rocket Tips Over During Flight:
This could indicate a stability issue. Make sure your rocket is balanced. You can do this by adding weight to the nose cone or adjusting the position of the fins.
- Launch Pad Malfunctions:
If your launch pad isn’t functioning correctly, check for obstructions or ensure that the launch mechanism is in good working order. Sometimes a simple adjustment can solve the problem!
Conclusion
Building a rocket at home is not just a fun project; it’s a fantastic way to learn about physics, engineering, and the principles of flight. By following the step-by-step guide and troubleshooting common issues, you can create a rocket that soars high into the sky.
Remember, the key to success is patience and experimentation. Don’t be afraid to tweak your designs or try different materials. Each launch is an opportunity to learn something new, and even if your rocket doesn’t reach the stars on the first try, you’re still gaining valuable experience.
So gather your materials, gather your friends or family, and embark on this exciting journey together. Who knows? You might just inspire the next generation of rocket scientists!