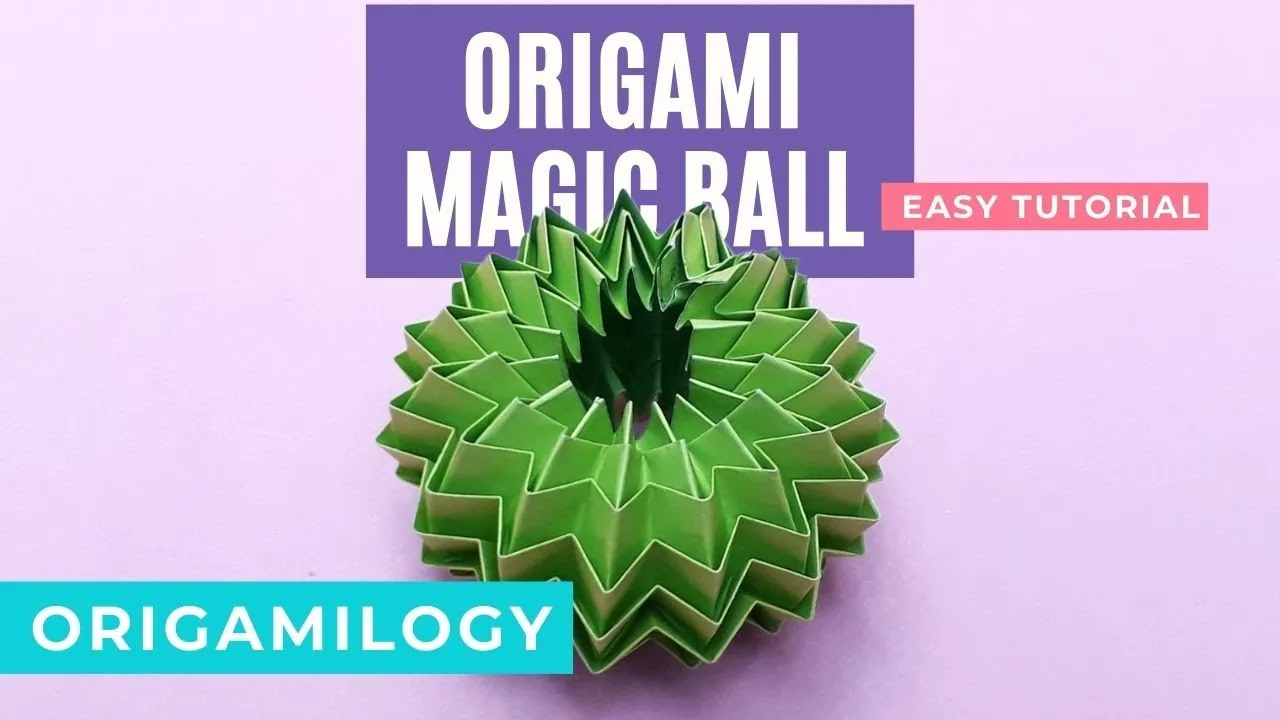
Have you ever seen a paper magic ball and marveled at its intricate design? Making one might seem daunting, but it’s actually a fun and rewarding craft that anyone can tackle! Whether you’re looking to impress friends, enhance your decor, or just enjoy a little creative time, this guide will walk you through the process step by step. Grab your materials and let’s get started on creating your very own paper magic ball!
Materials Needed
Before you dive into the crafting process, it’s essential to gather all the necessary materials. Fortunately, making a paper magic ball doesn’t require anything fancy or expensive. Here’s a list of what you’ll need:
- Colored Paper: Choose a few sheets in different colors to give your magic ball a vibrant look. Standard origami paper works wonders!
- Scissors: A good pair of scissors will help you cut your paper accurately.
- Glue or Tape: You'll need this to hold your paper pieces together. A glue stick or double-sided tape works best!
- Pencil: Use this for marking lines or patterns on your paper.
- Ruler: A ruler will help you measure and cut straight lines, ensuring your pieces fit together perfectly.
- Craft Knife (optional): If you prefer precision cuts, a craft knife can be handy for more intricate designs.
- Template Printouts (optional): You can find printable templates online to make the process easier, especially if you’re a beginner.
Once you have all these materials gathered, you’ll be ready to embark on your crafting adventure. So, let’s get those creative juices flowing!
Also Read This: Hiding appreciated posts on Behance
Step-by-Step Instructions
Creating a paper magic ball is an enjoyable and straightforward craft project that anyone can tackle, regardless of their experience level. Let’s break it down into manageable steps.
- Gather Your Materials: You’ll need:
- Six square sheets of paper (origami paper works best, but any paper will do)
- Scissors
- Glue or tape
- A pencil (optional for marking)
- Prepare Your Paper: Cut your squares to the desired size. A 6x6 inch square is a good starting point.
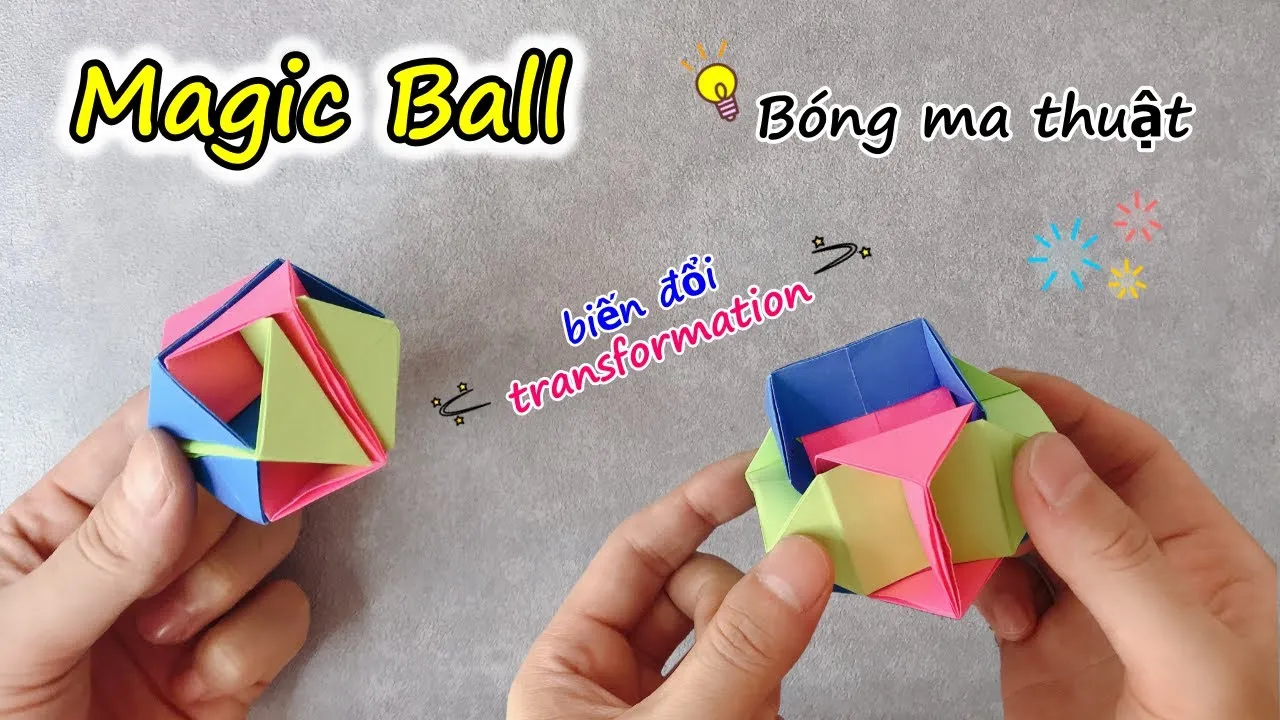
- Create the Triangles: Fold each square in half diagonally to create a triangle. Unfold it and then fold the opposite corners towards the center crease. This will form a smaller triangle.
- Form the Base Shape: Fold the edges of the smaller triangle towards the center, creating a smaller triangle once again. This will be the base of your magic ball.
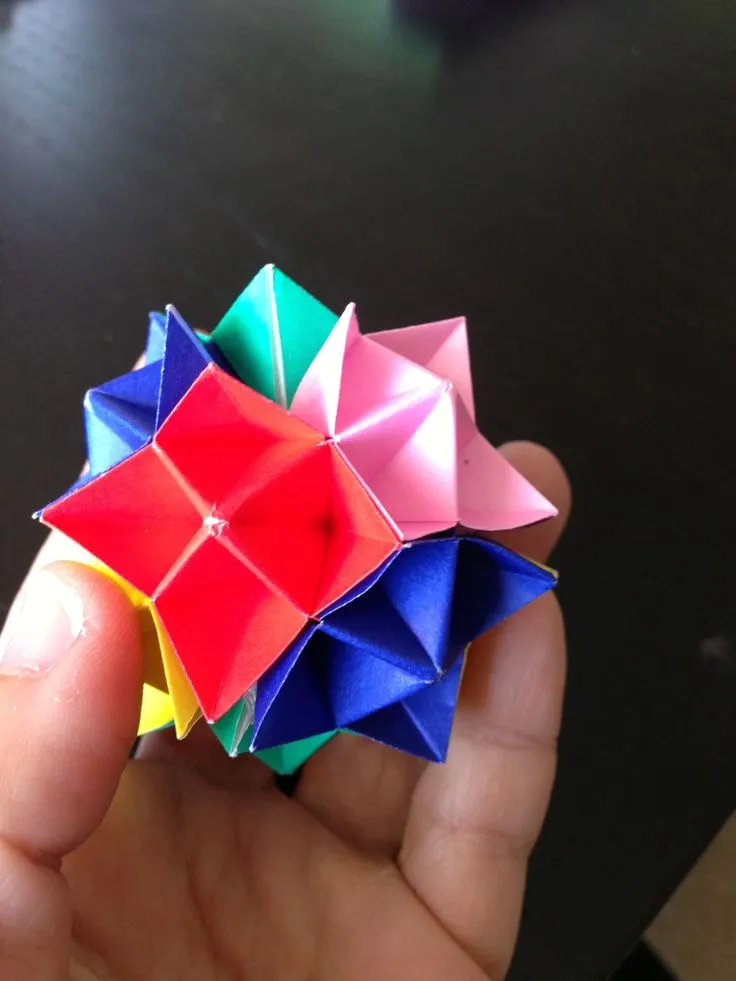
- Assemble the Pieces: Repeat the folding process for all six squares. Once done, take the first piece and apply glue or tape to one side, then attach the next piece. Continue this process until all pieces are connected.
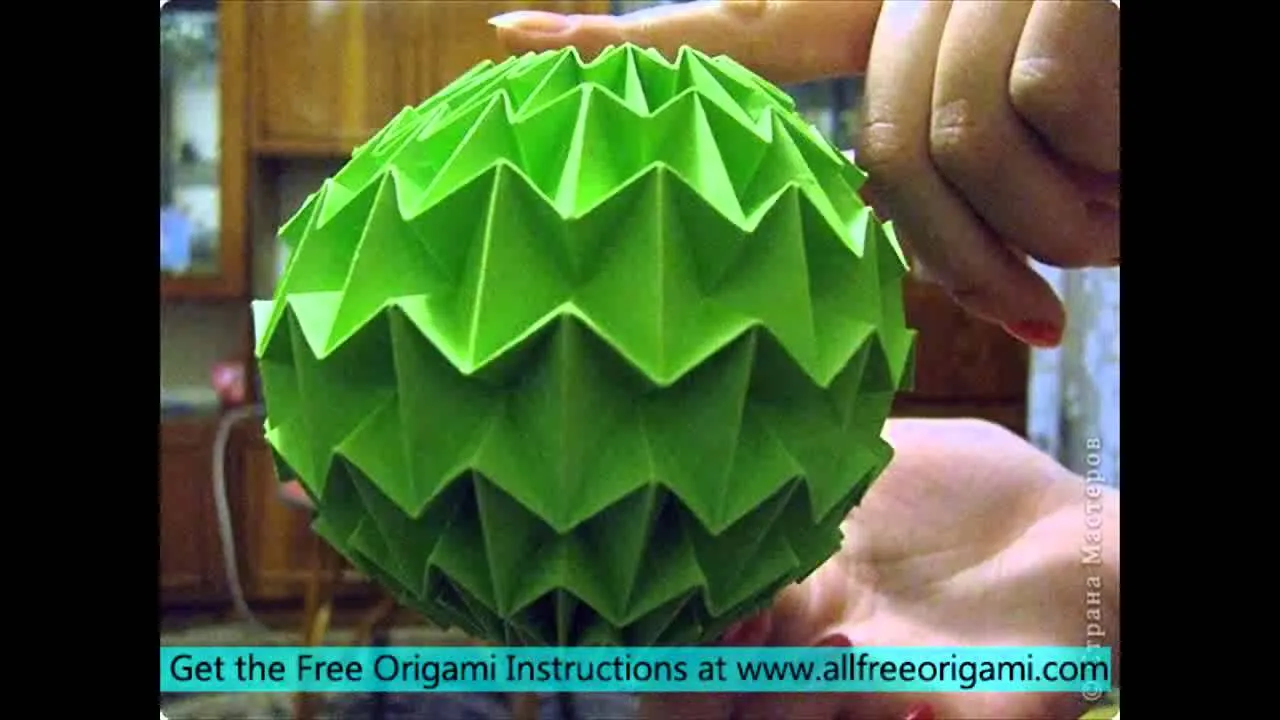
- Complete the Ball: Once all pieces are connected, gently shape your magic ball into a spherical form. Make sure everything is securely fastened.
- Decorate (Optional): Use markers or stickers to personalize your magic ball. You can even write fun messages or designs on each face.
And there you have it! Your very own paper magic ball. It’s a fun and creative project that you can enjoy alone or with friends!
Also Read This: Behance photo download guide
Tips for Success
While making a paper magic ball is pretty straightforward, there are a few tips that can help ensure your project turns out as beautifully as possible. Here are some handy suggestions:
- Choose Quality Paper: The type of paper you use can greatly affect the durability and appearance of your magic ball. Thicker paper can make the ball sturdier.
- Be Precise with Your Folds: The cleaner your folds, the better your magic ball will look. Take your time and make sure each fold is crisp and aligned.
- Use a Bone Folder: If you have one, a bone folder can help create sharp, clean folds, which adds to the overall look of your project.
- Experiment with Patterns: Don’t be afraid to mix and match different colors and patterns of paper. This can make your magic ball even more visually appealing.
- Secure the Edges: Make sure to use enough glue or tape to ensure all edges are securely fastened. You don’t want your creation falling apart!
- Practice Patience: If you’re a beginner, it might take a few tries to get it just right. Don’t rush the process; enjoy the craft!
With these tips in mind, you’ll be well on your way to crafting an impressive paper magic ball that’s sure to wow your friends and family!
Also Read This: How to Get Your Photos on Getty Images for Aspiring Photographers
Creative Variations
Once you've mastered the basic paper magic ball, why not spice things up with some creative variations? There are countless ways to personalize your magic ball, making it not just a fun craft but also a unique piece of art. Here are a few ideas to get your creative juices flowing:
- Colorful Patterns: Instead of plain paper, use patterned paper or scrapbook paper. Floral designs, polka dots, or even comic book pages can add a vibrant touch.
- Theme-Based Balls: Create a magic ball that fits a specific theme. For example, make a Halloween version using orange and black paper, or a holiday version with festive colors and designs.
- Personalized Messages: Write inspiring quotes, fun challenges, or personal affirmations on each section. This way, every time you use the magic ball, you get a little burst of positivity.
- Interactive Elements: Make your magic ball interactive by attaching small trinkets or toys inside. This adds an element of surprise and makes it even more engaging.
- Size Variations: Experiment with different sizes. Create a giant version for a centerpiece or mini ones for party favors!
These creative variations not only enhance the magic ball's aesthetic appeal but also make it a versatile craft that can be adapted for various occasions and personal styles. So, grab your crafting supplies and let your imagination run wild!
Conclusion
Making a paper magic ball is not just a delightful craft; it’s also a fantastic way to express your creativity! Whether you're working on the basic version or trying out some of the fun variations we've discussed, this project can be both enjoyable and rewarding. Plus, it’s perfect for all ages, making it a great activity for families, friends, or even solo crafting sessions.
As you wrap up your magic ball, take a moment to reflect on the process. Crafting can be therapeutic, and the joy of creating something with your own hands is truly special. Remember, the best part about the paper magic ball is that there are no strict rules—feel free to experiment and make it your own. Show it off at gatherings, use it as a fun decision-making tool, or simply enjoy the satisfaction of knowing you made something magical!
So, roll up those sleeves, gather your materials, and dive into this easy and enjoyable project. You’ll be amazed at what you can create!