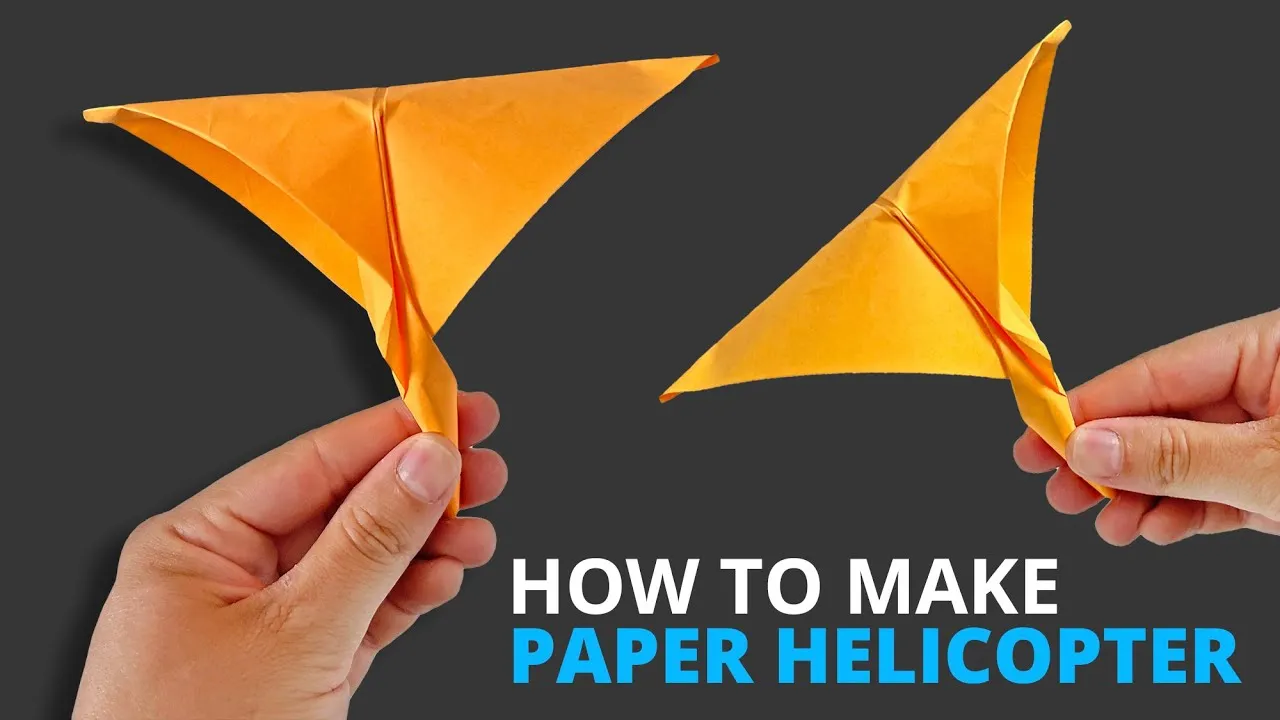
Have you ever watched a paper helicopter spin gracefully to the ground? It's a delightful sight that sparks curiosity and fun! In this blog post, we're diving into the fascinating world of paper helicopters and discovering how to make them fly longer. Whether you're a kid experimenting at home or an educator engaging students in science, this guide will help you understand the principles behind flight and improve your helicopter's performance. Let's get started on this exciting journey!
Materials Needed
Creating a paper helicopter is simple and requires only a few materials. Here’s a handy list to gather before you start your experiment:
- Paper: You can use regular printer paper, construction paper, or even an old magazine page. Just ensure it's lightweight!
- Scissors: A good pair of scissors will help you cut the paper accurately.
- Paper Clip: A small paper clip adds weight to the helicopter, which helps it fly better.
- Ruler: This will help you measure the dimensions of your helicopter for consistency.
- Pencil: A pencil can be used for marking measurements on the paper.
- Tape or Glue (optional): To secure any parts if needed, but it's usually not necessary for a simple helicopter.
Here’s a quick table summarizing the materials:
| Material | Purpose |
|---|---|
| Paper | Body of the helicopter |
| Scissors | Cutting the paper |
| Paper Clip | Adding weight for stability |
| Ruler | Measuring dimensions |
| Pencil | Marking measurements |
| Tape/Glue | Securing parts (optional) |
With these materials in hand, you're ready to embark on your paper helicopter adventure! Let's see how we can make them soar longer and better!
Also Read This: Pricing Your Photos on Picfair: Best Practices
Step-by-Step Instructions
Making a paper helicopter is a fun and educational activity that demonstrates the principles of flight. Let’s break it down into simple steps:
- Gather Your Materials: You will need a piece of paper (preferably a lightweight paper), scissors, a ruler, and a pencil.
- Cut the Paper: Using the ruler, measure and cut a rectangle that is 10 cm wide and 20 cm long. This will be the body of your helicopter.
- Create the Rotor Blades: From the top of the rectangle, measure down about 5 cm and cut two slits that are each 5 cm long. Make sure to not cut all the way through—leave a small area uncut at the top to hold the blades together.
- Fold the Rotor Blades: Carefully fold each blade outward so they form an angle. This is crucial as it will help catch more air when you launch your helicopter.
- Add a Weight: You can attach a small paper clip or a piece of tape to the bottom of your helicopter. This weight helps the helicopter descend more slowly, extending flight duration.
- Launch Your Helicopter: Hold the top of the helicopter and gently release it from a height. Watch it spin and glide down gracefully!
And there you have it! With these simple steps, you've created your own paper helicopter that’s ready to take flight.
Also Read This: Understanding the YouTube Shorts Algorithm Key Factors for Success
Tips for Enhancing Flight Duration
If you want your paper helicopter to soar longer, consider these handy tips:
- Adjust the Weight: Experiment with different weights. A heavier helicopter may descend slower but could also lose stability.
- Optimize Blade Angle: The angle of the rotor blades significantly affects flight. Adjusting them slightly can help you find the best lift.
- Choose the Right Paper: Lightweight paper works best. Try using printer paper for a good balance between weight and sturdiness.
- Increase Height of Launch: The higher you drop your helicopter, the longer it will have to glide. Find a safe spot to launch from a height!
- Experiment with Designs: Don’t hesitate to modify the design! Try different blade lengths, widths, and shapes to see how they impact performance.
Remember, the key to longer flights is experimentation. Have fun and see what designs work best for you!
Also Read This: Troubleshooting Fortiguard Downloader: A Complete Guide
Common Mistakes to Avoid
When creating and flying your paper helicopter, it’s easy to overlook some essential details that can affect its performance. Here are some common mistakes to avoid to ensure your helicopter soars longer and straighter:
- Not Cutting Evenly: If your helicopter's blades aren’t cut evenly, it can cause uneven lift. Take your time with scissors and measure carefully.
- Incorrect Weight Distribution: Adding too much weight to one side can lead to a lopsided flight. Ensure that any added weights, like paper clips, are balanced on both sides.
- Ignoring Blade Length: Longer blades can provide more lift, but if they’re too long, they may create too much drag. Experiment with different lengths to find the sweet spot.
- Overcomplicating the Design: While it can be tempting to add extra features, stick to a simple design first. Complex designs can hinder stability.
- Not Testing Enough: Remember, practice makes perfect! Don’t skip out on testing your helicopter multiple times. Each flight gives you insights into necessary adjustments.
Avoiding these mistakes will set you up for success and make your helicopter flying experience much more enjoyable!
Conclusion
In conclusion, making a paper helicopter fly longer is a fun and educational project that combines creativity with basic physics. By following the steps outlined in this guide, you can enhance your helicopter's performance. Remember, the key elements include:
- Using lightweight materials.
- Ensuring symmetrical and balanced designs.
- Fine-tuning your helicopter based on trial and error.
Experimenting with different designs, weights, and blade lengths can lead to innovative creations that might surprise you! Don’t forget to take note of your findings; you might discover a unique design that outshines all others. So, gather your materials, avoid those common pitfalls, and let your imagination take flight!