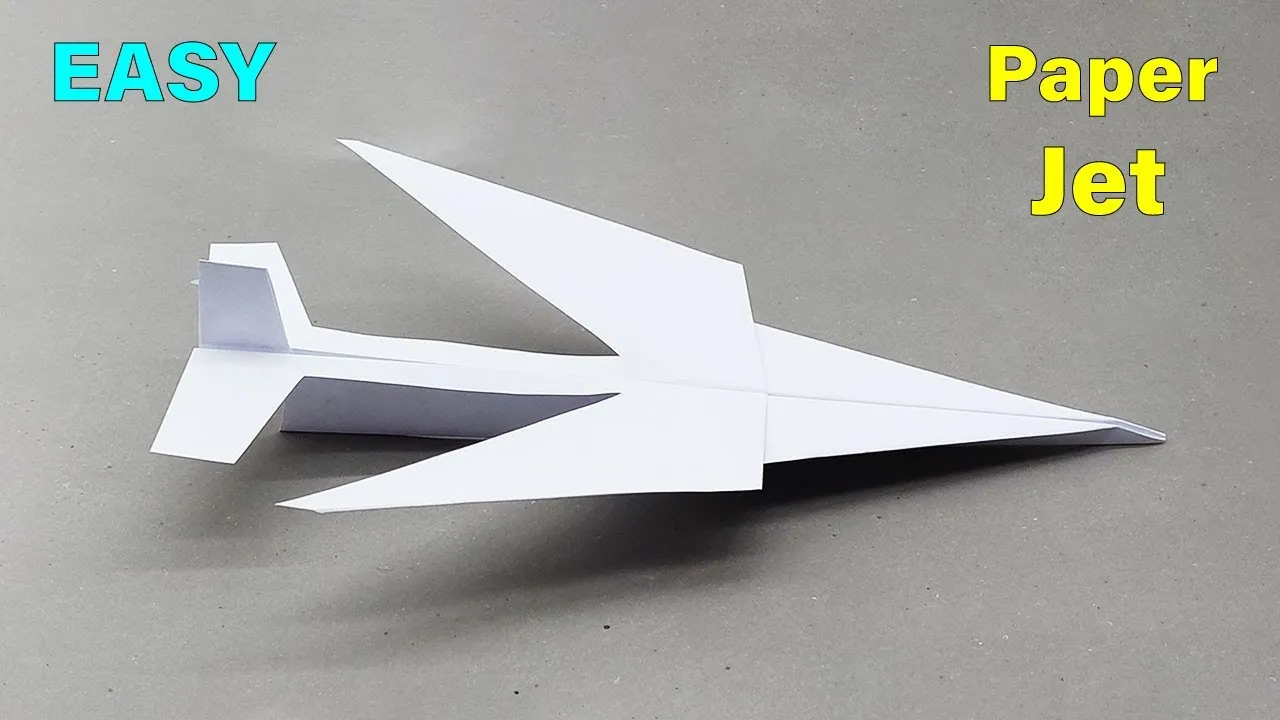
Have you ever watched a paper airplane soar through the air and thought, "I want to make one of those!"? Well, you're in the right place! In this fun crafting tutorial, we're going to dive into the exciting world of paper airplanes, specifically how to make a paper airplane jet. Not only is this a fantastic activity for kids, but it’s also a great way for adults to relive some childhood memories. So grab some materials, and let's get started on creating your very own paper jet that will zoom through the skies!
Materials Needed
Before we start folding and flying, let’s gather everything you'll need to create your paper airplane jet. Here’s a handy list to make sure you have everything ready:
- Paper: You can use regular printer paper, colored paper, or even recycled paper. Standard letter size (8.5 x 11 inches) works best.
- Scissors: You'll need these if you want to customize the shape of your jet. Make sure they are sharp enough to cut cleanly through the paper.
- Tape or Glue: This is optional, but if you want to secure certain folds or add embellishments, having some tape or glue on hand can be helpful.
- Markers or Crayons: Get creative! Use these to decorate your jet with cool designs, patterns, or even your name.
- Ruler (optional): If you want to be precise with your folds, a ruler can help you measure and create straight lines.
That's it! With these materials in hand, you're all set to start crafting your very own paper airplane jet. Let’s take flight into the fun of folding!
Also Read This: How to Download FIFA 14 for PC from Dailymotion
3. Step-by-Step Instructions
Creating a paper airplane jet can be a fun and engaging activity for both kids and adults. Follow these easy steps to bring your paper airplane jet to life:
- Gather Your Materials:
You'll need a standard sheet of paper (8.5 x 11 inches works best), a ruler, and a pencil (optional). If you want to get fancy, colored paper or markers can be used for decoration. - Fold the Paper in Half:
Start by folding the paper in half lengthwise. This will create a crease down the center. Unfold it to reveal the crease, as you'll use it as a guide for the next folds. - Create the Nose:
Take the top corners of the paper and fold them down towards the center crease to form a triangle. This will be the nose of your jet. - Form the Wings:
Fold the paper down again, so the top point meets the bottom edge. Then, fold each side down diagonally to form the wings. Make sure both wings are symmetrical for balanced flight. - Adjust the Wing Flaps:
To give your airplane jet better aerodynamics, you can fold the ends of the wings up slightly. This will help with lift when flying. - Final Touches:
Decorate your jet if you like! Use markers, stickers, or colored paper to add some flair. And don’t forget to give it a name! - Ready to Fly:
Hold the airplane from the bottom, just behind the nose, and give it a gentle toss. Watch it soar!
Also Read This: A Comprehensive Guide to Getting Paid on Shutterstock
4. Tips for Better Flight Performance
Now that you've crafted your paper airplane jet, you might be wondering how to make it fly better. Here are some handy tips to improve its performance:
- Use Quality Paper:
Lightweight paper is ideal, but don’t use paper that’s too flimsy. A standard printer paper usually strikes the right balance. - Check Your Folds:
Ensure all your folds are crisp and sharp. Using a ruler to press down on the folds can help achieve precision. - Weight Distribution:
If your jet tends to nosedive or stall, consider adding a small paperclip to the nose. This will help balance the weight and improve flight stability. - Experiment with Wing Angles:
Slightly adjusting the angle of the wings can drastically affect flight. Try folding the wings up or down to see which configuration works best. - Test Different Designs:
Don’t be afraid to experiment! Try varying the size of the wings or the length of the body to see how it affects flight performance. - Find the Right Launch Technique:
A gentle, smooth toss usually works best. Avoid throwing too hard, as it can disrupt the aerodynamics of your paper jet.
With these tips, your paper airplane jet is sure to take flight like a pro! Happy flying!
Also Read This: Stream Dailymotion Videos on Kindle Fire with Video Help
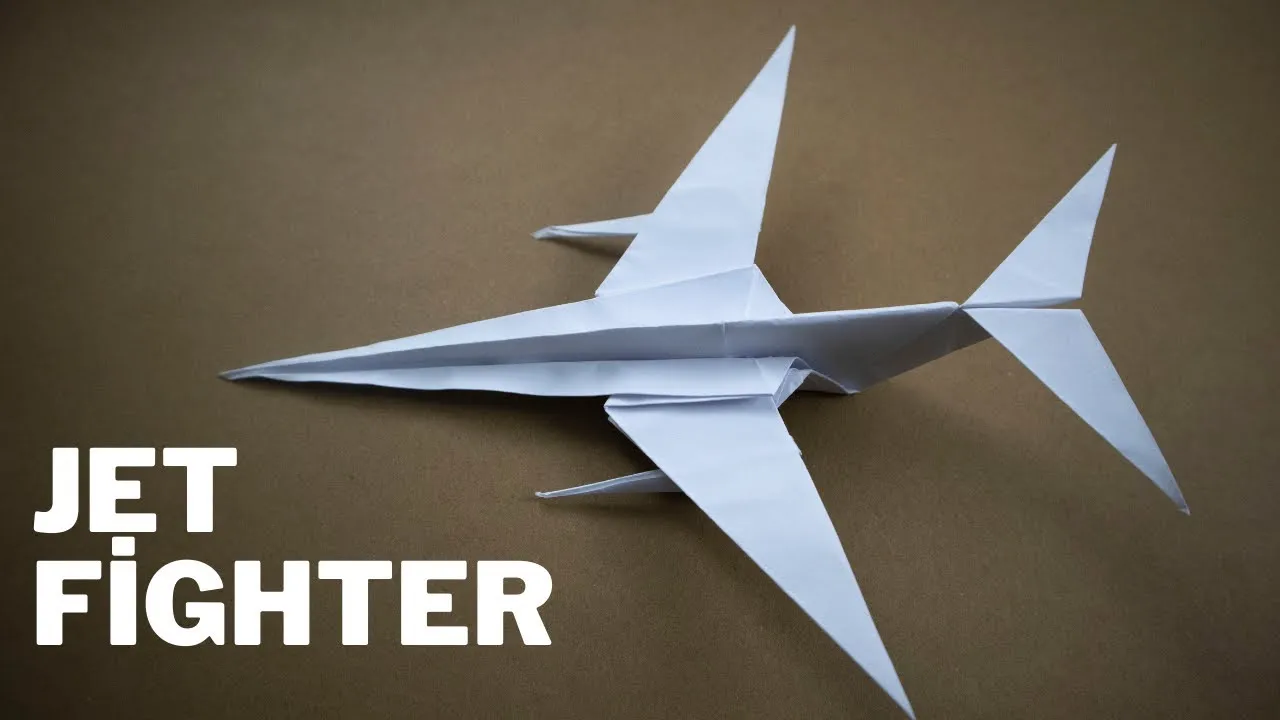
Variations and Customizations
Once you’ve mastered the basic paper airplane jet, the fun doesn’t have to stop there! You can get creative by experimenting with various designs and customizations. Here are some exciting ways to make your paper airplane jet uniquely yours:
- Different Wing Designs: Try altering the shape and size of the wings. Wider wings may provide more lift, while narrower wings can increase speed. Experiment with angles and cuts!
- Weight Distribution: Adding small weights, like paperclips, to the nose of your airplane can enhance stability and distance. Just be careful not to overload it!
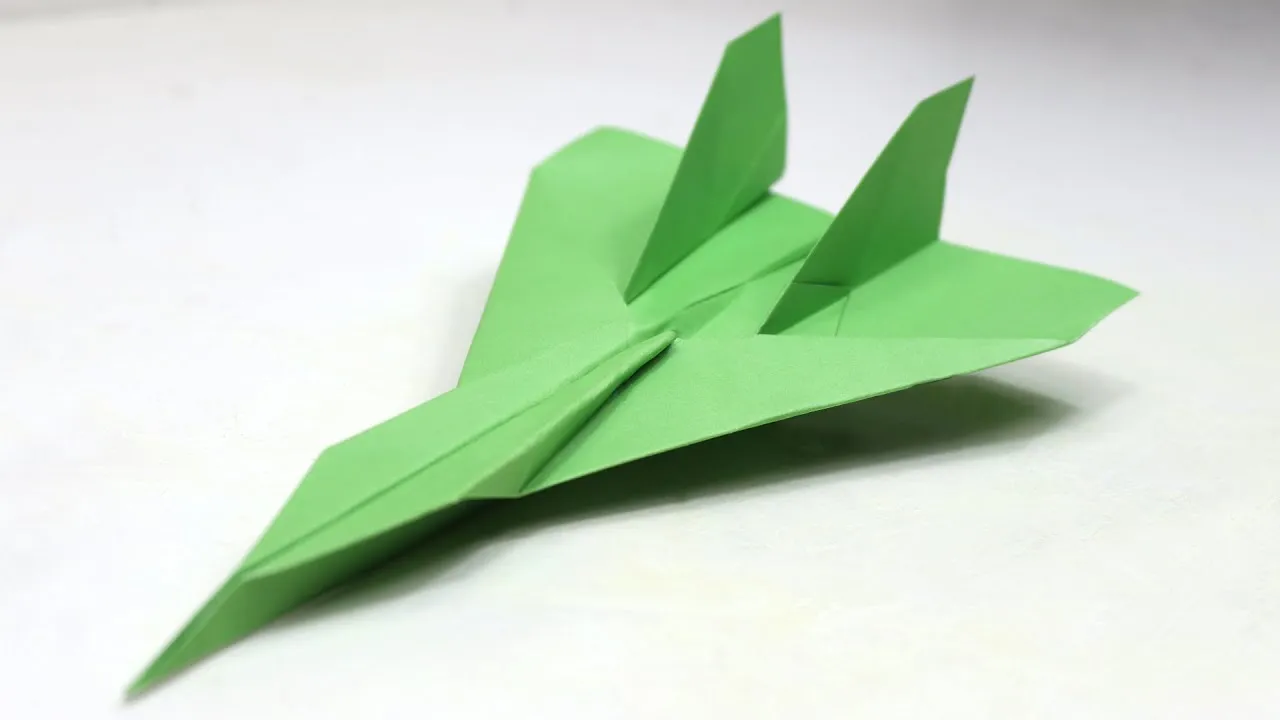
- Color and Art: Grab your markers, colored pencils, or stickers and give your airplane a vibrant makeover. Personal designs not only look cool but can also help you identify your plane in a group.
- Different Folds: Explore folding techniques beyond the basic jet design. Crease the paper differently or add additional folds for more complexity and varied flight patterns.
- Custom Sizes: Use different sizes of paper (like A4 vs. letter size) to see how it affects flight. A larger plane might fly differently compared to a smaller one.
These variations and customizations can turn your simple paper airplane into a unique flying machine. So, gather some friends, compare designs, and see whose jet flies the furthest!
Conclusion
Making a paper airplane jet is not just about folding paper—it's a delightful blend of creativity, physics, and fun! Throughout this crafting tutorial, you’ve learned how to construct a basic jet, and you’ve discovered ways to personalize and enhance your creation. Remember, every fold, every design choice, can impact how well your airplane flies.
As you dive into the world of paper airplane crafting, don’t hesitate to experiment and let your imagination soar! From different wing shapes to colorful decorations, the possibilities are endless. Plus, this activity is not only great for honing fine motor skills but also serves as a fantastic way to engage with friends and family. Challenge each other, host competitions, and celebrate your unique designs!
So, grab some paper, unleash your creativity, and most importantly, have fun flying your newly crafted paper airplane jets. Happy soaring!